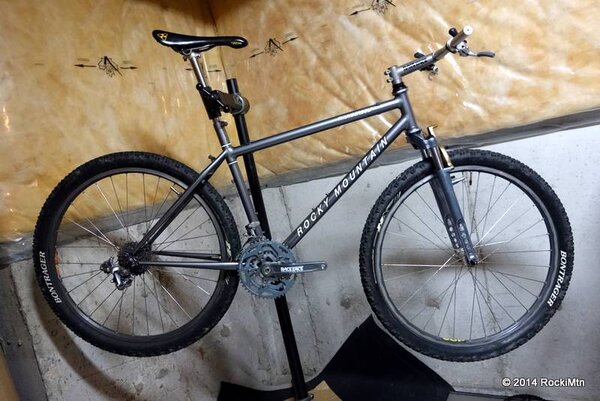
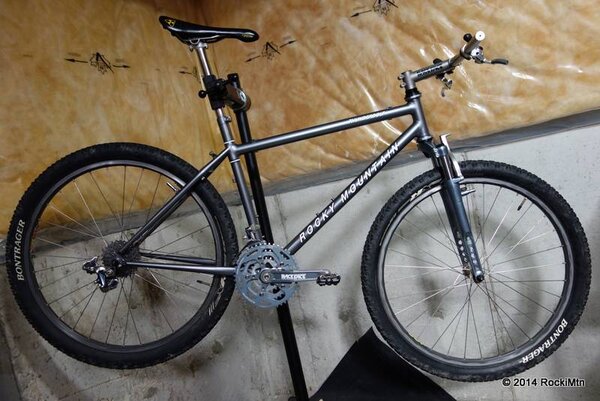
1993 Rocky Mountain Thunderbolt

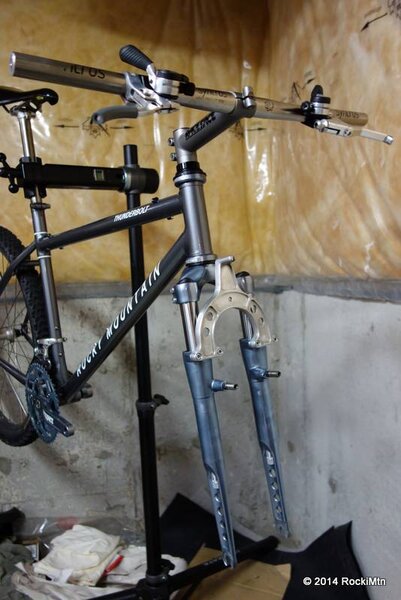
getting there slowly… almost there. i can barely make out the finish line on the horizon now. i have to say, it sure looks purdy to me. :D

still need to tap the crank threads for the pedals, add shifter/levers for the cockpit, brakes, wheelset & tyres, then cables and chain. :cool:

and of course… new decals :roll:
 

Attachments

  • DSC06897.JPG
    DSC06897.JPG
    75.9 KB · Views: 534
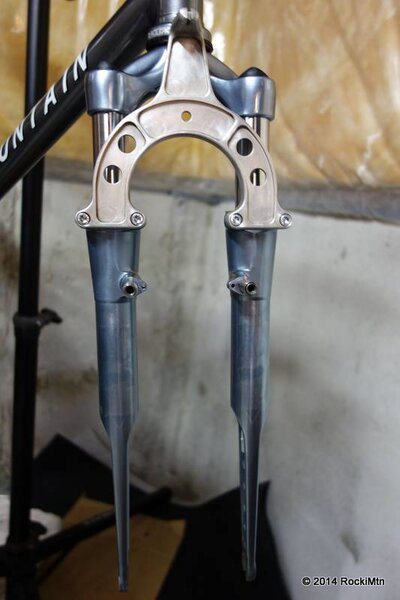
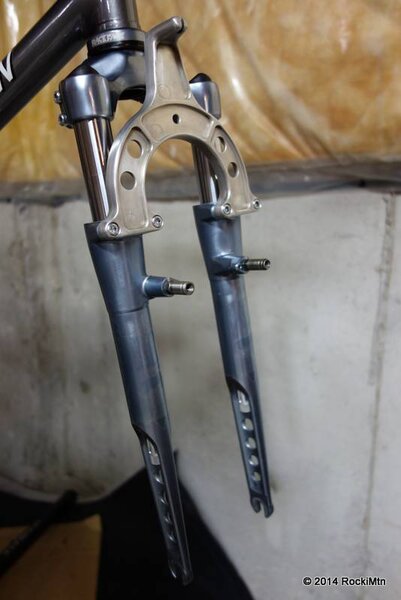
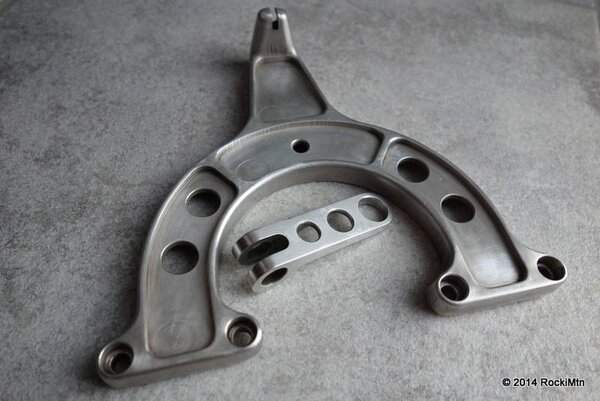
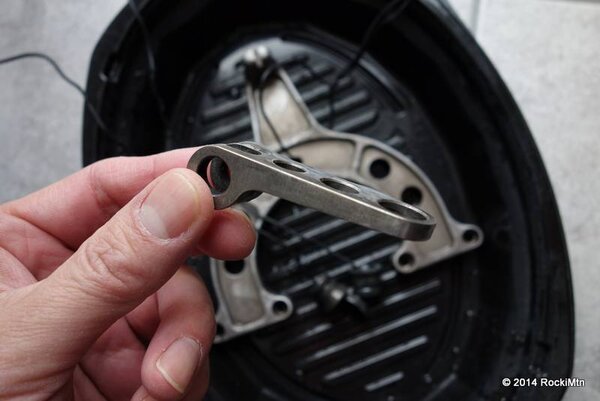
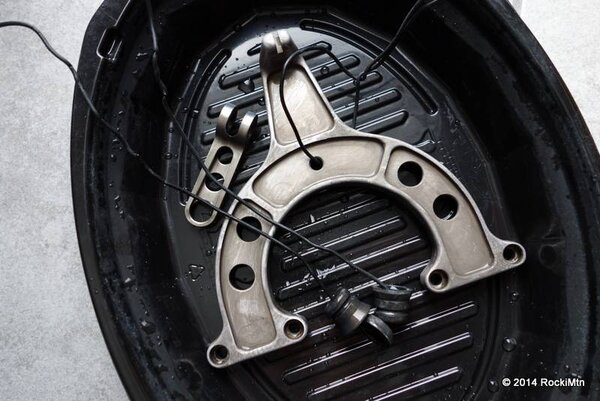
another step forward… stripping the anodizing off the brace and ringle lever.

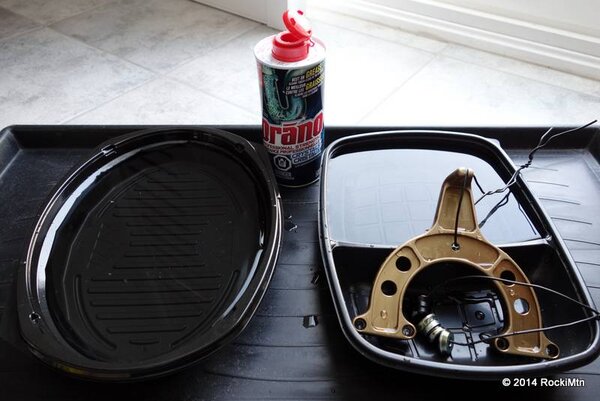
after the drano (decided to go with the crystals formula) had done it's work

after i had bit of a scrub with some steel wool under running water

and mounted back on to the fork.

still need to clean up some of the residue off the brace in the nooks and crannies and a light polish, but looks good enough. thinking maybe i should have it re-anodized to grey, blue or even black? as the silver looks a tad stark. almost miss the gold in fact. :?
 

Attachments

  • DSC06914.JPG
    DSC06914.JPG
    39.9 KB · Views: 552
  • DSC06913.JPG
    DSC06913.JPG
    39 KB · Views: 553
  • DSC06910.JPG
    DSC06910.JPG
    60.1 KB · Views: 552
  • DSC06905.JPG
    DSC06905.JPG
    58.6 KB · Views: 552
  • DSC06902.JPG
    DSC06902.JPG
    39.9 KB · Views: 552
  • DSC06901.JPG
    DSC06901.JPG
    70.4 KB · Views: 552
  • DSC06899.JPG
    DSC06899.JPG
    57.8 KB · Views: 553
if anything get it anodized to the titanium colour to match them.
the plain colour doesn't look bad, but will do after a bit if not protected anyway.
 
thanks for the support guys! ;)

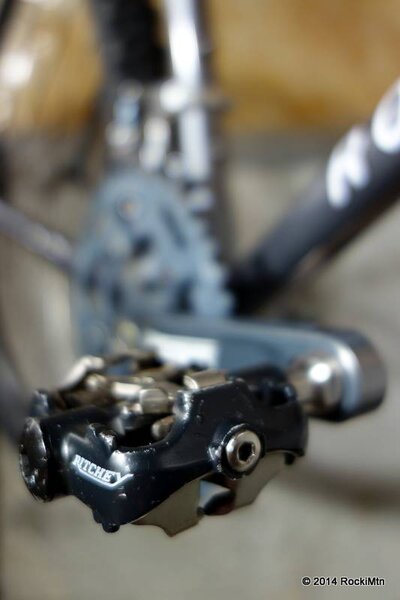
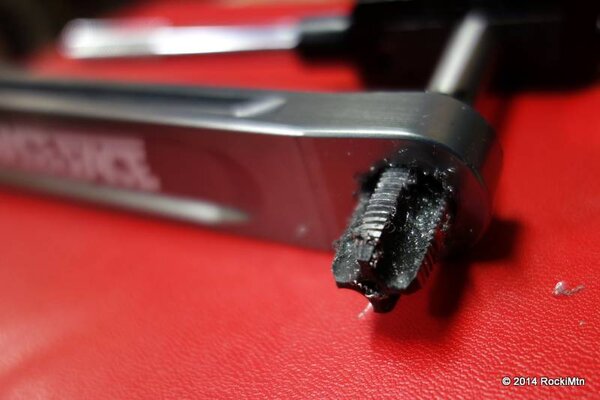
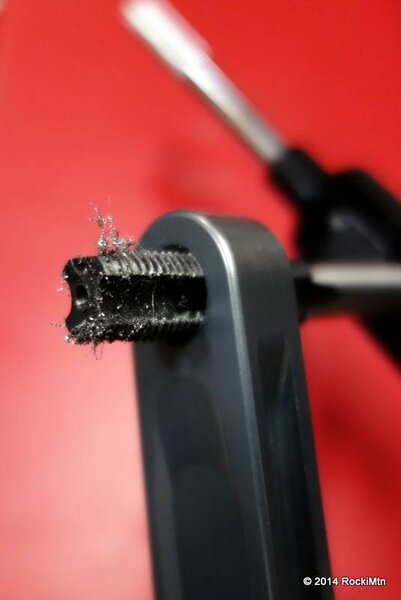
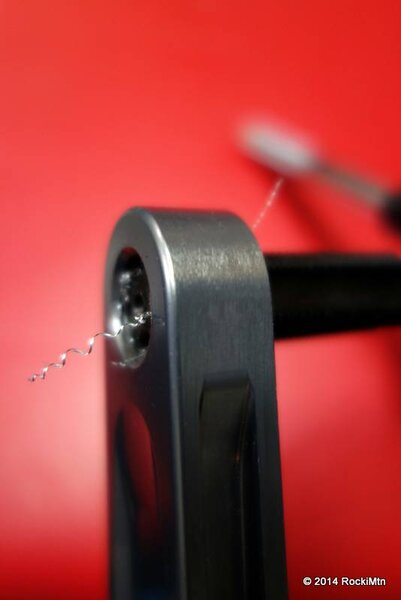
another step forward… mustered up the nerves to tap the crank threads to be able to fit the pedals with ti spindles. all went well *phew* and the pedals now thread in nice and smooth. :D

thanks to shutter for loaning the pedal taps to me. ;)

also thanks go out to kraeMit, fluffychicken and megaguy for helping me sort out the forks.

as for stripping with the drano, i didn't watch the clock. but from start to finish it took me about an hour which including gradually mixing up the concoction, doing some testing with spare Ringle QR bits, then moving onto the Ringle lever and then finally the brace. i had only put in about 1 tablespoon at first, then two, three… around four or five is when i put in the Ringle lever. believe i finally got up to about 6 or 7 before it was relatively strong enough to notice the parts reacting to the bath with small bubbles forming and that's when i threw in the brace. during all this i was watching it fairly intently to not go too far and ruin anything.
 

Attachments

  • DSC06928.JPG
    DSC06928.JPG
    74.7 KB · Views: 519
  • DSC06925.JPG
    DSC06925.JPG
    30.9 KB · Views: 519
  • DSC06917.JPG
    DSC06917.JPG
    39.6 KB · Views: 518
  • DSC06920.JPG
    DSC06920.JPG
    25.6 KB · Views: 518
  • DSC06918.JPG
    DSC06918.JPG
    37.1 KB · Views: 519
Look'in Awesome!! Glad I could be of some help :) Can't wait to see how all your current builds turn out!
 
Back
Top