I’m no stranger to Marin’s Titanium offerings, but it’s been a good while since I built up my last one. I’ve had this one sat patiently waiting for longer than I can remember now. In fact, I don’t even recall where it came from!
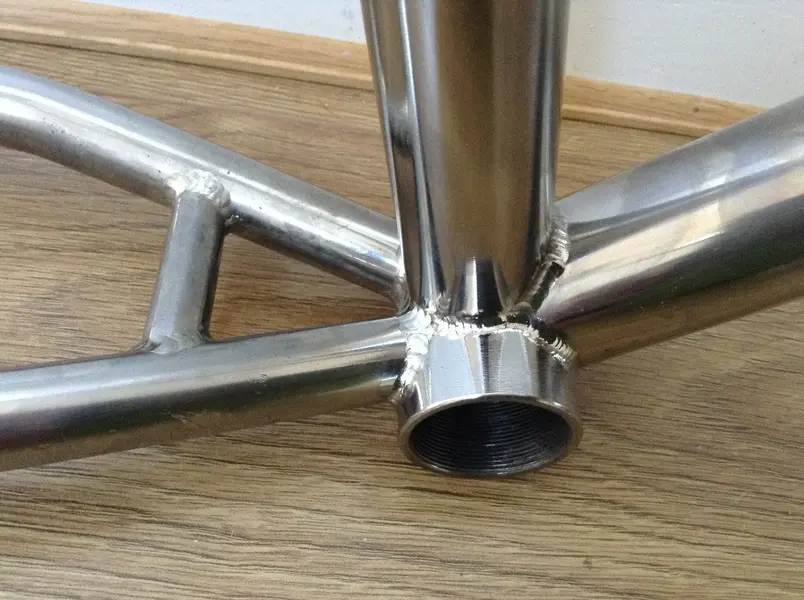
I stripped all its decals and prepped the scuffed and faded surface (which is originally polished) ready for polishing. It’s a pretty tough job if you’re using a wheel to polish Titanium, but by hand is even harder.
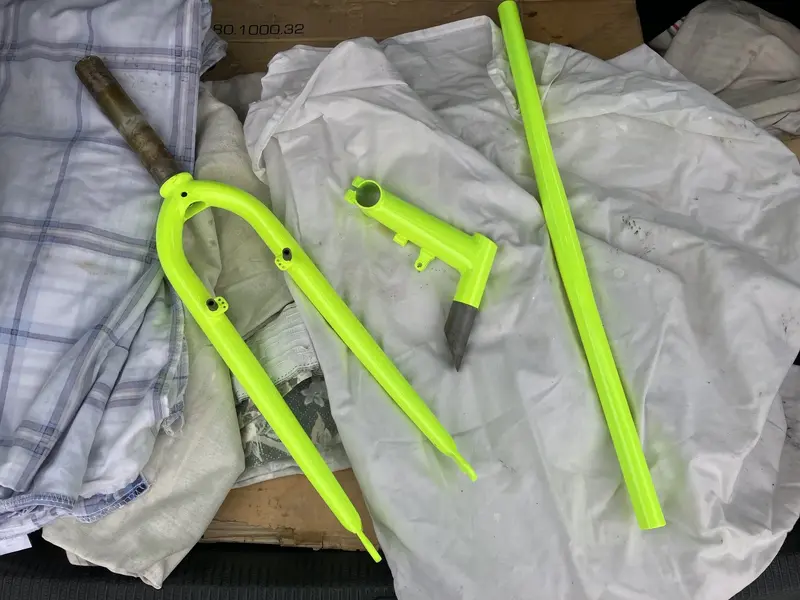
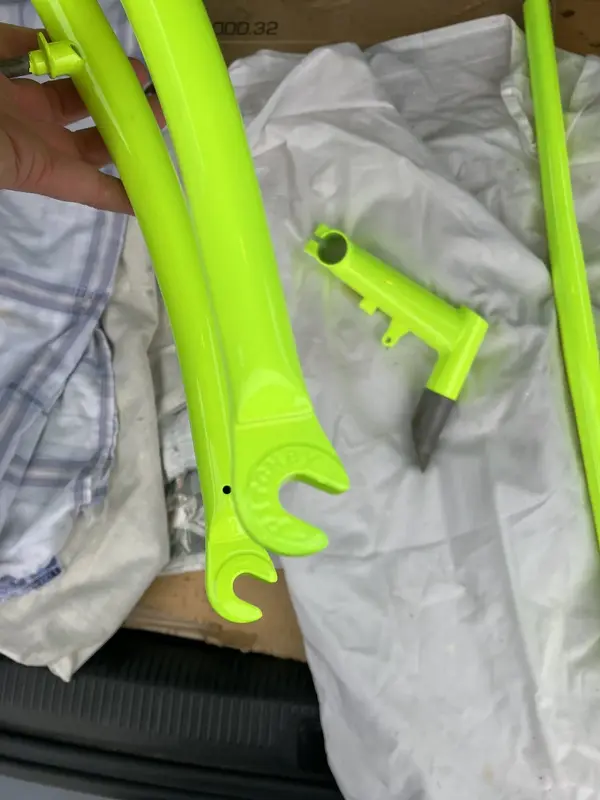
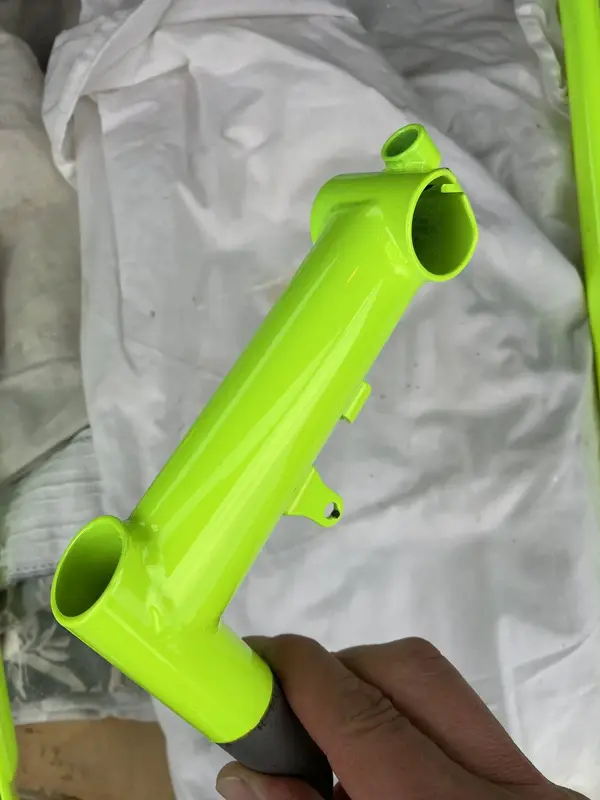
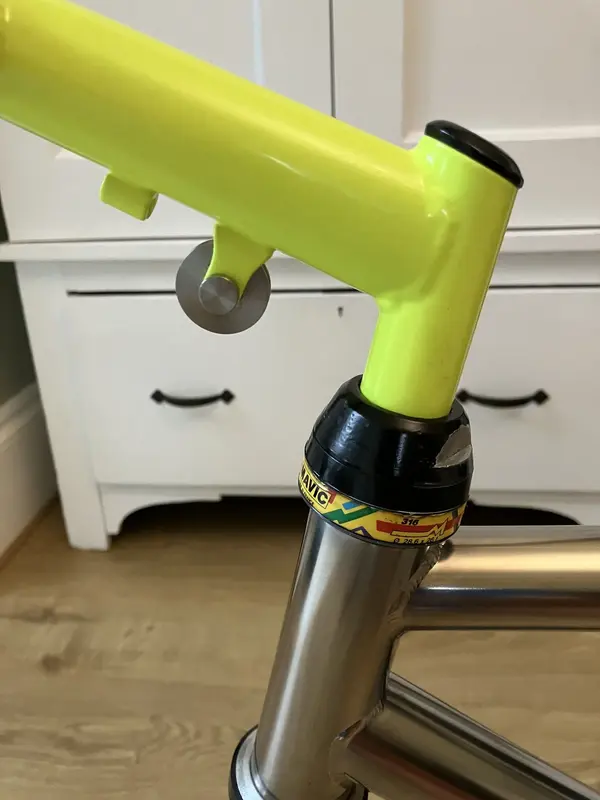
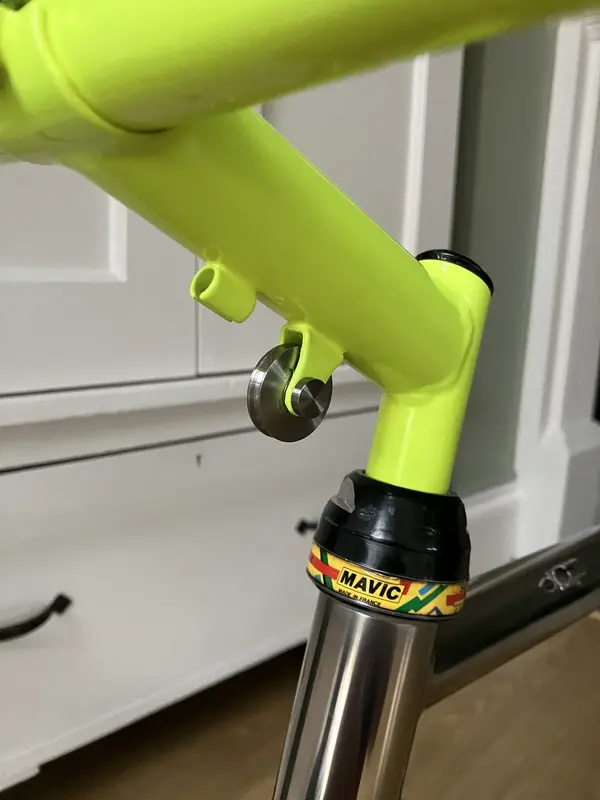
I toyed with the idea of some period suspension forks, but from its inception this frame has always really wanted some Ritchey Logic forks. Finding them in 11/8th threaded isn’t an easy task either! Utilising the original Marin roller stem (steel) really gives it the ‘Marin family’ feel too. So, my mind was set, and either side of those headset cups simply had to be fluorescent yellow.
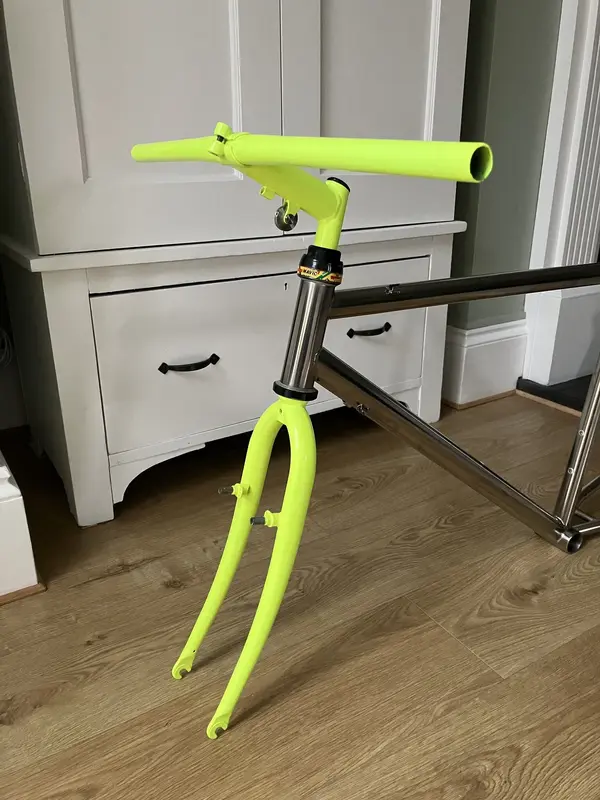
The first picture will really give away the theme with this one, and I’ve been desperate to replicate the early neon coloured Marin paint schemes on to a Titanium frame somehow. Swapping out any of the components in this picture just dilutes the impact I’m trying to make.
I stripped all its decals and prepped the scuffed and faded surface (which is originally polished) ready for polishing. It’s a pretty tough job if you’re using a wheel to polish Titanium, but by hand is even harder.
I toyed with the idea of some period suspension forks, but from its inception this frame has always really wanted some Ritchey Logic forks. Finding them in 11/8th threaded isn’t an easy task either! Utilising the original Marin roller stem (steel) really gives it the ‘Marin family’ feel too. So, my mind was set, and either side of those headset cups simply had to be fluorescent yellow.
The first picture will really give away the theme with this one, and I’ve been desperate to replicate the early neon coloured Marin paint schemes on to a Titanium frame somehow. Swapping out any of the components in this picture just dilutes the impact I’m trying to make.
Attachments
Last edited:

") !
!