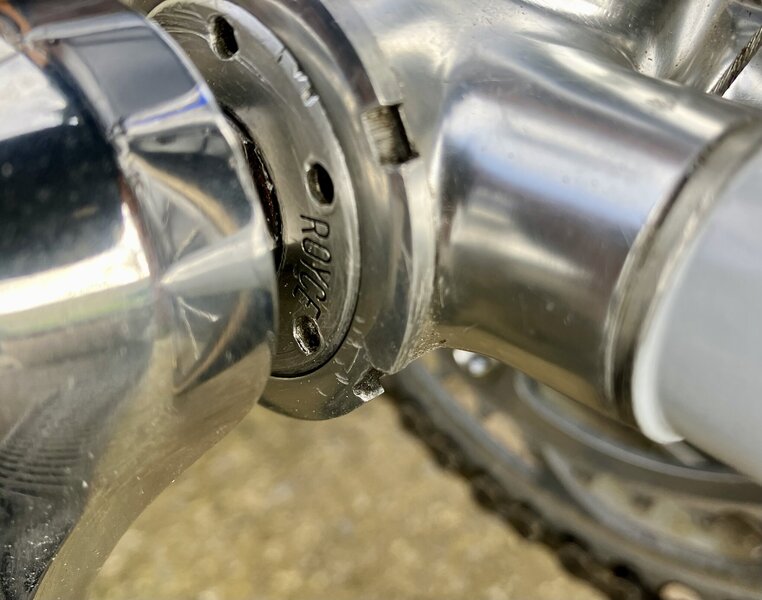
If I wind the clocks back to 1990 for the beginning of this project, I was 18, studying my A levels, and riding more than I should have been. My enthusiasm for the sport had really taken hold, and I was feverishly absorbing as much information about what would make me faster and allow me to last longer in the saddle. Naturally, my love of the mechanical forced me to aim high when choosing a bike. I'd been gathering a C Record groupset, and gradually placing the parts on my 531c frame like I was fitting jewels on a crown - although I knew the crown was very outclassed by the jewels! I'd been unable to afford the Colnago Master that came up for sale locally, so my desires for a new frame had to take a back seat.
At the time, Greg Lemond was on his winning streak using some fairly innovative, and sometimes questionable technology to achieve it. He really made me take note - here was a guy that was testing disguised Merlin Titanium frames on the pro circuit, and winning. That was it, steel was dead and Titanium was the new king! I had to have some if this, so I did some digging and was quickly horrified to discover the price of a Merlin Titanium frame was in the many thousands. I would spend hours staring at pictures of Greg's bikes in Cycling weekly, or repeatedly reading over the occasional Merlin advert.
Sometime after, my friend pointed me towards the new line up of Raleigh Dyna Tech frames that were being produced as they were including a titanium bike in their range. The catologue was pretty enough, but it told me very little really, plus the pictures were tiny. My local Raleigh dealer at the time was Shalcross in Southport, and he said that he could order one in but he didn't stock them as they were special order only. If I wanted to see one then I'd have to go to a dealer in Chester who had one in stock. I literally went straight there on the train, fondled the frame for 5 mins (God only knows what that must have looked like), had a bag of chips in the local chippy, then got the train home. Shalcross was surprised to see me back so soon, especially as I was loaded with a suitable deposit to place an order.
Shalcross closed down many years ago now, but the building still stands, and is often a reminder of my dealings in there.
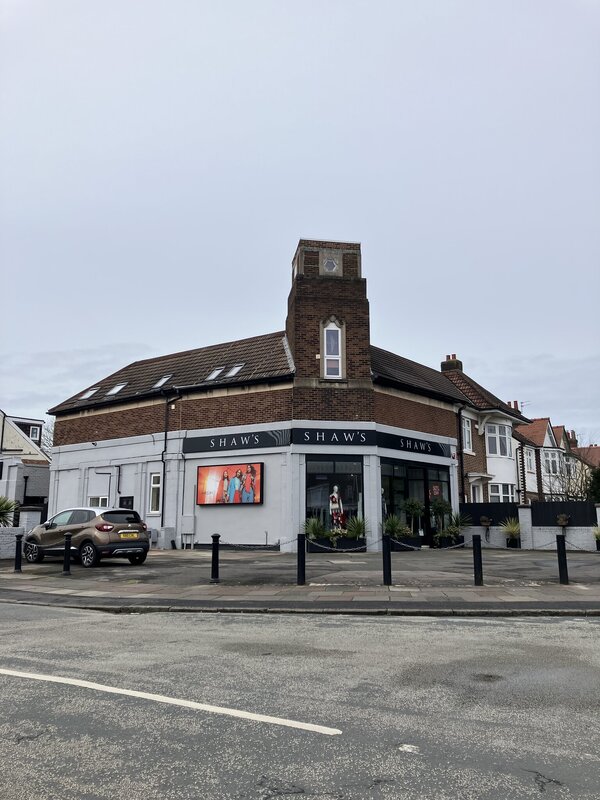
Now, at this point I had really underestimated just how long it would take to pay the total £649 that he was asking - in my mind it was irrelevant too, as I just needed a Titanium frame and this was the only way I was going to get one. Thousands of pounds for a Merlin, or a third of the price for a Cronos was real no-brainer maths. He gave me a savings book and told me to keep topping it up as and when I could, and he'd stamp the book accordingly each time. My naive and thoughtless payment planning left me struggling to donate even £50 a month to the cause, and I found myself 6 months in and only at £300. Christmas had hit me at the start of the plan, and we were now into 1991. I asked him at what point he'd order the bike, and how long it would take. He said that I need to be at 75% capital before placing the order, and that it would take up to 12 weeks to arrive. This news fell hard on me, and I struggled on with the toll of monthly payments - some of which were as low as £30. Finally, sometime late 1991 or early 1992 I think, he ordered the bike, and I asked if they could spray the front and rear forks in Black rather than the pale Grey which came as standard. He processed the order, and everything seemed amicable.
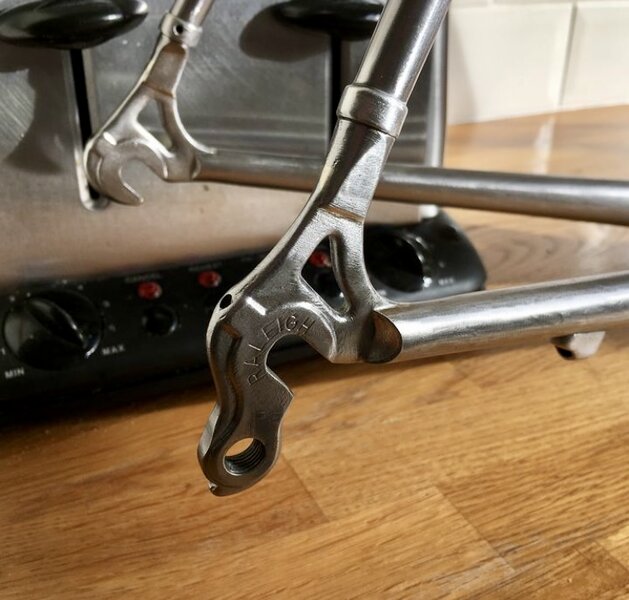
Months passed and finally the phone rang - it was in! My excitement was very quickly dampened with an apology and a story. Raleigh had discontinued the Cronos, and had supplied me with a Dyna Tech Titanium Pro. I wasn't as happy, as it wasn't the frameset I'd ordered, and the spec had changed quite a bit from the model I thought I was buying. The Titanium wasn't even 3/2.5 either, as I think they'd sourced some pure grade Titanium tubes from a Russian manufacturer for their new model. This was a time was Raleigh had used Reynolds to set up Dyna Tech frames, and then went and sourced the frame materials from somewhere else, likely to keep the costs low. My complaints fell on deaf ears, and he wasn't keen to support me on getting what I really wanted from Raleigh. I took the frame, and gradually accepted that I wasn't getting the Cronos or a refund.
The following week was spent carefully building the bike with my C Record delta groupset, and I even managed to buy some of the very first edition Ergopower levers for it (the Syncro down tube levers I had prior, were awful). I seem to remember being one of the first people in the local bike shop to buy Ergopower. It was a classy and futuristic looking bike, and many people would stop me to admire it, aend with questions about all the unusual features. However, it didn't ride as great as I'd expected, and my mate in the club who also had one was pretty critical of his too. In fact, I really started to dislike it, and saw it as a waste of money, probably still marred by the fact that it wasn't what I ordered in the first place. Pretty swiftly (and foolishly) the bike was swapped for my first car, a 1974 VW Beetle. The 'Cal look' VW scene took a hold, and I was off in another direction...
For years now I've regretted the haste with which I swapped it ans it probably wasn’t anll that bad. Plus, I have longed to find the original bike I wanted and ordered. Cycling forums and eBay have always had my eye, waiting for the 'right' sized bike to show up. Just two weeks ago I saw this on eBay, and knew I had to have it. My time had finally come...
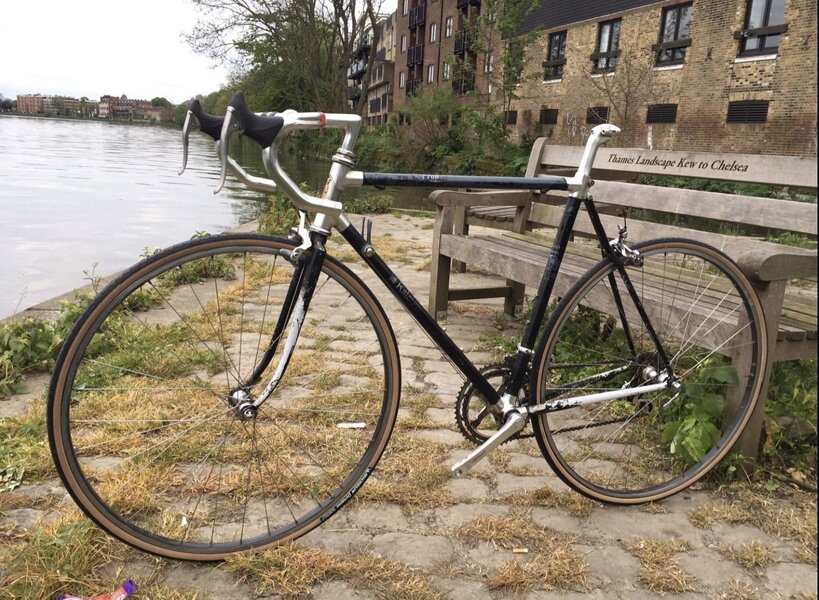
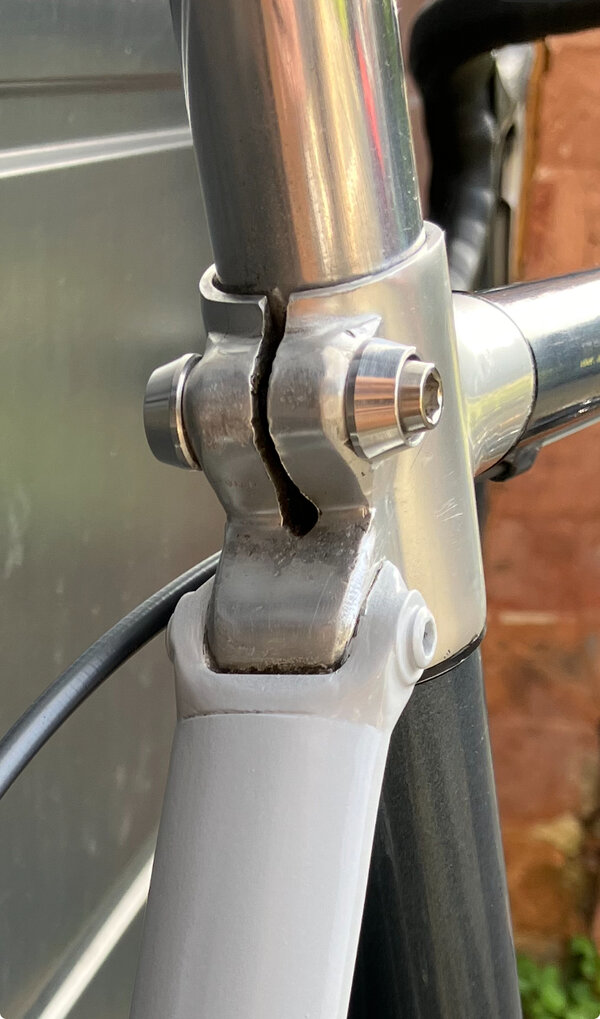
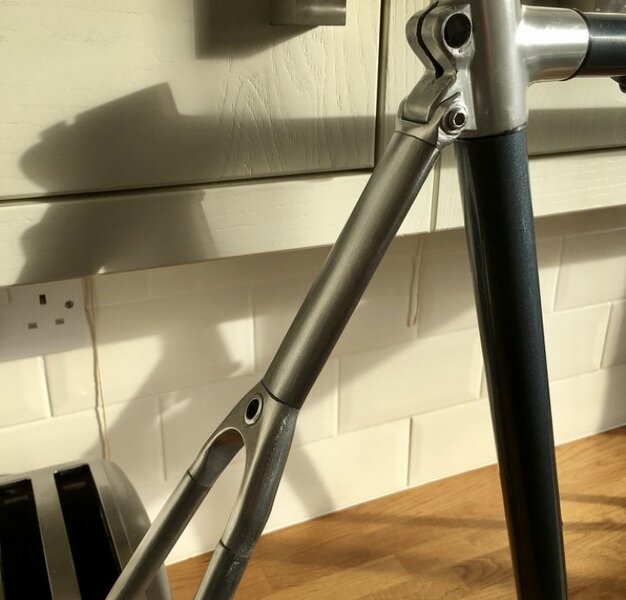
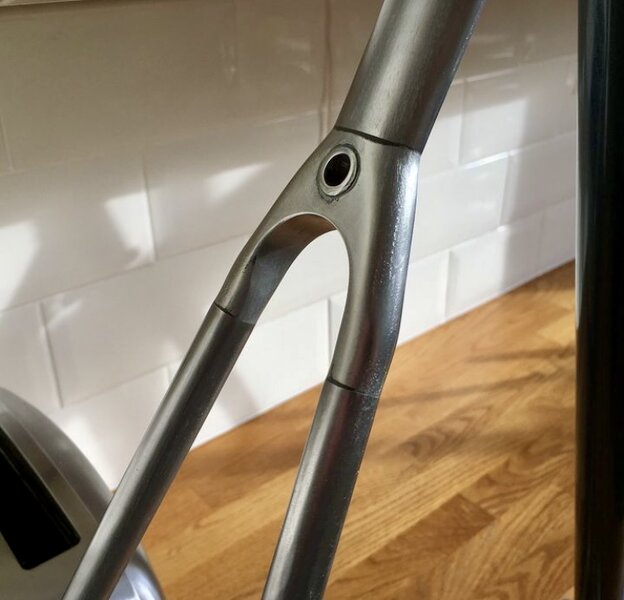
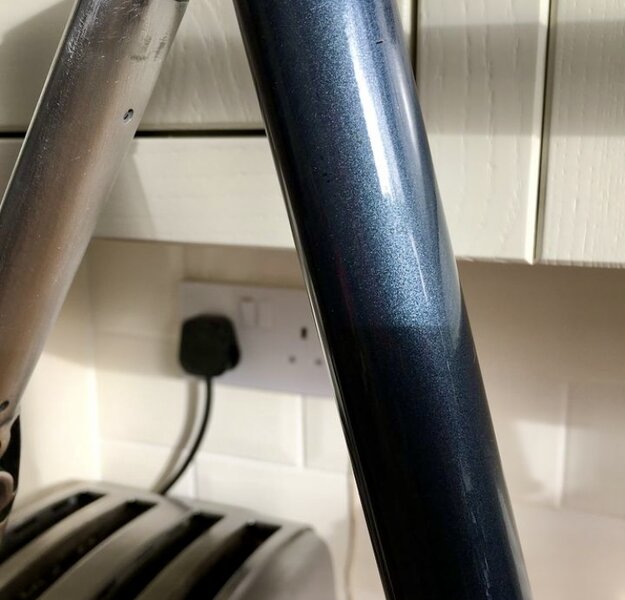
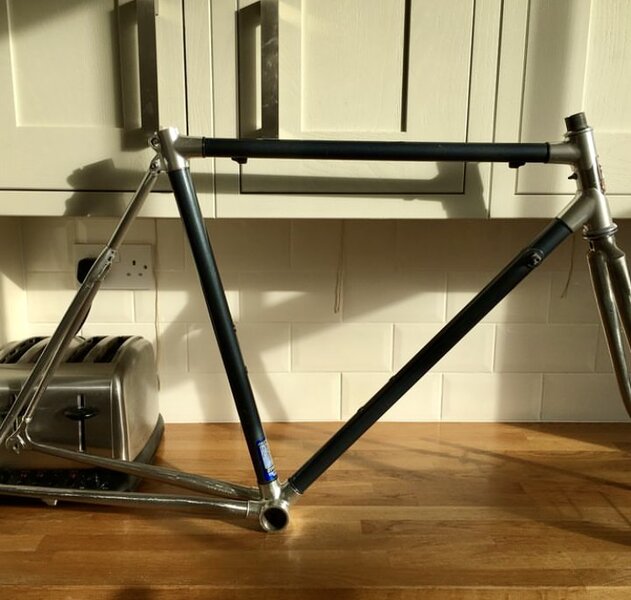
Looking very sorry for itself. The seller had recognised its potential and rescued it locally on Gumtree. He'd started to remove some of the rattle can black paint that someone had 'treated' it to, and surprisingly it was mostly ok underneath.
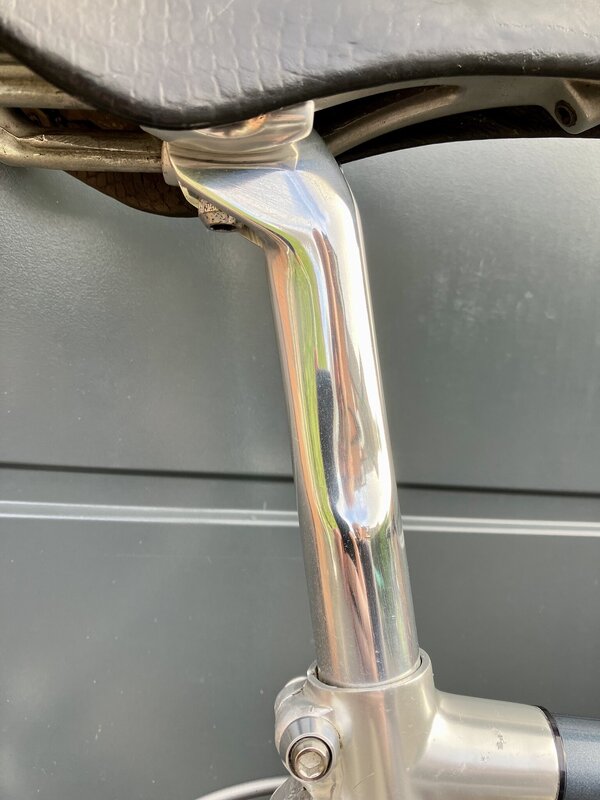
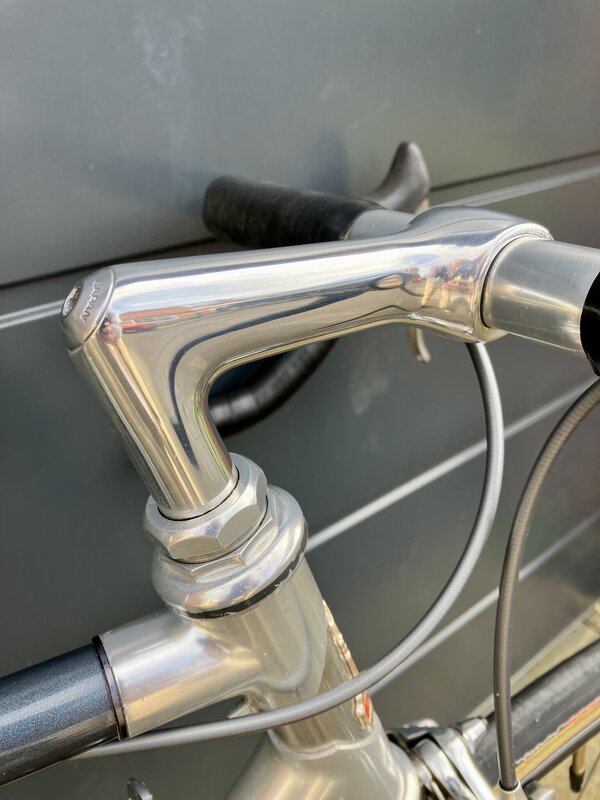
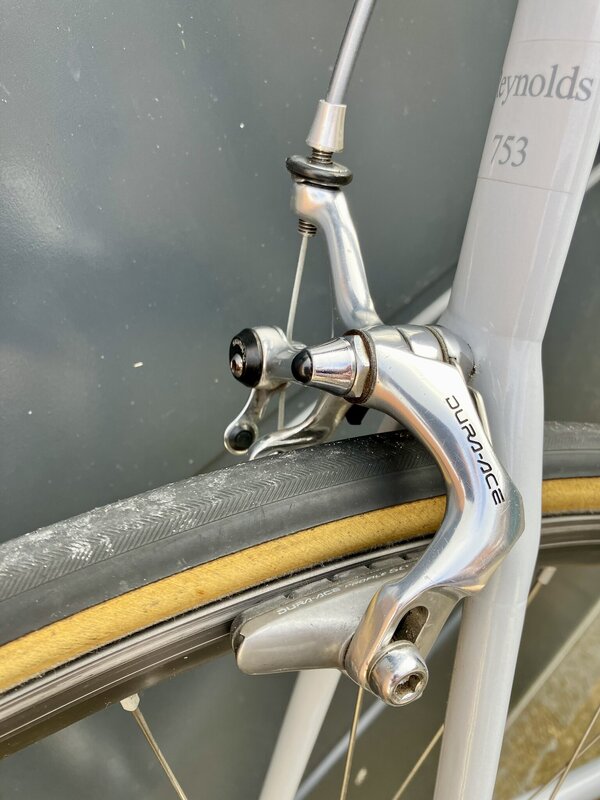
It will clearly need quite a bit of restoration work, but I'm confident this will come up good. I played around with the idea of passing on the Dura Ace 7400 groupset, but whilst in my hands it's grown on me. I've always been strictly Campagnolo on the road, but the functionality of this Dura Ace has lured me to it. Campagnolo had some real functionality issues in the late 80's early 90's, and I was thankful when they were over them. But Shimano had really cracked a decent group when they introduced the 7400 to the market. A group designed exclusively to beat Campagnolo, and it did so on every level other than aesthetics - a fact I have hated admitting for most of my adult life! Oddly, the Dura Ace component that I always secretly admired the most was the stem - what a thing that was, and way cooler than Anything Cinelli offered too. So, the Dura Ace is staying; a decision that was cemented this week with the extravagant purchase of the correct 110mm sized 7400 stem.
The bike has come at a time when I've just started restoring my 1991 Marin Team Titanium, so it will have to wait its turn. In the meantime, I thought I'd start this story.
At the time, Greg Lemond was on his winning streak using some fairly innovative, and sometimes questionable technology to achieve it. He really made me take note - here was a guy that was testing disguised Merlin Titanium frames on the pro circuit, and winning. That was it, steel was dead and Titanium was the new king! I had to have some if this, so I did some digging and was quickly horrified to discover the price of a Merlin Titanium frame was in the many thousands. I would spend hours staring at pictures of Greg's bikes in Cycling weekly, or repeatedly reading over the occasional Merlin advert.
Sometime after, my friend pointed me towards the new line up of Raleigh Dyna Tech frames that were being produced as they were including a titanium bike in their range. The catologue was pretty enough, but it told me very little really, plus the pictures were tiny. My local Raleigh dealer at the time was Shalcross in Southport, and he said that he could order one in but he didn't stock them as they were special order only. If I wanted to see one then I'd have to go to a dealer in Chester who had one in stock. I literally went straight there on the train, fondled the frame for 5 mins (God only knows what that must have looked like), had a bag of chips in the local chippy, then got the train home. Shalcross was surprised to see me back so soon, especially as I was loaded with a suitable deposit to place an order.
Shalcross closed down many years ago now, but the building still stands, and is often a reminder of my dealings in there.

Now, at this point I had really underestimated just how long it would take to pay the total £649 that he was asking - in my mind it was irrelevant too, as I just needed a Titanium frame and this was the only way I was going to get one. Thousands of pounds for a Merlin, or a third of the price for a Cronos was real no-brainer maths. He gave me a savings book and told me to keep topping it up as and when I could, and he'd stamp the book accordingly each time. My naive and thoughtless payment planning left me struggling to donate even £50 a month to the cause, and I found myself 6 months in and only at £300. Christmas had hit me at the start of the plan, and we were now into 1991. I asked him at what point he'd order the bike, and how long it would take. He said that I need to be at 75% capital before placing the order, and that it would take up to 12 weeks to arrive. This news fell hard on me, and I struggled on with the toll of monthly payments - some of which were as low as £30. Finally, sometime late 1991 or early 1992 I think, he ordered the bike, and I asked if they could spray the front and rear forks in Black rather than the pale Grey which came as standard. He processed the order, and everything seemed amicable.
Months passed and finally the phone rang - it was in! My excitement was very quickly dampened with an apology and a story. Raleigh had discontinued the Cronos, and had supplied me with a Dyna Tech Titanium Pro. I wasn't as happy, as it wasn't the frameset I'd ordered, and the spec had changed quite a bit from the model I thought I was buying. The Titanium wasn't even 3/2.5 either, as I think they'd sourced some pure grade Titanium tubes from a Russian manufacturer for their new model. This was a time was Raleigh had used Reynolds to set up Dyna Tech frames, and then went and sourced the frame materials from somewhere else, likely to keep the costs low. My complaints fell on deaf ears, and he wasn't keen to support me on getting what I really wanted from Raleigh. I took the frame, and gradually accepted that I wasn't getting the Cronos or a refund.
The following week was spent carefully building the bike with my C Record delta groupset, and I even managed to buy some of the very first edition Ergopower levers for it (the Syncro down tube levers I had prior, were awful). I seem to remember being one of the first people in the local bike shop to buy Ergopower. It was a classy and futuristic looking bike, and many people would stop me to admire it, aend with questions about all the unusual features. However, it didn't ride as great as I'd expected, and my mate in the club who also had one was pretty critical of his too. In fact, I really started to dislike it, and saw it as a waste of money, probably still marred by the fact that it wasn't what I ordered in the first place. Pretty swiftly (and foolishly) the bike was swapped for my first car, a 1974 VW Beetle. The 'Cal look' VW scene took a hold, and I was off in another direction...
For years now I've regretted the haste with which I swapped it ans it probably wasn’t anll that bad. Plus, I have longed to find the original bike I wanted and ordered. Cycling forums and eBay have always had my eye, waiting for the 'right' sized bike to show up. Just two weeks ago I saw this on eBay, and knew I had to have it. My time had finally come...

Looking very sorry for itself. The seller had recognised its potential and rescued it locally on Gumtree. He'd started to remove some of the rattle can black paint that someone had 'treated' it to, and surprisingly it was mostly ok underneath.
It will clearly need quite a bit of restoration work, but I'm confident this will come up good. I played around with the idea of passing on the Dura Ace 7400 groupset, but whilst in my hands it's grown on me. I've always been strictly Campagnolo on the road, but the functionality of this Dura Ace has lured me to it. Campagnolo had some real functionality issues in the late 80's early 90's, and I was thankful when they were over them. But Shimano had really cracked a decent group when they introduced the 7400 to the market. A group designed exclusively to beat Campagnolo, and it did so on every level other than aesthetics - a fact I have hated admitting for most of my adult life! Oddly, the Dura Ace component that I always secretly admired the most was the stem - what a thing that was, and way cooler than Anything Cinelli offered too. So, the Dura Ace is staying; a decision that was cemented this week with the extravagant purchase of the correct 110mm sized 7400 stem.
The bike has come at a time when I've just started restoring my 1991 Marin Team Titanium, so it will have to wait its turn. In the meantime, I thought I'd start this story.
Last edited:
