Everything comes together with a good glue: Raleigh Chill 1990

Great progress on this & great to see the attention to detail.
Sincere thanks
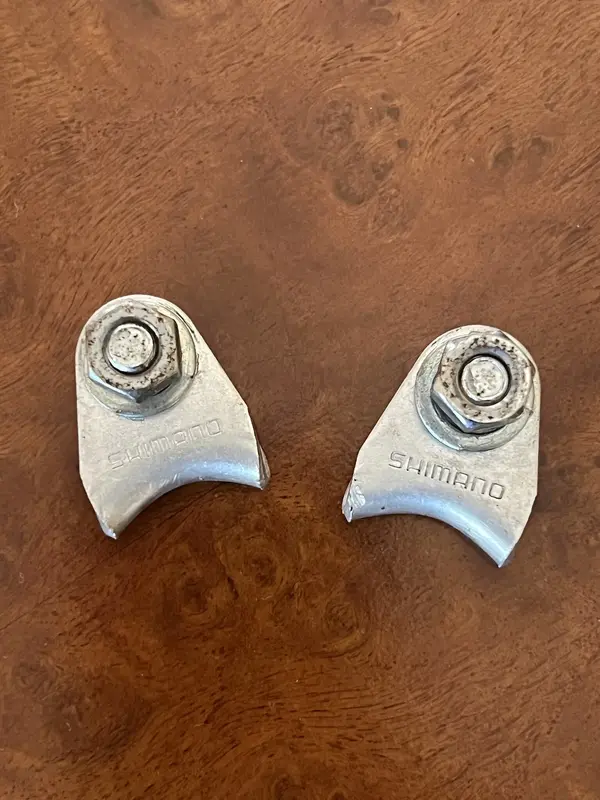
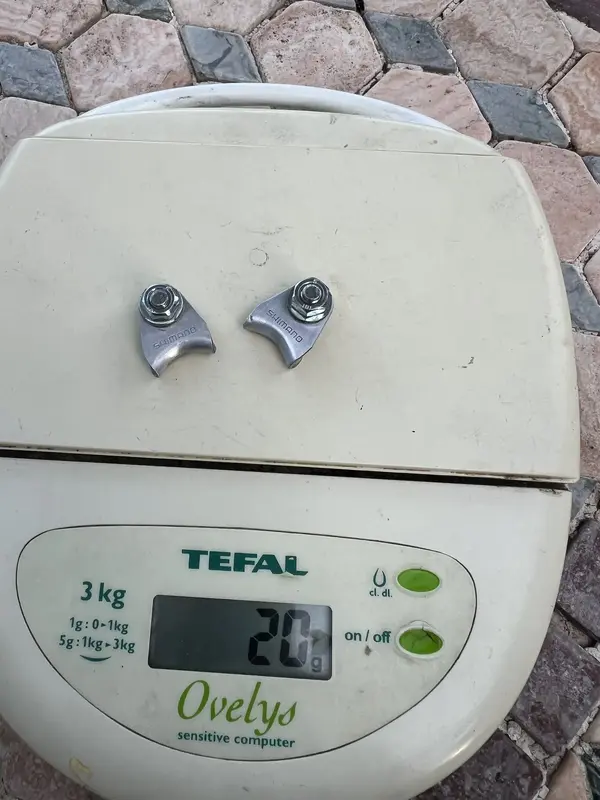
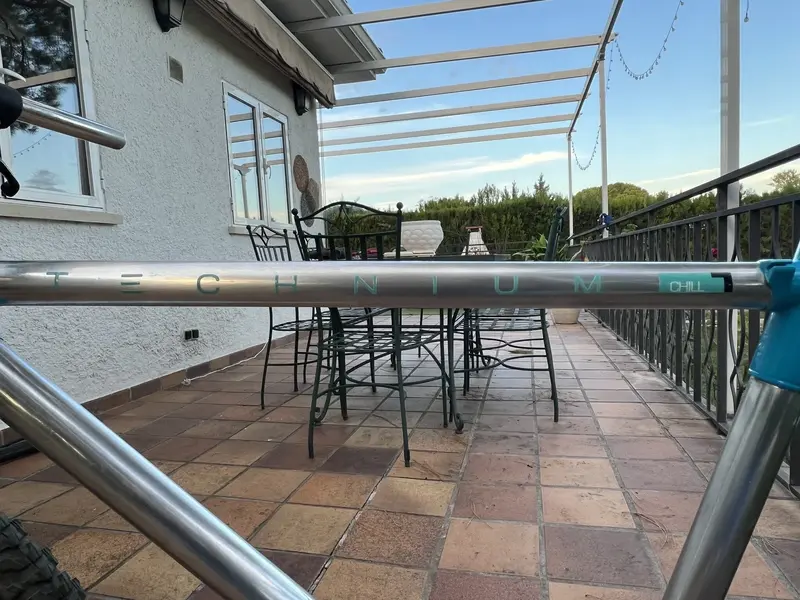
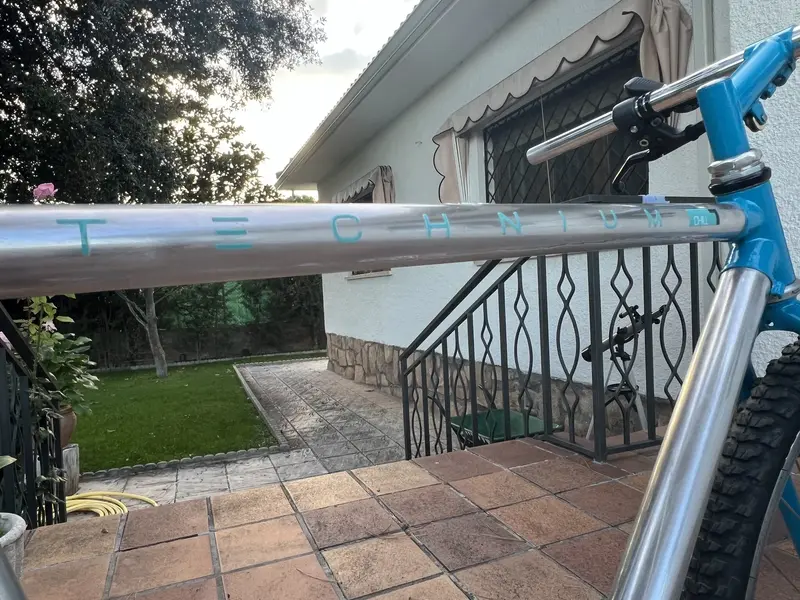
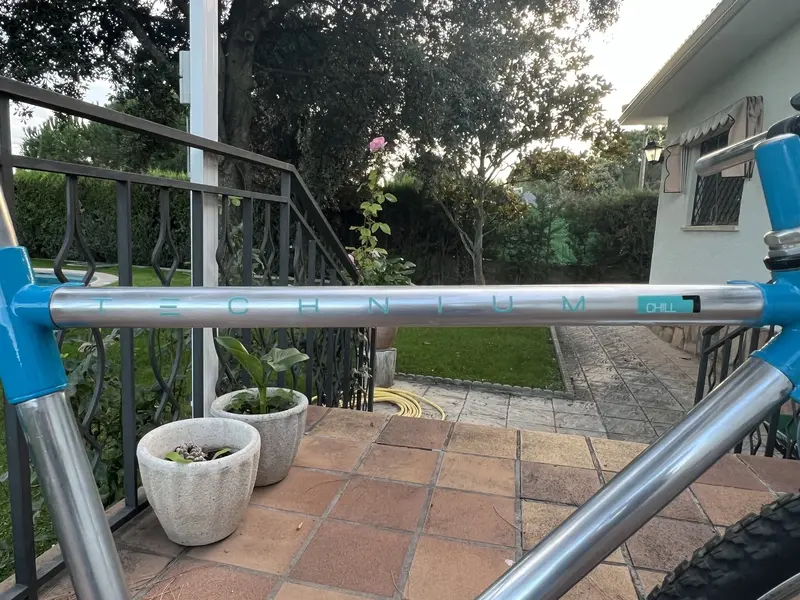
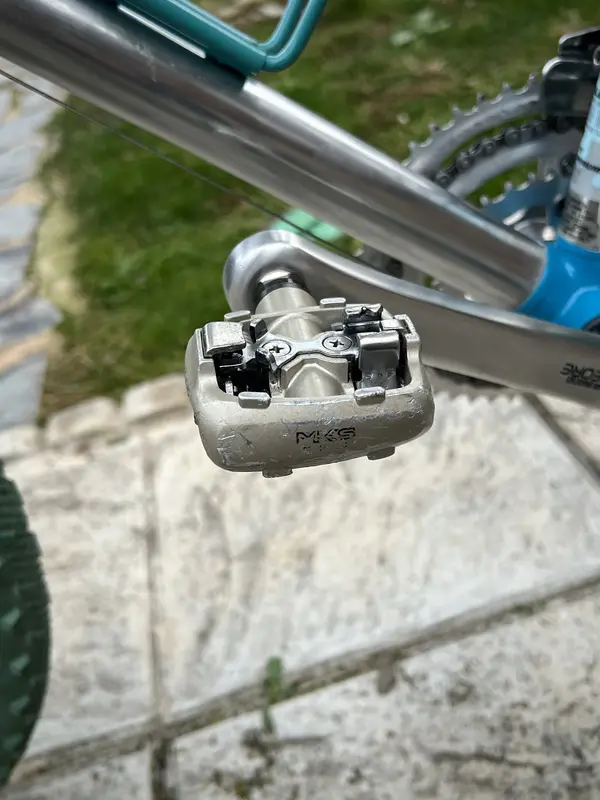
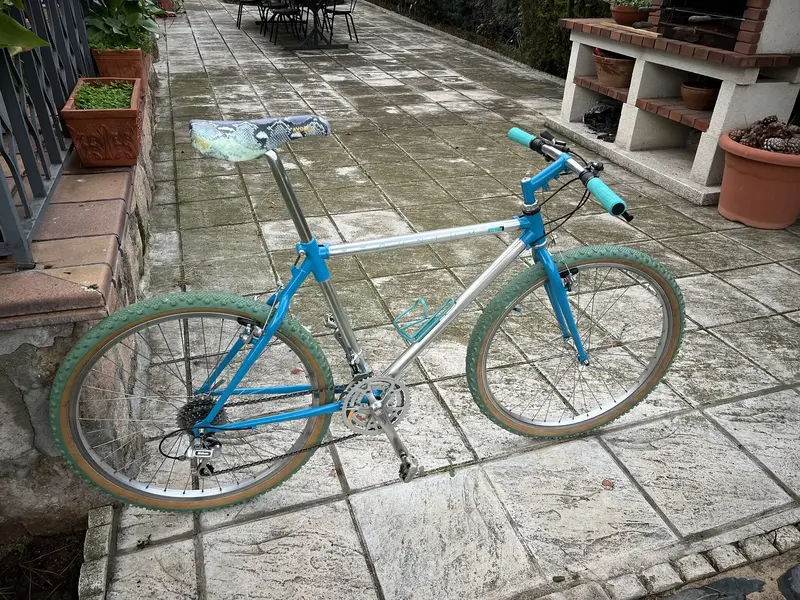
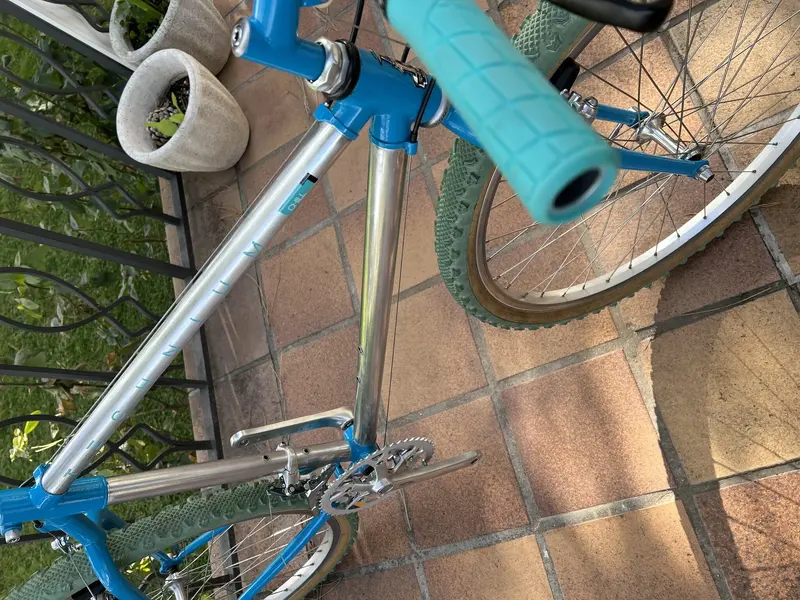
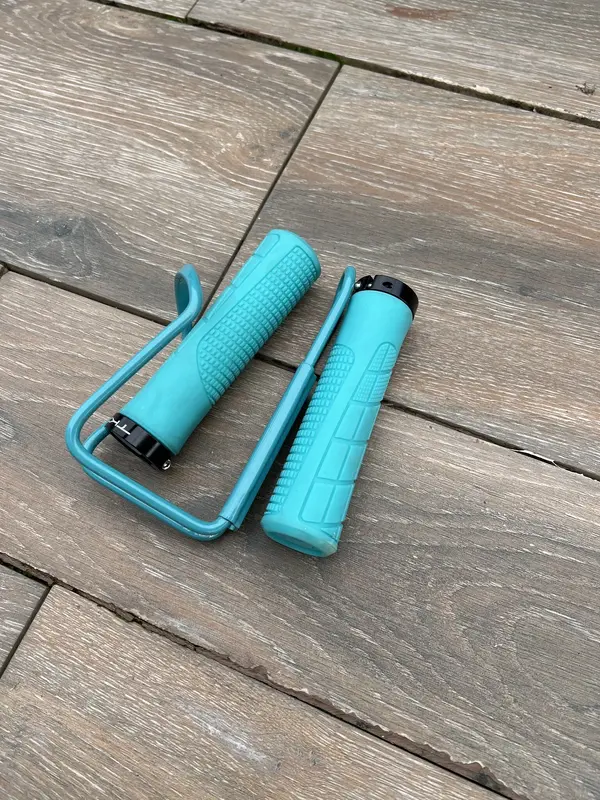
The bike is almost finished. I found the brake parts that were missing in a box that had been stored for too long and I was now able to put in all the wiring. I have changed the slightly rusty nuts from not being used! 🤣
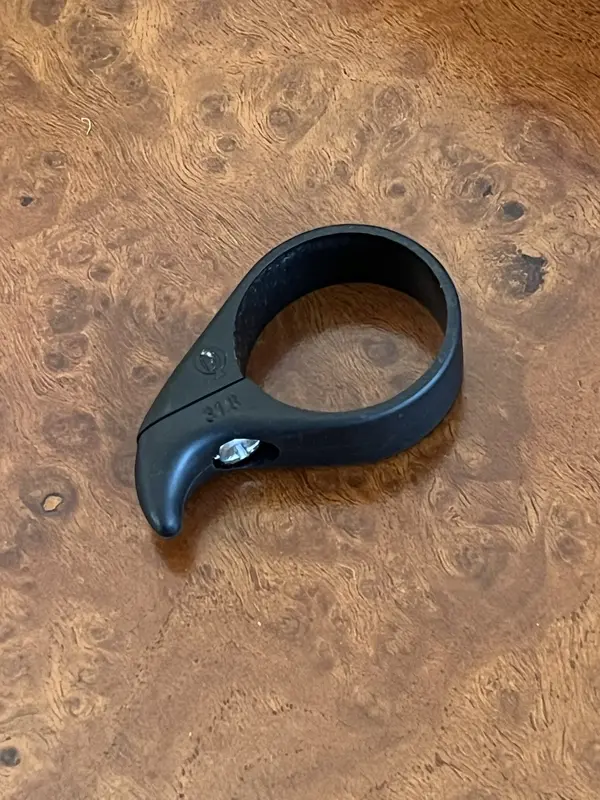
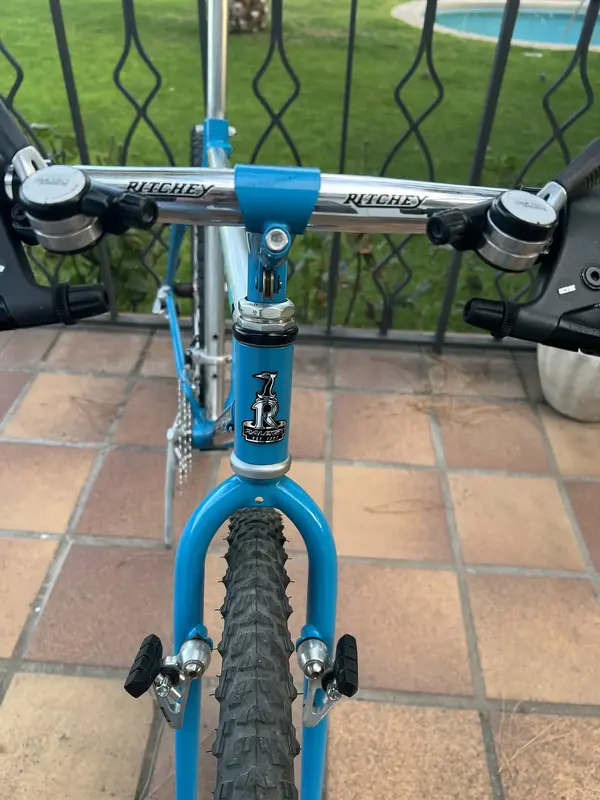
I also found a fundamental piece in the early '90s: the anti-suck. It was great, for €1 you avoided damage worth several hundred. Well I have several saved so I'll have to put it in
 

Attachments

  • IMG_1550.webp
    IMG_1550.webp
    325.6 KB · Views: 2
  • IMG_1553.webp
    IMG_1553.webp
    286 KB · Views: 2
  • IMG_1619.webp
    IMG_1619.webp
    249.8 KB · Views: 2
I have also started with the decoration.
The "Heinch Medium" font modifying the "E" and the "I" is really similar to the original Tecnium.
I was missing on my bike, so I relied on photos from the internet, but the result seems good.
The color is not original, but I think the green I have chosen looks very good with the silver/blue colors. It is the teal or greenish blue of the Candy appliance brand, which recently changed the logos and since I had the file I have taken advantage of the color
I found the Raleigh head badge in silver aluminum. I know that the original was in reddish tones, but I thought it was more sober and went better with the idea of blue/silver colors on this head badge.
Well, I can always change it without too many problems, although I admit that I really like it that way, it makes the bike more "serious".
 

Attachments

  • IMG_1627.webp
    IMG_1627.webp
    451.4 KB · Views: 13
  • IMG_1626.webp
    IMG_1626.webp
    527.9 KB · Views: 12
  • IMG_1624.webp
    IMG_1624.webp
    527.4 KB · Views: 12
  • IMG_1623.webp
    IMG_1623.webp
    247.1 KB · Views: 12
Well, it seems like I left the bike half-finished, but no.
A friend of foromtb España gave me a fabulous Avocet racing saddle and it was really what I needed to be able to do a complete rebuild. I don't think I'll ever reupholster a saddle, it was complicated and I had to do it twice to get an acceptable result.
I chose sheepskin and without knowing it I think it was a good choice because it is very flexible and helped me a lot.
The decoration of the leather... the truth is I was looking for something that could match the blues, turquoises and green tires. I remembered some old Selle Italia designs in snakeskin. Yes, it's strange but I like it!!! :LOL:
The rear plate was very easy and I painted it in the original orange. I don't know what logo I'm going to put on it, I'll see, I think just "CHILL"
Then all that was left was to do the Avocet decals, in special material for textiles.
 

Attachments

  • IMG_2080.webp
    IMG_2080.webp
    304.5 KB · Views: 13
  • IMG_2074.webp
    IMG_2074.webp
    413 KB · Views: 14
  • IMG_2057.webp
    IMG_2057.webp
    793 KB · Views: 14
  • IMG_1994.webp
    IMG_1994.webp
    603.5 KB · Views: 10
  • IMG_1882.webp
    IMG_1882.webp
    369.6 KB · Views: 9
  • IMG_1880.webp
    IMG_1880.webp
    192.1 KB · Views: 9
  • IMG_1879.webp
    IMG_1879.webp
    252.8 KB · Views: 13
I was also given a somewhat rusty cassette. I have polished it and recovered another piece.
I bought some grips from a friend's shop (he did me the favor of letting me use his reamer, I don't know how to describe it in English, I hope I have described it correctly) to reduce the steering angle of the Marin monocoque by 3 mm and anyway, he didn't want to charge me so I bought some things. I chose a blueish green just like the TECHNIUM decals I made.

Then I looked for a matching bottle cage, but I have only found them in that color in plastic or carbon so I used one I had and painted it the same color.

I was thinking of Duster Pro tyres but in the end I think it deserved to be fitted with Michelin Wildgripper Sprint tyres that I had stored away with care (and I have grown very, very fond of this bike).
As for the pedals, after considering Ritcheys and painting them in the colour of the bike, I preferred MKS pedals as I think they are more appropriate for the period and are also rarely seen in classic assemblies.

It is now adjusted and working and all that remains is the Raleigh USA logos to complete it.
When this is done I will post some photos with more detail
 

Attachments

  • IMG_2075.webp
    IMG_2075.webp
    1 MB · Views: 22
  • IMG_1978.webp
    IMG_1978.webp
    508.9 KB · Views: 24
  • IMG_1968.webp
    IMG_1968.webp
    832.1 KB · Views: 11
  • IMG_1967.webp
    IMG_1967.webp
    889.6 KB · Views: 11
  • IMG_1963.webp
    IMG_1963.webp
    740.8 KB · Views: 9
  • IMG_1652.webp
    IMG_1652.webp
    612.5 KB · Views: 9
  • IMG_1641.webp
    IMG_1641.webp
    422.1 KB · Views: 8
  • IMG_1527.webp
    IMG_1527.webp
    796.3 KB · Views: 8
  • IMG_2077.webp
    IMG_2077.webp
    209.5 KB · Views: 24
Looks great 👍 😁
Thank you very much
You can't imagine how happy this CHILL makes me. I started the project because it seemed like a curious bike that was rarely seen in Spain.
But little by little I fell madly in love with it. It is perhaps my favorite bike right now. And it's not because I spent so many hours working on it, it's because of its simplicity, elegance, concept, innovation
Yes, it is definitely my favorite
 
Back
Top