Yeti build thread. Not in the wrong section.

d (1).jpg
d (2).jpg
Three different black paints.
The right stanchion is on a jig in the laser to burn out the paint back to brass, engraving the sag indicator.

d (3).jpg
Boing. Adjusters will be added later. I managed to score an MRP ramp control cheap during the build, so had to scrap the old model air cap.
 
A quick word on waterslide transfers.
When they are cut out, it leaves a white edge which simply will not do.

c (1).jpg

Tiny paintbrush intervention makes them look loads better.
c (2).jpg
 
I managed to score an MRP ramp control cheap during the build, so had to scrap the old model air cap.
That's real dedication to building a true replica. You realise that once this is built you're either going to have to buy another Yeti to be able to ride and upgrade and freeze the one this is replicting, or alternatively everytime you update it you will have to build an update for the model...

Oh and I honestly can't tell if some of these photos up there are of your model, or of the original bike. Those forks are ridiculous with the lazer engraving etc,

Re: singletrack - yep it does serve up a lot of adverts unfortunately. There are 2 main forums, one for bike related (Bike) and one for everything else (Chat). If you want me to put a post on directing people to take a peek over here then I'm happy to, otherwise I'll leave it to you to decide if/when you want to share this awesomeness with a wider audience.
 
how many hours(approx) have gone into this model?
I did start off keeping a tally of hours just out of curiosity, but didn't keep it up. I tend to find that I get a bit "lost in the work" and forget to do things like that. There's loads of stages that I wish now I had got photos of, but got carried away with the building part.
There was also lots of time spent doing test pieces and redoing stuff that I had already done. For example, I started three or four front triangles before settling on the final method.
If I had to guess it would be in the low to mid hundreds of hours. Professionally, it is probably worth a little bit more than the real one.

I did work out an approximate parts count, not including filler and all of the little extra strips and chips of plastic. It's scribbled on a bit of card somewhere, I'll try and dig it out for the final result.
 
Last edited:
...once this is built you're ... going to have to buy another Yeti to be able to ride...
If you could somehow convince the wife of this FACT, I would be eternally grateful.

As for your offer of posting something on the Singletrack, feel free. The more the merrier, and if it steers more people to Retrobike, then that can't be a bad thing.
If anyone wants to share a link to this from anywhere else I am fine with that.

It also means that I don't have to sign up to another forum and remember another PA55W0RD.

***EDIT*** If anyone does stick a link anywhere, could you send me link to it? It might be nice to see what non Retrobike folk think about this.
 
Last edited:
e (1).jpg
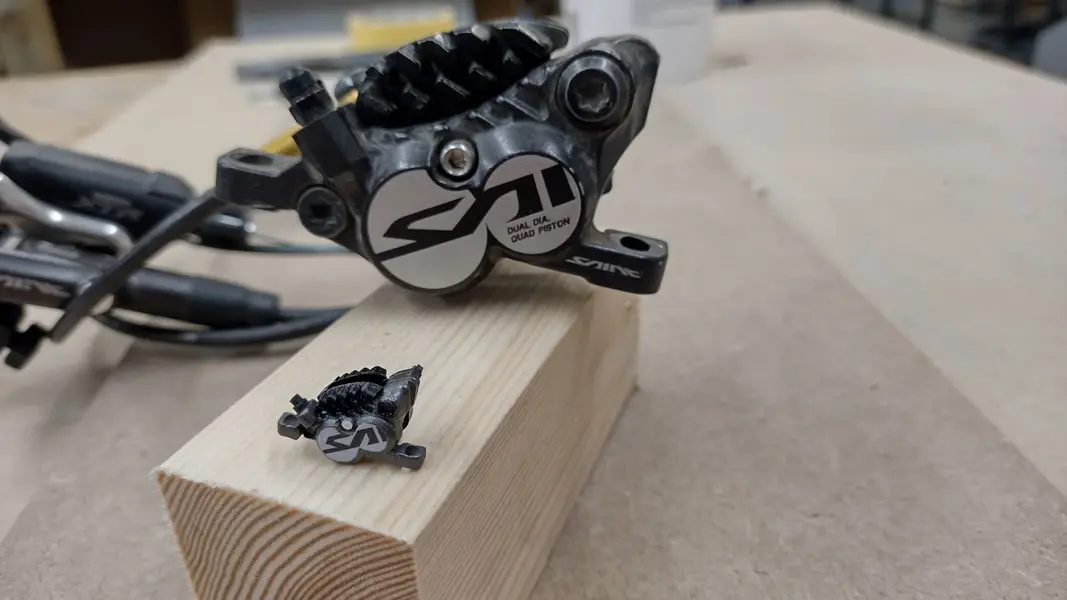
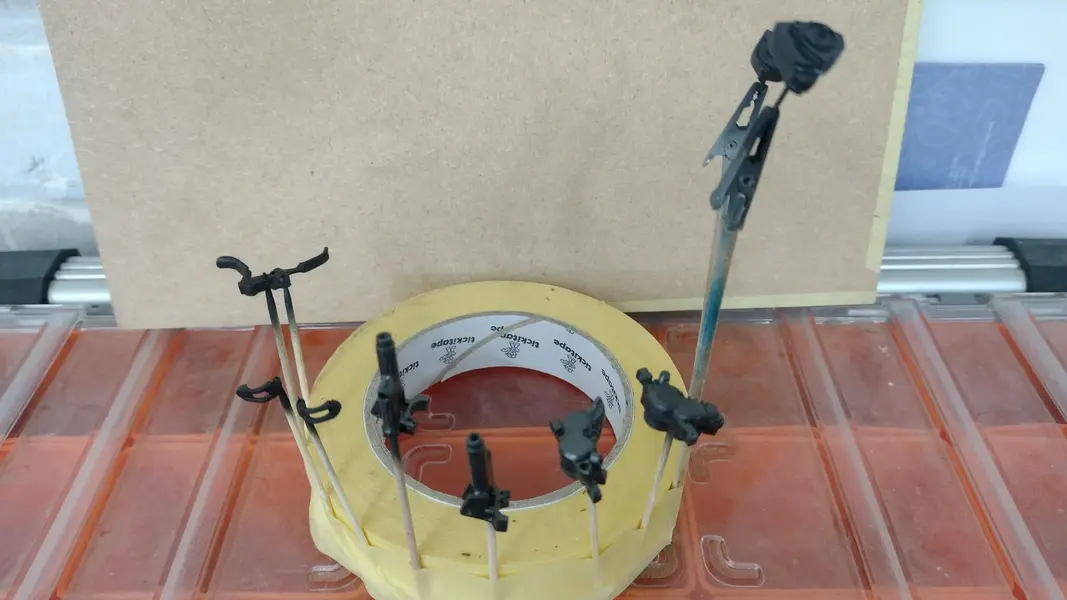
Brake levers, calipers and shifter bodies receive a dousing from the airbrush. Shimano Saint dark-bronzey colour took a bit of work to match.

e (2).jpg
A sense of scale.
The finned brake pads took multiple passes on the laser engraver to get the depth right.
The little writing "Dual Dia. Quad Piston" was too small for my printer to cope with at scale, so I decided to leave it off. It looked a bit weird as just tiny little blobby lines.
 
Last edited:
i (8).jpg
While we're dealing with seating, this is the cable cover for the external dropper. The black area is engraved out of white acrylic, the whole thing sprayed black then rubbed on a 320 grit sanding block to make the white bit white again.
 
Last edited:

Latest posts

Back
Top