The lite age

Obi-Juan

Retro Guru
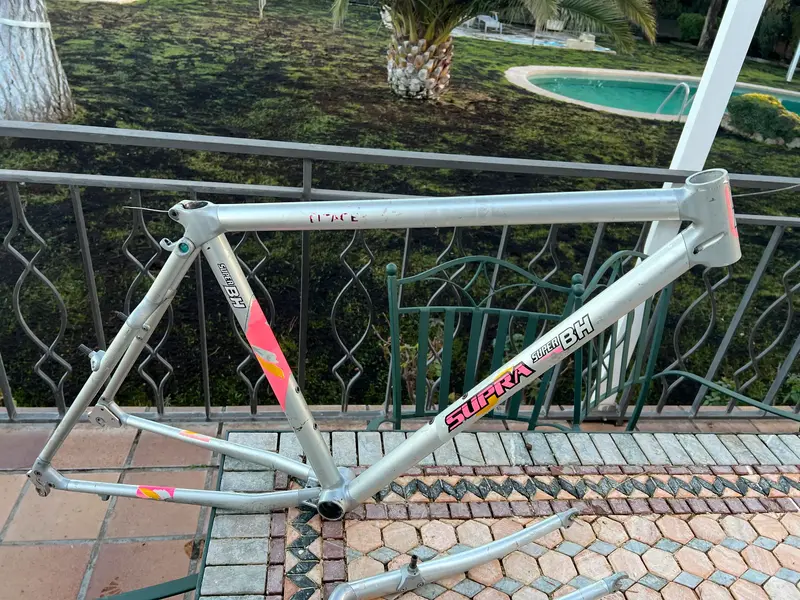
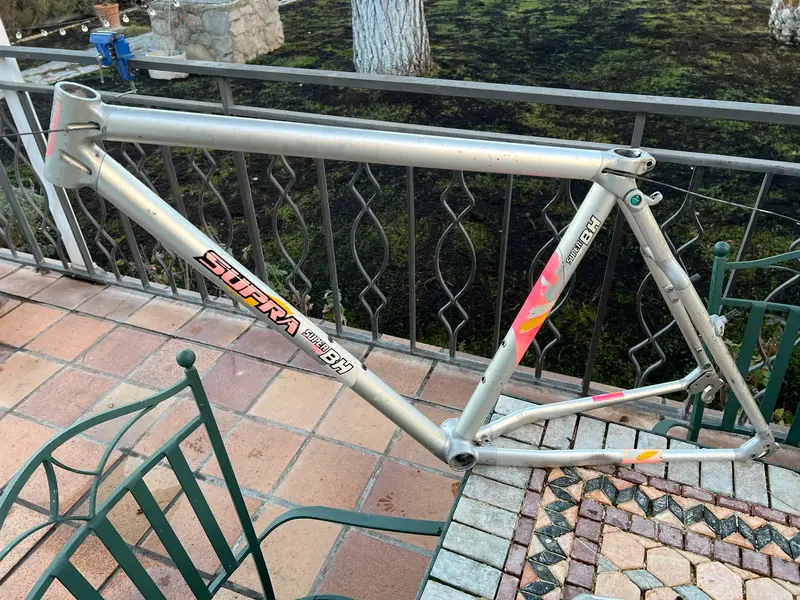
One of my greatest "loves" has been the Sakae Litage since the 90s. Why? Well, I don't know.
And despite everything, it's always eluded me. I've been trying to get one for years but never managed to get it.
Perhaps the fact that the BH brand distributed them in Spain and that many were sold made me think that one day I would finally get one.
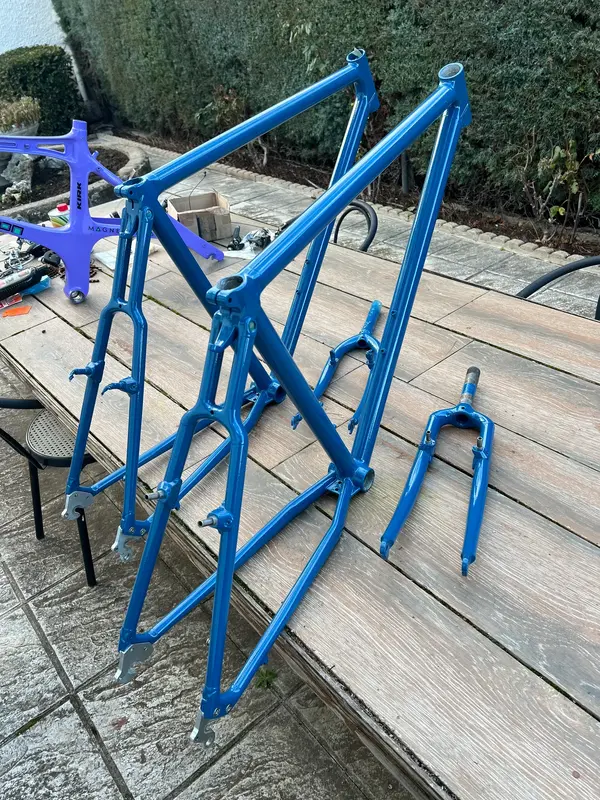
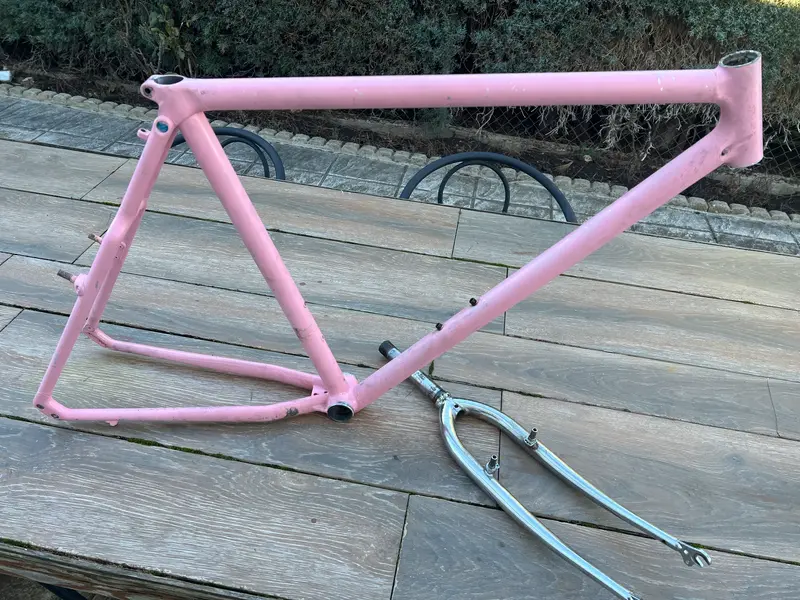
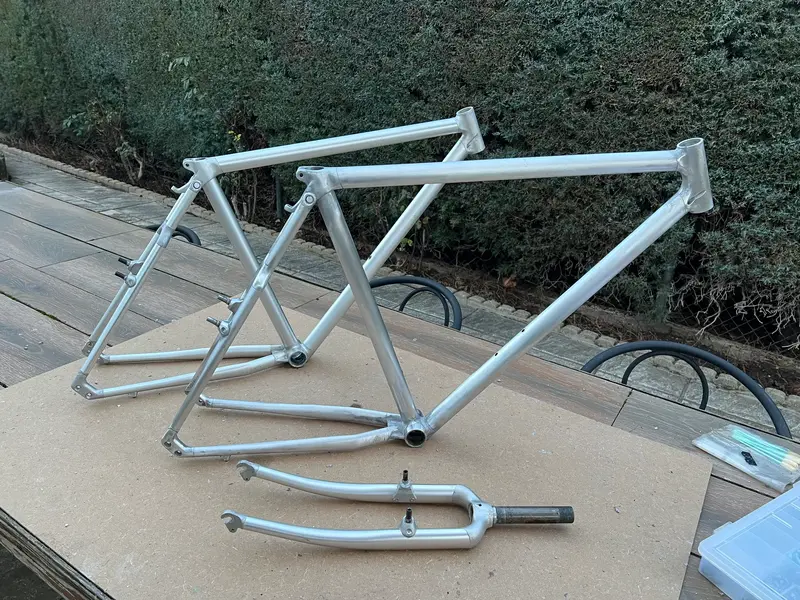
And that day has come.
IMG_2542.webp
 
Well, the ad came out on a Friday, I saw it as soon as it was posted. I agreed to buy it without thinking twice. On Saturday, there were many bidders "fighting" to get it. Anyway, I had to send a cardboard box to her house (from Madrid to Barcelona, over 600 km), send a courier to get it, etc., but in the end, after 15 days, it arrived at my house.

And it was a bit disappointing, to be honest; it looked better in the photos.
 

Attachments

  • IMG_2693.webp
    IMG_2693.webp
    656.4 KB · Views: 23
  • IMG_2694.webp
    IMG_2694.webp
    759.3 KB · Views: 21
  • IMG_2695.webp
    IMG_2695.webp
    719.9 KB · Views: 15
  • IMG_2696.webp
    IMG_2696.webp
    725.6 KB · Views: 15
  • IMG_2697.webp
    IMG_2697.webp
    336.5 KB · Views: 22
It was in good condition but had a lot of scratches. The decals were horrible. And that was a problem: replicating the stickers from the '91 BH is a lot of work, I think it's beyond me.
So I thought about another decoration, looked for other Litage options, and bought some paint.

But sometimes the devil gets in the way, and a friend who knew I was looking for a Litage told me one had appeared in Madrid. I saw the ad and couldn't resist trying it out. It was €90, but I knew I could get it for a little less because the fork wasn't the original and because... IT WAS PINK!
Like the Pink Panther. Anyway.
Well, for €70, it was worth having a second Litage.
 

Attachments

  • IMG_2772.webp
    IMG_2772.webp
    1.1 MB · Views: 15
  • IMG_2773.webp
    IMG_2773.webp
    305.1 KB · Views: 16
  • IMG_2775.webp
    IMG_2775.webp
    235.7 KB · Views: 11
  • IMG_2776.webp
    IMG_2776.webp
    259.3 KB · Views: 9
  • IMG_2787.webp
    IMG_2787.webp
    805.3 KB · Views: 15
The truth is, it was quite a bit of work. In fact, someone had tried to strip it and didn't do it properly, so I stripped it to hide the flaws. But it had Deore cranks, brakes, and an STI DX, in short, some easy-to-sell parts that allowed me to quickly recoup my investment and make a profit.

The rest is just stripping and polishing. A lot of sandpaper and many hours, but since the minimum paint they sell me is 1 liter, it's enough to paint both frames for the same price.
It's like going to the supermarket and getting a 2-for-1 deal.
 

Attachments

  • IMG_2789.webp
    IMG_2789.webp
    554.4 KB · Views: 10
  • IMG_2793.webp
    IMG_2793.webp
    464.7 KB · Views: 10
  • IMG_2864.webp
    IMG_2864.webp
    874 KB · Views: 10
  • IMG_2865.webp
    IMG_2865.webp
    633.4 KB · Views: 11
I can predict a lot of bike-related work in your future . . .
Many hours of fun and despair.

Removing the pink paint was very hard.
Removing the decals from the BH was the worst thing I've ever done.
Two weeks with the heat gun, removing them piece by piece.

Other issues also arose. One of them had rivet nuts on the bottle cages that were failing. I got some M5 ones and was able to replace them.
Replacing them required a lot of pressure, using the Dremmel, and being very careful. Thank God, it turned out well.
Interestingly, I saw that the ones on the downtube had been glued with Loctite. It wasn't visible with the plastic paint until I removed it.
 

Attachments

  • IMG_2846.webp
    IMG_2846.webp
    627.4 KB · Views: 8
  • IMG_2848.webp
    IMG_2848.webp
    624.1 KB · Views: 7
  • IMG_2849.webp
    IMG_2849.webp
    521.8 KB · Views: 6
  • IMG_2850.webp
    IMG_2850.webp
    484.5 KB · Views: 7
The good thing about buying the paint is that they paint it very quickly!
I also prepare the thread protection and sensitive areas like the steering cone seat, the inside of the seat post tube, the brake mounts, etc. It's a bit cumbersome for both me and the painter, but if I do it, it saves time (and the painter earns more money; they don't usually charge you for that time, 🤣 
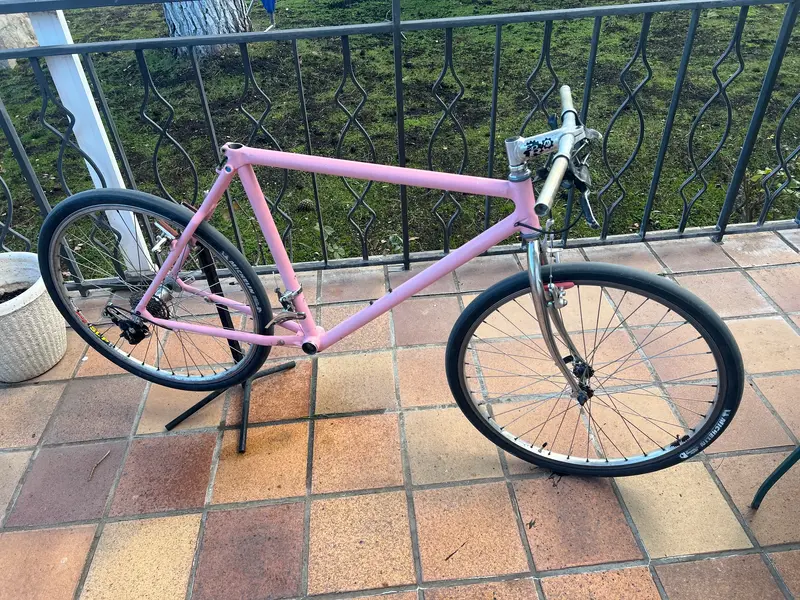
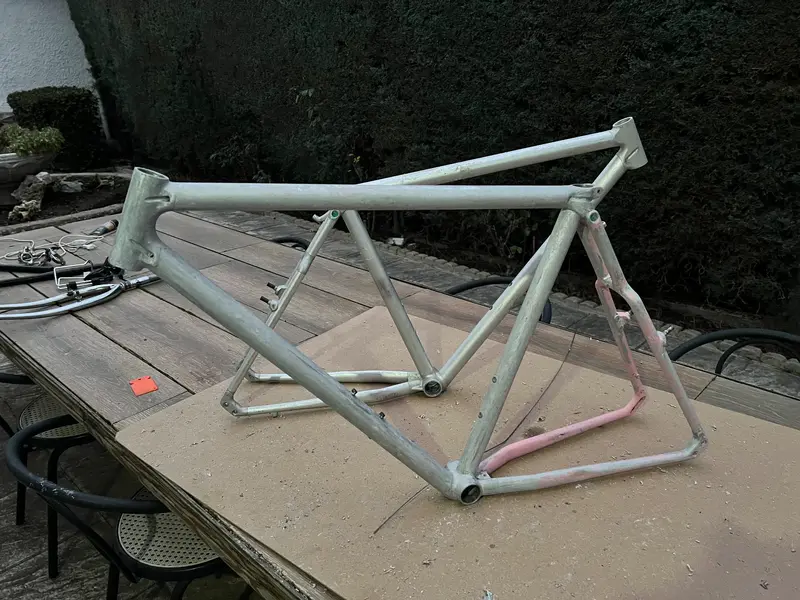
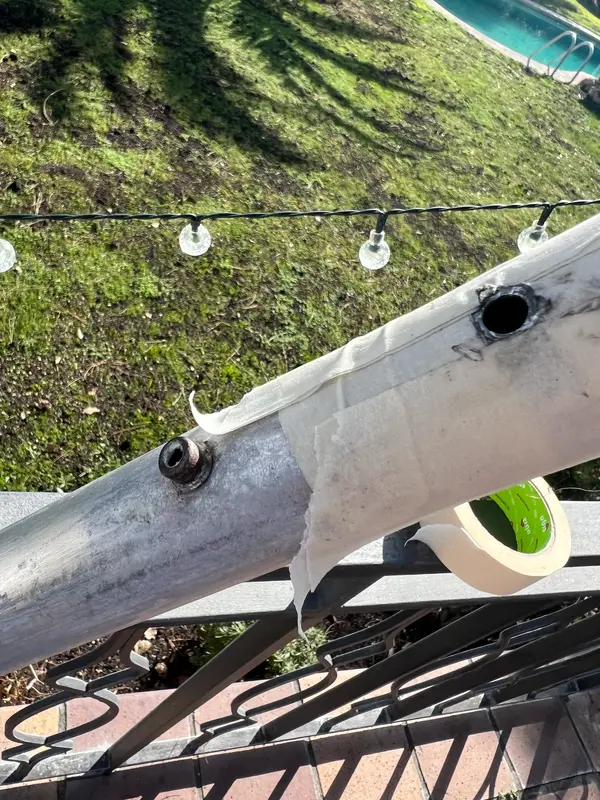
). That effort is appreciated later when the bike starts to be built.
I also put some circular decals on the blue "Litage" caps because I tried to remove them and the silicone peeled off, so I preferred not to ruin the original. The idea worked, and those decals protected the Litage logo.

Like the Raleigh, I decided to paint it with liquid paint rather than powder coat to avoid baking it at 140°C, as I'm afraid the tubes might come loose. A final protective varnish, and then for home use,
Of course, I do the painting process with professionals; my daring approach doesn't extend that far.
 

Attachments

  • IMG_2922.webp
    IMG_2922.webp
    911.8 KB · Views: 6
  • IMG_2924.webp
    IMG_2924.webp
    595.2 KB · Views: 9
  • IMG_2968.webp
    IMG_2968.webp
    345.5 KB · Views: 6
  • IMG_2969.webp
    IMG_2969.webp
    192.7 KB · Views: 6
Last edited:
I sold a thousand photos: several bikes were being repainted, and I wasn't sure if the color was blue-gray or gray-blue, but in the end, I looked at some images of a bike that looked original, and the color seemed like a petrol blue, RAL 5001. It's very difficult to get the color right without being able to see it in sunlight; I can only do so from photos.

And since we were going to the painter, I took the opportunity to repaint the curious Sakae stem that was dull in black and, at the same time, an extra fork for another project in progress, so I can save trips in the future.

It actually turned out pretty good. I was very worried about a pretty significant chain suck on one of them. I've been sanding and polishing it to correct it as best as possible, but you can't overdo it; it's aluminum, and we don't want a hole in that area.
The downside to liquid paint is that it doesn't mask mistakes; on the contrary, they're more visible. But it's barely noticeable, and the whole job turned out pretty well.
 

Attachments

  • IMG_2971.webp
    IMG_2971.webp
    952 KB · Views: 12
  • IMG_2981.webp
    IMG_2981.webp
    680.9 KB · Views: 11
  • IMG_2982.webp
    IMG_2982.webp
    309.4 KB · Views: 9
  • IMG_2983.webp
    IMG_2983.webp
    294 KB · Views: 10
  • IMG_3003.webp
    IMG_3003.webp
    994.2 KB · Views: 10
  • IMG_3005.webp
    IMG_3005.webp
    374.4 KB · Views: 11
  • IMG_3006.webp
    IMG_3006.webp
    550.6 KB · Views: 12

Latest posts

Back
Top