Late 40s / Early 50s René Herse tip find

You’d kind of think it would be the other way around, with the alloy one being beefed up to account for the additional flex and lower strength of the alloy.

Deleted the technical pre - and post technical stuff because I'm not in that zone. I am in the zone to say Noooooo to the above.

Over and over we see the development of French bikes practically started with nothing on the bones and ride on a wing and prayer.

For me the most fundamental was looking into braking technology. A sordid equation of adding lard with little benefit more-or-less sums it up. Is it any wonder the Mafac centre-pulls by very late 50s eventually conquered the market to slow down these light bikes.

Look at the stems, look at the cranks, look at the rims, actually .... just look at it all. The meat on the bones of some of the steel Randonneurs and Audax is frankly absurd when comparing what came decades after.

The development as I see it was the opposite to start with X and whittle down to Y. Start with Z, perhaps move up to Y.
 
Would it not be easier to make a new part out of some dural plate?
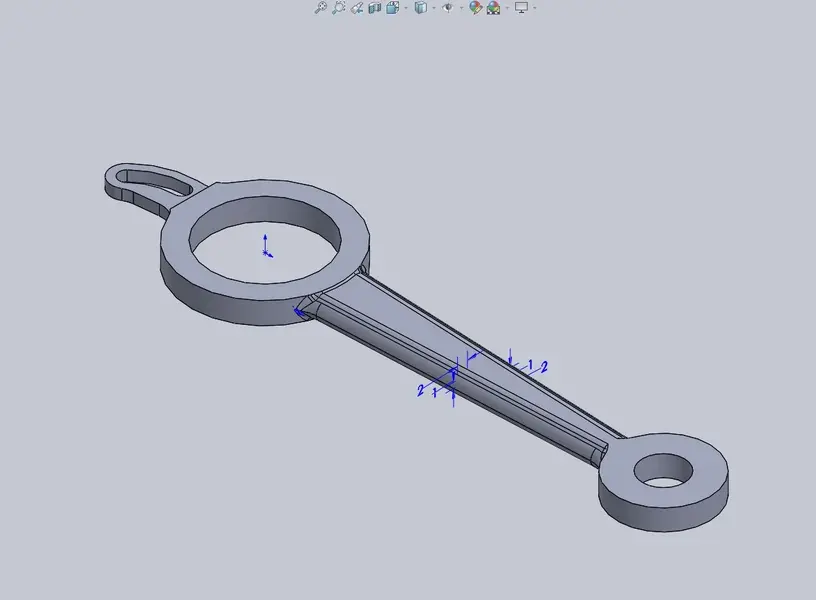
I don't have a way of making it nicely myself - but you got me wondering how much it might be get a new one CNC'd or 3D printed. Quick down-and-dirty in Solidworks...

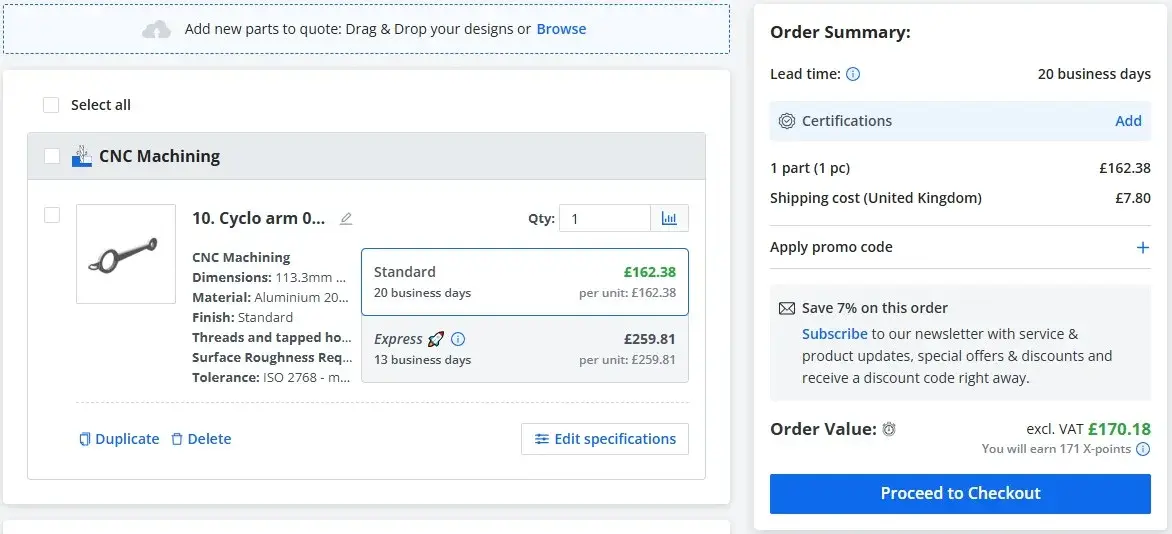
CNC in Al-Cu4Mg similar to duralumin:

arm - CNC.webp

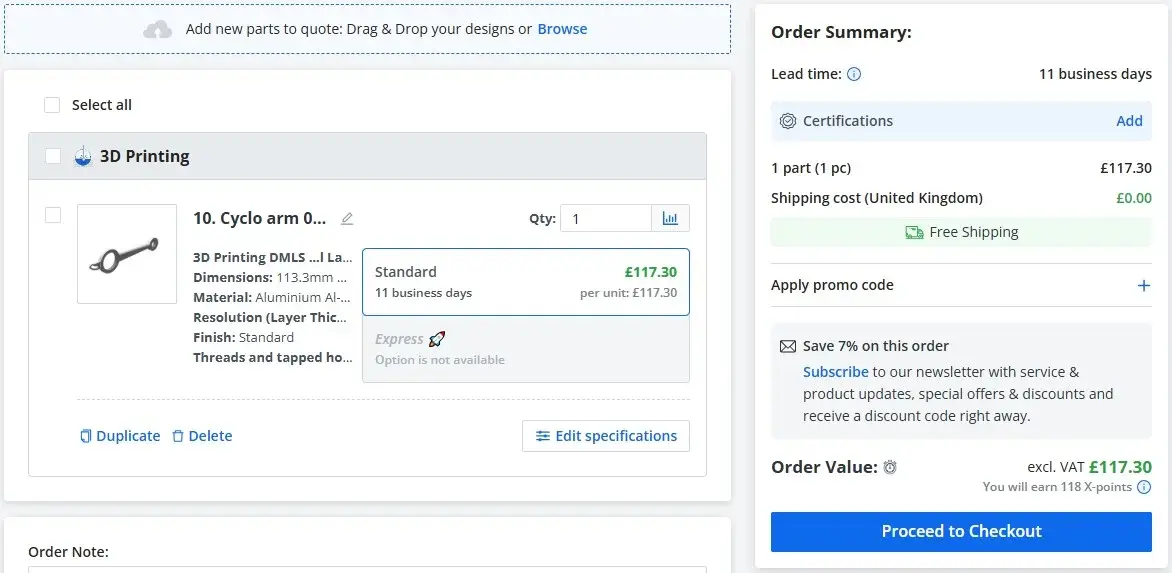
3D print in Al-Si10Mg:

arm - 3d print.webp

The 3D print is quite a bit more expensive than I was expecting. I guess you pay quite a lot for the setting up.

Either way, I can't justify either of those at this point.
 
Well, there has been an unexpected turn of events. The 3D-printing company offered me a very generous introductory offer which brings this back into play. I've been meaning to try them out for a while for some projects at work, so I've ordered one up to see what I get. Should get it in about 2 weeks.

I made a couple of modifications over the original to account for a bit of wear in the other parts of the derailleur. The derailleur pivot is badly worn on the back side where the tension spring pulls the arm against it (I'm going to build that side back up with structural epoxy) but overall it's worn itself about 0.3mm undersized. I reduced the inner diameter of that end of the arm by 0.3mm too. I also increased the thickness at that end by 0.2mm so that the arm doesn't have any in-out play. Both of these should improve shifting.

Screenshot 2025-04-29 102044.webp

I'll need to do a bit of hand-finishing to remove the printed texture. This will be a bit of effort but should make it look more original and less like a part that was modelled in CAD.

The only other thing is the 3D-printing alloy is not duralumin, it's a high-silicon aluminium alloy. The silicon I'm guessing makes the aluminium tolerant to the 3D-printing process, a bit like it does with casting e.g. in car engine pistons. I'm hoping it's not too soft because even at 4mm thick it'll bend easily.
 
Back
Top