Jonny69
Senior Retro Guru
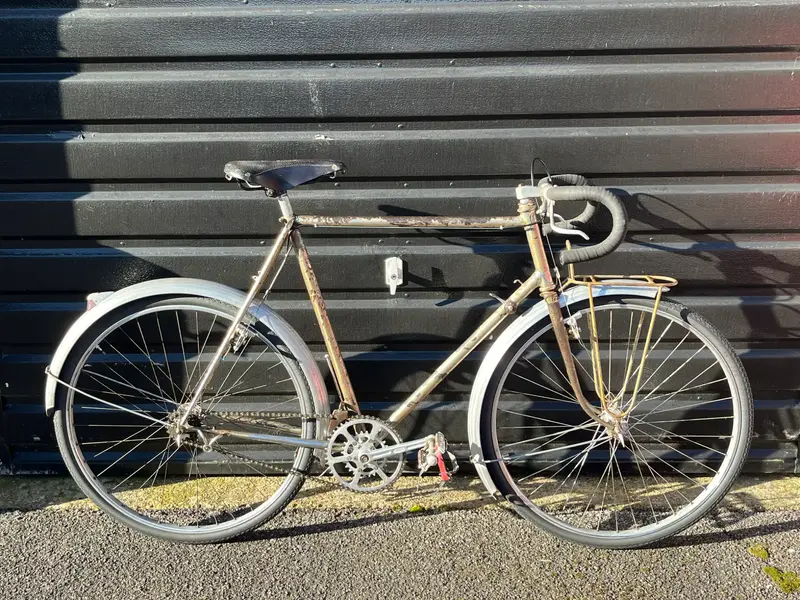
Had a chance to take the derailleur apart to assess the damage (wear) and look at what I can do to save it.
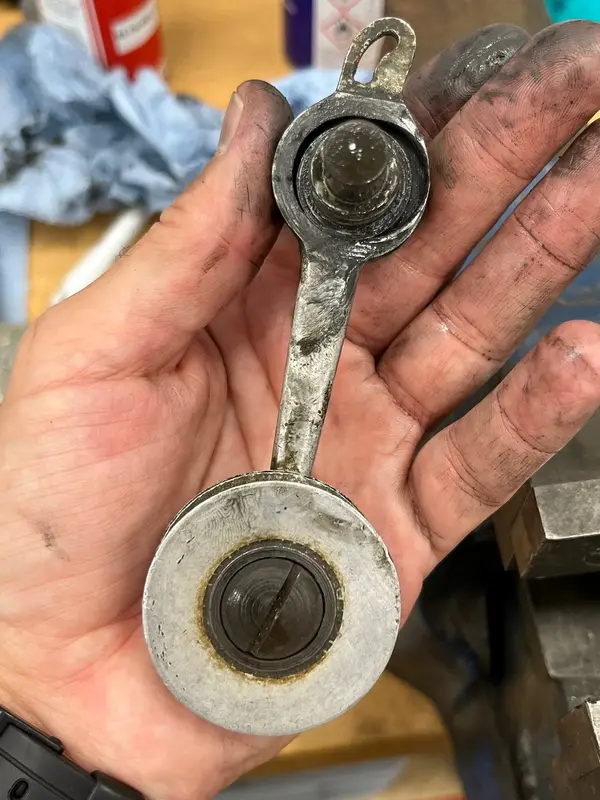
It's taken a bit of head scratching to work out how it comes apart, but it felt like access to the pivot point was going to happen by taking the toothed jockey wheel apart. Some of these pictures are for my reference so I don't forget how to put it back together, by the way. This is one of them:

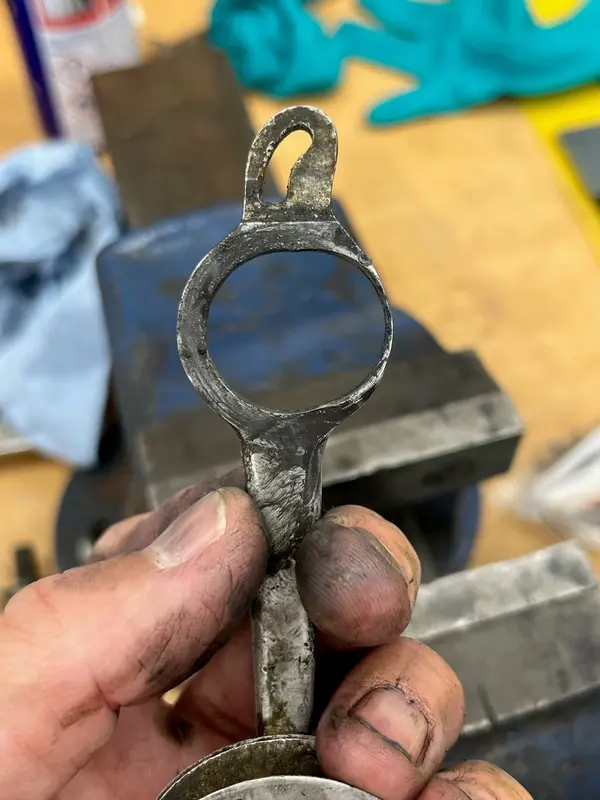
You can see the wear in the pivot in the pic below. My concern was basically that the derailleur would probably work just fine like this, but I have no idea how worn it is. If it's about to break through and it does break through, it'll get destroyed and won't be repairable. If I deal with it now, I can probably do something about it.

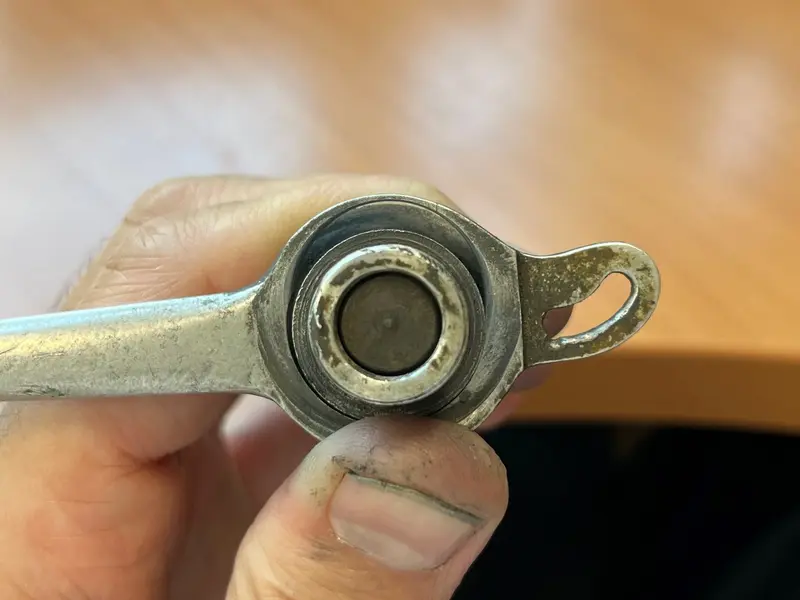
It looked like if I took the top race off the jockey wheel it might just slide apart and give me access:

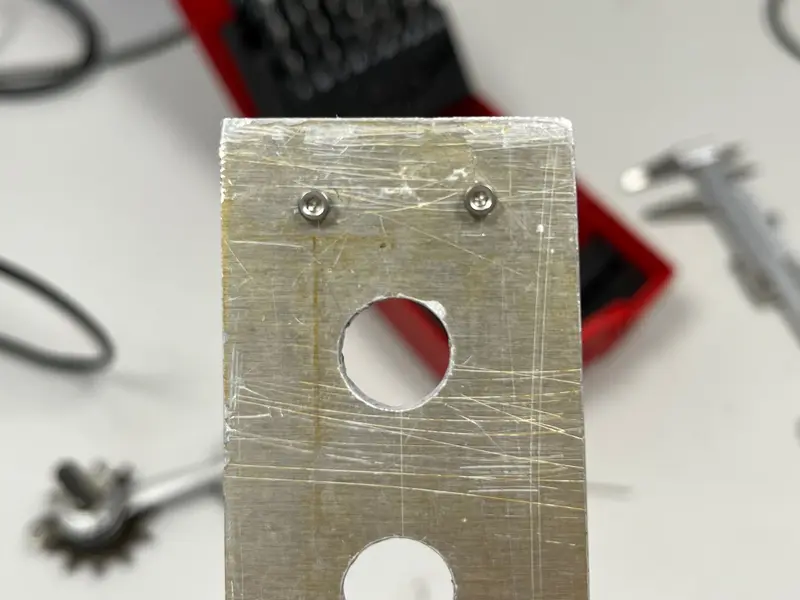
None of my pin wrenches were small enough so I needed to make a tool. Aaaah! A scary piece of scrap!


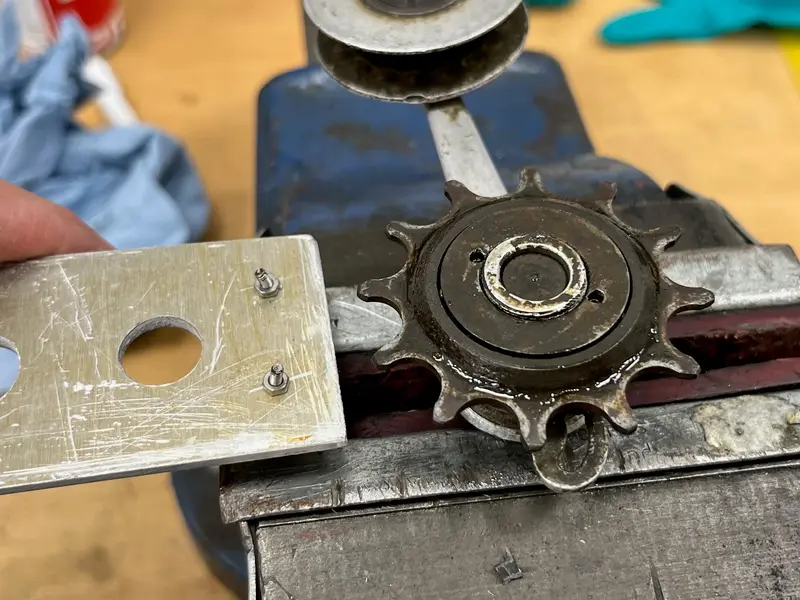
Stuck the shaft in the vice with the soft jaws in, quick douse in WD40 and although it put up a small amount of a fight and bent my M2 'pins' it came free without damaging the holes:

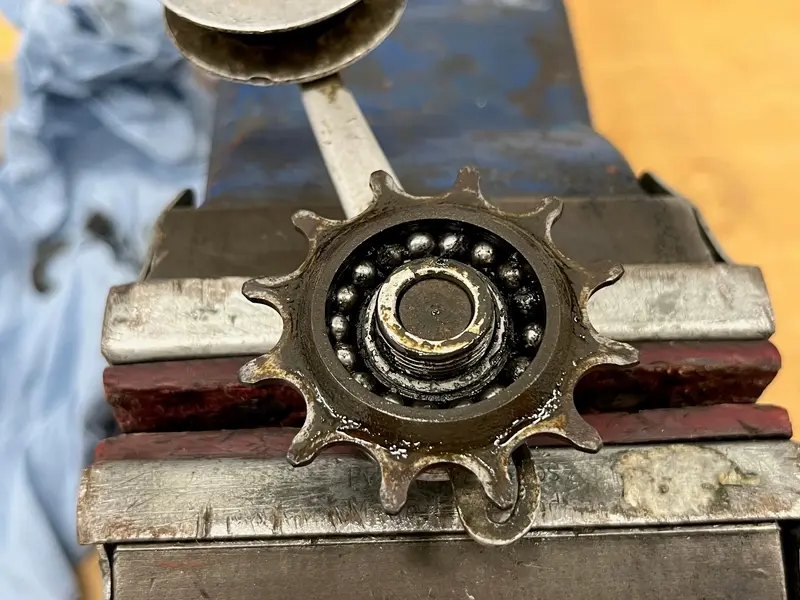
Under there were 17 ball bearings which were ready to fall out all over the floor if I lifted the jockey wheel off, so I went and got some tweezers to tediously pick them out one by one:

It's taken a bit of head scratching to work out how it comes apart, but it felt like access to the pivot point was going to happen by taking the toothed jockey wheel apart. Some of these pictures are for my reference so I don't forget how to put it back together, by the way. This is one of them:
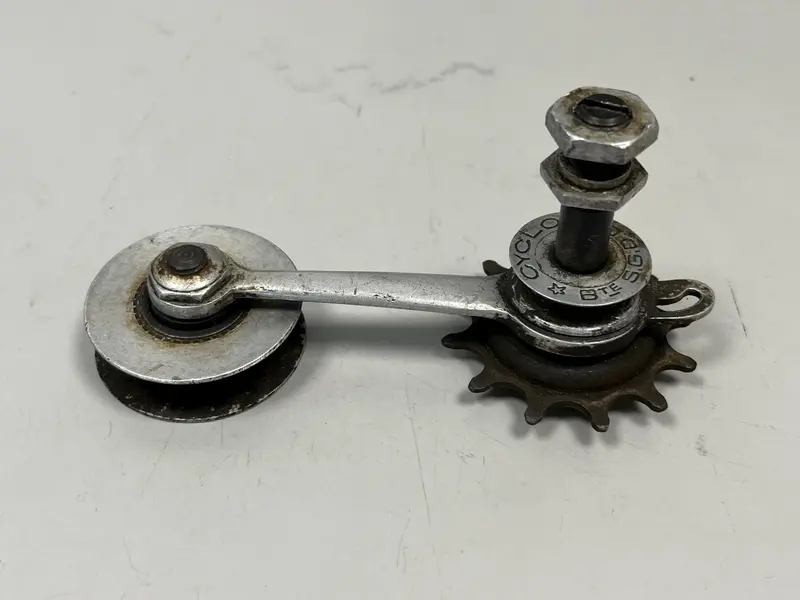
You can see the wear in the pivot in the pic below. My concern was basically that the derailleur would probably work just fine like this, but I have no idea how worn it is. If it's about to break through and it does break through, it'll get destroyed and won't be repairable. If I deal with it now, I can probably do something about it.
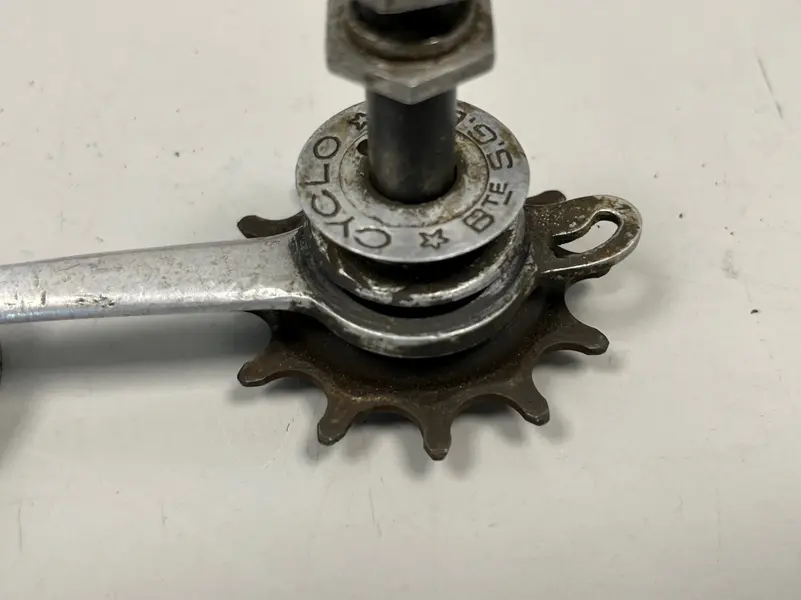
It looked like if I took the top race off the jockey wheel it might just slide apart and give me access:
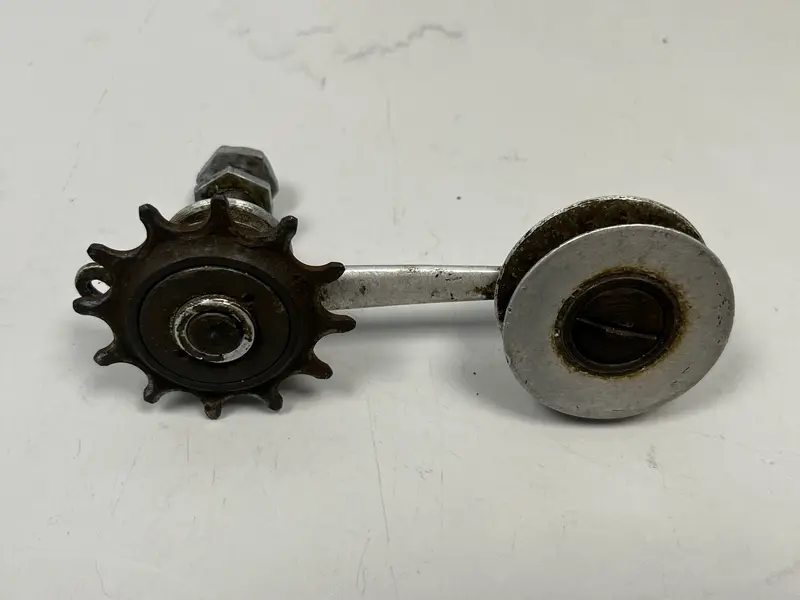
None of my pin wrenches were small enough so I needed to make a tool. Aaaah! A scary piece of scrap!
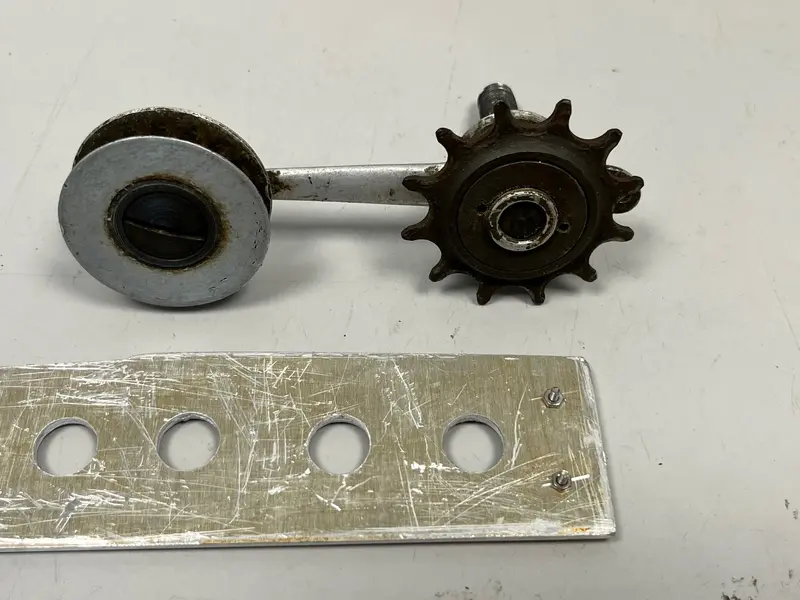
Stuck the shaft in the vice with the soft jaws in, quick douse in WD40 and although it put up a small amount of a fight and bent my M2 'pins' it came free without damaging the holes:
Under there were 17 ball bearings which were ready to fall out all over the floor if I lifted the jockey wheel off, so I went and got some tweezers to tediously pick them out one by one:
