Complete rebuild of 1990's MTB to 2016 XT spec 1x10

An update...

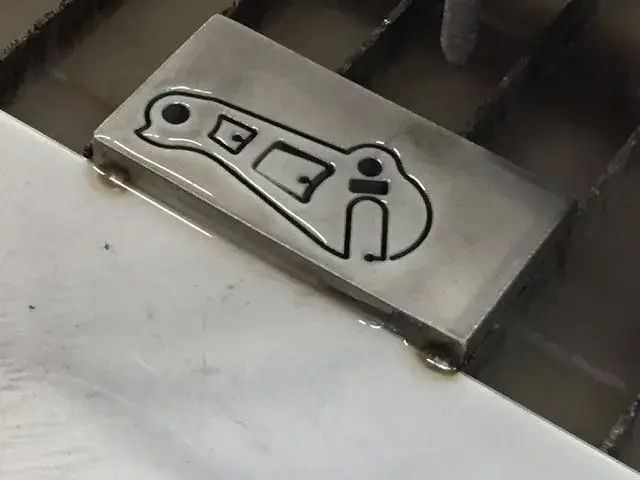
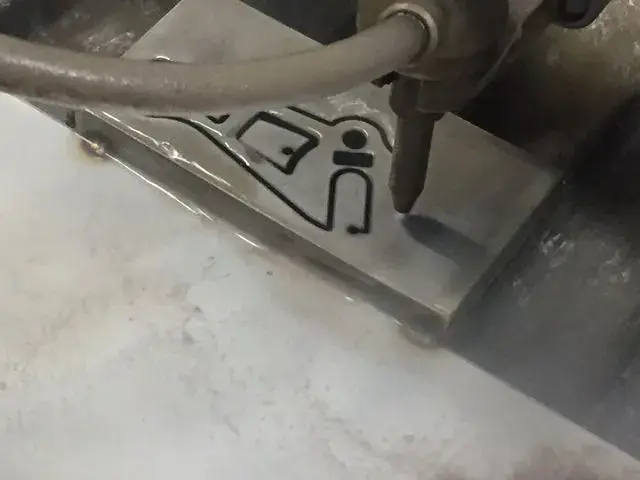
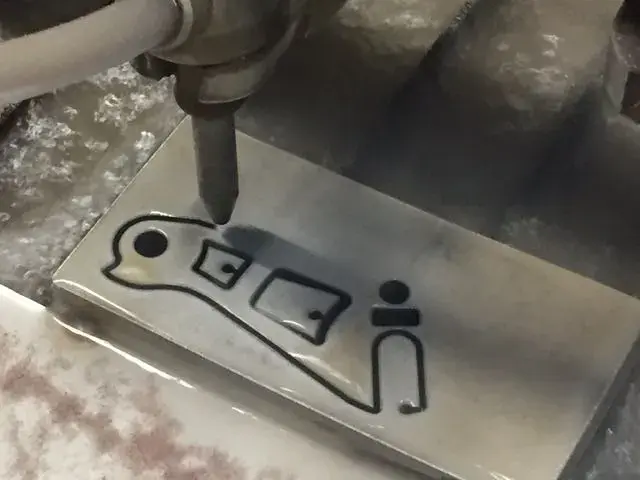
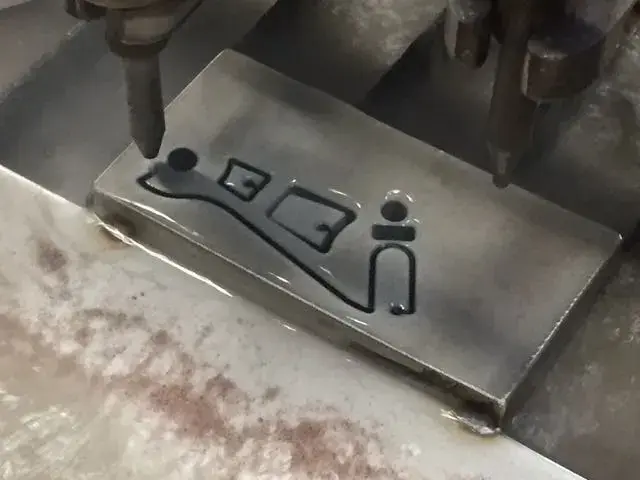
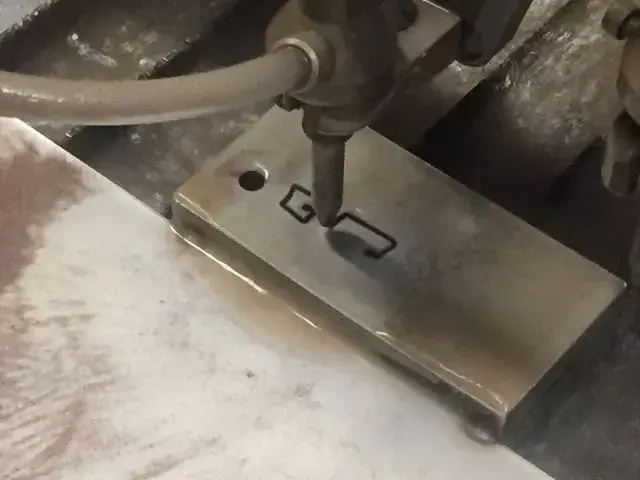
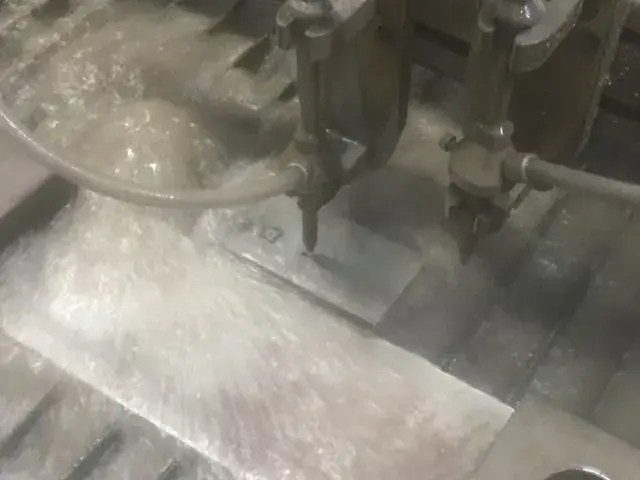
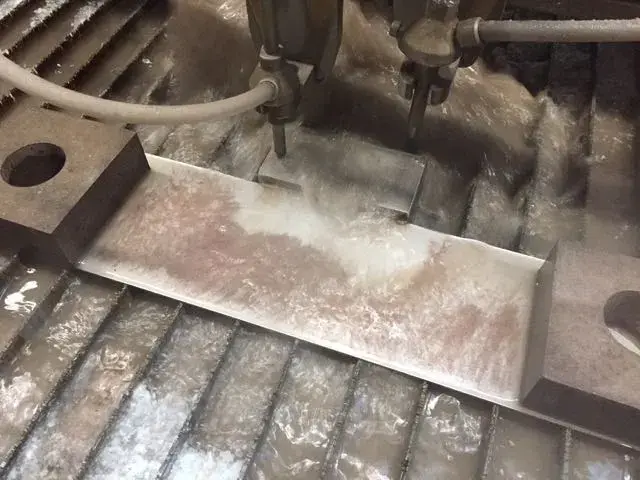
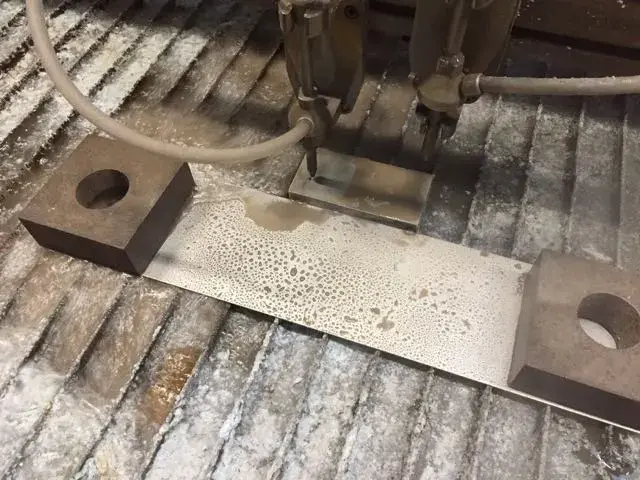
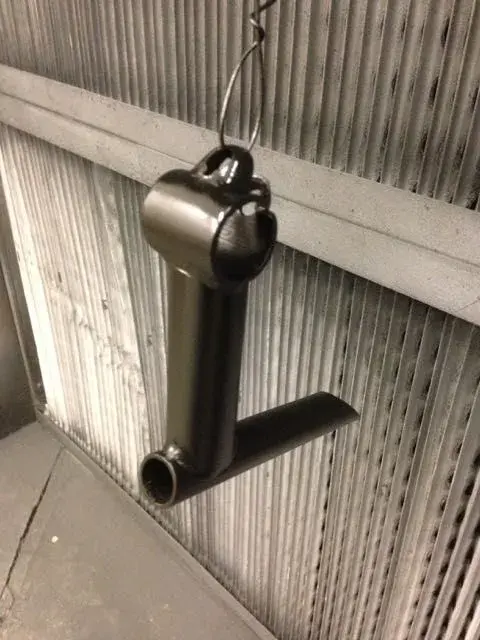
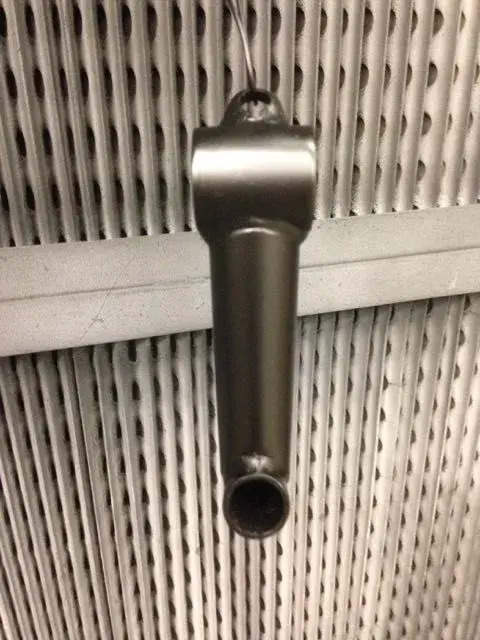
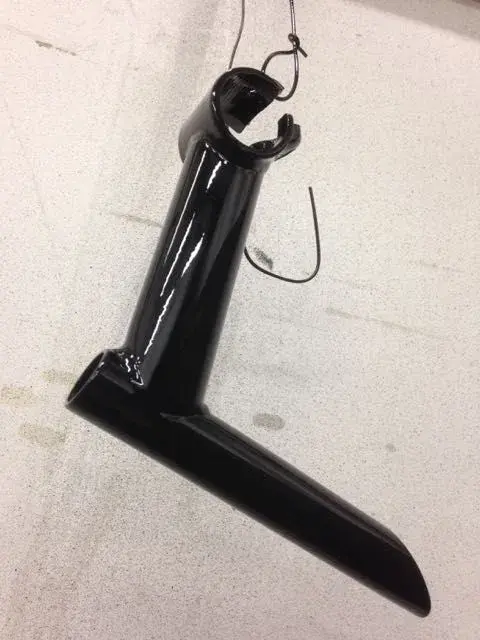
I had confirmation to today that my part had been cut and was ready for the next stage of creating the hanger. In the end the hanger had to be cut using a water jet as some of the cut outs within it are smaller than the actual thickness of the material. As promised they emailed through some images during the cutting process.

Photographs attached below...
 

Attachments

  • IMG_2220.webp
    IMG_2220.webp
    13.9 KB · Views: 599
  • IMG_2219.webp
    IMG_2219.webp
    12.4 KB · Views: 599
  • IMG_2218.webp
    IMG_2218.webp
    16.8 KB · Views: 599
  • IMG_2217.webp
    IMG_2217.webp
    16.7 KB · Views: 599
  • IMG_2213.webp
    IMG_2213.webp
    16.2 KB · Views: 599
  • IMG_2212.webp
    IMG_2212.webp
    14.8 KB · Views: 599
  • IMG_2210.webp
    IMG_2210.webp
    34.7 KB · Views: 599
  • IMG_2209.webp
    IMG_2209.webp
    52.1 KB · Views: 599
I have also been busy this week carrying on with some other jobs.

I stripped down the original handle bars and cleaned everything up. The handlebars themselves were steel and quite heavy for what is was so Phil at work found an identical profile / size bar but in aluminium which I have decided to use as it certainly weighs a bit less. Once cleaned I sanded all the parts down, applied two coats of primer and two coats of matt black top coat. I then left this last night to dry at 30 degrees in the paint shop at work. Today I applied with guidance from Adam at work two coats of 2 pack clear gloss lacquer. This has been left to fully harden over the weekend.

I have been weighing all parts as the project has developed and at the end I will list the results for comparison.

Photos below...
 

Attachments

  • IMG_3570.webp
    IMG_3570.webp
    16 KB · Views: 587
  • IMG_3569.webp
    IMG_3569.webp
    20.9 KB · Views: 586
  • IMG_3568.webp
    IMG_3568.webp
    14.8 KB · Views: 586
  • IMG_3567.webp
    IMG_3567.webp
    9.4 KB · Views: 587
  • IMG_3566.webp
    IMG_3566.webp
    19.3 KB · Views: 587
More photos during the painting process...
 

Attachments

  • IMG_3674.webp
    IMG_3674.webp
    36.3 KB · Views: 585
  • IMG_3673.webp
    IMG_3673.webp
    40 KB · Views: 585
  • IMG_3672.webp
    IMG_3672.webp
    33.4 KB · Views: 585
  • IMG_3671.webp
    IMG_3671.webp
    40.6 KB · Views: 585
  • IMG_3670.webp
    IMG_3670.webp
    37.6 KB · Views: 585
  • IMG_3668.webp
    IMG_3668.webp
    46.5 KB · Views: 585
  • IMG_3667.webp
    IMG_3667.webp
    41.5 KB · Views: 585
Further photos...
 

Attachments

  • IMG_3683.webp
    IMG_3683.webp
    30.5 KB · Views: 584
  • IMG_3682.webp
    IMG_3682.webp
    33.8 KB · Views: 584
  • IMG_3681.webp
    IMG_3681.webp
    12.3 KB · Views: 584
  • IMG_3680.webp
    IMG_3680.webp
    34.3 KB · Views: 584
  • IMG_3679.webp
    IMG_3679.webp
    36.1 KB · Views: 584
  • IMG_3678.webp
    IMG_3678.webp
    35.9 KB · Views: 583
  • IMG_3675.webp
    IMG_3675.webp
    29.7 KB · Views: 584
Re: Re:

groovyblueshed":cmxbuv3m said:
Wow – I might want one of those hanger devices! And the stem and bars are looking super glossy 8) Top man!

Thanks mate. The hanger is coming on really well. The next part is to contour the part both sides with a milling machine, cut the thread into the hole that the derailleur will mount through, then weld in the hanger holder that prevents it from pivoting around in the rear dropout.

The part is programmed to be finished Monday afternoon, and hopefully picking up after work. To say I am getting excited by trying out my final design for real is an understatement.
 
Re: Re:

very cool project ... and you just might have a unique and marketable piece at the end of it (the new hanger).
 
Back
Top