You are using an out of date browser. It may not display this or other websites correctly.
You should upgrade or use an alternative browser.
You should upgrade or use an alternative browser.
boy"O"boy's 1991 Raleigh Dynatech Endeavour x2!!
- Thread starter boy"O"boy
- Start date
pw_pw_la
Senior Retro Guru
Looking next-level, once again!
Was that BB tool scary to use?
I have to say, I quite fancy adding one to the tool stash but I think I'd brick it upon first application!
Also, those black Campagnolo Contax have got me reconsidering settling for the silver Atek's I currently have earmarked for a build.
Not only beefier, but black rims really do look amazing paired with skinwalls.
Really really nicely done!
Thanks Ibbz. Got everything (including crank caps that arrived today!) So it shouldn't be long before you see the finished article. The Reynolds 753 bars need a repaint though...
Looking next-level, once again!
Was that BB tool scary to use?
I have to say, I quite fancy adding one to the tool stash but I think I'd brick it upon first application!
Also, those black Campagnolo Contax have got me reconsidering settling for the silver Atek's I currently have earmarked for a build.
Not only beefier, but black rims really do look amazing paired with skinwalls.
Thanks pw. Glad you like the work so far...
The BB tool is straight forward to use. The are marked Left and Right hand.
As long as you feel for the direction of the thread as you start, go in small wind in / wind out steps and use a thread cutting solution it's a great tool to have. Fitting bottom brackets once you've done this becomes a breeze!
The Campagnolo dark rim with an Amberwall just looks right. The Endeavour was originally specced this way...but with Thorr rims instead of the Contax.
(although both rims were the same year and the Contax were the lighter rim)
I like the Silver Ateks, but most of my builds use dark ano rims.
Cheers Dave.Wowthat is absolutely stunning, I like rebuilding mine but that is next level stuff
just reminded me I need to finish my MT4

More to come....
Any links to a MT4 build thread? - love the black on the MT4 with that metal flake. Nice colourway.
boy"O"boy
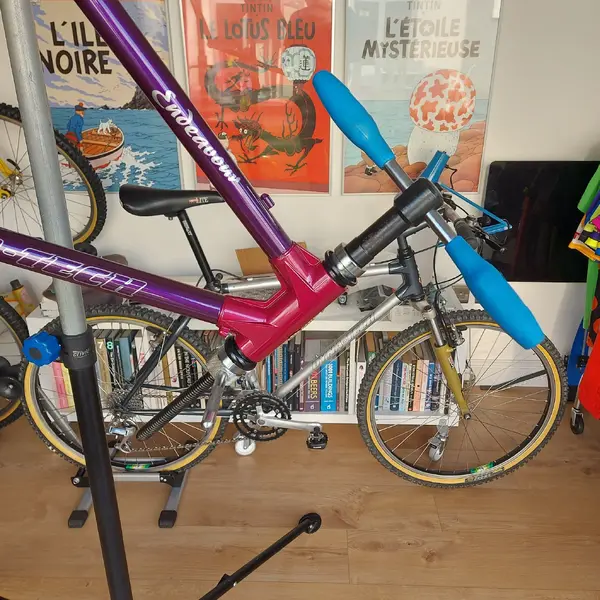
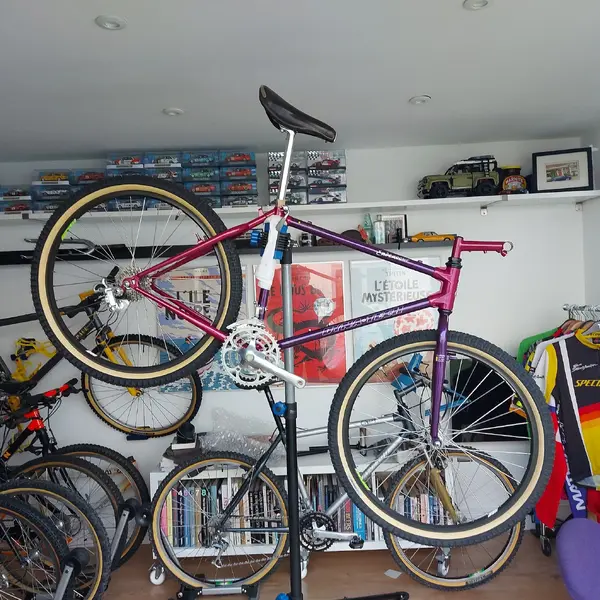
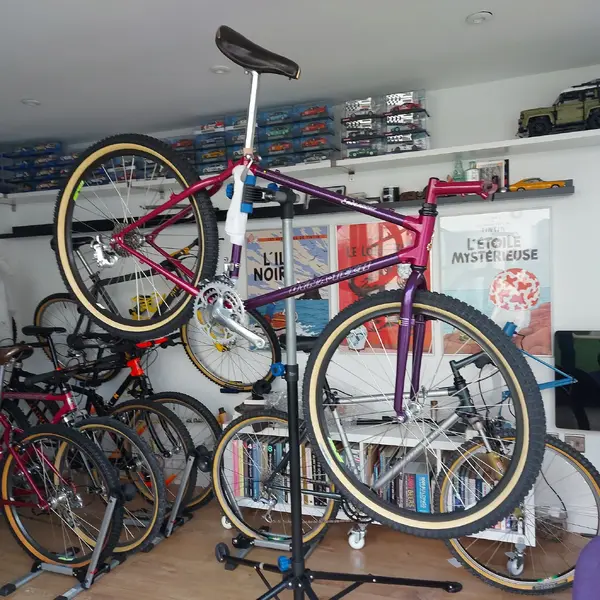
Slow but sure.... Another weekend, another update for Endeavour #2!
Tioga Avenger 1 1/8" headset goes in. Forks mounted.
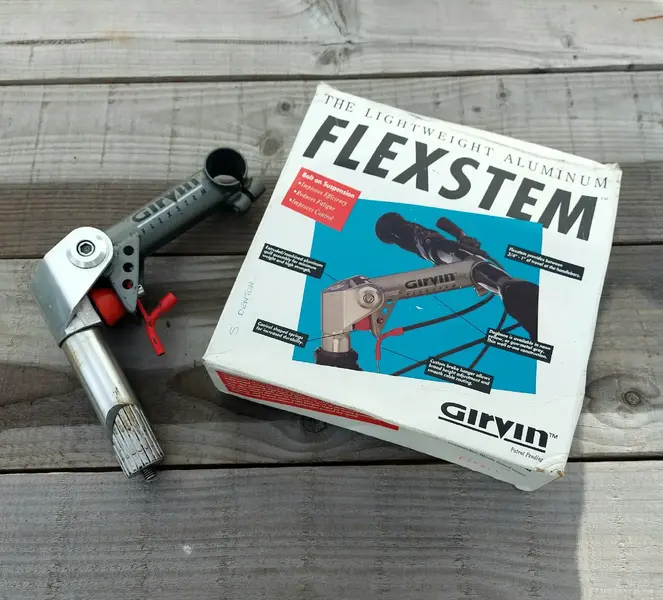
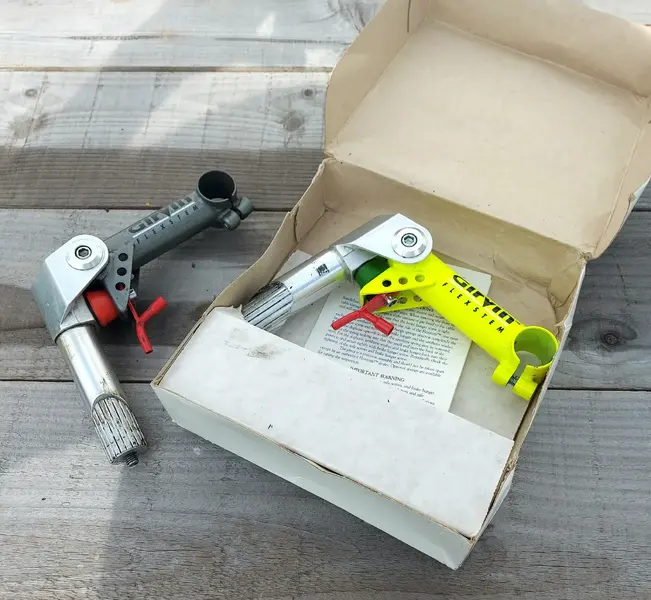
Going to have the option of a colour coded stem or flexstem in original neon yellow or grey.
Thought I'd start the build with the rigid stem.
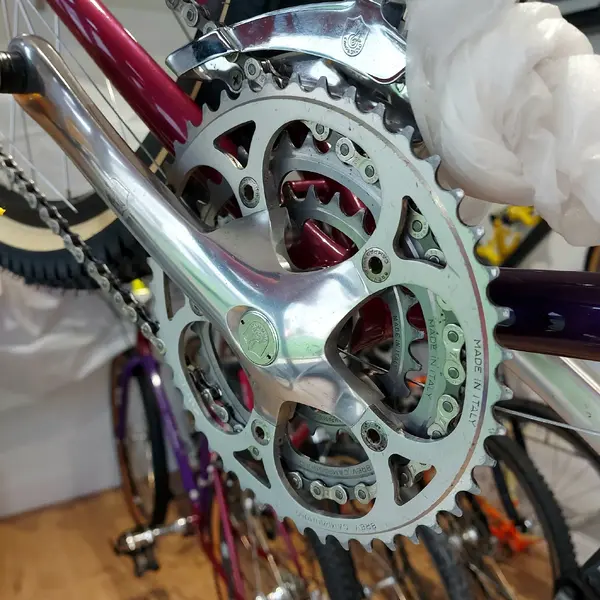
Some of the Campagnolo Centaur on.....as well as Centaur seatpost and an Electa saddle.
Bars have had to be repainted so currently holding up adding the levers and shifters to the build.
More progress to follow.....
Here's where I'm at so far.
Cheers.
boy"O"boy
TreaderSteve
Senior Retro Guru
Excellent work! Looks a beaut. I forgot to ask - what 'type' of colour paint did the shop in Leamington recommend/ sell you? Acrylic, an enamel of some sort, a synthetic urethane? 1K/ 2K?
raidan73
Moderator
Archivist
Retrobike Rider
BoTM Triple Crown
BoTM Winner
Gold Trader
PoTM Winner
98+ BoTM Winner
Rocky Mountain Fan
Brodie Fan
- Feedback
- View
Love your work, and your workspace Ben. Wish I could have something like that in my garden. I've been given instructions to build a small summer house/office/extra living space in the garden next summer but I'm pretty sure bringing anything bike related into that space will earn me a divorce!
Excellent work! Looks a beaut. I forgot to ask - what 'type' of colour paint did the shop in Leamington recommend/ sell you? Acrylic, an enamel of some sort, a synthetic urethane? 1K/ 2K?
Cheers Steve. Pleased with how the paint has turned out.
The paintstore in Leamington Spa custom matched the paint to the original in 400ml aerosols. The can says 'custom filled solvent based' on the label.
In terms of what it actually is...I have no idea, but it dried much quicker (probably due to the solvent evaporation) in between coats that a water based Acrylic would.
As they are Automotive paint specialists - the colour matching they normally do is for classic/custom cars, I imagine this is PPG brand or something similar.
I do know that the finish lacquer is 2K. This was applied using a gun in a temperature controlled spray booth and cured.
Love your work, and your workspace Ben. Wish I could have something like that in my garden. I've been given instructions to build a small summer house/office/extra living space in the garden next summer but I'm pretty sure bringing anything bike related into that space will earn me a divorce!
Thanks Adrian glad you like it!
I forget that you visited the Mancave when you dropped that DX stuff off for the Marin PM.
It's been slowly filling up with treasure since you saw it. Nearly at Terminal velocity though!....I you look closely, you'll be able to count the numbers.
Was a considerable investment but well worth it.
It was always intended as a bike den though as the garage got converted into kids snug/playroom. The wife is happy that the bikes stay in the mancave and toys in the playroom!
Cheers Bolt. Pleased with this one.Very nice indeed
boy"O"boy
Last edited:
So, after a repaint of the bars (baked in the oven at home 
 ) the Campagnolo brake levers and shifters were ready to install.
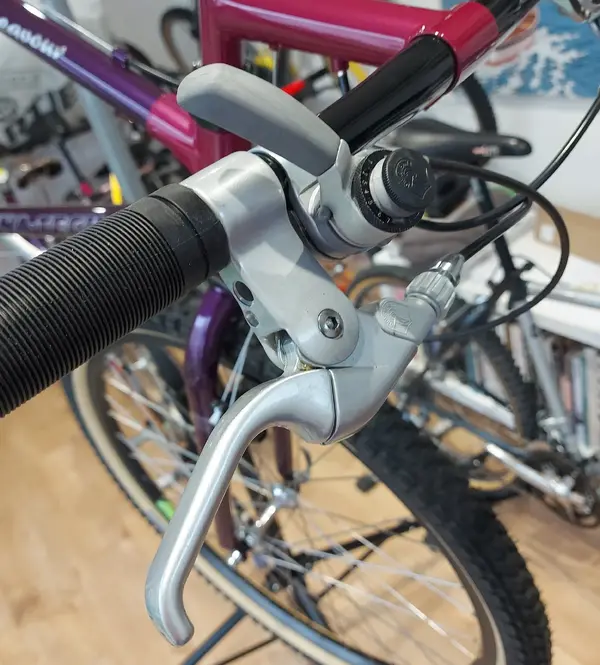
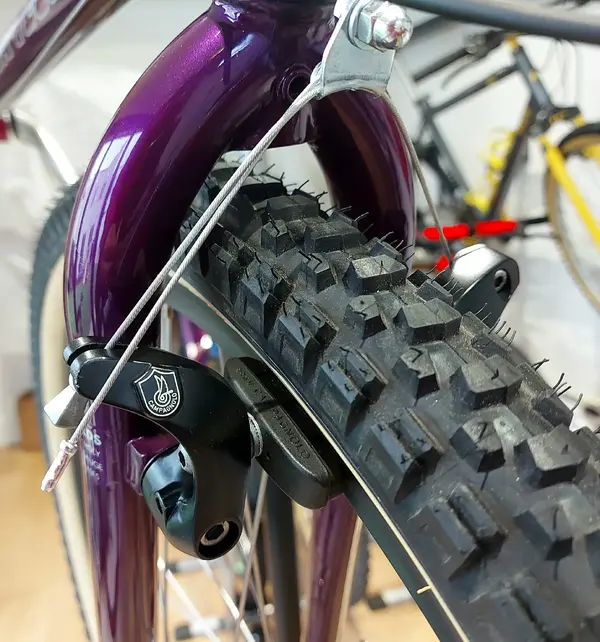
The brakes as usual were a joy to set up. The feel and spring of them are very positive. These weren't NOS this time like Endeavour #1 but look great...especially in the light grey.
The shifters were slightly more problematic due to their reverse set-up but my main problem was the cable ferrules supplied in a jagwire set wouldn't seat in the barrel adjusters.....I needed stepped ones for this to work. The shimano cable stop into the shifter wasn't great either so I ordered some Campagnolo specific ones.
The final problem was the rear mech is missing it's barrel adjuster.
Altogether, the gear shifts now work but some tweaking needed. I've got a feeling the shifters are 7spd specific....but my rear cassette is an 8spd Centaur one.
Here's where I'm at now...
The wet weather meant I could photograph both Endeavours together....that's to come.
The colour coded stem works well, but I also have the flexstem(s) I'd like to give a go.
The yellow toestraps were an experiment to match the yellow part of the decals.....unsure as yet whether they are staying, but overall pleased with how this resto has turned out.
Better pics and build spec to follow.
In the meantime.....


Cheers.
boy"O"boy
The brakes as usual were a joy to set up. The feel and spring of them are very positive. These weren't NOS this time like Endeavour #1 but look great...especially in the light grey.
The shifters were slightly more problematic due to their reverse set-up but my main problem was the cable ferrules supplied in a jagwire set wouldn't seat in the barrel adjusters.....I needed stepped ones for this to work. The shimano cable stop into the shifter wasn't great either so I ordered some Campagnolo specific ones.
The final problem was the rear mech is missing it's barrel adjuster.
Altogether, the gear shifts now work but some tweaking needed. I've got a feeling the shifters are 7spd specific....but my rear cassette is an 8spd Centaur one.
Here's where I'm at now...
The wet weather meant I could photograph both Endeavours together....that's to come.
The colour coded stem works well, but I also have the flexstem(s) I'd like to give a go.
The yellow toestraps were an experiment to match the yellow part of the decals.....unsure as yet whether they are staying, but overall pleased with how this resto has turned out.
Better pics and build spec to follow.
In the meantime.....
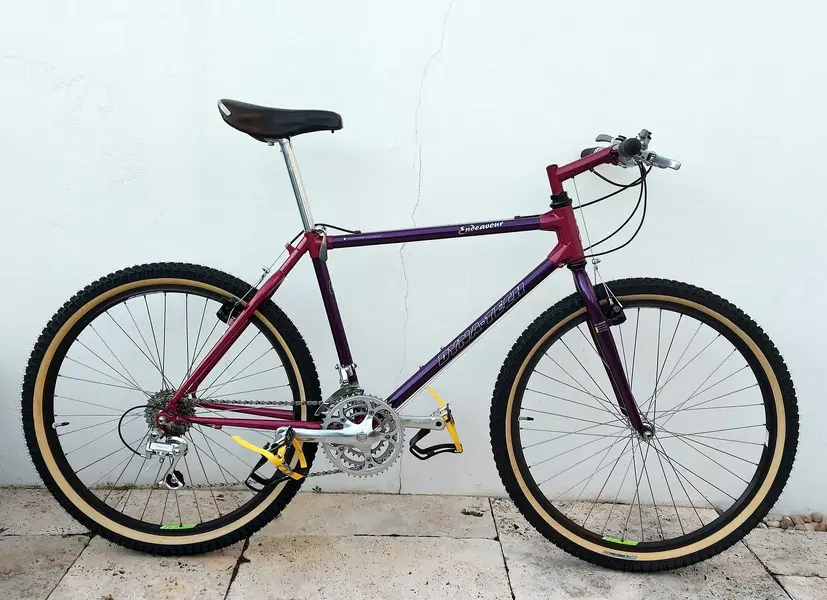
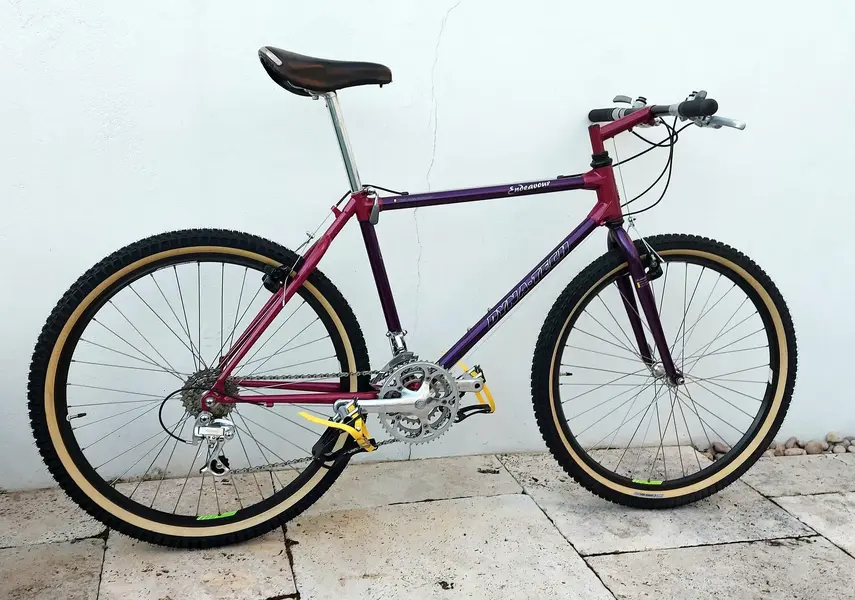
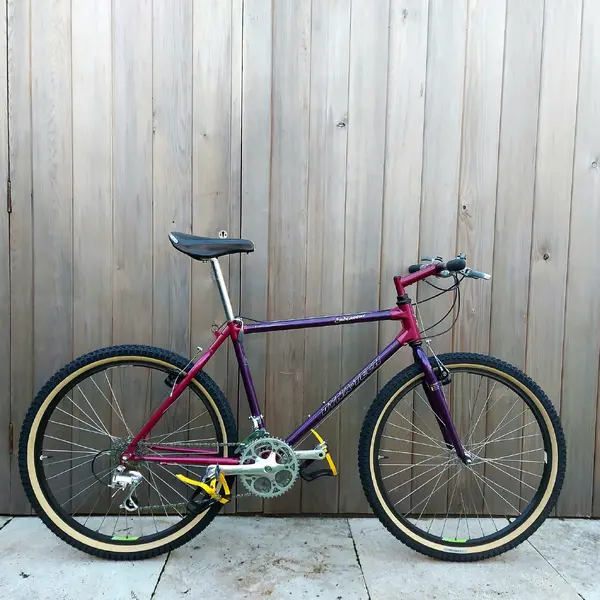
Cheers.
boy"O"boy
Last edited:
Similar threads
- Replies
- 23
- Views
- 618
- Replies
- 30
- Views
- 4K
- Replies
- 19
- Views
- 3K
- Replies
- 39
- Views
- 8K
Latest posts
-
-
Lightweight Raleigh tourers 50 years apart restomod
- Latest: Mark south wales
-
-
-