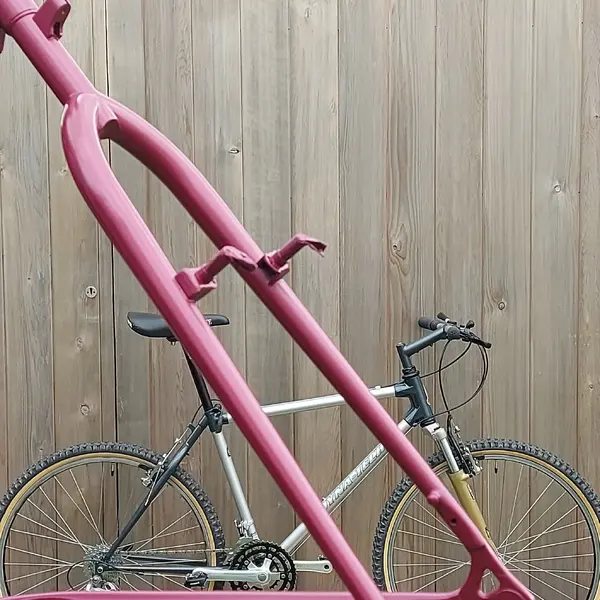
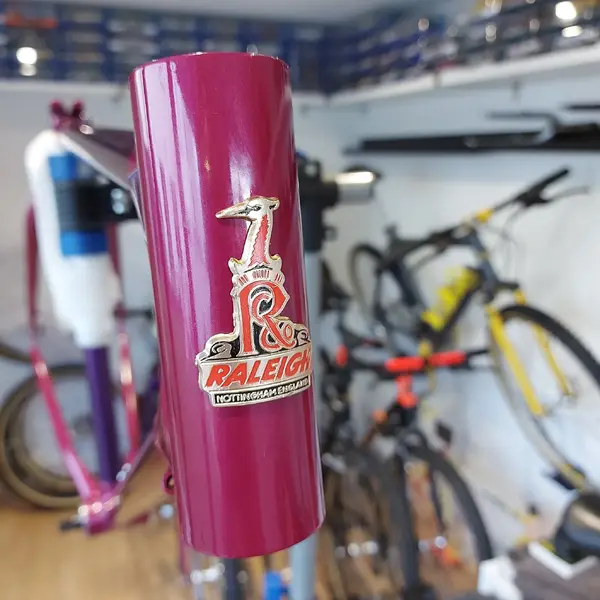
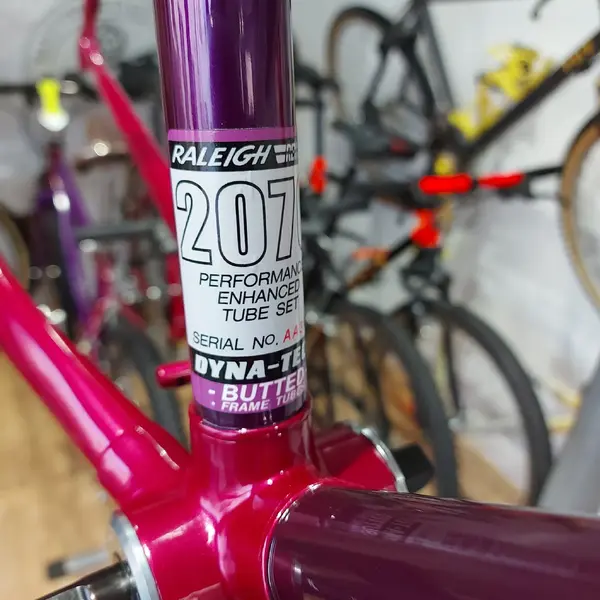
boy"O"boy's 1991 Raleigh Dynatech Endeavour x2!!

Following with interest,this is going to look amazing 🤓
Cheers davo. I'll keep the updates coming!
Looking really good so far!!
Cheers Ibbz. Here's a bit more progress....
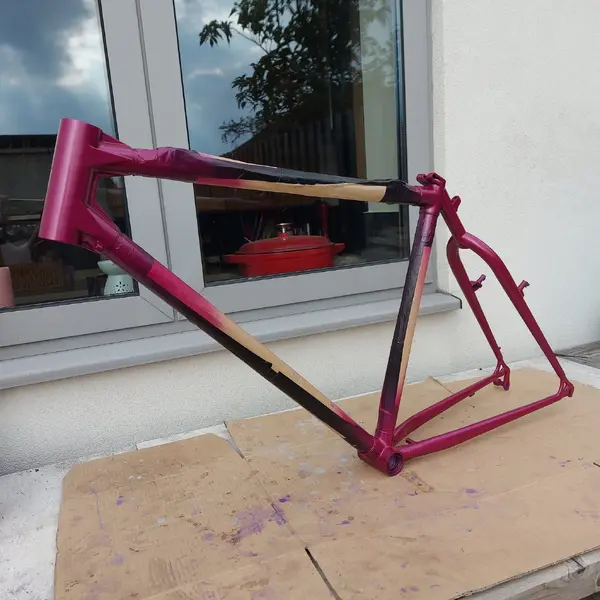
Ooh, home paint-job - coming along nicely!
Yep! - all done in the garden. I'm going to have the clearcoat done at work as the finish will be better.

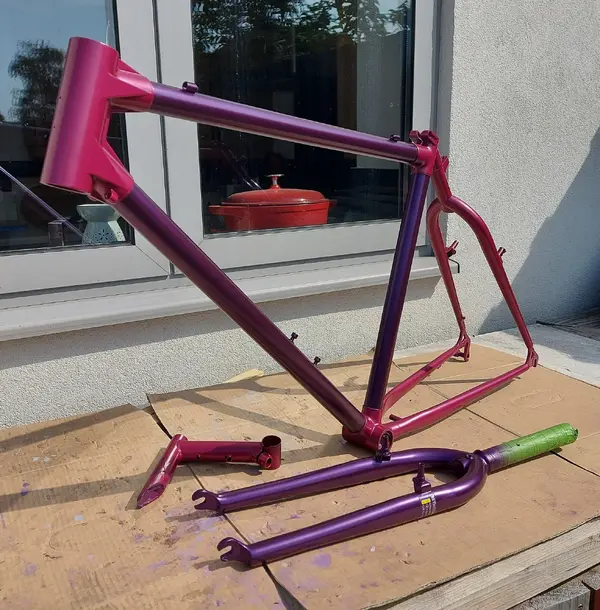
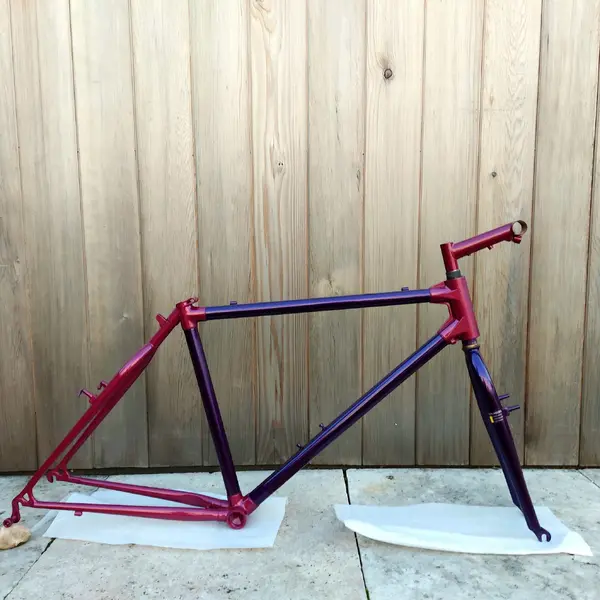
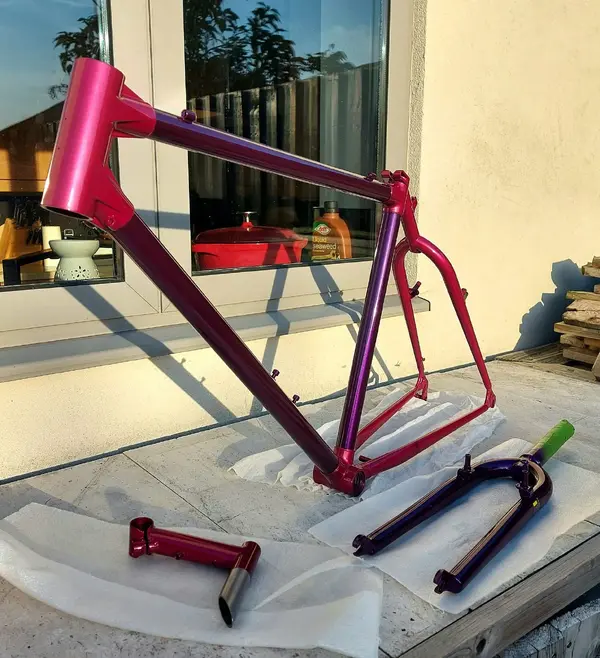
Here's where I'm at today. The pink Mica đź’— is now on. Was left to dry overnight and then the masking taken off. Into clearcoat next.

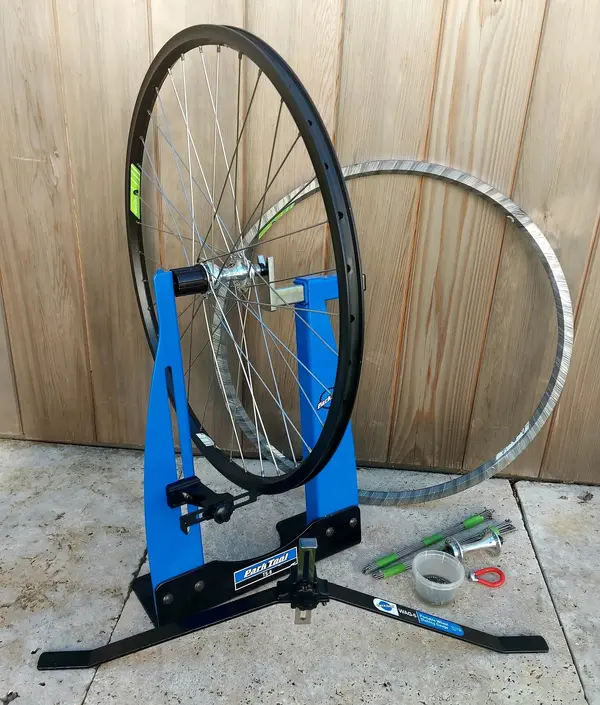
Moving onto the build...1st up are the wheels.
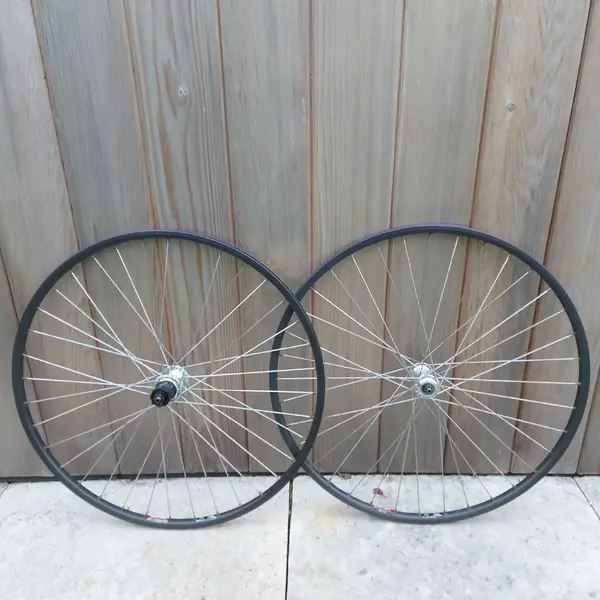
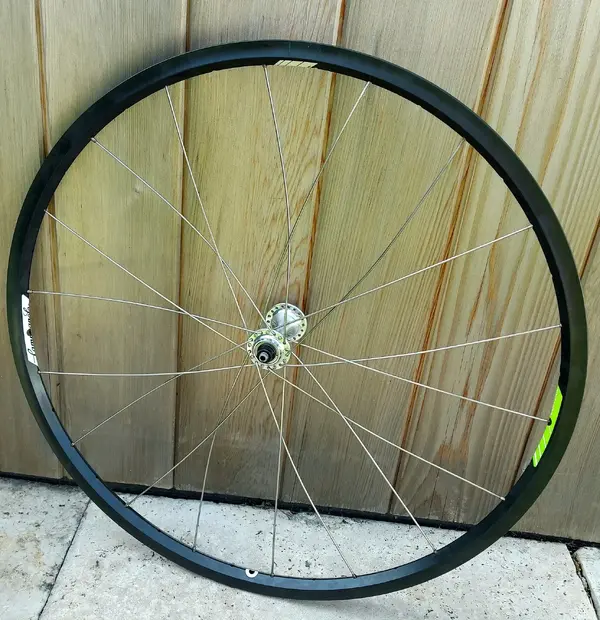
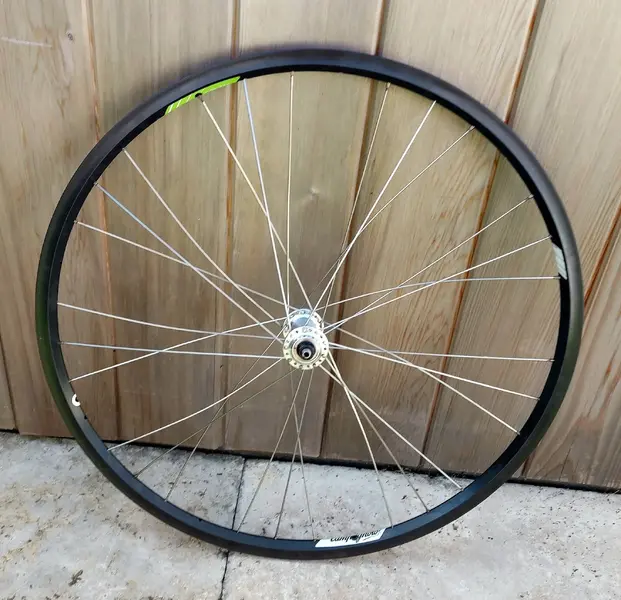
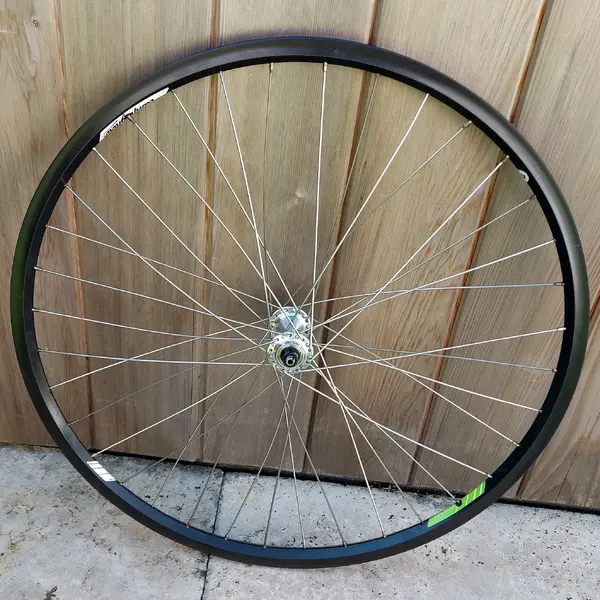
My starting point are a set of Campagnolo Centaur 8spd hubs on Matrix rims courtesy of my mate in Italy @RetroRider_IT .....cheers Marco!
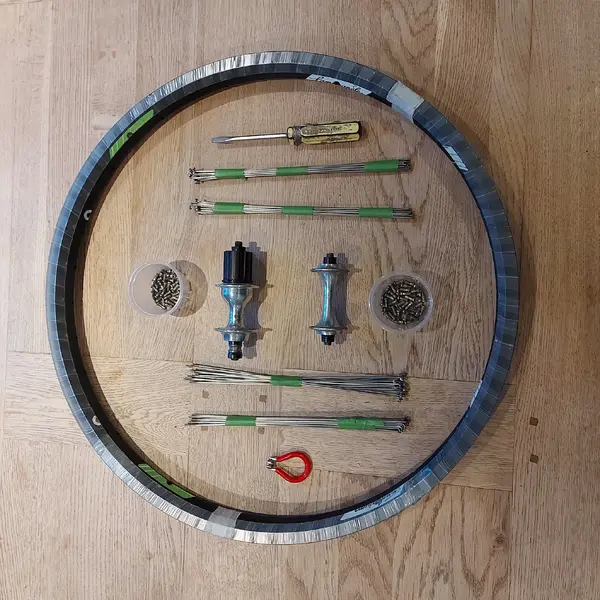
For this build though, the rims aren't the right choice for me for this build, so I'm rebuilding onto some NOS Campagnolo Contax rims in 36h flavour. Here's my build kit!
20210904_165017.jpg

20210904_172302.jpg
20210905_133801.jpg

20210903_192404.jpg

20210904_192334.jpg
More updates to follow...

cheers
boy"O"boy
 
So. Time to get the wheels build up.

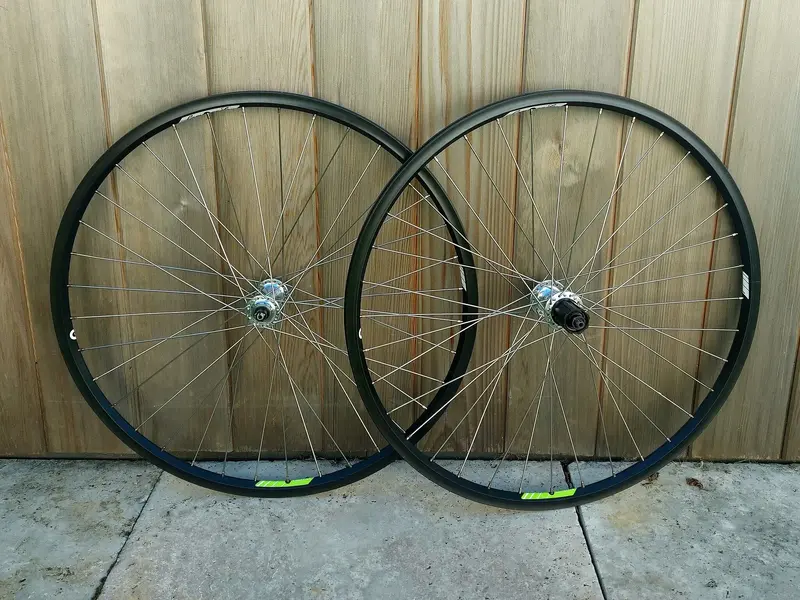
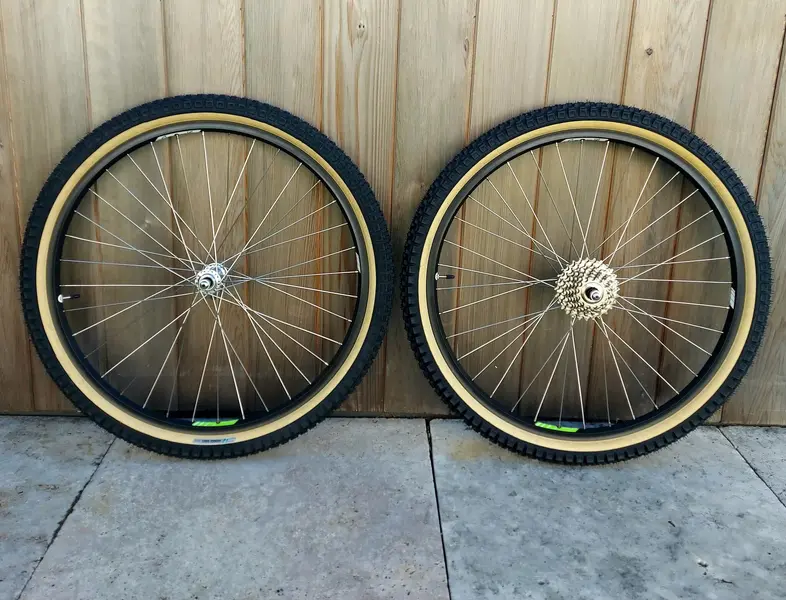
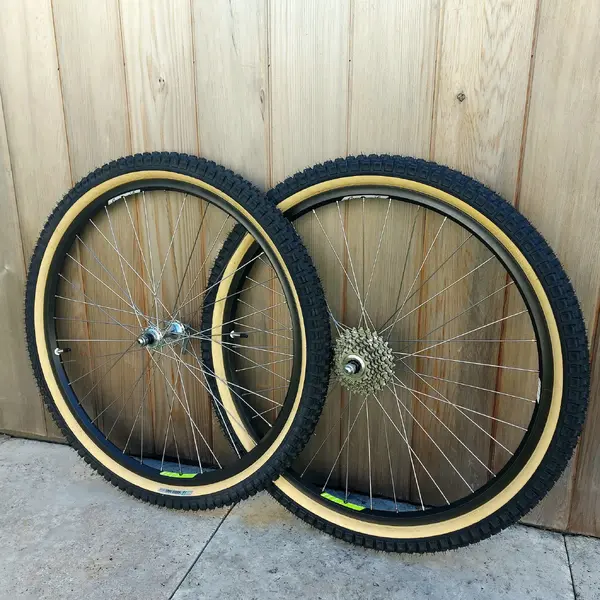
An identical set to Endeavour #1....NOS Campagnolo Contax on Centaur hubs. Tyres are NOS Tioga Wonderdawgs.

Slight pause in progress due to not being able to get the clearcoat done for a couple of weeks (not doing this part in the garden!) ....but chance to get all the necessary Campagnolo Centaur together and get it polished!

20210907_163317.jpg 20210908_120452.jpg 20210908_122425.jpg 20210908_125506.jpg 20210908_132705.jpg 20210908_154625.jpg 20210908_164827.jpg 20210908_164848.jpg

More updates to follow....
Cheers all.
boy"O"boy
 
Thanks to all that voted for Endeavour #1 in this month's bonded special.

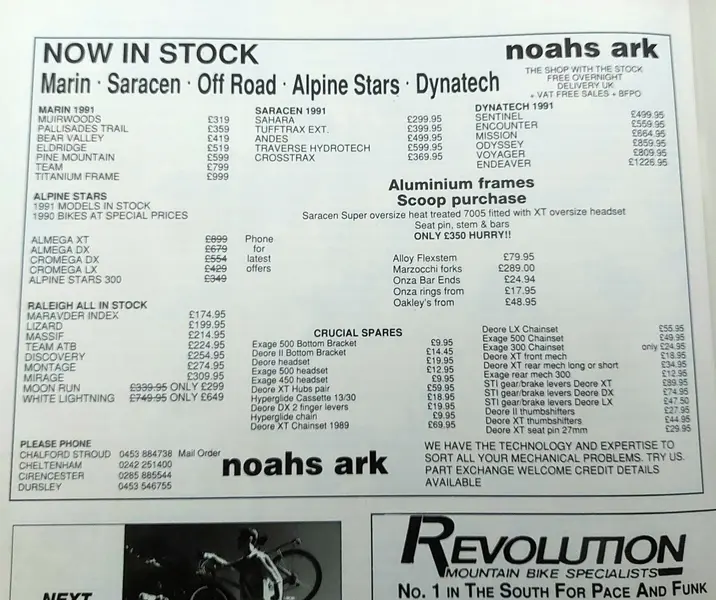
Going through Feb '91 MBUK today and found this ad with prices...looks like there was already a discounted price below RRP at Noahs Ark! ....and an issue with typo! 🤓

20210908_103009.jpg
 
Still watching your amazing build with interest - updates are almost like when one of my favourite you tubers post a new film! Have you found any issues with the shifting on the bullet shifters? I’ve had a right mare trying to fit some to my Voyager, the previous owner had given up and fitted XT brifters. The Campagnolo instructions kindly posted on here are ok to a point! I’ve had to rely on photos from your build and others to try and orientate the non rotating/cable stop part on the bars correctly.
 
Still watching your amazing build with interest - updates are almost like when one of my favourite you tubers post a new film! Have you found any issues with the shifting on the bullet shifters? I’ve had a right mare trying to fit some to my Voyager, the previous owner had given up and fitted XT brifters. The Campagnolo instructions kindly posted on here are ok to a point! I’ve had to rely on photos from your build and others to try and orientate the non rotating/cable stop part on the bars correctly.
Cheers! Appreciate the following - I've also been updating progress on Instagram too.
I see it like a tutorial really....I like to add the detail of how I achieved that result and to show you can do it yourself at home. Painting, wheel building, and assembly are things I've taught myself through lots of practice and a few failed attempts!

Talking of tutorials....Peachy did the best one on his Lotus sport Campagnolo build when it comes to bullet shifters. It's fair to say, I struggled to set mine up...I think the reverse shift action confuses me as I've had no problems with Shimano and Suntour set ups. Endeavour #2 is having thumb shifters!!! - I only kept the bullet shifters on Endeavour #1 for factory spec.
They were bad enough on the original MBi review....I'd have switched these to thumbies straight away if I was lucky enough to have had one back in the day.

Cheers.
boy"O"boy
 
Just to give Gtpulse his daily fix!! .....

Here is today's update...

20210909_144553.jpg 20210909_150125.jpg
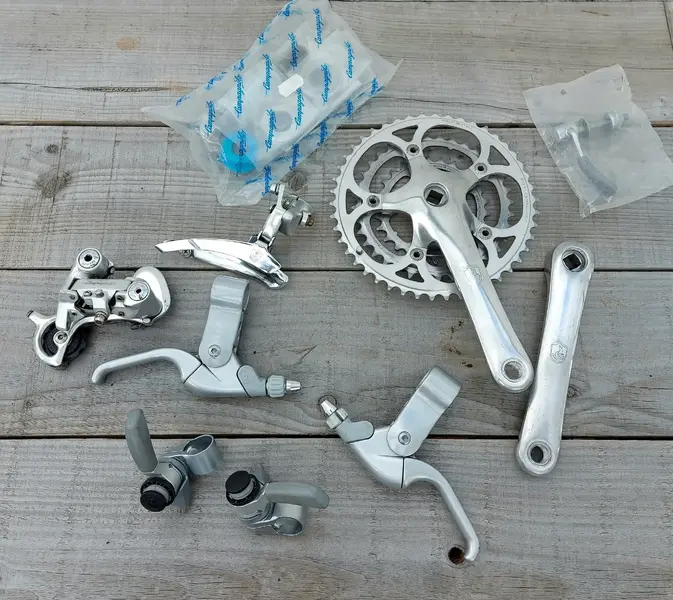
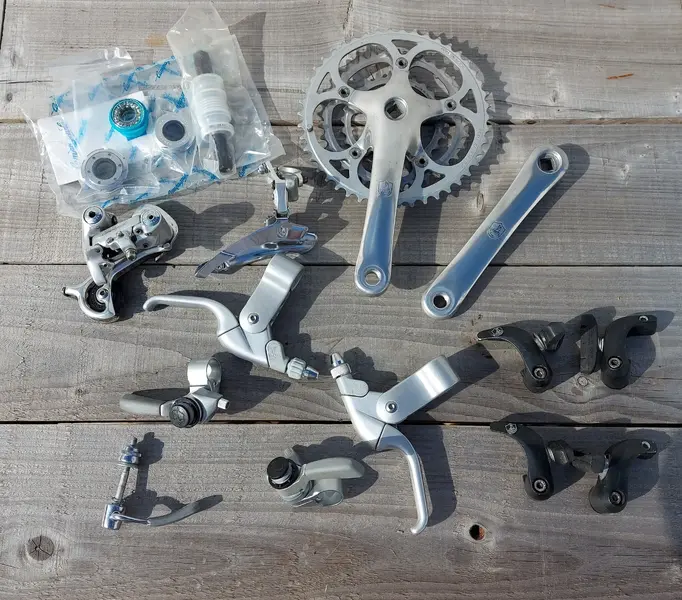
Campagnolo Centaur parts collection assembled! .....realised after I took the picture and the weather turned that I hadn't included the NOS Campagnolo Centaur seatpost....but as I've got to get a shim made for this and I'm going down the rapid prototyping route for that, I'll save that for another post. (Excuse the pun!)
The chainset was a lucky eBay win from ages ago for not much money...although it's taken quite a bit of effort to get the majority of the scratches out. Everything else has been bought in good condition...the bottom bracket being the only NOS this time.

Cheers
boy"O"boy
 
So. Time to get the wheels build up.

An identical set to Endeavour #1....NOS Campagnolo Contax on Centaur hubs. Tyres are NOS Tioga Wonderdawgs.

Slight pause in progress due to not being able to get the clearcoat done for a couple of weeks (not doing this part in the garden!) ....but chance to get all the necessary Campagnolo Centaur together and get it polished!

View attachment 568567View attachment 568568View attachment 568569View attachment 568570View attachment 568571View attachment 568572View attachment 568573View attachment 568574

More updates to follow....
Cheers all.
boy"O"boy
Such beautiful wheels and so wonderfully presented and worked on!
This is going to look a million dollars - again!
How your first one didn’t win BoTm I’ll never know. I hope this is entered at some point
The work you put in and the stunning final result should be appreciated by more
 
Such beautiful wheels and so wonderfully presented and worked on!
This is going to look a million dollars - again!
How your first one didn’t win BoTm I’ll never know. I hope this is entered at some point
The work you put in and the stunning final result should be appreciated by more
Cheers Ibbz.
This one has taken a bit more work than Endeavour #1 but it's been handy having the original as reference! Well worth the effort in restoring this one though.
There's been a bit of a pause in progress recently but starting to pick up pace again.

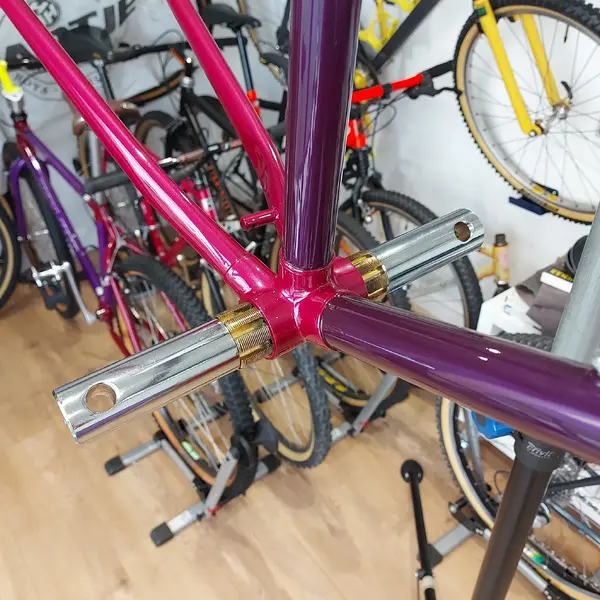
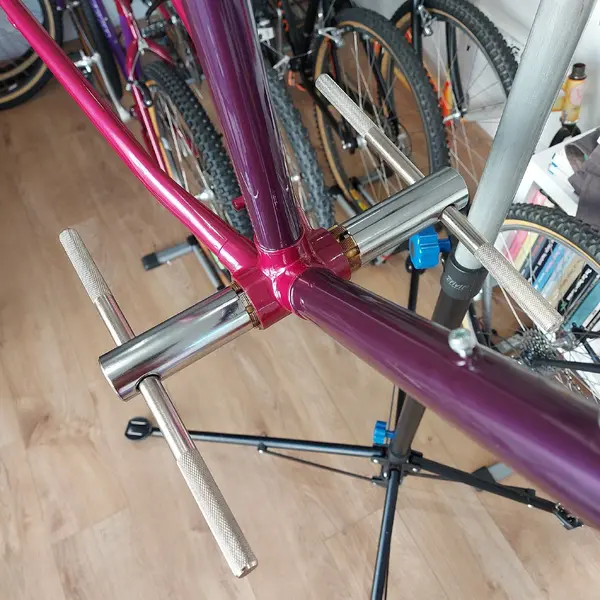
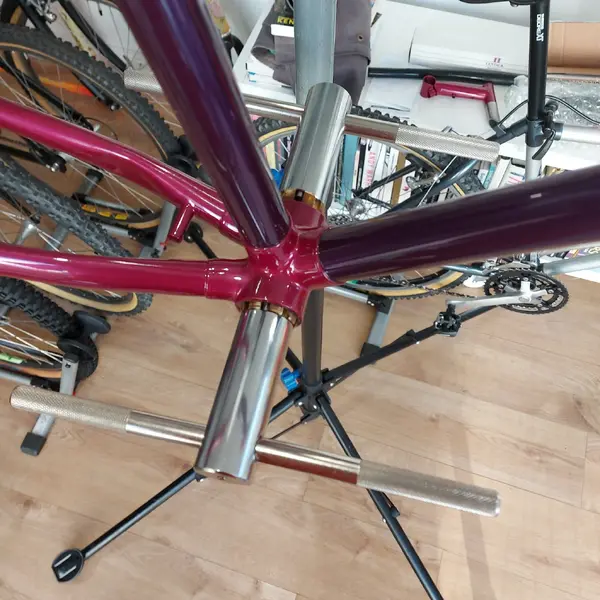
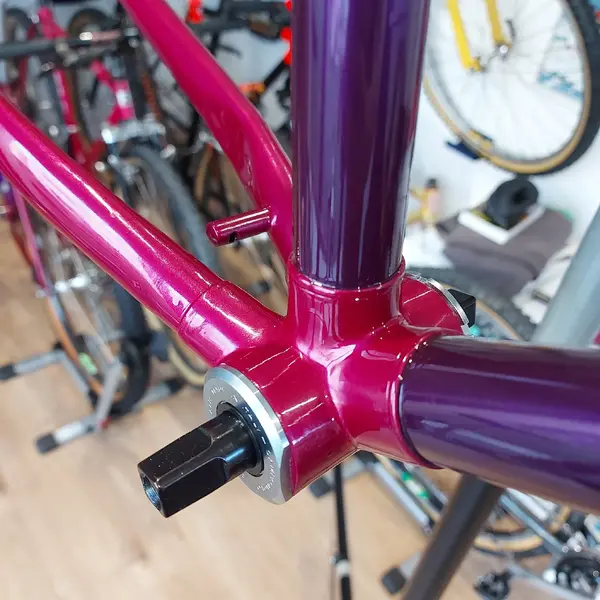
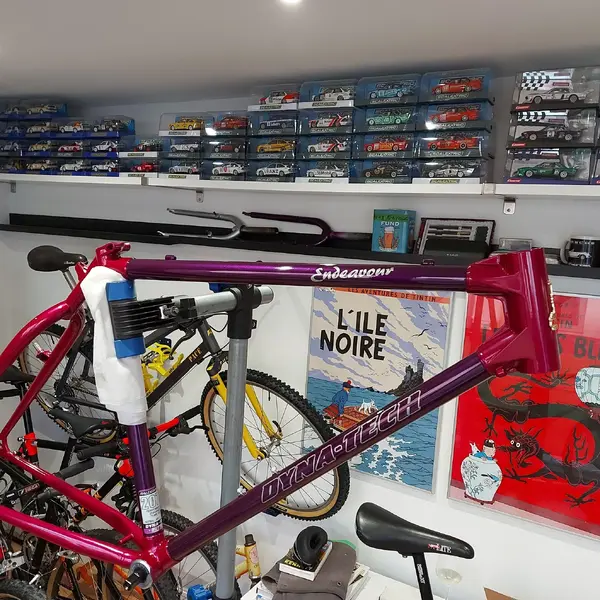
The frame has been clear coated with 2K lacquer so the colours now really pop.

Decals from thecycleshed have been added. Thanks to Gil for his patience with these. Having a very original example is perfect for measuring against to ensure the decal placement is accurate!

The bottom bracket threading tool has been invaluable too. Cleaning the threads to ensure the NOS Campagnolo bottom bracket fits perfectly was a joy. Definitely one of my favourite purchases that takes the hassle out of this job.

Here's some long overdue pictures of where I'm at. Hopefully progress picks up again from here!

20210921_175450.jpg 20210921_174904.jpg 20211003_173808.jpg 20211003_171439.jpg 20211003_173003.jpg 20211003_173016.jpg 20211003_175925.jpg

Cheers
boy"O"boy
 

Latest posts

Back
Top