boy"O"boy's 1989 Serotta Off-road Pro-flex prototype

The best was to remove a fixed cup with leverage is this method below. I don't have to write anything because @rmwesley kindly created this thread! 🙏

Have used this many a time on fixed cups on old Raleigh Choppers from the 70s.

If you are having frame repaired due to corrosion then heat will certainly help remove it.

For cutting it out, carbide tipped hacksaw blade, die grinder, Dremel are all methods of attack. I suspect the stud & nut method will work if you can find a decent long leverage bar and are able to clamp the frame securely without damaging it in the process!

Amazed the seatpost came out as it did. Well done on that one!!!

Keep up the great work! 💪 👍🤞
 
Assume you will need heat to fix rust holes so maybe heat for BB?

I slide a long seatpost over my BB spanner for extra leverage- works best when the bike has wheels on- undefeated! (touch wood!)
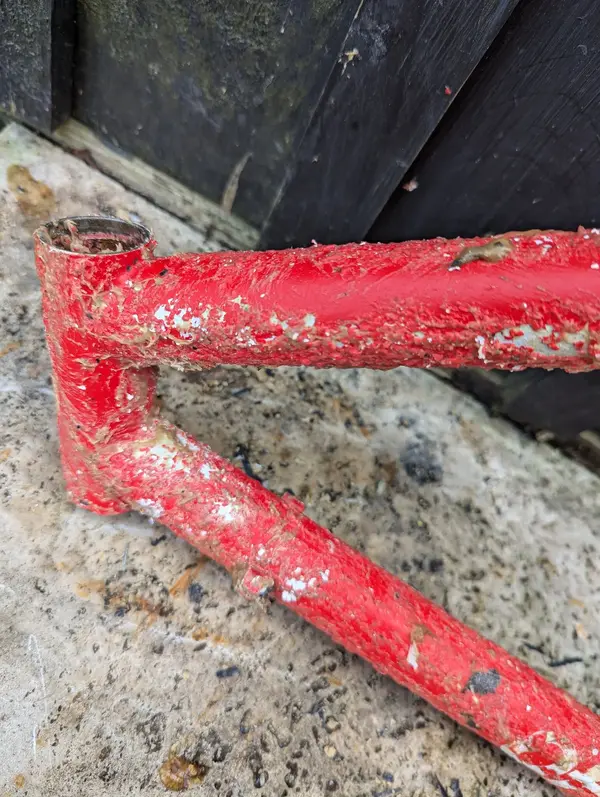
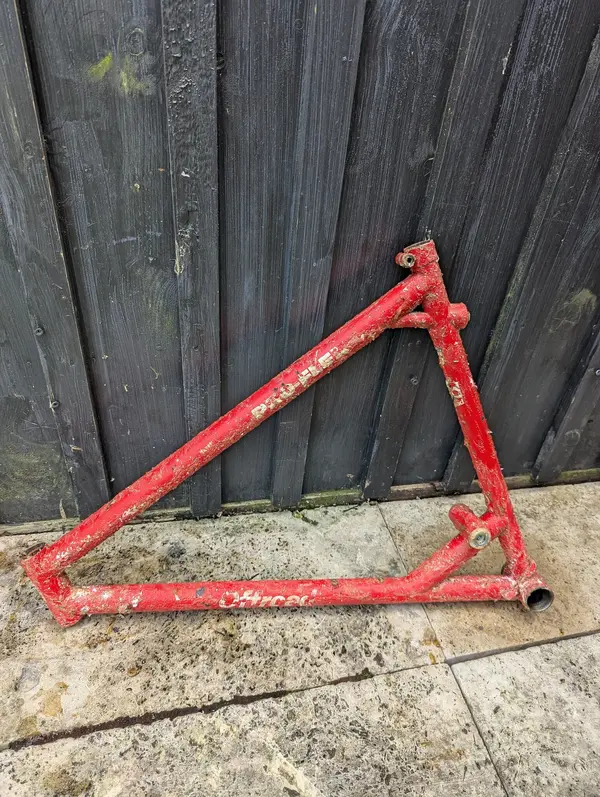
I'm not sure how many holes are still under the paint. Someone on here mentioned that steel frames that have been stored in damp conditions have a tendency to rust from the inside out.
It's looking more like the paint will have to be stripped as there's a lot of rust coming through.
The hole near the bottom bracket and the corroded cable guides will definitely need attention.
The best was to remove a fixed cup with leverage is this method below. I don't have to write anything because @rmwesley kindly created this thread! 🙏

Have used this many a time on fixed cups on old Raleigh Choppers from the 70s.

If you are having frame repaired due to corrosion then heat will certainly help remove it.

For cutting it out, carbide tipped hacksaw blade, die grinder, Dremel are all methods of attack. I suspect the stud & nut method will work if you can find a decent long leverage bar and are able to clamp the frame securely without damaging it in the process!

Amazed the seatpost came out as it did. Well done on that one!!!

Keep up the great work! 💪 👍🤞
@27motorhead
Thanks for this. Absolute gold 🥇
This is definitely my next step to release the troublesome cup. I've been soaking the bottom bracket shell in Diesel for the last week in the hope it will penetrate it more.
Sprayed a good slug of release fluid when trying the vice technique. When it was heated, it started bubbling from the cup side suggesting there is a gap, but the fluid not getting all the way round.
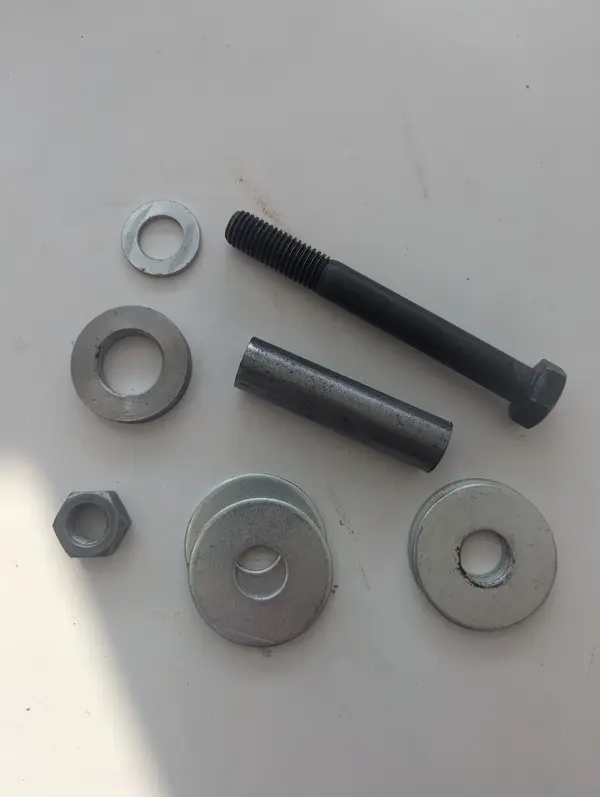
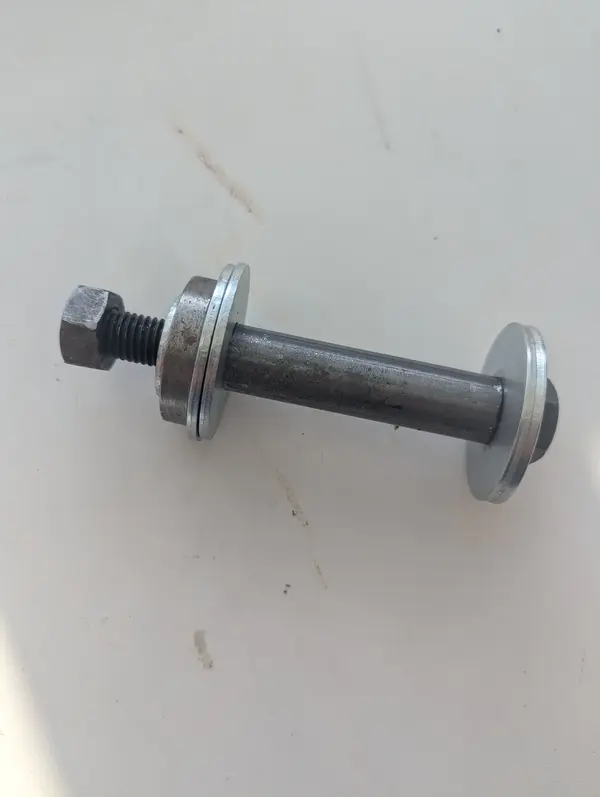
Got the parts together to try the technique above.
1000018307.jpg
1000018308.jpg

Cheers
boy"O"boy
 
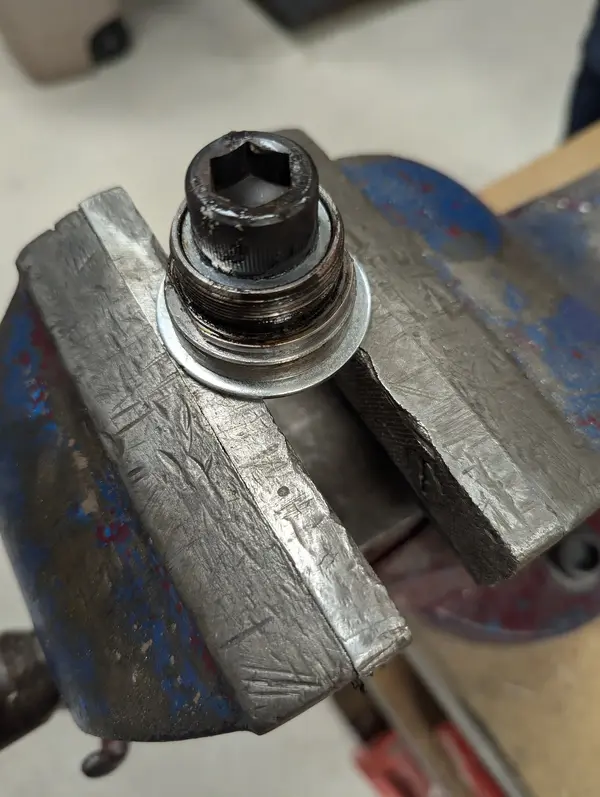
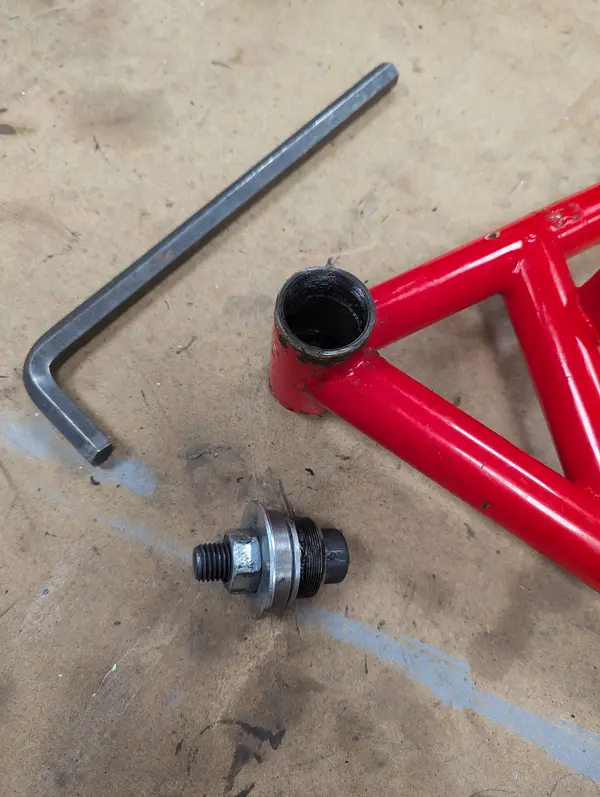
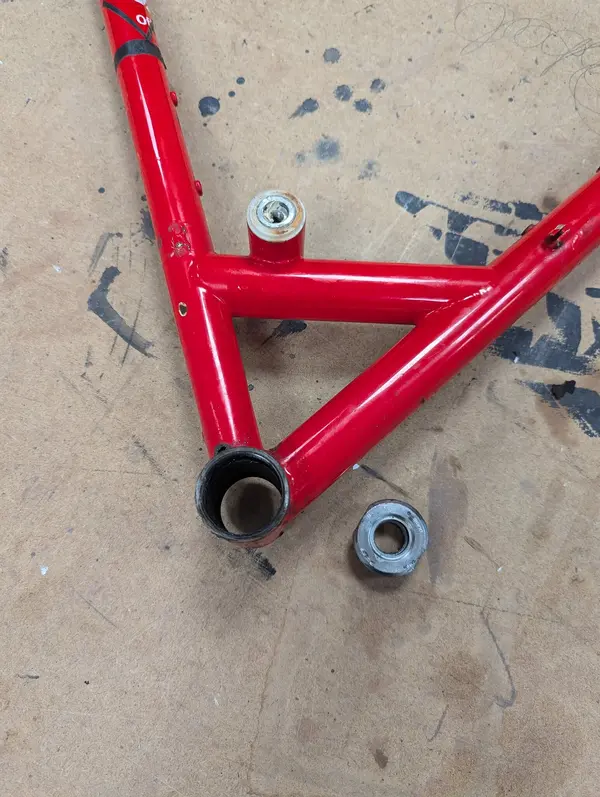
Finally..... The drive side bottom bracket cup has surrendered with some serious removal techniques! The method suggested by @27motorhead worked to a degree....but the inner tube wasn't big enough and forced itself through the hole in the stuck cup.
In the end...the technique was slightly altered with an M16 hex bolt, super glued to the inside to prevent slipping. The nut was then held in the vice and tightened with an Allen key/ leverage tube combo. The frame was then turned anti-clockwise and the cup released to a big cheer from the 2 work colleagues that had offered help.
1000018863.jpg
1000018864.jpg
1000018865.jpg

Onto rust hole cable guide repairs next.
Being honest with myself, although saving the paint would be the ideal scenario to preserve some history, the photos are far more flattering to it than it actually is. The amount of rust on this is most likely going to mean the paint will have to be stripped back to see exactly what underneath. The comment that steel frames rust from the inside outwards worries me with the severity of some of the rust.

Updates to come.....and a drop into the paint shop for colour matching before any paint is removed.

Cheers
boy"O"boy
 
Another great result. It really is down to the size of your nuts! ;)

Great to see the last piece of the corroded jigsaw come out. 💪

I totally agree with what you're saying, these smart phones tend to flatter the imperfections on things and they always look so much better in photos than they do in real life. Guess that frame needs a bath in some rust convertor for a week or two and 100% get you on the respray.

Let's hope with the paint removal and frame repairs, there are no more surprises. You haven't quite reached "Triggers Broom" status yet... 🤞
 
I totally agree with what you're saying, these smart phones tend to flatter the imperfections on things and they always look so much better in photos than they do in real life. Guess that frame needs a bath in some rust convertor for a week or two and 100% get you on the respray.

Totally! I've fallen foul of this on more than a couple purchases :LOL:

I wish I had seen that method for fixed cup removal earlier - I've had one stuck in a Karakoram for months... I got it out eventually, but this method looks easier.

I'm not sure how many holes are still under the paint. Someone on here mentioned that steel frames that have been stored in damp conditions have a tendency to rust from the inside out.
It's looking more like the paint will have to be stripped as there's a lot of rust coming through.
The hole near the bottom bracket and the corroded cable guides will definitely need attention.
I am slowly restoring an '89 GT frame at the moment that was almost as rusty as yours...although no holes, all of the rust was on the surface and although it looked bad, it really only was the top 0.1mm or so. It's back to bare metal though. Hopefully, you will have already discovered the worst of it! 🤞
 
So. A few months away from the Pro-flex.

Been finishing the Ridgeback and Aluminium "O" prototype builds and also getting plenty of riding in as training for the London to Brighton off-road event that I took part in back in September.

London to Brighton off-road 2024
1000019856.jpg

This has meant that the poor old Pro-flex has taken a back seat since managing to remove the stuck bottom bracket cup.
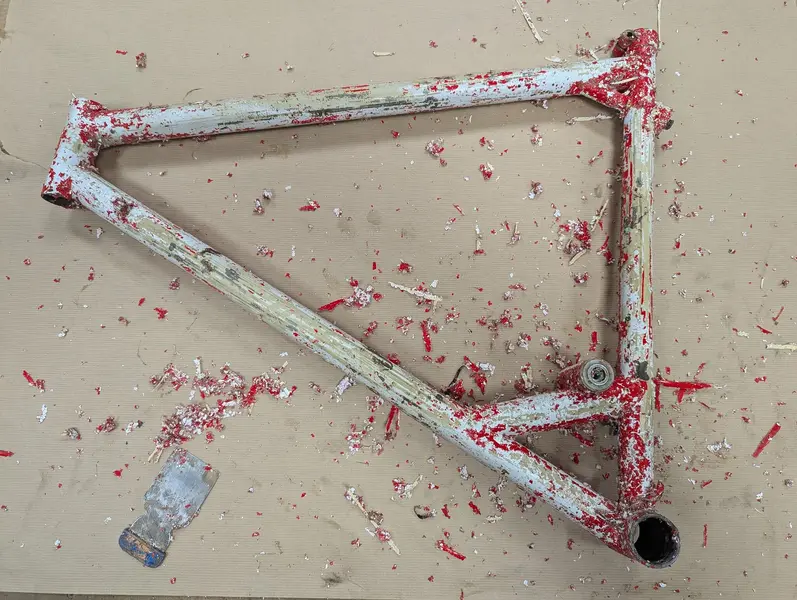
Whilst I'd have ideally liked to preserve the original paint - the surface bubbling from rust spots and damage from years of being stored somewhere damp have meant that I have chosen to strip the paint completely to inspect the condition accurately and identify any further cracks or rust holes.
I was aware that there is a crack in the seat tube just below the integral seat clamp and a rust hole above the bottom bracket shell, but was there any more hidden horrors awaiting?
1000019403.jpg
1000019475.jpg
1000019476.jpg
1000019962.jpg
1000019961.jpg
1000019981.jpg

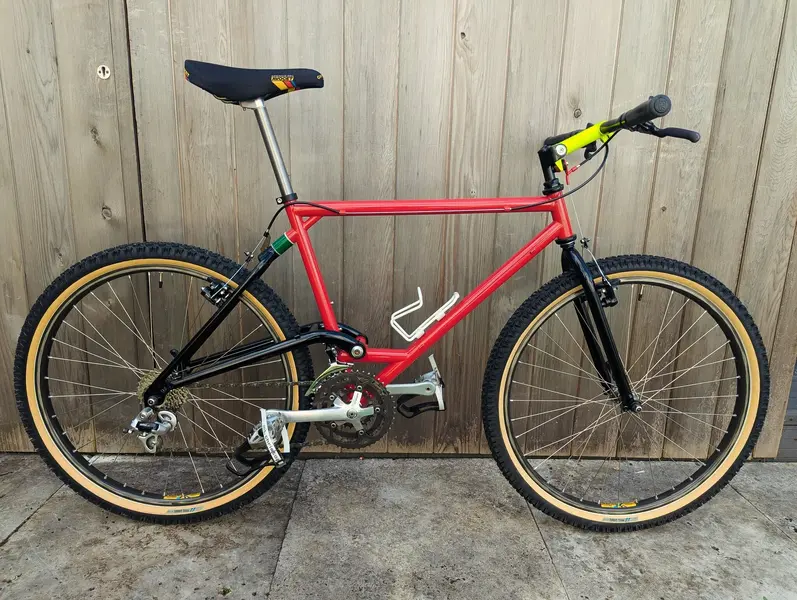
Before the paint was stripped. I took it to the paintstore in Leamington spa for an accurate colour match to the red. The Red on this one is much more vibrant than the 'production' Serotta Off-road Pro-flex. For that one I went with Ford Colorado Red using paint Swatch match.
1000018722.jpg
My 'production' Serotta Off-road Pro-flex (nearly finished!!)
Check my other build thread here for details on this one.

Cheers
boy"O"boy
 
Last edited:
More updates.

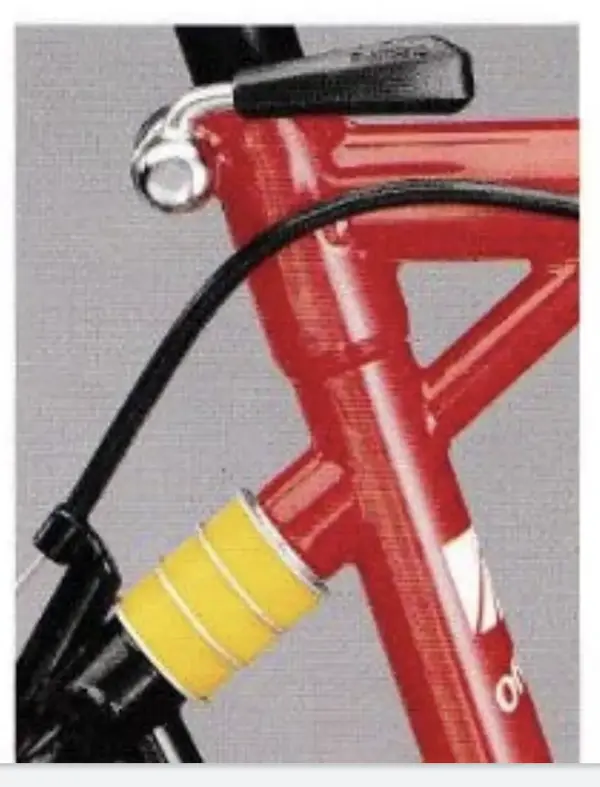
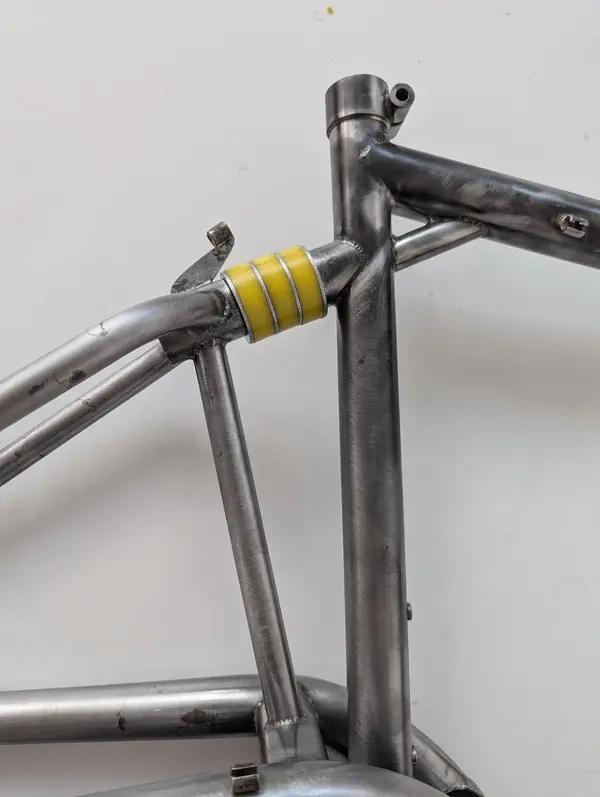
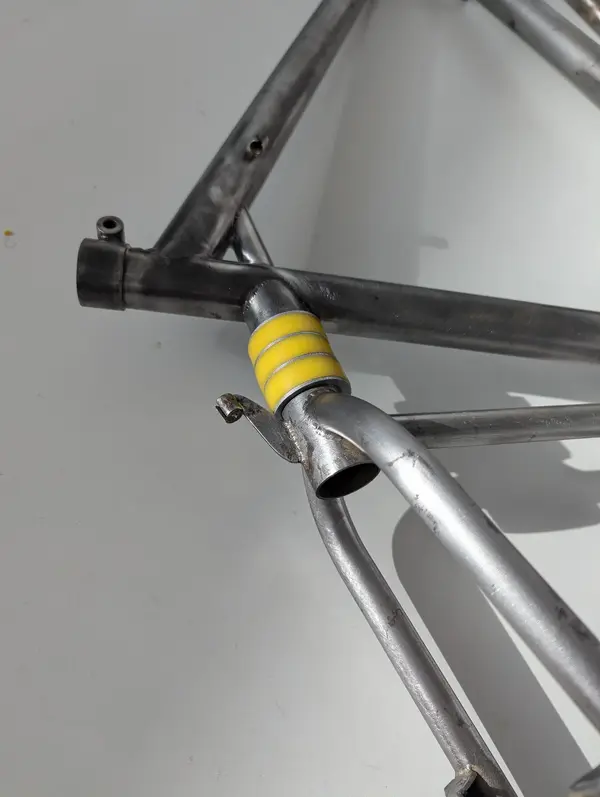
So whilst I'm slowly stripping the paint back to bare metal, I contact @fguki about the possibility of having some elastomers made that replicate the original stack on the prototype.
The 'production' Serotta Off-road Pro-flex has a single green elastomer. The catalogue and advert image has a set up more like this.

1000019654.png

After a few PM's back and forth about requirements, sizes etc....fguki came up trumps and provided me with an excellent reproduction of the original set up.
1000020315.jpg

1000020315.jpg
1000020322.jpg

Cheers
boy"O"boy
 
Last edited:
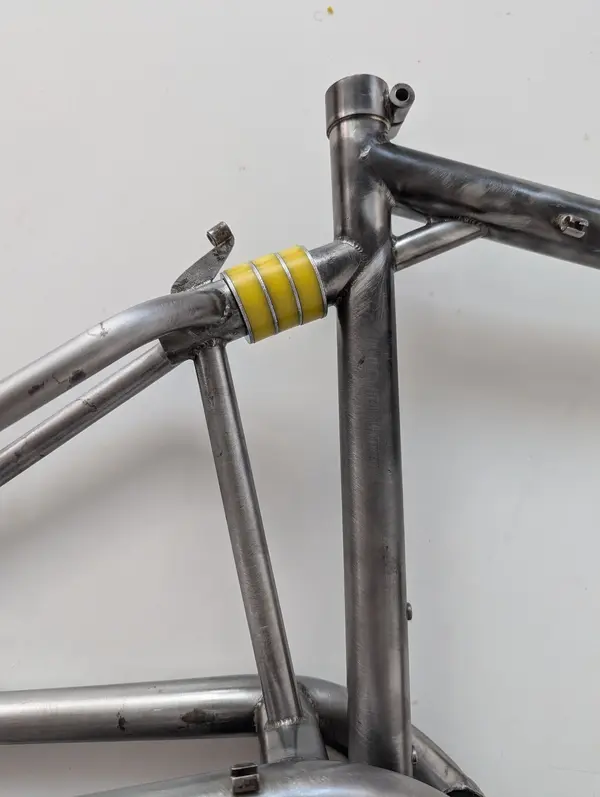
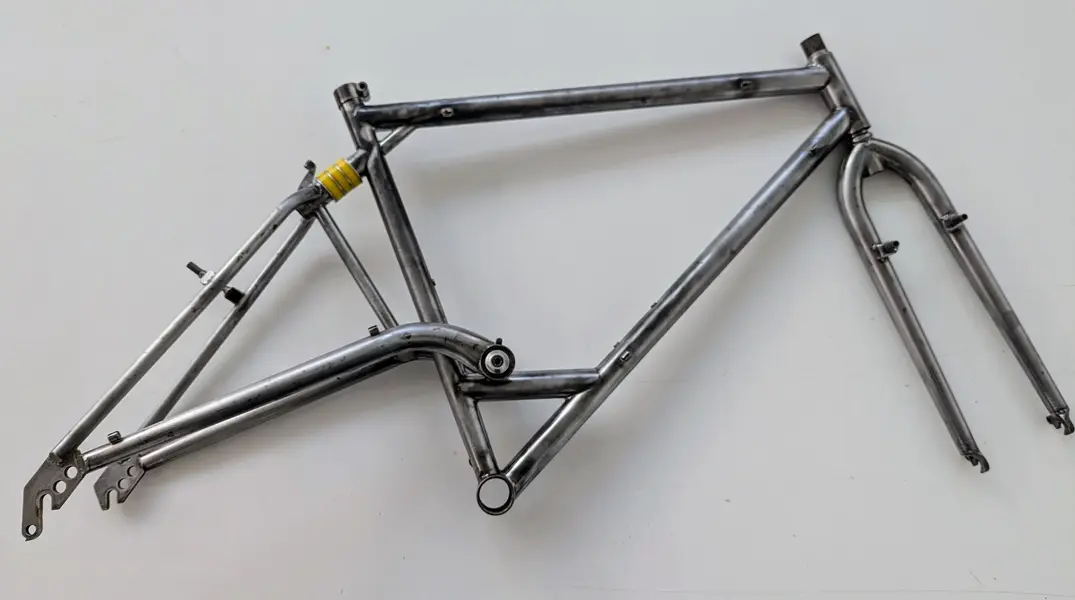
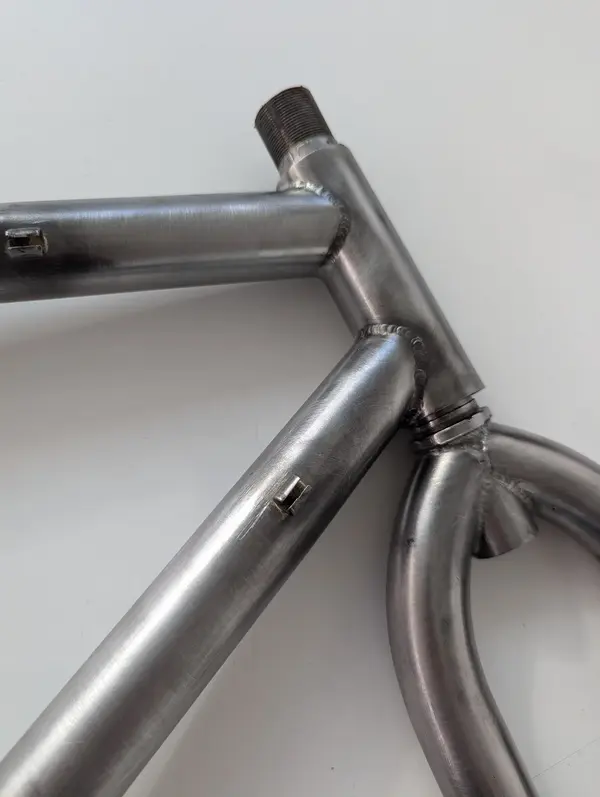
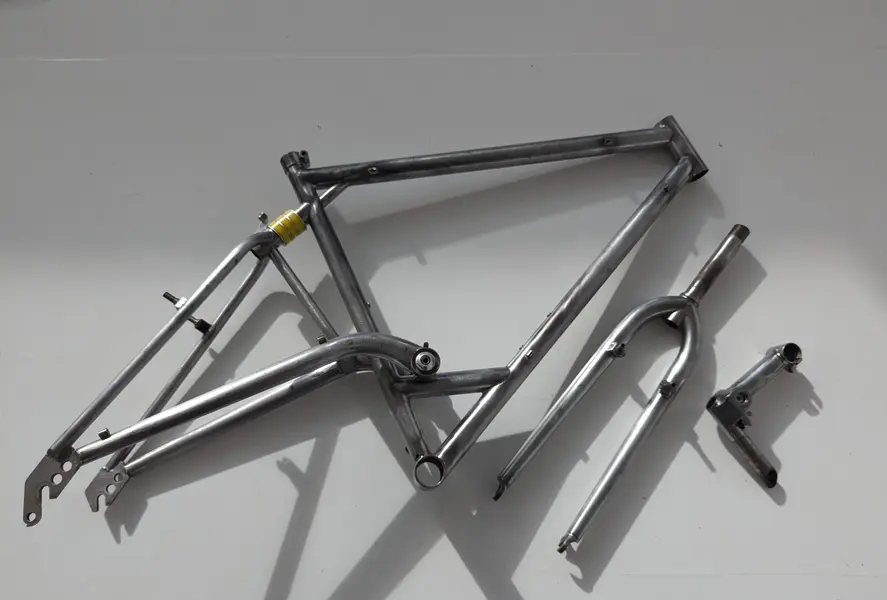
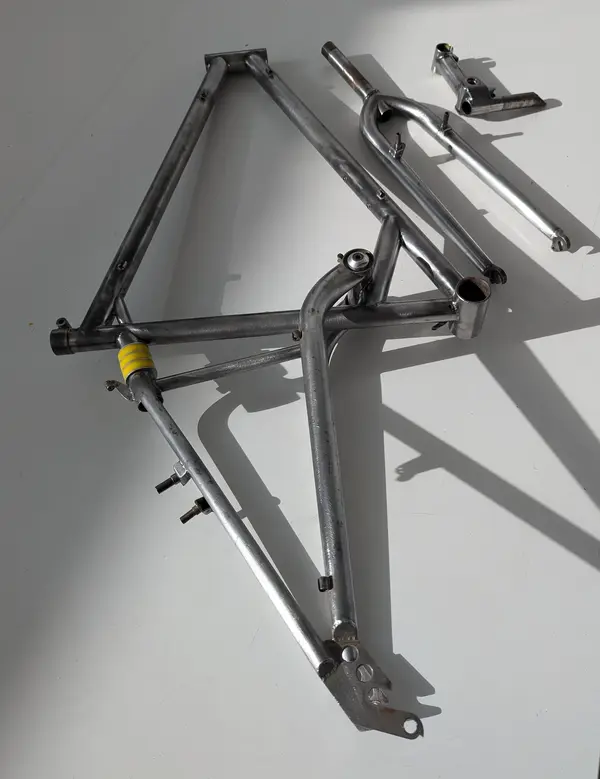
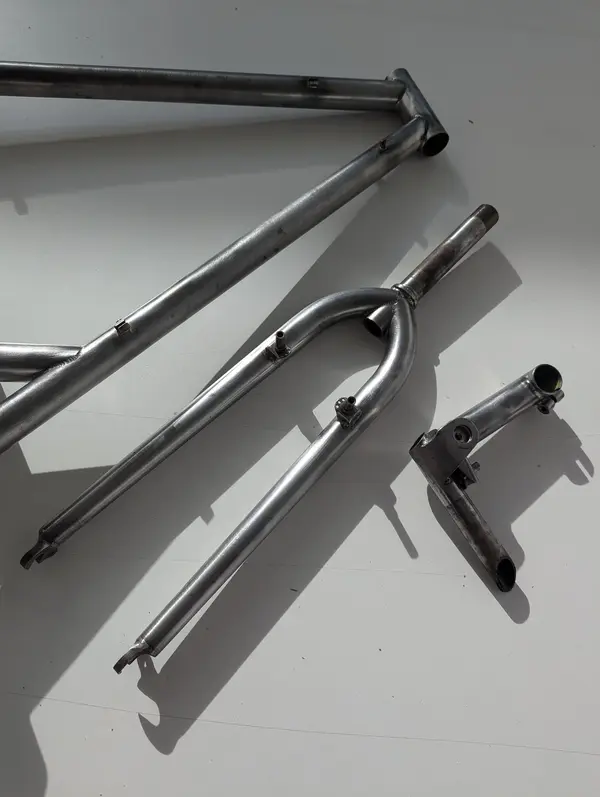
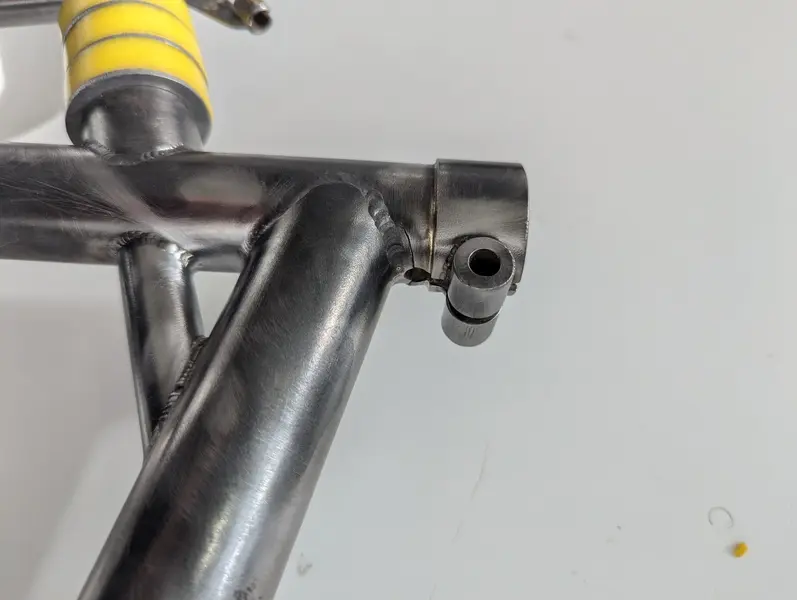
So. Here it is completely stripped back to bare metal. The swing are was reassembled to check the fit of the @fguki elastomers. Absolutely spot on!

1000020313.jpg
1000020316.jpg
1000020333.jpg
1000020321.jpg
1000020320.jpg

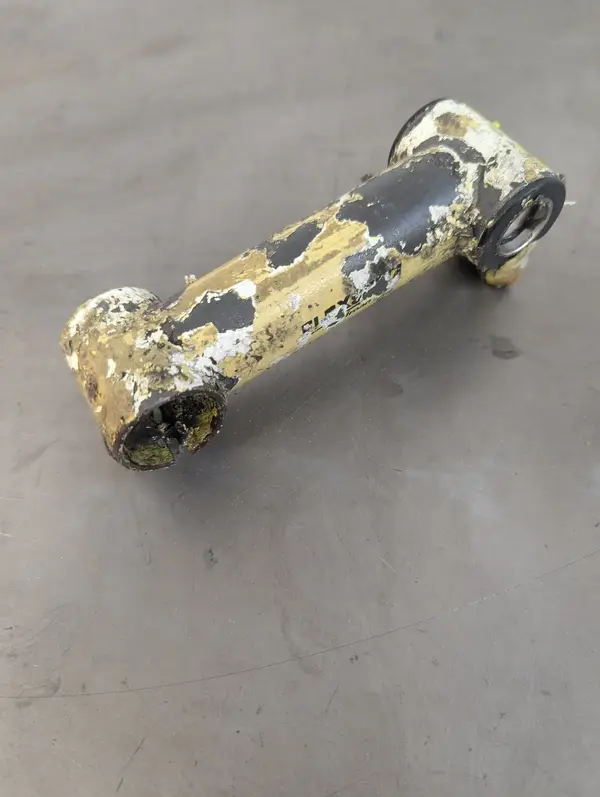
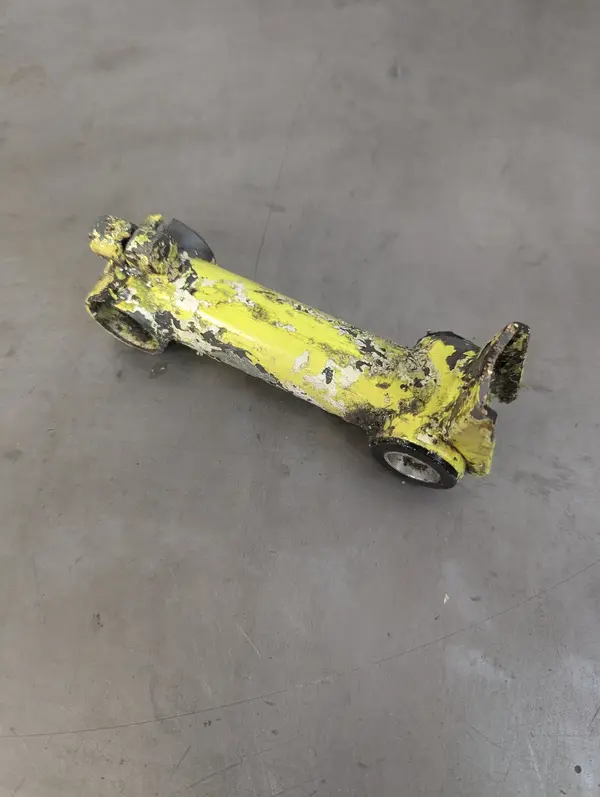
The keen eyed will notice that I've managed to salvage the original flex-stem. There is a dent that will need filling but on the whole, it's come up far better than it's original 'as found' condition suggested.

What about the rest of the frame?

boy"O"boy
 
Last edited:
Well....other than the seat clamp crack 1000020324.jpg

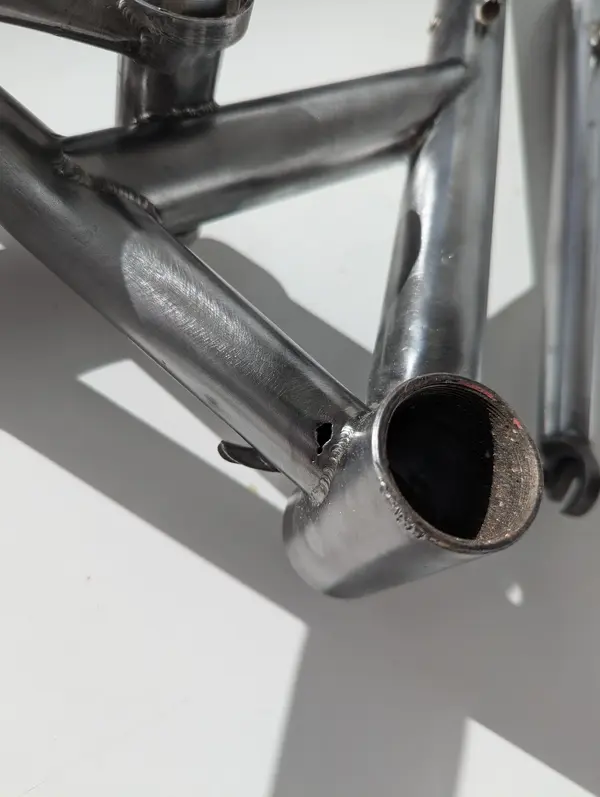
and the rust hole above the bottom bracket
1000020323.jpg


Everything is remarkably sound.
The frame had been painted over what looked like a polyester primer. This had gone over and etch primer and the sheer thickness of paint had done a good job of preservation the condition of the steel underneath.

So other than the repairs needed above, it shouldn't be long before it's back in paint.
1000020325.jpg
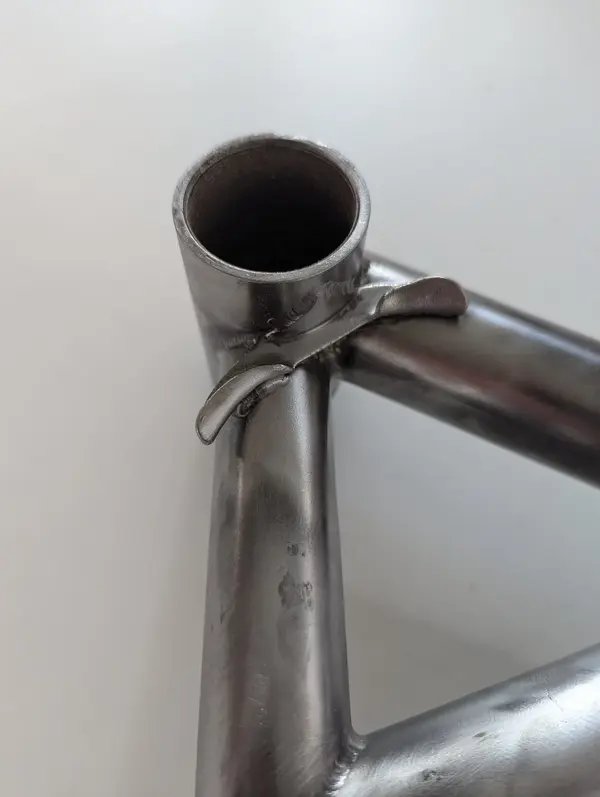
On the 'production' version, this cable guide is a cut down Campagnolo one.
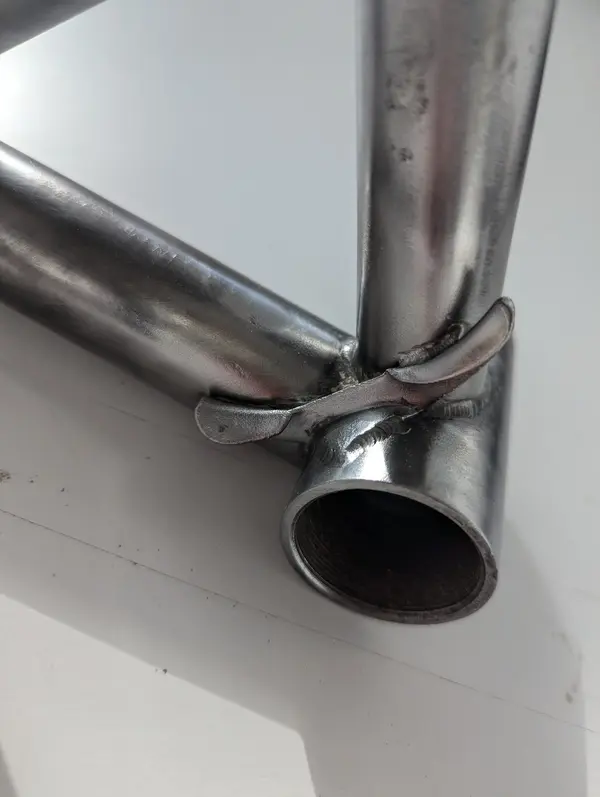
On the prototype, this isn't marked with a manufacturers name. It doesn't look hand fabricated, so it's probably been modified to what was available when it was being welded up.

1000020326.jpg
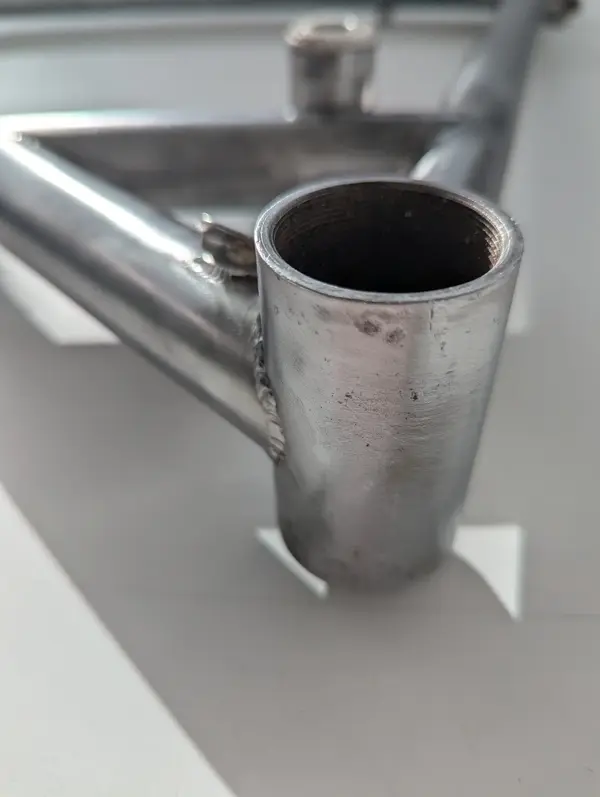
The shape of the weld to the bottom bracket shell is more 'triangular' too.

1000020327.jpg
No frame number on the bottom bracket shell either. The 'production' has a 00xx code.


More updates to come soon.
Cheers
boy"O"boy
 
Last edited:
Back
Top