I love this thread. Said it before, and I'll no doubt say it again! :cool: 😍

Love these mad cycle-science experiments going on in your house/kitchen!

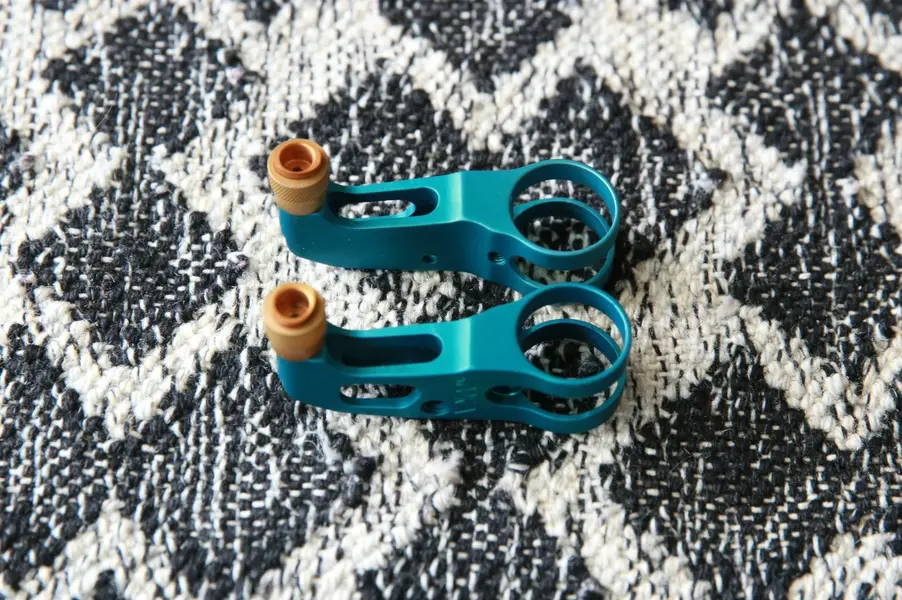
Thumbies look awesome! 💪:cool:
Radical!

Continuing...

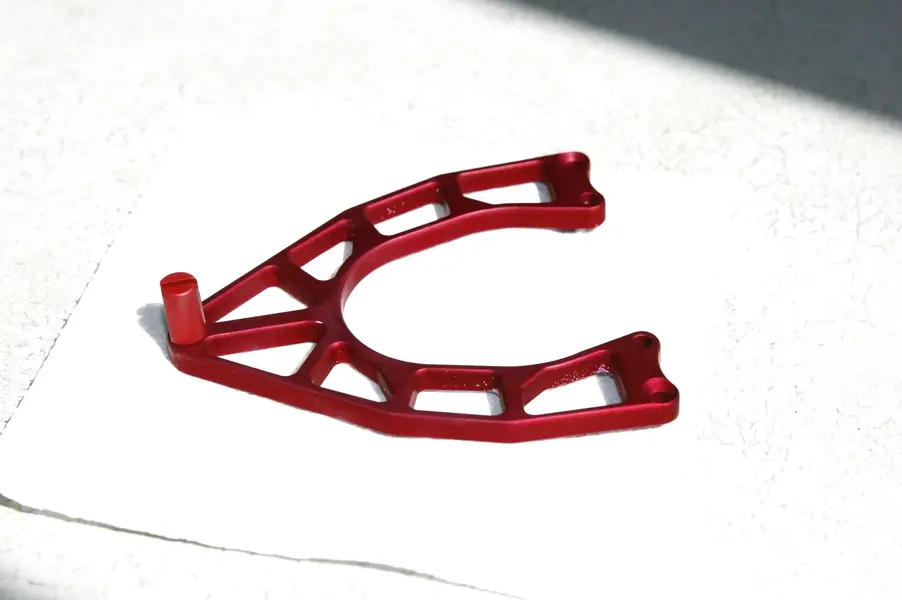
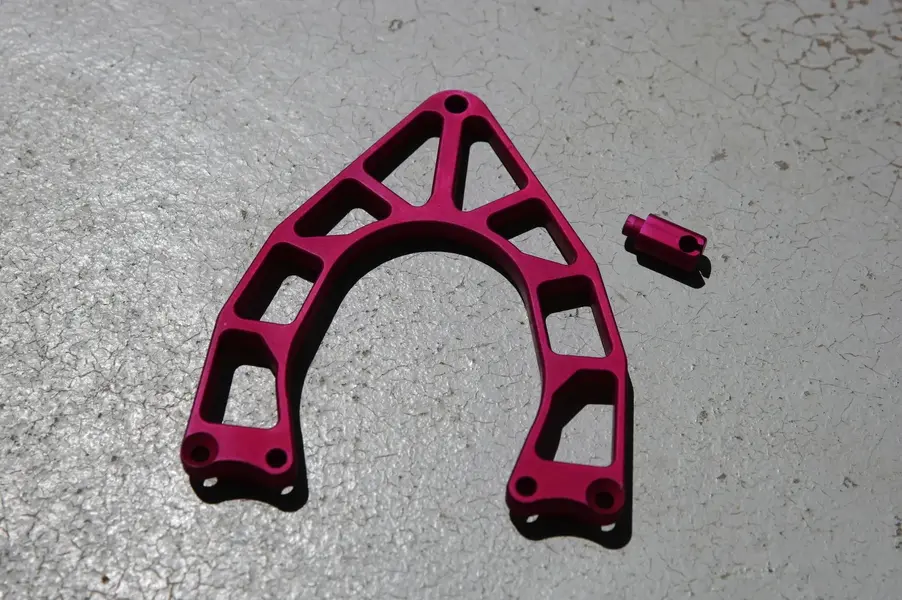
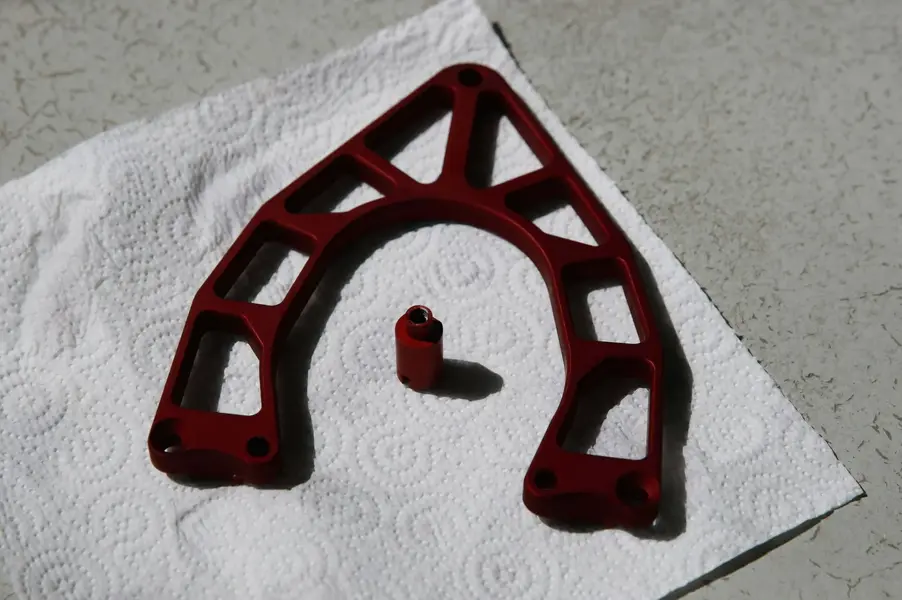
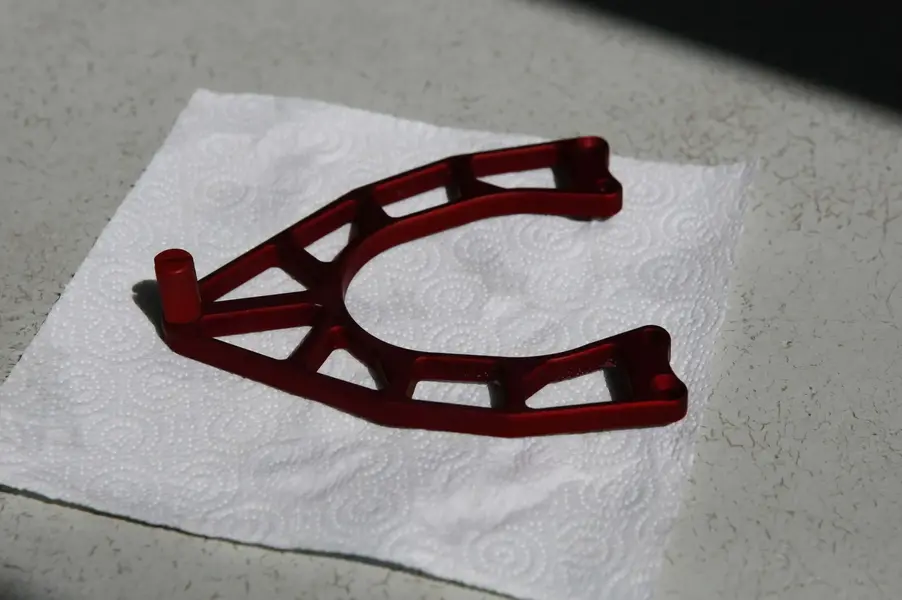
Jury is out on the front brake bridge... Was supposed to be 3DV and red, but looks more like plum and red. Either way, there is a tiny bit of contamination in the anodization. Not sure if I'll do this one again or just keep moving forward. Blemishes aren't bothering me too much.

Very hard to capture the color in the sunlight even though I am using a DSLR with various settings and flash options. Just think 'plum' and 'red' brake cable stop. :LOL:

Edit: something screwy happened in the process and the dye is kind of rubbing off with a paper towel. Plus the blemishes! Tomorrow I’ll try again with a different etchant and do a water emersion rinse between steps (rather than a spray bottle). Also I’l hit both pieces with a scotch brite to prep the surfaces a bit better. As of right bow the result sucks!
3O1F4803.JPG 3O1F4804.JPG 3O1F4805.JPG
 
Last edited:
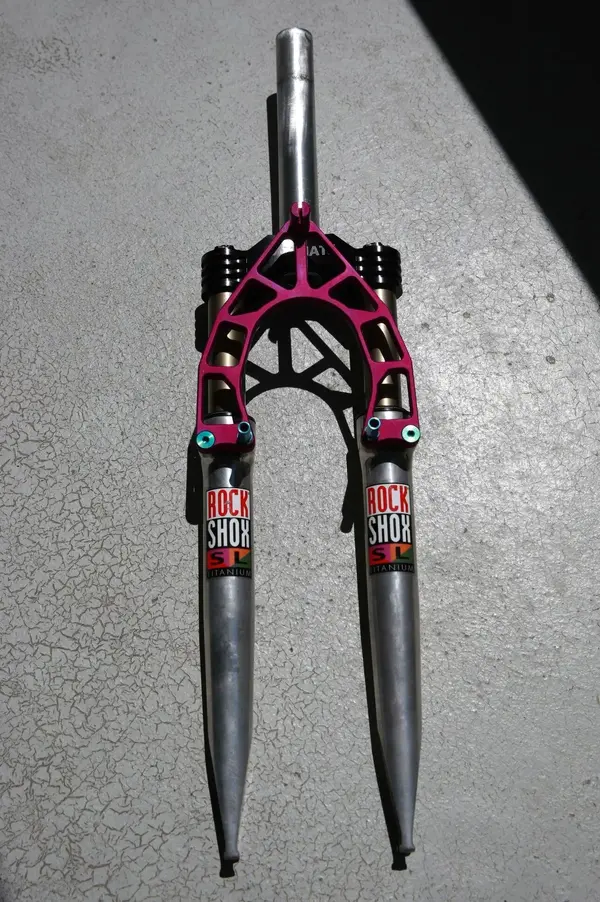
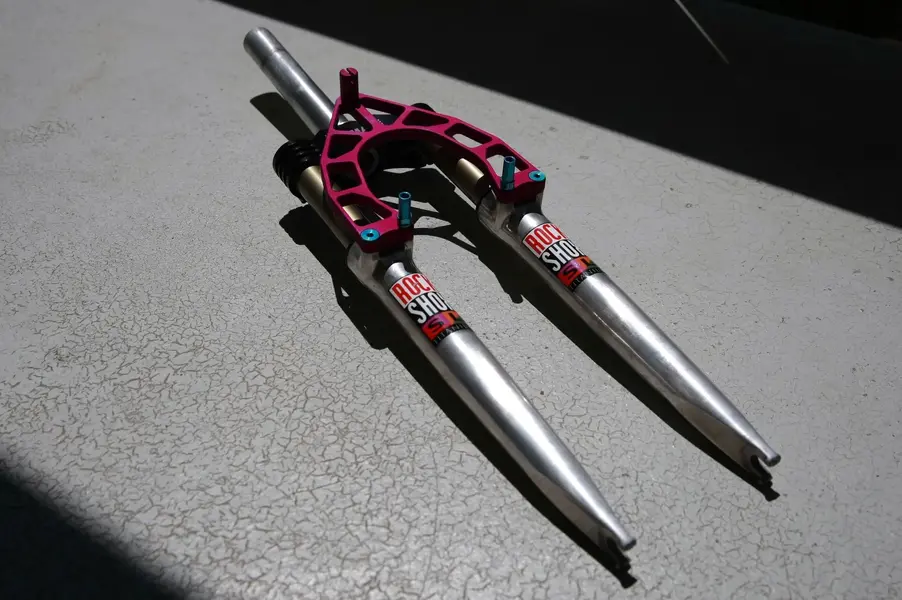
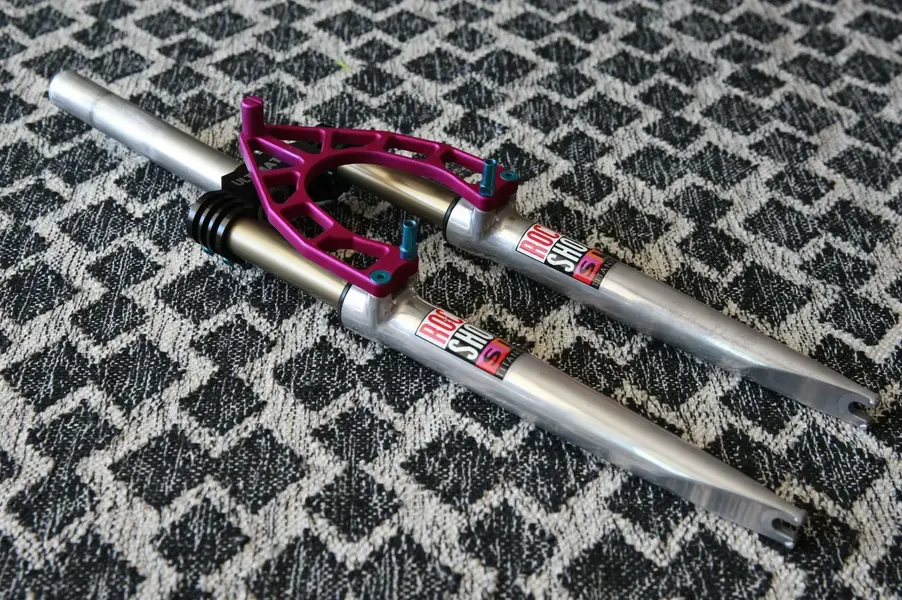
Second go at the brake/fork bridge. I'd say put a fork in this part :cool:. Very hard to tell in the photos, but the brake bridge is very much 3DV. Only thing left for the fork setup is the titanium steerer tube and NOS purple/lavender Ultimate Machine crown I recently picked up. Other than that, the forks, stickers, bolts and brake bridge are completed.

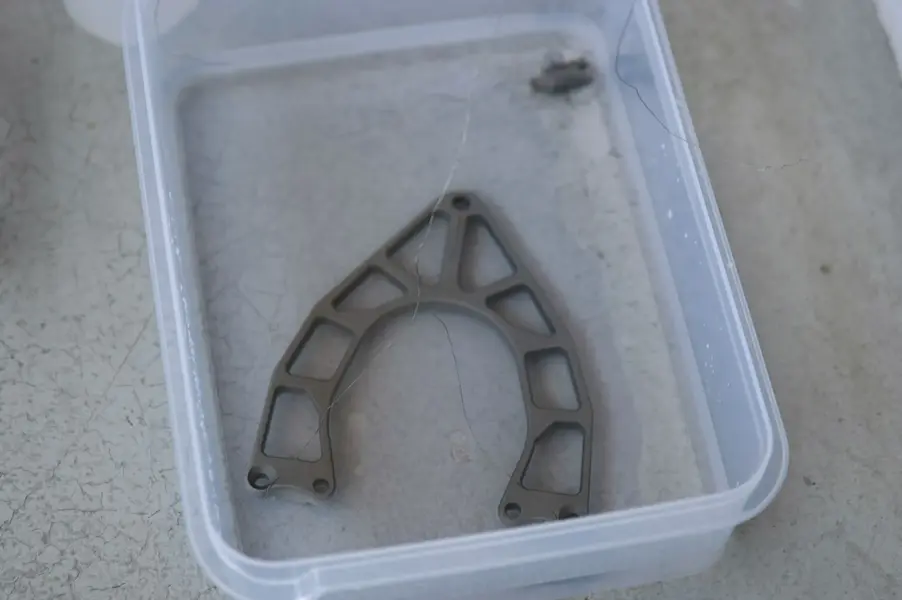
Stripping off yesterdays (attempt) screw up:
3O1F4807.JPG

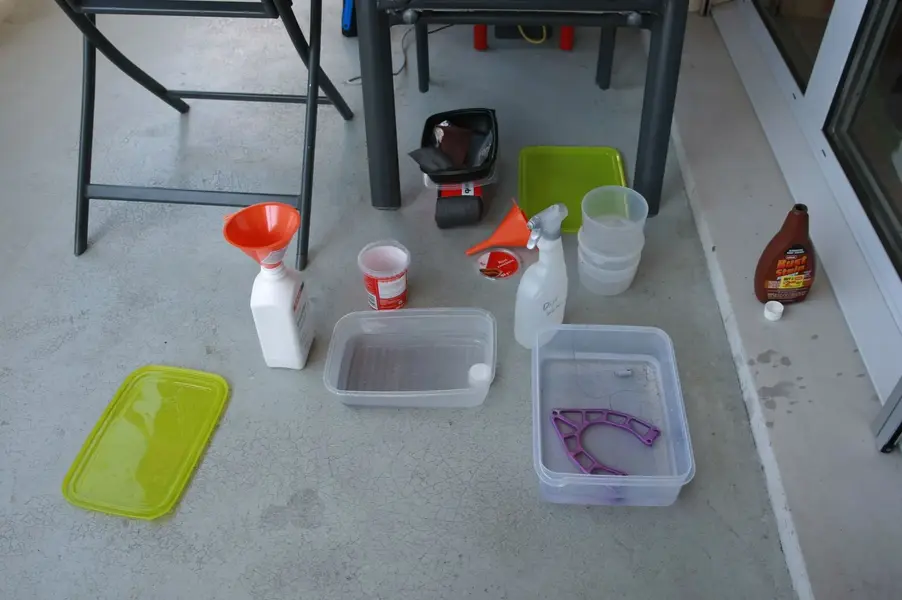
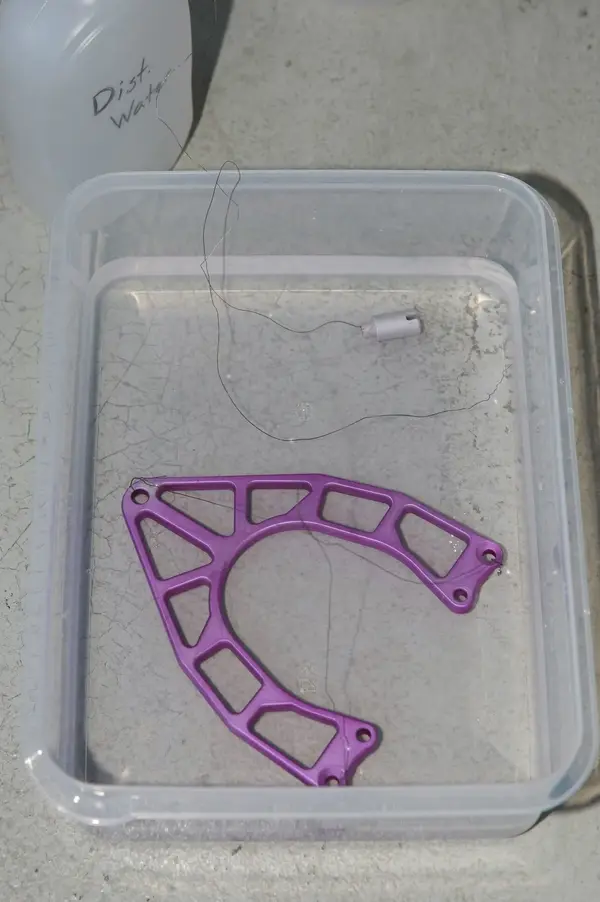
I spent a lot of time in preperation: hot water wash, soap bath, scrubbing with soap and water for upwards of 10 minutes, longer soak in the degreaser, distilled water rinse between chemical steps rather than using a spray bottle and increased the temperature of the dye bath and sealant bath. I also suspended the part in the etch rather than lay the part into the etch, if that makes sense.
3O1F4809.JPG
3O1F4812.JPG 3O1F4816.JPG 3O1F4822.JPG 3O1F4823.JPG
3O1F4824.JPG


...and moving onto the next parts. Goodbye polished aluminum Kooka Racha's. Hello....purple and green? Or?
3O1F4815.JPG
 
Last edited:
I love this thread.
Me too. I get to see all this experimentation combined with success, failure and surprises...

... with minimal time input, zero expense, no mess and no bollocking from the wife from turning a living space into a Doc's (Emmett Lathrop Brown!) workshop...

Bravo and keep up the great work! 💪:cool:
 
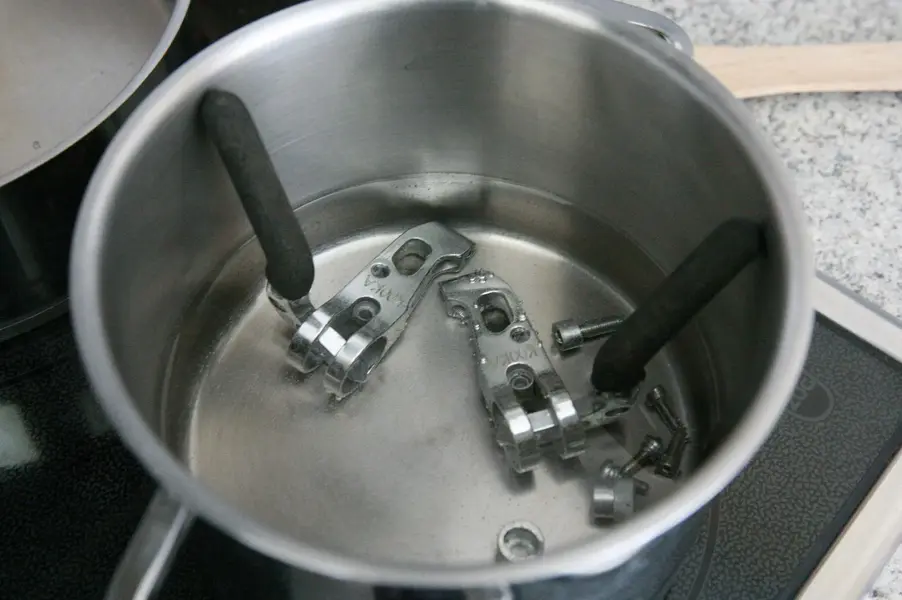
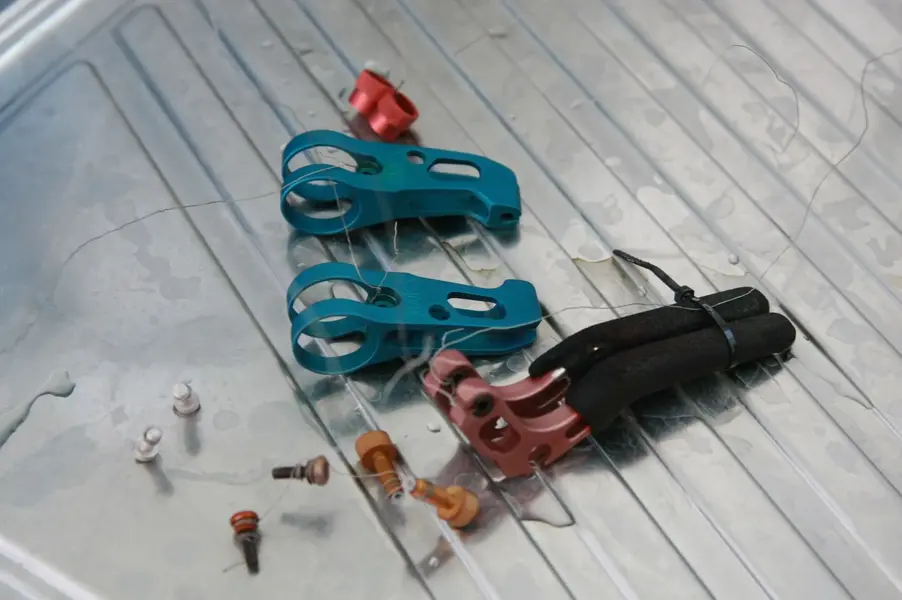
I attempted the Kooka Racha's...

-I had a difficult time with all the dangling parts in the anodization submersion in getting the amps right and the voltage right, so this tells me I had too many parts suspended in the bath at once and I need to do these parts in steps
-still the anodization "looked" good from the anodization bath, through the distilled water bath and into the dyes
-tried to do a Rasta theme; green, red, gold
-everything looked ok going into the sealant bath
-residual dye on the parts to the sealant bath all mixed in the water
-green is slightly dark, red is muted and gold has a red tinge to the color
-anodization did not take to the brake levers, telling me the voltage was too low and the amps didn't reach PAR
-discovered two bolts are titanium and will take them out of the anodization process to do them with voltage instead

There really is no rushing this process or for that matter, cutting corners. I learned today that surface area-to-amperage needed really adds up quickly and will forbid the power supply from reaching 12V constant hold, which is what you want. Additionally I learned that I cannot seal the parts if there are multiple colors involved and they must be done separately. I kind of knew that, but wanted to try anyways. Though this costs about five hours of work total to redo all the Kooka parts again. Live and learn. I'll try again tomorrow.

3O1F4826.JPG
 
I love this thread.

This dude is off the chain! 🤪🤣

Star12

Me too. I get to see all this experimentation combined with success, failure and surprises...

... with minimal time input, zero expense, no mess and no bollocking from the wife from turning a living space into a Doc's (Emmett Lathrop Brown!) workshop...

Bravo and keep up the great work! 💪:cool:
Glad you all are enjoying. I never imagined the aluminum anodization would be so time and labor intensive. For those who do this professionally, hats off to you. There are so many variables to get correct, else the final product is off color, no color or blotchy.

If you have any suggestions on colors or colorways, feel free to add. 🤙
 
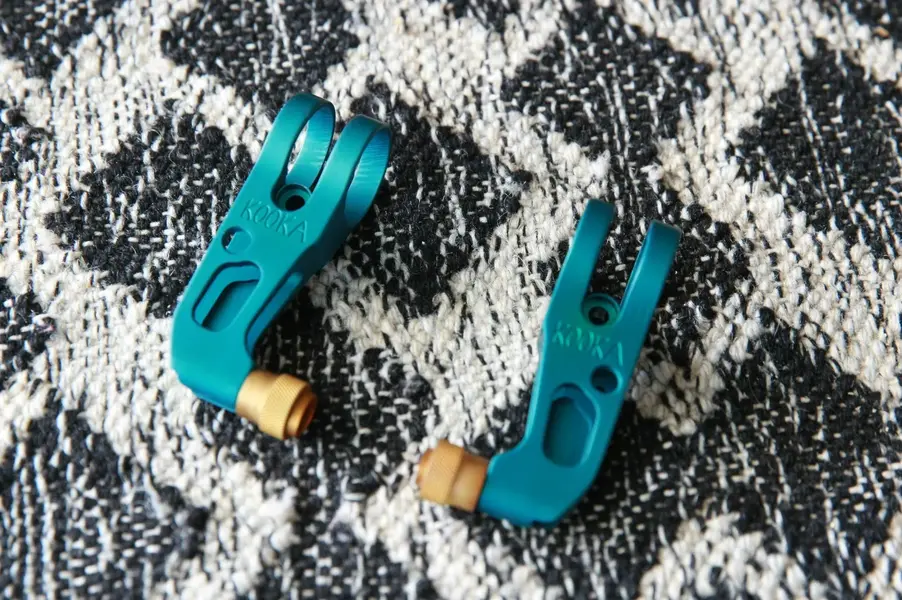
Another attempt at the Kooka Rachas. I had to re-reference myself with the green dye I bought from Caswell, and the color is consistent with the result I have. The cable adjusters absorbed the gold dye somewhat well, so those can stay as-is too.

My problem today has been trying to deduce whether the bolts and actual brake levers are made of titanium or aluminum. My mind says aluminum but my body says titanium :LOL:

- I have tried two different etch solutions; my aluminum etch and my titanium etch
- Both etch solutions do the job
- I would then anodize the parts for upwards of 90 minutes in the aluminum solution then throw the parts in the red dye and nothing happens
- Ok...redo the etch then attempt to throw voltage in the titanium solution...with no change in surface color
- I suppose at this point in time the bolts are some kind of aluminum alloy that doesn't anodize well
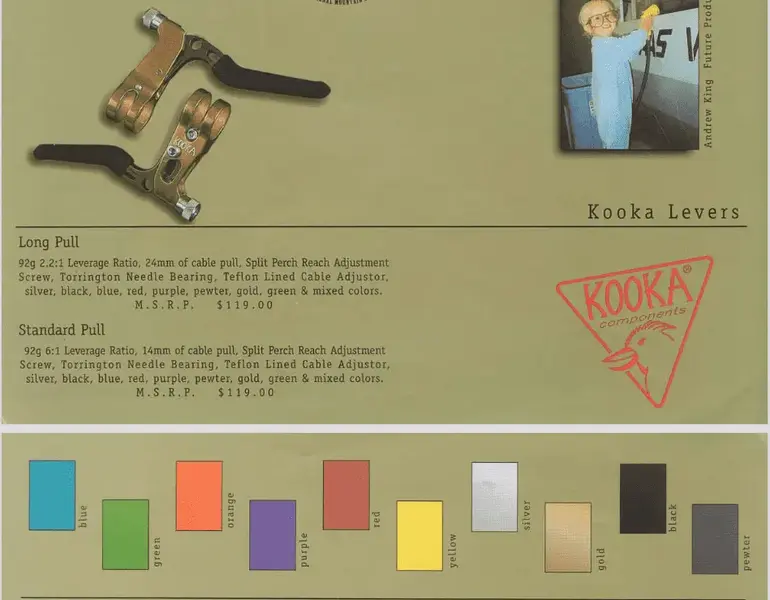
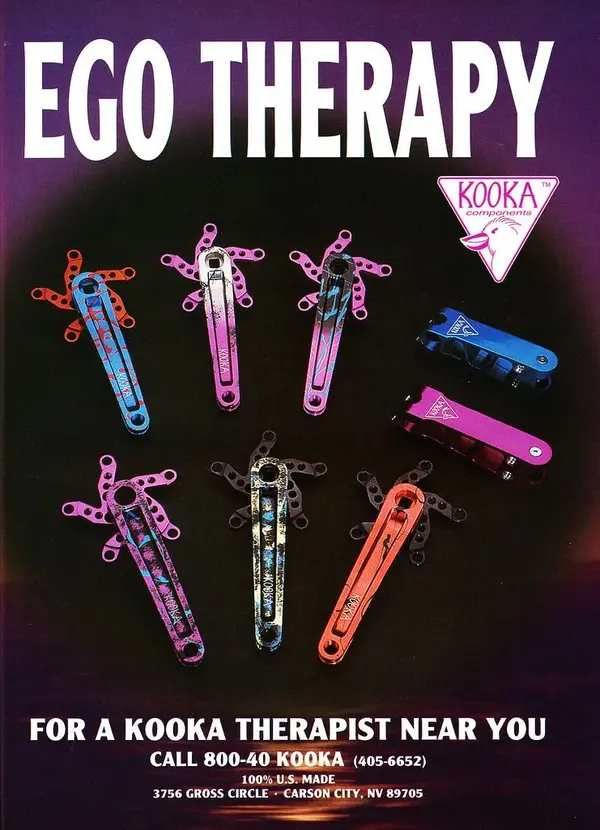
- Looking at the catalog photo, the bolts are not anodized and maybe due to the alloy composition
- The actual brake levers are anodized green in the catalog, so these are definitely aluminum...but the composition is a mystery
- For the red levers, perhaps that is just a hard color to deal with on this alloy so I will use something else, suggestions?
- Currently the handlebar adapters are "ocean green" and the cable adjusters are gold
- Also the etch ate off the brass pivot bearings in the brake levers so now I get to hunt for a solution, yay!

I also have my SRP cantilever brakes soaking in commercial grade degreaser. Once I can get past the brake levers, those will be next to anodize. They are a mix of aluminum and titanium so I assume these will be time consuming.

Screenshot 2023-06-15 at 14.32.03.png 3O1F4827.JPG 3O1F4828.JPG
 
Unfortunately I can´t help you much with any of your questions/problems, but rest assured that I´m eagerly following your journey.

Only for the bushing problem you may find a solution here:
 
Good stuff Brandon. Kooka Racha levers never had titanium bolts or parts originally, although it’s plausible that your set have been retrofitted with aftermarket bits over the years.

So will you be graduating onto and experimenting with more advanced Kooka colours? 😜

Star12

E31FF21C-7A36-4963-8766-4D10E6CF43F3.jpeg
 
Back
Top