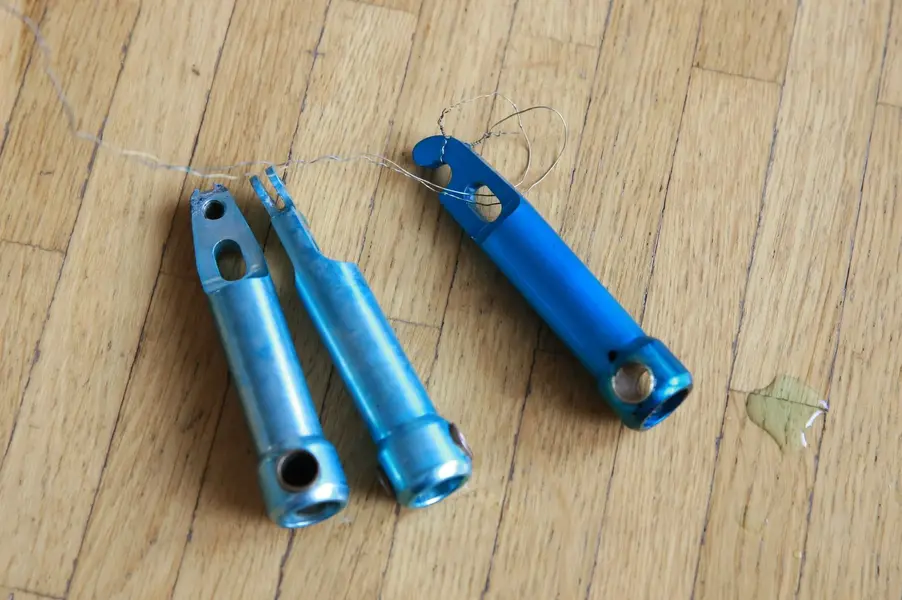
Attempt #02 with the cantilever arms. I took a rough scotch brite pad to the surface and performed a long duration polishing. Then hot soapy water clean followed by ten minute submersion in commercial degreaser. Came up with a better suspension system and etched for about ten minutes. Anodization was about an hour and ten minutes or so. 8V @ 3 amps, but this quickly dove to around 0.175 amps (which is very good). I did one piece rather than committing to two, just to see if I can get the process to work. Though, I hope I can get a close color match with the other arm as these are done separately!

15 minutes in the dye bath at around 40C, then a quick dip in the sealing bath.

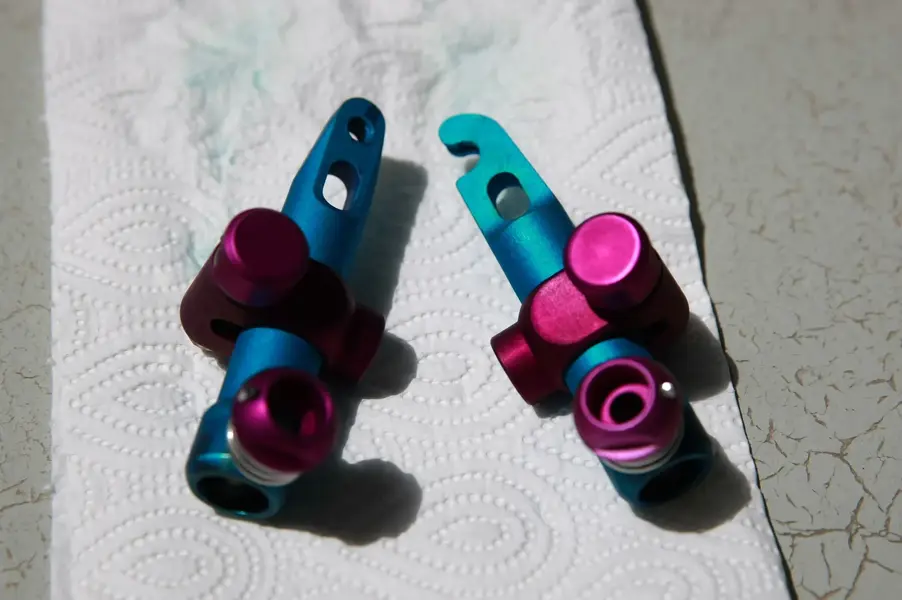
Looks blue in this photo (white balance issue), but is absolutely teal in person.

First go's on the left, second go on the right:
3O1F4858.JPG
 
I had to fully redo the SRP cantilever brake pillar pieces. The purple/3DV parts are complete along with one set of brakes themselves. What I thought was good in the last post began flaking off. Had to toss the prior etchant solution and make a fresh batch. So far the first set took color quite well. Also extended the etching time from about 5 minutes to 15 minutes to make absolute sure the acid eats at the surface and any remaining OEM silver anodization.

Been a fight and a half with etching, anodizing and dying. I have about 20 hours into these with all the redoing and troubleshooting.

3O1F4860.JPG
 
Parts update! Big THANK YOU to @RockiMtn for the chain rings and @Star12 for the reassuring vouch!

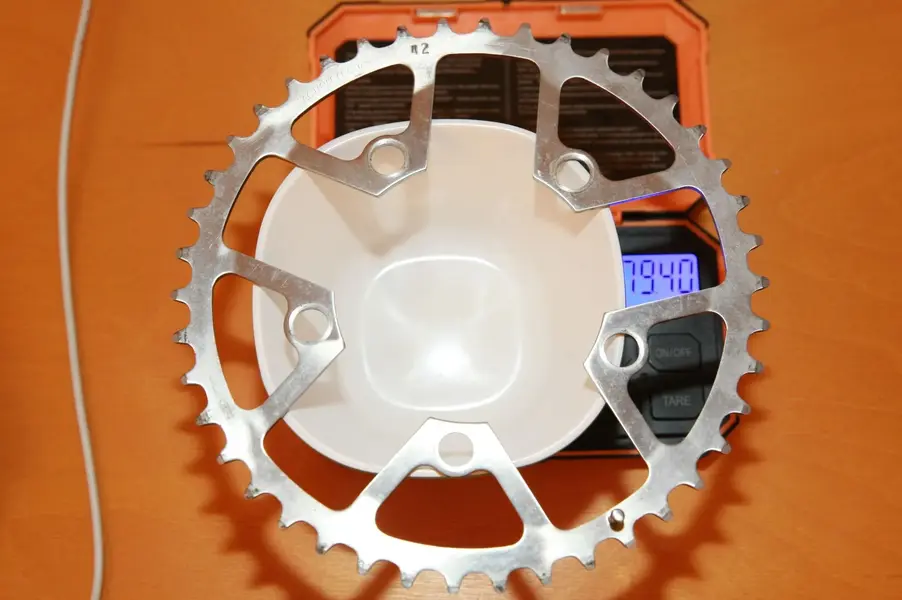
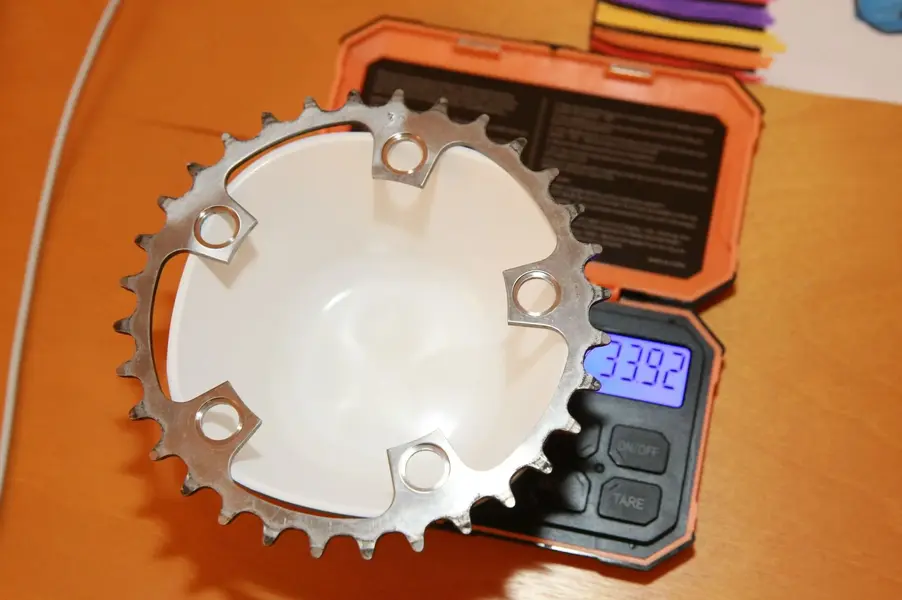
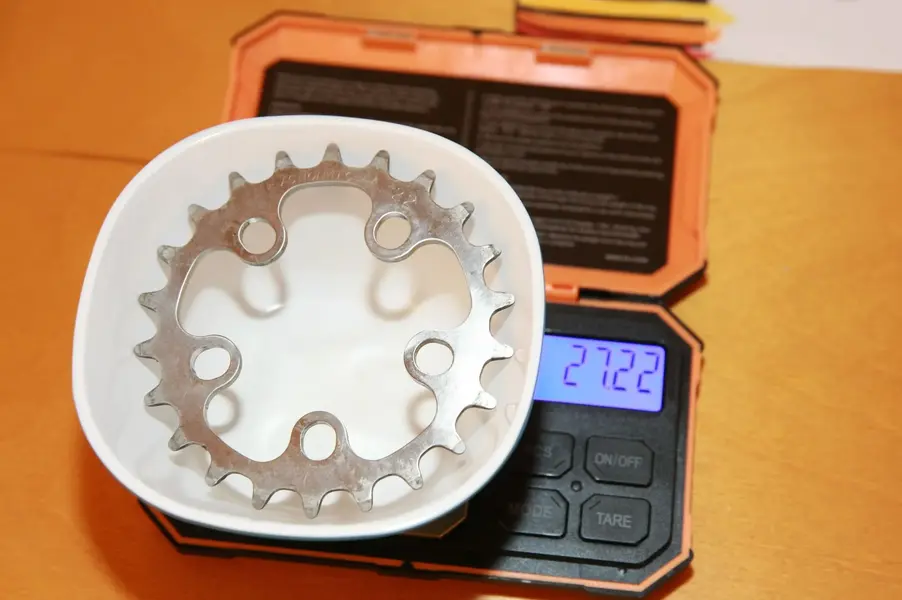
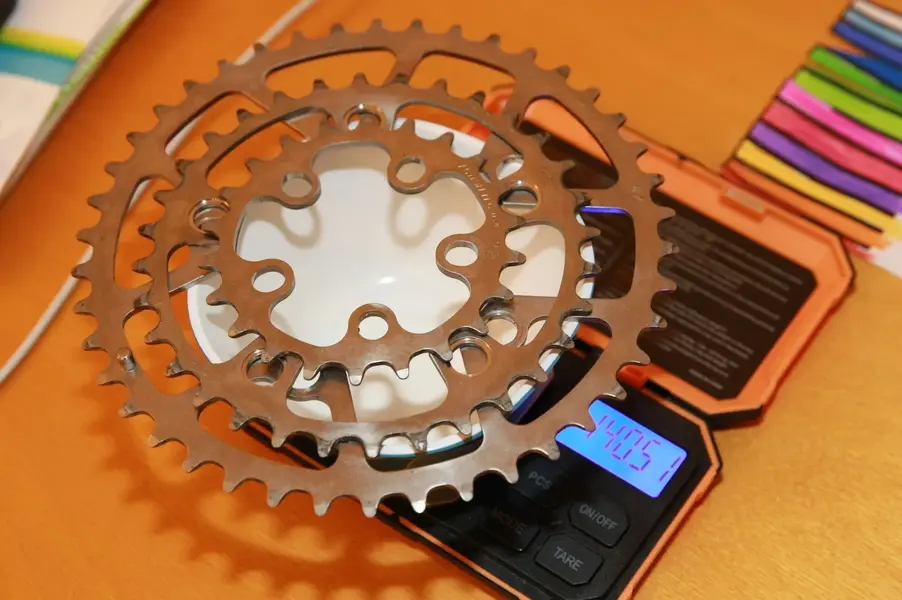
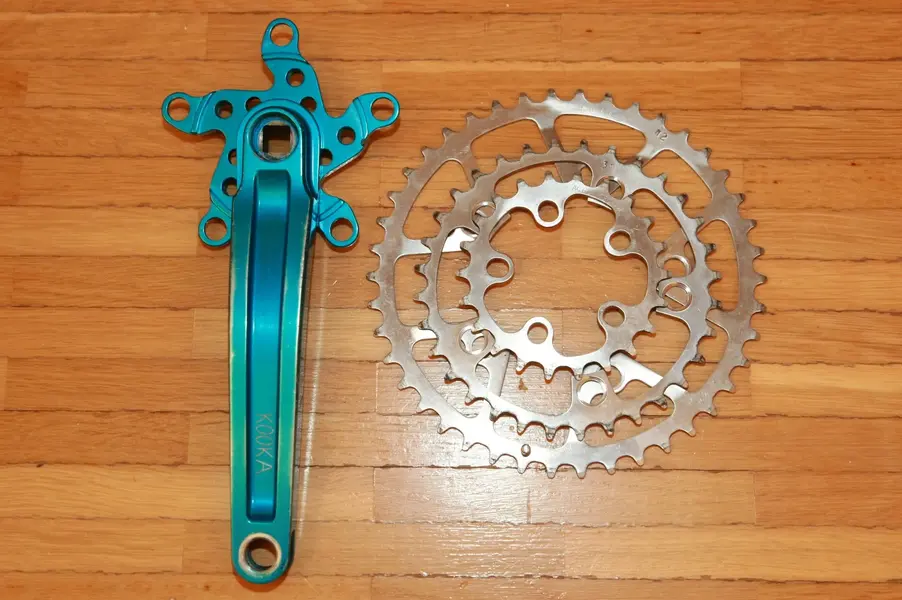
Action Tec titanium chainrings 42-32-22 compact set. That settles the crank dillema of choosing the Kooka or Grafton cranks; Kooka it is.

New weights:

42: 79.40 grams
32: 33.92 grams
22: 27.22 grams

Just waiting on the chain ring bolts to arrive and will anodize these rings. Any color suggestions or colorway suggestions? The Kooka cranks will stay predominantly teal.

3O1F4879.JPG
3O1F4880.JPG
3O1F4881.JPG
3O1F4882.JPG
3O1F4883.JPG
 
Parts update! Big THANK YOU to @RockiMtn for the chain rings and @Star12 for the reassuring vouch!

Action Tec titanium chainrings 42-32-22 compact set. That settles the crank dillema of choosing the Kooka or Grafton cranks; Kooka it is.

New weights:

42: 79.40 grams
32: 33.92 grams
22: 27.22 grams

Just waiting on the chain ring bolts to arrive and will anodize these rings. Any color suggestions or colorway suggestions? The Kooka cranks will stay predominantly teal.

View attachment 757824
View attachment 757825
View attachment 757826
View attachment 757827
View attachment 757828
Same sort of reddish colour you coloured the srp brakes. I think that would look cool. I really can’t wait until you finish this thing, it’ll be mad when done.
 
I liked the Kooka levers with the teal, red and gold barrel adjusters. The gold almost had a vintage feel and the finish on the levers looked really flat/not too polished which made them look really refreshing.

As for chainrings, as they are Ti, wonder if you could get some inspiration from “tie-dye” t-shirts which have come back in fashion? Instead you’d be doing ti-dye chainrings! In my head as they are chainrings and they rotate, I almost envisage the colours radiating out from the centre! No idea how you’d achieve it?! 🤣 Or dip in sections at a time to create a multicolour halo around each ring and stagger each ring slightly so you create a visual dynamic between them when fixed to the crank... yes I’m a creative by trade! 🤣

I think it is possible to use a 'mask' to protect areas from being coloured. Coloured areas could then be masked and another colour applied to the non-masked area. Just needs to be something that can be brushed on, or cut to shape and stuck on.

Maybe liquid latex applied with a brush?
 
Thanks for the suggestions. I like the idea of red and I like the idea of a Ti-dye. With my limited knowledge of anodizing titanium the problem would be a soft transition between colors to sort of look like the boarder when two different water colors meet. They sort of bleed together to make a soft boarder. With titanium the color is applied with straight electricity and a specific voltage equaling a specific color. Or with heat, but I don't go there and risk fatigue of the part.

There are two methods for varying color:
1) mask off portions with nail polish then start with the highest voltage first and work backwards. Color transition is rather hard. Look at old Kooka cranks with the "lightning" coloring as an example.
2) "drawing/painting on the color" using the anodizing solution applied with a paint brush, Q-tip or sponge. This may give a softer color transition. At least in my imagination this seems more appropriate to get a tie-dye effect.

🤔 I'll need to do a bit more homework on the "drawing" technique

You need to go down the rabbit hole of brushes. There are so many different shapes and can be modded for different effects. Have a look at traditional Japanese brushes. Not the typical caligraphy brush but the wider types.
 
You need to go down the rabbit hole of brushes. There are so many different shapes and can be modded for different effects. Have a look at traditional Japanese brushes. Not the typical caligraphy brush but the wider types.
I'll try my best (psst: which is amateur ;) ). There isn't much surface area to work with which will be a challenge in and of its self. Maybe restrict this process to three colors max. I'll upload photos, and if the result is total rubbish, then I'll do the solid red anodizing as suggested above.
 

Latest posts

Back
Top