Unfortunately I can´t help you much with any of your questions/problems, but rest assured that I´m eagerly following your journey.

Only for the bushing problem you may find a solution here:
https://www.igus.de/iglidur/zylindrisches-gleitlager
Good stuff, thank you for the link! Worst case if there is a problem finding the right diameter, I may consider nylon or teflon bushings and trim/drill to size.

Good stuff Brandon. Kooka Racha levers never had titanium bolts or parts originally, although it’s plausible that your set have been retrofitted with aftermarket bits over the years.

So will you be graduating onto and experimenting with more advanced Kooka colours? 😜

Star12

View attachment 750019
Thanks man! I am pretty sure these are all original hardware. Some of those cranks have three different anodization processes and three different colors. Worth a try. Worst case I strip off the mistakes and anodize a solid color to the crank arms.

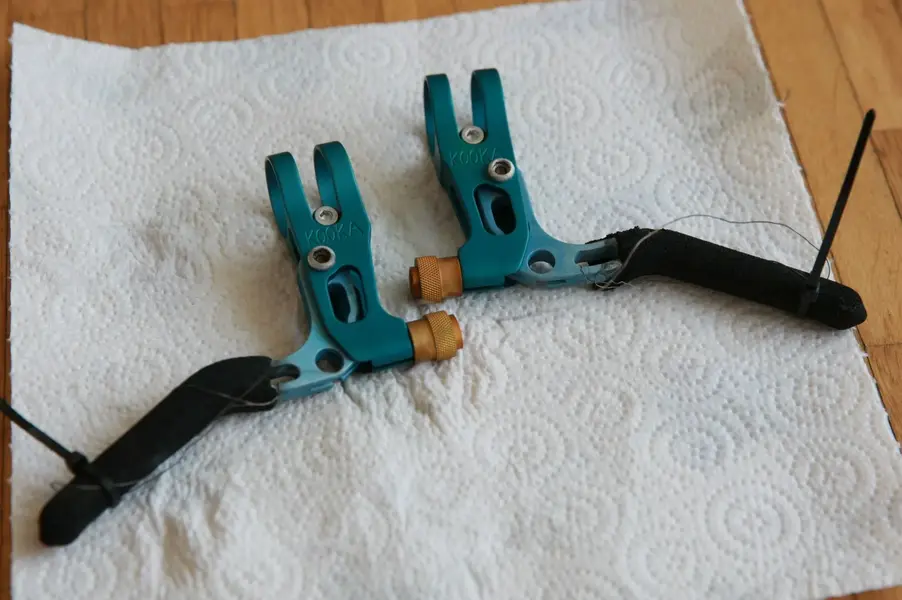
I think at this point in time with my fourth attempt of anodizing the brake lever parts (a blue this time). As you (all) can see in the photo here, the blue is very muted, very dull. Me thinks the anodization time needs to be reduced OR the anodization bath is too contaminated to move forward OR I am pushing too many volts through the parts. Does the blue look "dull" or "opaque" to you (or anyone else)? Ahhh! Or, this finish is considered "patchy" which may be due to fluctuating voltage during the anodization bath. Man...titanium is so much easier...

Edit: I am also thinking too with all my anodizing lately that the chemicals in the foam from these Rachas have leached out and mixed with my solution compounding the unstable and problematic state if the anodization adhering to the metal surface. Thinking out loud primarily here too. I need to add this to my thread to maybe help out the next guy who tries to do similar stuff in his kitchen :LOL: . At any rate, I want to cut off these foams but not unless I have some kind of replacement!

Anywho, do you happen to know where to find similar foam grips to these old Kooka's? I am tempted to cut them off completely and put on something similar and new if possible.
3O1F4829.JPG
 
Last edited:
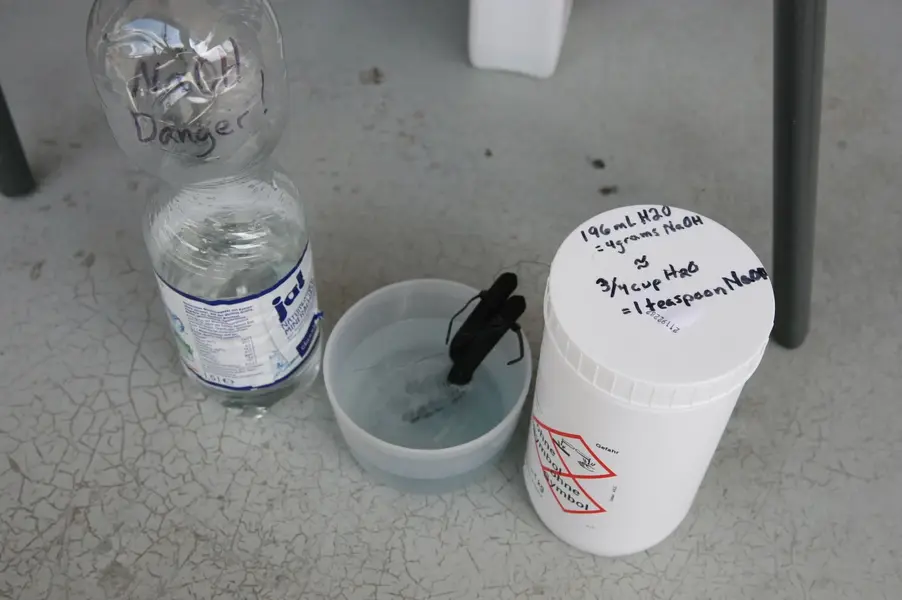
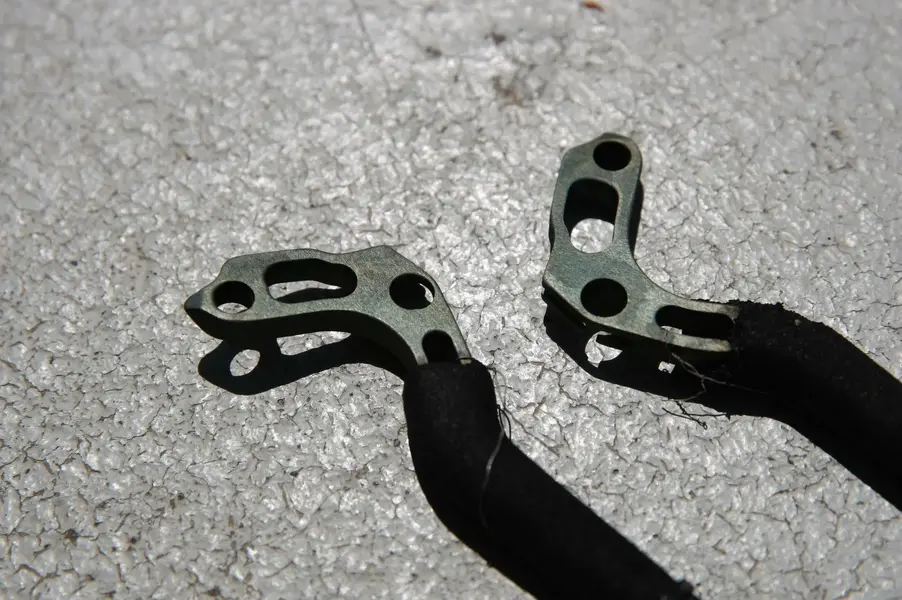
This morning I got a hold of a kg of Sodium Hydroxide (NaOH) to use as an alternative etch for aluminum ONLY. I must say that after an initial etch without surface preparation or degreasing, the coloring of the etch looks promising. Hard to tell in the photos but there is a slightly yellowing hue to the surface of the aluminum, which is consistent with manuals and online resources of what one should expect when etching.

Furthermore, I can save the more aggressive acids for titanium anodization specifically.

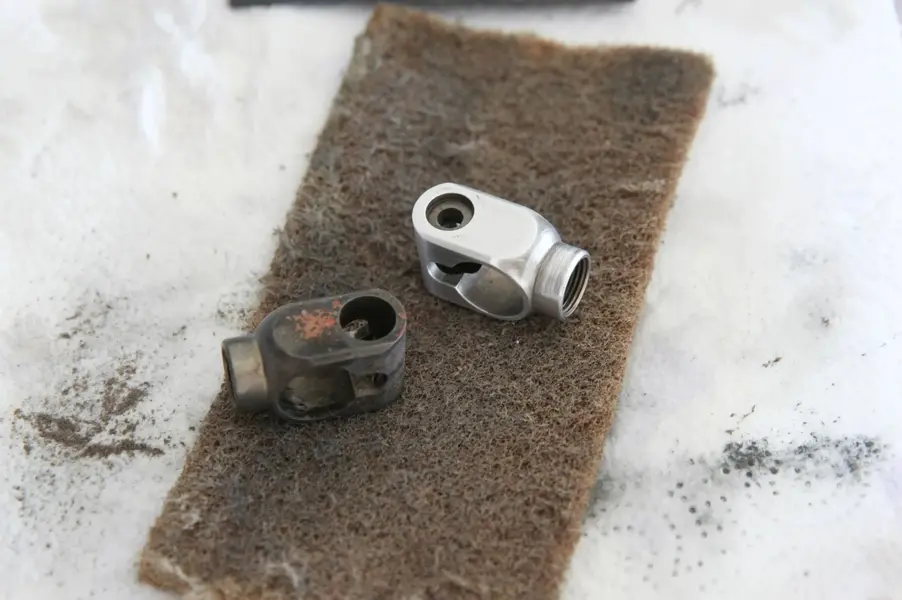
As said, these pictures are a trial run of the NaOH solution. As you can see in the close up there is some spottiness to the aluminum surface. To circumvent this I will do a series of steel wool and scotch brite pads to prep the surface, before degreasing then the etch again. Not going to happen though for a few days as its the weekend and family time!

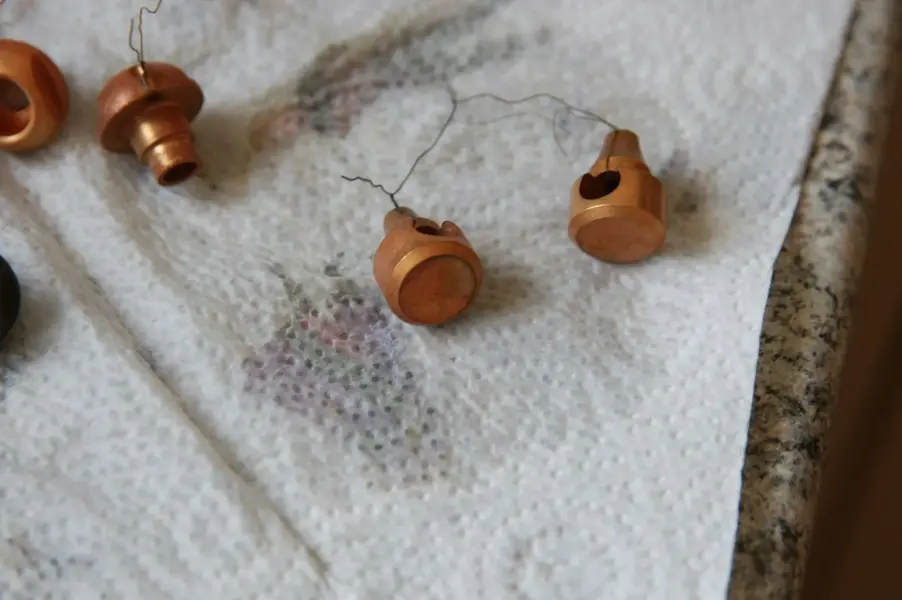
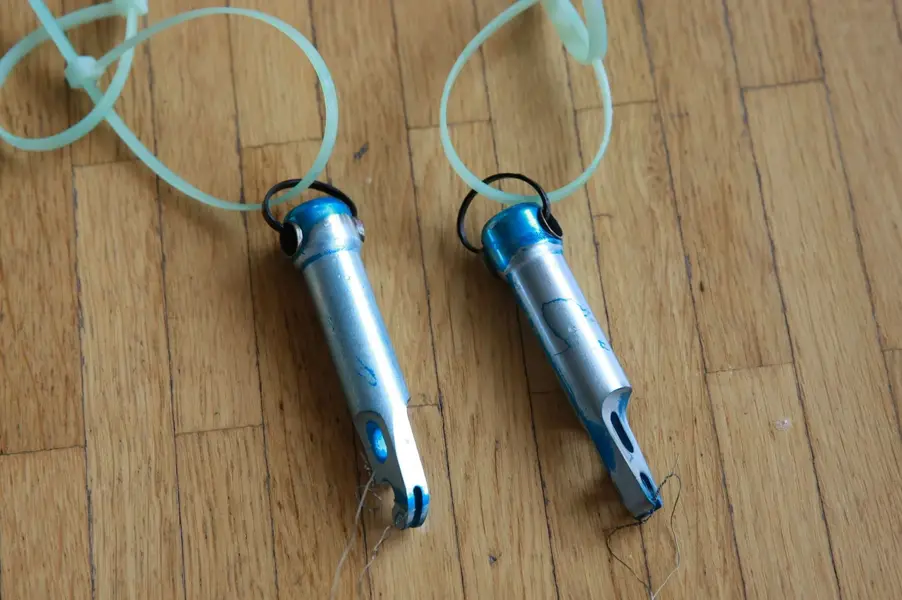
In the brake levers for the brass bearing that was eaten out by the acid, the hole is 6 mm which makes things kind of easy to repair. I can either go brass again or aluminum stock and cut/drill to spec.

3O1F4832.JPG 3O1F4833.JPG 3O1F4836.JPG
 
La Kooka Ratcha, La Kooka Rasta.

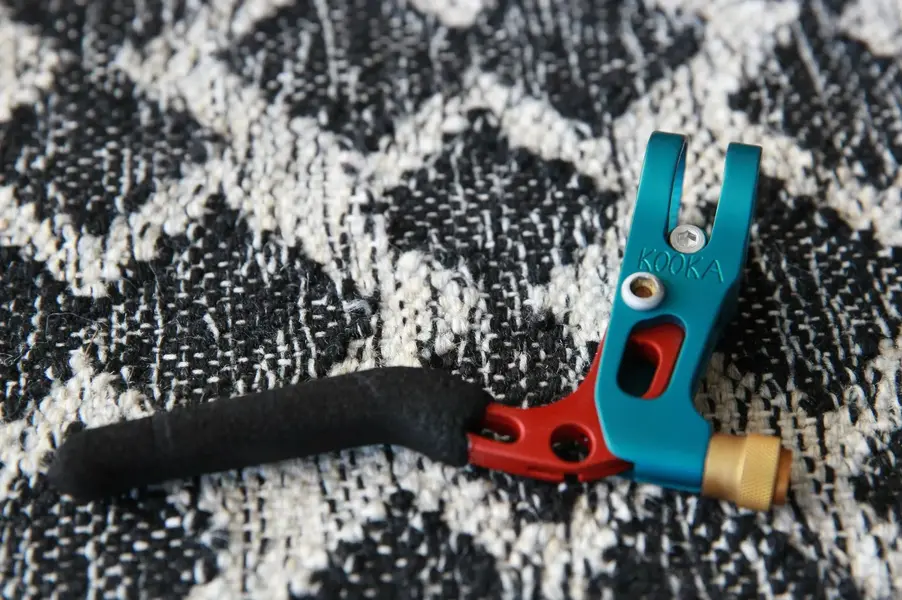
These brake levers just about drove me nuts. Just to get the red color took about 15 hours. Based off of a few posts above I have concluded that the anodization solution was too tainted to move forward. I had to replace that this afternoon AFTER another failed attempt I tried this morning. Another issue was the voltage. I was setting the voltage a bit too high. Dialed down to 8V rather than 12V. Increased the amperage to 3 and let the digital display tell me when PAR was reached (about an hour in the anodization solution @ 0.137A ).

The big tell is when the part is placed in the dye. Either the dye uptakes immediately or not. Slow simmer on the stove for about 15 minutes, distill water pre-rinse then into a water pot of boiling water for 15 minutes.

The color isn't as vibrant as I want, but is consistent with the vibrancy of the gold and the green. All in all the coloring is pretty uniform and I am happy with the results. To do list: either make the bushings that dissolved in the acid or order them online from the company recommended above by @Dr Dremel . Lastly, I need to replace the grips as one is pretty chewed up and now they are impregnated with red dye and @Star12 is being kind enough to help me locate some! There are these too, but seems rather expensive for a little bit of foam: https://www.ebay.com/itm/175656352766

Next up are SRP aluminum/titanium canti brakes. Not exactly sure what color(s) to do yet, but loosely maybe 3DV & teal with gold bolts. I'll have to sort out which parts are aluminum and which are titanium so this will be time intensive also. Another thing I need to look for is the pivots are brass but worst case scenario the link from user Dr. Dremel has tons of options to replace these sleeves if needed.

3O1F4837.JPG 3O1F4838.JPG
 
When you click on links to various merchants on this site and make a purchase, this can result in this site earning a commission. Affiliate programs and affiliations include, but are not limited to, the eBay Partner Network.
Regarding identifying aluminum and titanium; without consulting any tables i believe titanium has a higher electrical resistivity than aluminium. If you had two parts of the same size and weight a multimeter set to ohms/resistance would tell you which is which. Weighing parts that are not the same weight and size, and using a bit of math to make sense of multimeter readings, should lead to identification. Weighing items should help with the settings required for your experiments, too. Maybe you are already doing this? maybe i am wrong?

Levers look ace btw.
 
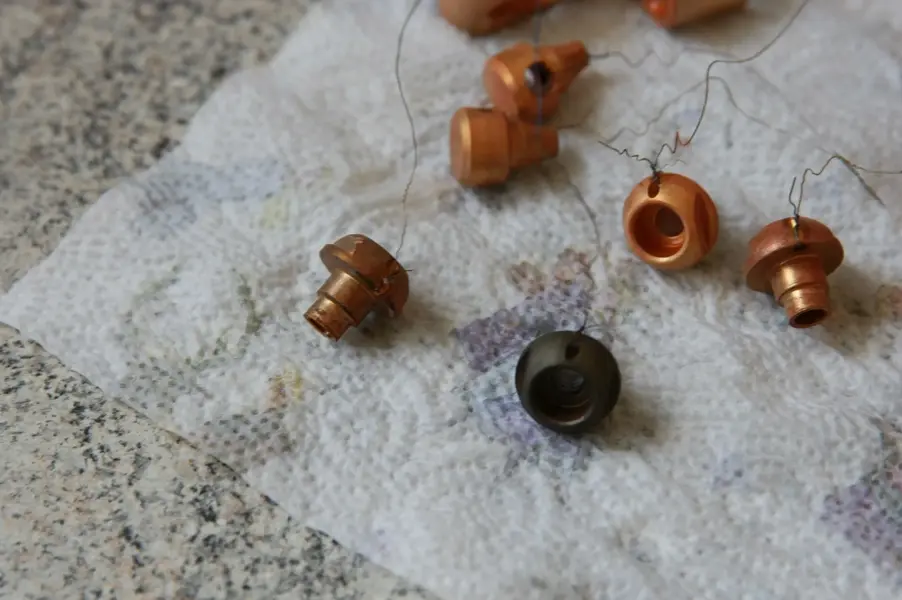
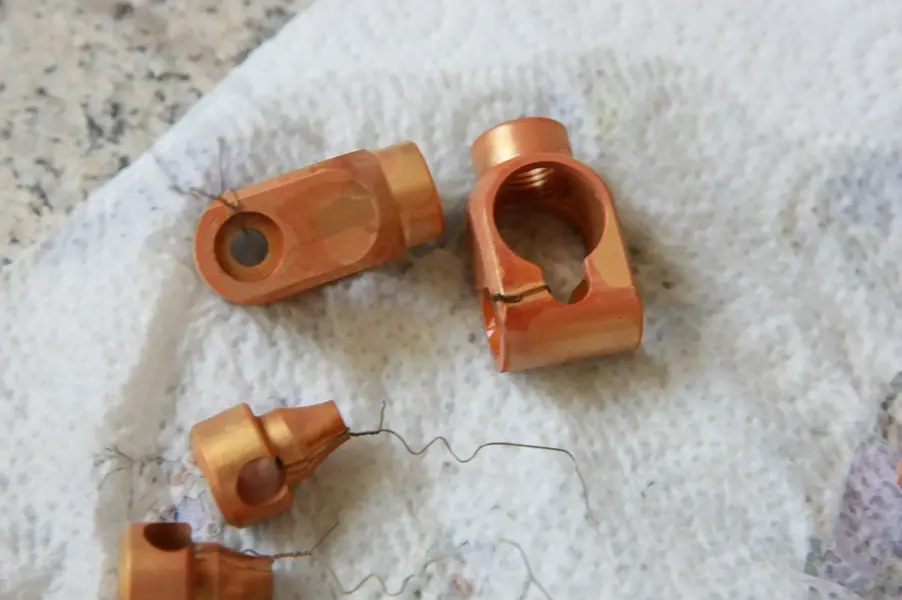
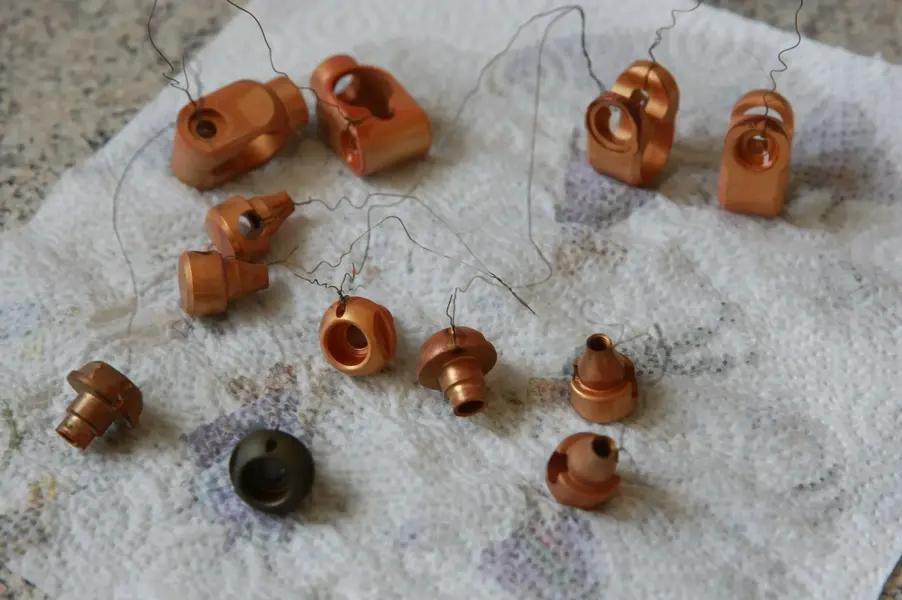
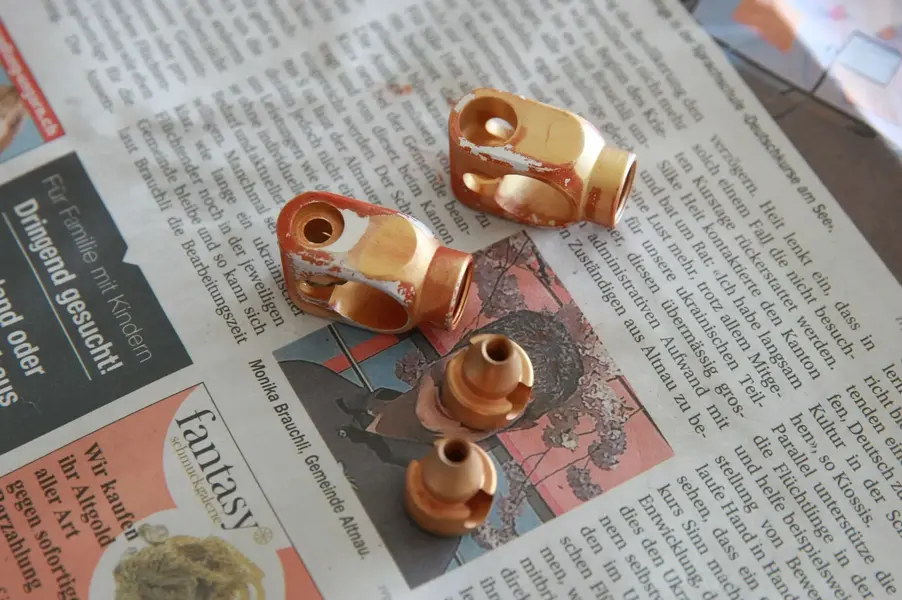
This morning I 'tried' to anodize brake parts to the SRP's. All was well up until the anodization bath where the amps were looking ace, but then shot up from 0.4 to 1.6. Something was wrong, but I let the process continue in an attempt to save whatever happened to anodize. After stopping the process, two pieces looked to have lost or intermittently had voltage. You can see this in the photos.

All in all, these parts will need to be redone! They look like hell. Another thing too is that I am seeing the gold dye deposit to the bottom of my pot during the color application process rather than suspend in the water, so I'll have to see what's going on there too. Maybe the pot sucks, my processes are sucking for sure, and maybe I have a so-so batch of gold dye (but the Kooka parts anodized awesome).

3O1F4841.JPG 3O1F4840.JPG 3O1F4842.JPG 3O1F4839.JPG
 
Regarding identifying aluminum and titanium; without consulting any tables i believe titanium has a higher electrical resistivity than aluminium. If you had two parts of the same size and weight a multimeter set to ohms/resistance would tell you which is which. Weighing parts that are not the same weight and size, and using a bit of math to make sense of multimeter readings, should lead to identification. Weighing items should help with the settings required for your experiments, too. Maybe you are already doing this? maybe i am wrong?

Levers look ace btw.
I didn't consider that and do some homework. Thank you very much. Additionally, you can check if a part is anodized by performing a similar test. If the ohms reading is low to zero, the part is likely anodized. I mean, we all know a colored part is anodized, but some are anodized natural, so if you or whoever is unsure, your test applies here as well.
 
SRP brake parts 2.0, 2.1 & 2.2 (trying gold again, problems then purple)

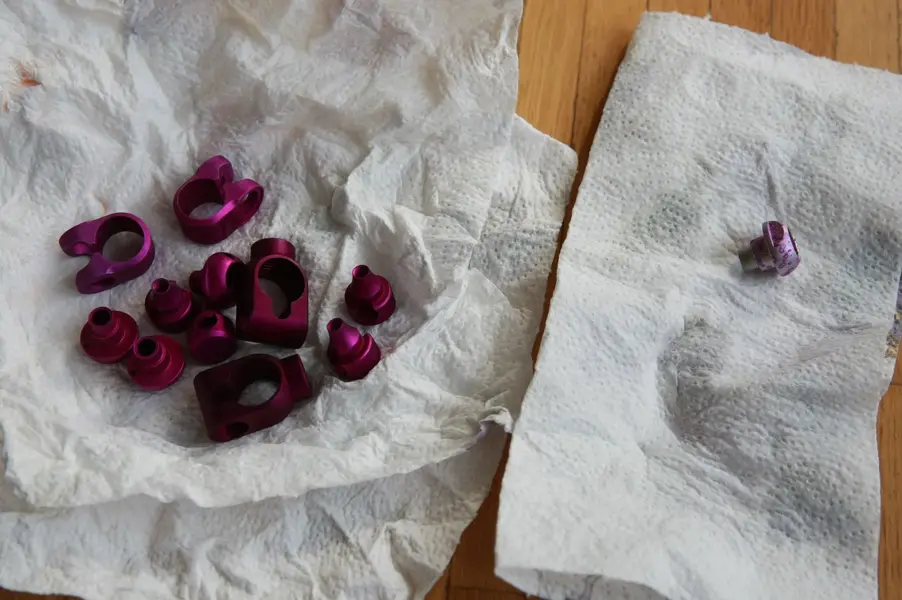
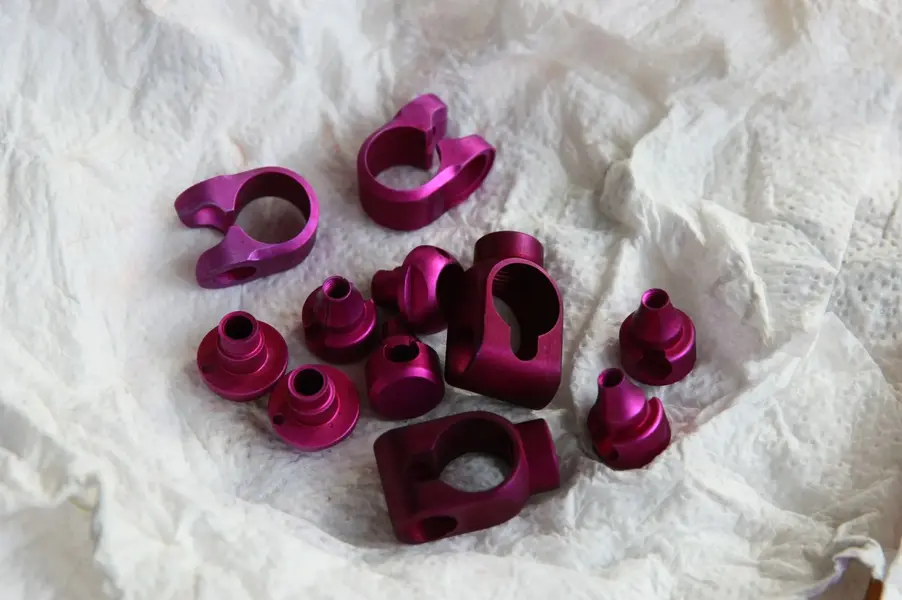
After attempting gold again, and a few physical reaction happening, I determined the mixture of gold is off. I went for a last try and noticed that while the gold dye solution as heated, the water was stratifying and the dye particles where bonding then sinking to the bottom of the pot. I wanted to do Turquoise and Gold for the brakes, but that's not going to pan out at this juncture.

Rather, I went with 3DV for the auxiliary brake hardware shown here. Yet, there is one of those pieces giving me the run around. It just will not anodize no matter what I try. If I cannot get it purple today in one more try, I'm just going to color it in with a sharpie :LOL: .

The actual cantilevers will be turquoise, but I have to see what I'm going to do at the brass pivots. I really don't want those eaten off or corroded, so I may 'dip' the anodization such that one side of the part is turquoise and sort of fades to polished aluminum. We'll see. That means a lot of standing around and hands-on.

Prep work: 320 grit wet sand and coarse scotch brite
3O1F4844.JPG

Patchy gold adhesion
3O1F4845.JPG


3O1F4850.JPG 3O1F4853.JPG


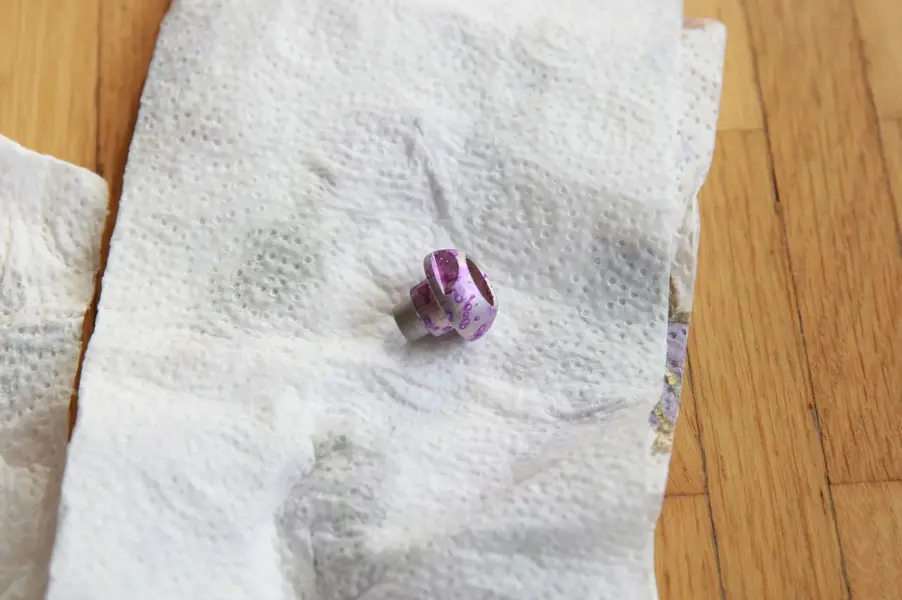
Final troublesome part, attempted to anodize I think five times now... 3O1F4854.JPG
 
I'm curious: How much material is lost in an anodizing attempt? Should you worry about structural integrity?

How about 'painting' the problematic part with a sharpie or similar? Might rub off a bit in use, but it's easily reapplied.
 
I'm curious: How much material is lost in an anodizing attempt? Should you worry about structural integrity?

How about 'painting' the problematic part with a sharpie or similar? Might rub off a bit in use, but it's easily reapplied.
Provided you are watching the etch process or at least mindful of the time of submersion, the loss is basically null, because the anodization process reintroduces a ceramic layer on top of the aluminum. Of course all in an ideal, one and done session. We're talking microns in 'layers' here too. Very very tiny differences.

Mhm, I may have to do it with this one piece of aluminum. We'll see! I highly doubt it anodizes...my power supply read out at the moment says the anodization process isn't working very well.

8V @ 0.6A - no drop in amps
8V @ 0.8A - no drop in amps
8V @ 1A - no drop in amps
8V @ 1.2A - voltage finally becomes the control via the power supply, and I get an initial drop in amps. For this tiny part, the amperage is quite high. Should be more around 0.3 to 0.4 amps to start the party.
 
Back
Top