You are using an out of date browser. It may not display this or other websites correctly.
You should upgrade or use an alternative browser.
You should upgrade or use an alternative browser.
‘96 Kona Kilauea (was ‘95 “Kilueua”)
- Thread starter arnomatic
- Start date
TreaderSteve
Senior Retro Guru
Headset looks the part but why is the King script upside down on the top race?!
It’s a good question. When I wrote the update, I went back and forth over justifying the purchase and in the end couldn’t really think of a strong argument for or against it. A friend had one on his fixie a couple of years ago and I found it funny that something that costs so much could be had for so cheap. I’m not saying the quality is anywhere near the same, but from a distance, it looks the part. (I was also unsure on going blue, and this trial and error was a lot cheaper).But why a fake Chris King?
I might buy Chris King hubs if I had the money, but something about a >£100 headset feels a bit trivial when a £15 one feels the great. I guess the same could be said for other components. It’s not just about their feel, but the quality, design, reputation.
As you can see I’m conflicted too. I can change it in the future if necessary. I’d never claim that it was real, and even mounted it upside down (@TreaderSteve) to invite conversation about it. It also looks funny. I’m open to discussion about it for sure!
U know itUpside down king headsets is trendy AF right now innit
LittleJames
Retro Newbie
Love the look of this bike!!
Haha! Thank you. Will you be starting a thread for yours?Love the look of this bike!!
Updating this thread on the painting process! Since Saturday, I've stripped, etch primed, high-build primed and (today) painted the frame. It's been a fantastic process, something I've always wanted to try. I learnt a lot from @enc's Youtube videos, and then later his more in depth threads. If you're interested in painting your frame, his threads are as insightful as they are entertaining. So thanks @enc! I've filmed some bits of my own process, and might put them into a video of my own if all goes to plan.
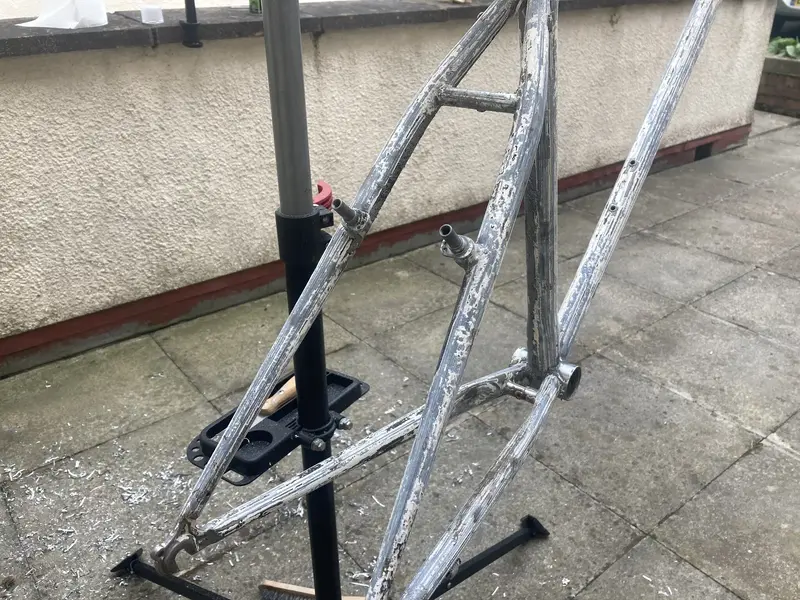
Here's the frame mid-strip. It took around 3 hours and a can of Autotek stripper to remove it all. Three paint jobs added 107g to the frame, which isn't as much as I'd expected (skinny tubes take less paint i guess).

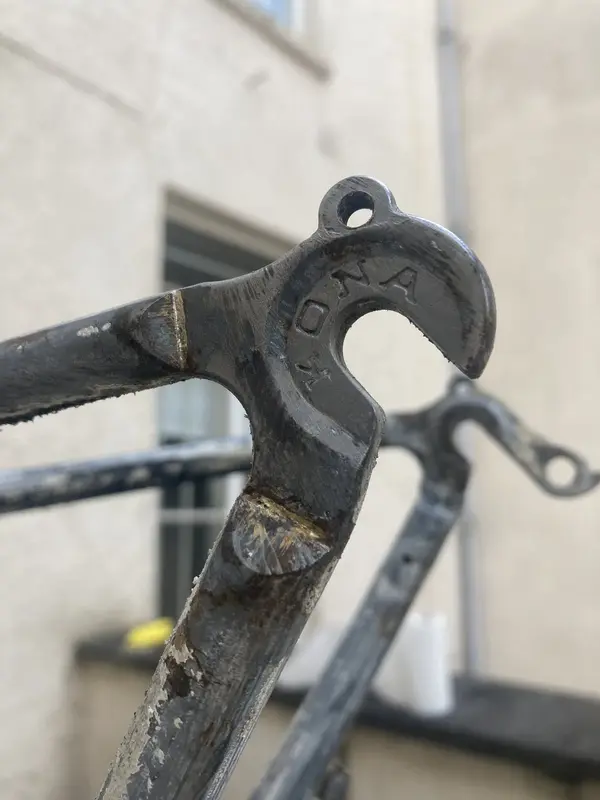
It was nice to reveal all the small details of the frame, especially the brazed sections.

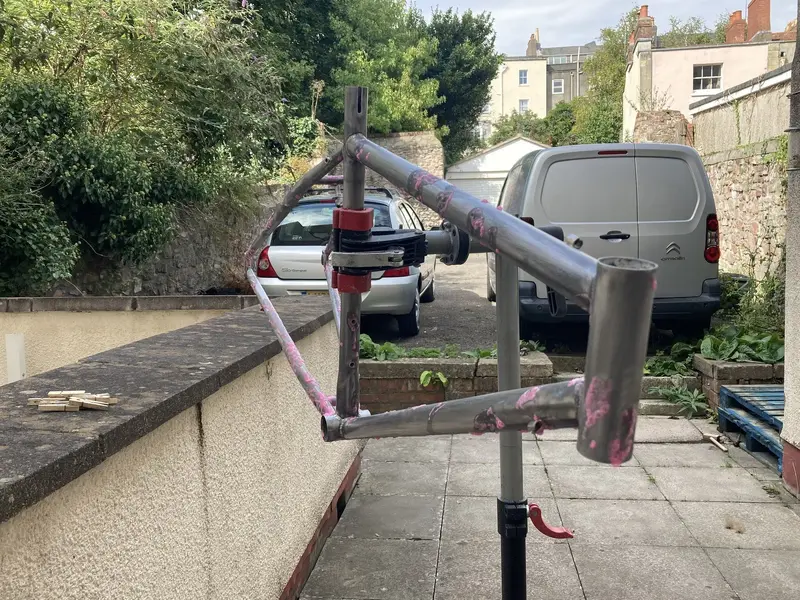
Rust treatment on some spots of the frame. There were actually a number of patches where the frame had begun to rust, a good few rust worms that must have crept under the numerous coats of paint. So I'm really glad I took it down to metal to address them.

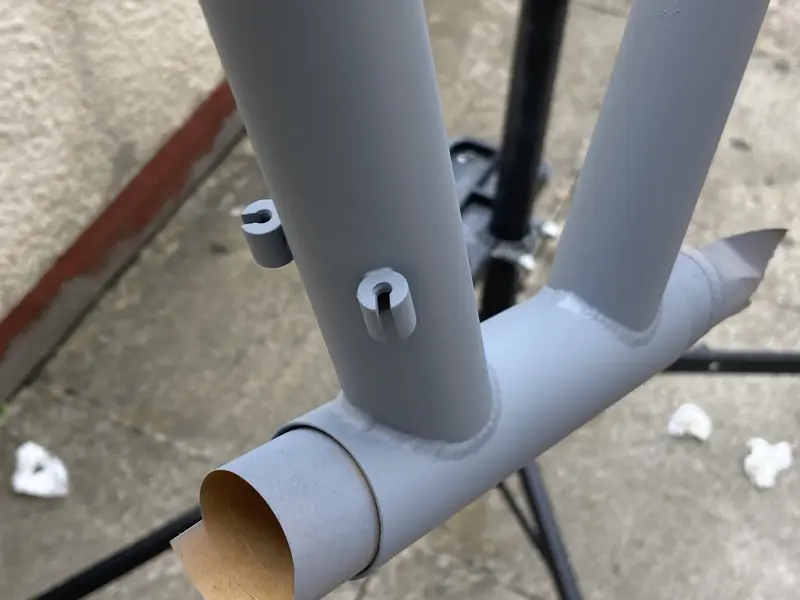
First couple of coats of etch primer bought out the little imperfections in the frame, of which there weren't many! You can definitely tell where I missed spots of paint, mainly in harder to reach areas. These were addressed with some sanding and the high-build primer.

I added the high build primer, then splattered it with black acrylic as an indicator for wet-sanding. I went over the frame with 800 grit until all the splatters were gone. Really recommend this technique, I picked it up from a car painter on YouTube.


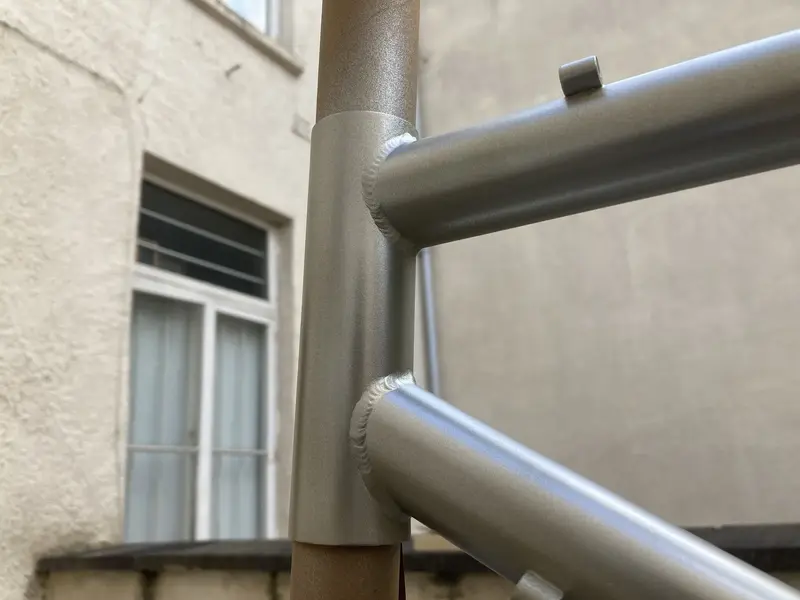
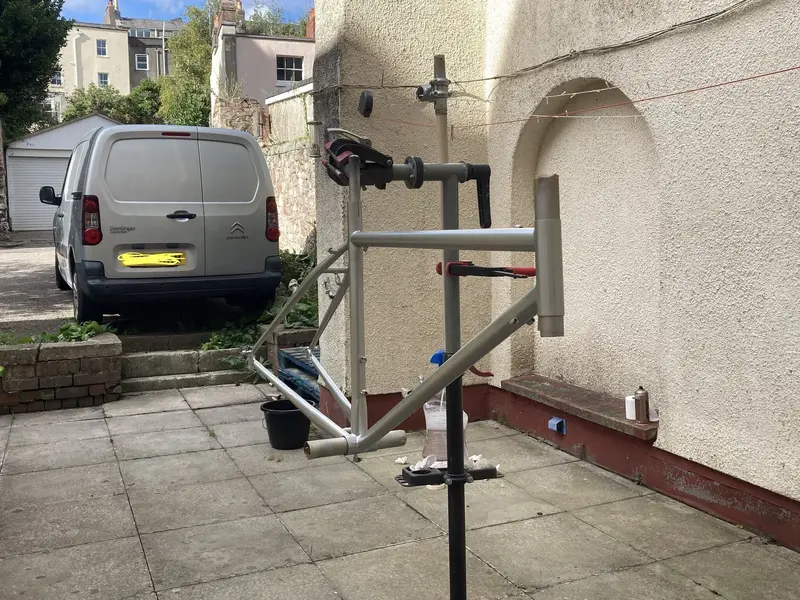
Here's the first coat of paint! The metallic looked super metallic. Almost too futuristic. Like a robot costume for a fancy dress party. Now it's had a few coats, and the decals put on it definitely looks a lot better!


1996 blue decals have been put on this morning, they look AMAZING. I am super pleased, and will share the result once I've cleared over the whole frame this weekend. Just got to find a respirator, as 2K turns out to be nasty stuff
Here's the frame mid-strip. It took around 3 hours and a can of Autotek stripper to remove it all. Three paint jobs added 107g to the frame, which isn't as much as I'd expected (skinny tubes take less paint i guess).
It was nice to reveal all the small details of the frame, especially the brazed sections.
Rust treatment on some spots of the frame. There were actually a number of patches where the frame had begun to rust, a good few rust worms that must have crept under the numerous coats of paint. So I'm really glad I took it down to metal to address them.
First couple of coats of etch primer bought out the little imperfections in the frame, of which there weren't many! You can definitely tell where I missed spots of paint, mainly in harder to reach areas. These were addressed with some sanding and the high-build primer.
I added the high build primer, then splattered it with black acrylic as an indicator for wet-sanding. I went over the frame with 800 grit until all the splatters were gone. Really recommend this technique, I picked it up from a car painter on YouTube.
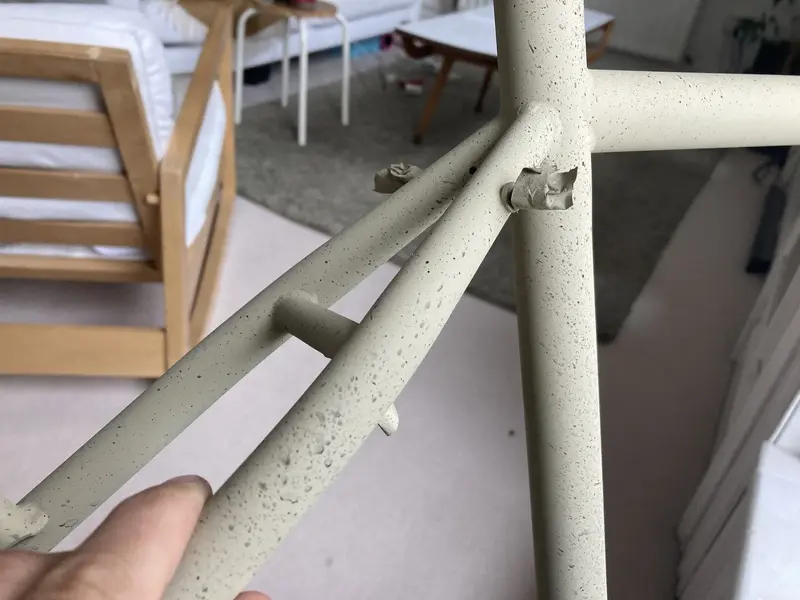
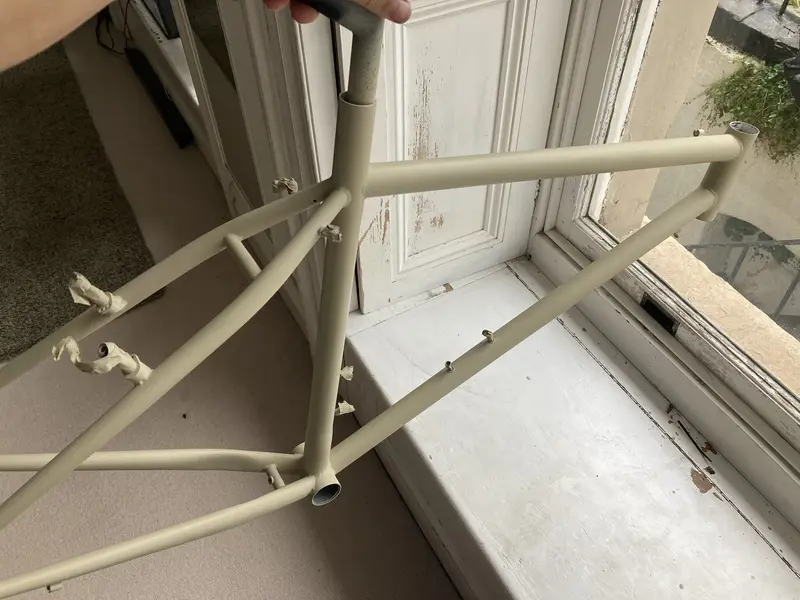
Here's the first coat of paint! The metallic looked super metallic. Almost too futuristic. Like a robot costume for a fancy dress party. Now it's had a few coats, and the decals put on it definitely looks a lot better!
1996 blue decals have been put on this morning, they look AMAZING. I am super pleased, and will share the result once I've cleared over the whole frame this weekend. Just got to find a respirator, as 2K turns out to be nasty stuff
Looks amazing, well done! Looking forward to pics with decals and clear 
TreaderSteve
Senior Retro Guru
Excellent job - with care and attention a home-made paint job can be ace
Similar threads
- Replies
- 23
- Views
- 859
- Replies
- 4
- Views
- 225
- Replies
- 10
- Views
- 1K
- Replies
- 3
- Views
- 423