Rocky Mountain "Syncros" Expérience (COMPLETED)

Re:

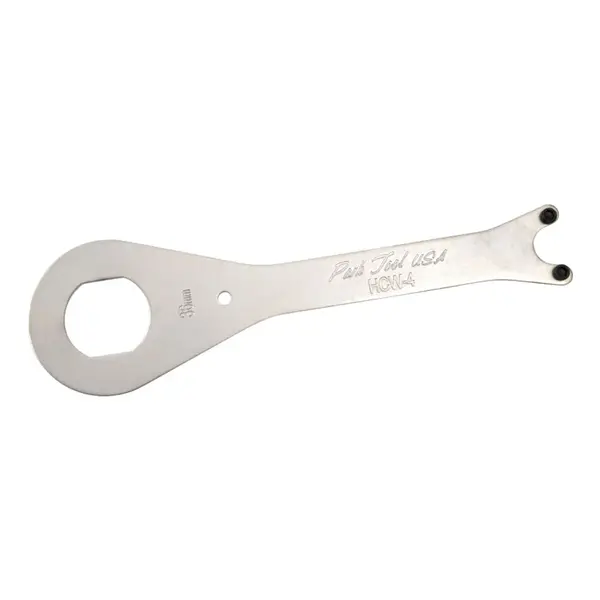
The full wrap around tools for some reason just seem to make the job so much easier. Got mine off where others wouldn't. No real idea why though, other than it stays on much easier and doesn't splay apart. Cost a whole 7 or 8 quid.

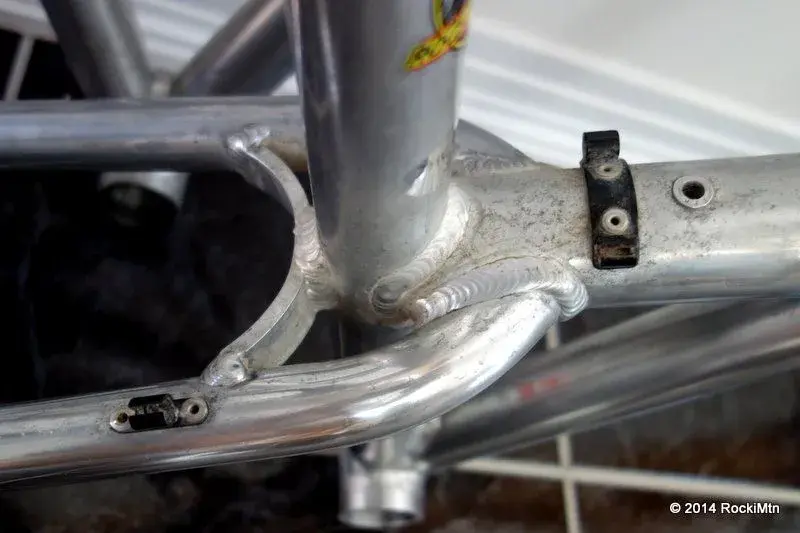
Remember to short sharp shock it while soaking and to scrape any build up from the rear of the cup.

Also, remember to turn it the right way.

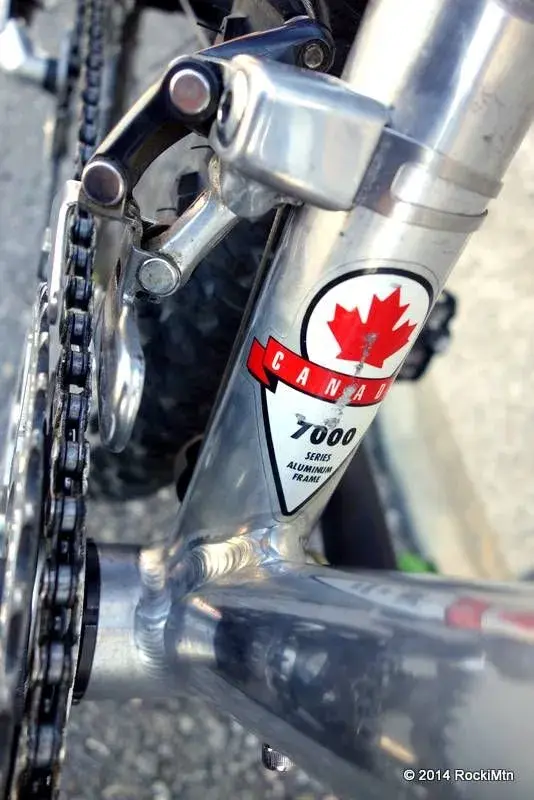
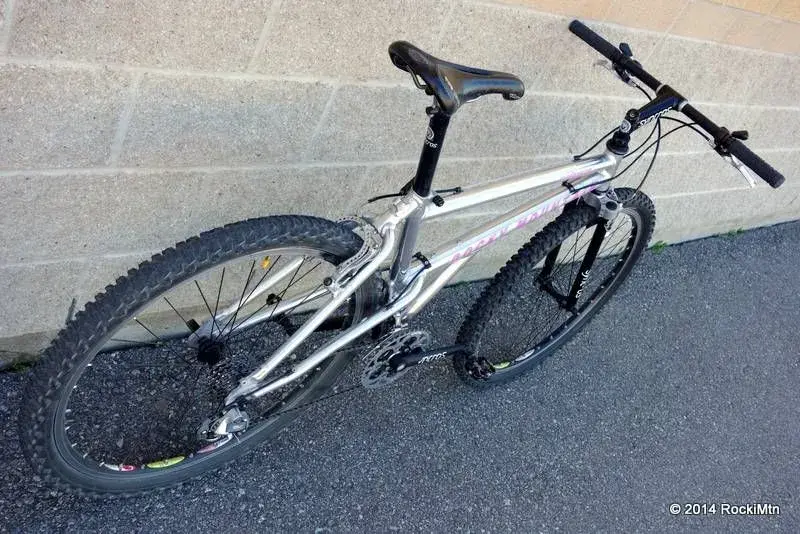
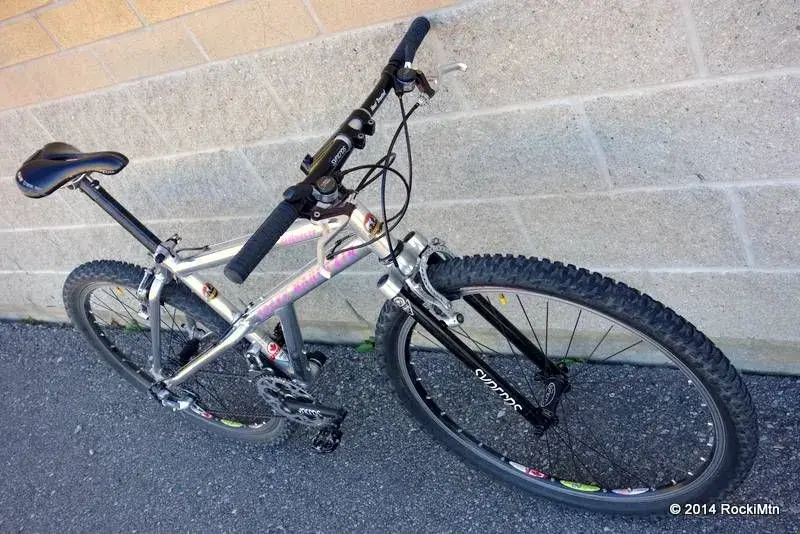
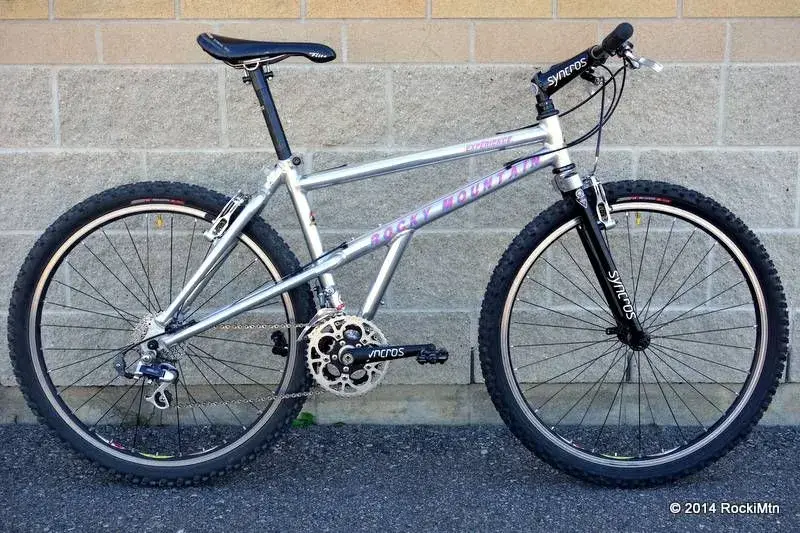
I'm just rambling while I drink some coffee and think about some Stratos decals.
 
Re:

no luck in finding a proper closed box end wrench to fit the cup for as low as £7/8 here.

"short sharp shock"? :? and what side are you referring to when you say rear? i have the frame, hole facing down, and have filled the BB shell like a cup.

and yes, i've been cautious to be sure i'm always trying to loosen it clock-wise. ;)
 
Re: Rocky Mountain "Syncros" Expérience

Just the cup hard, it moves the metal and allow penetrating fluid to creep in a little more. A bit like tapping it the wrong way too, it breaks the usual seal that may be there, if only by a fraction. But that what it works one.

That's what I've always been told.

I was just meaning the bit in the frame, The aluminium on both my Alu-O and Stratos had blown/corroded a little around there and bunged the end of the threads up. Just figured it may help get some in. I used a fine screwdriver to scrape. You may well have tried and done it all, but others may be reading and I have nothing better to do for a few mins.
You've build enough bikes :lol:
 
Re: Rocky Mountain "Syncros" Expérience

Your threaded rod plan should be just fine, I always screw in the non-drive side cup until a couple threads are sticking out (your rod should still fit through the hole and will keep things straight and your other washer off the frame)

Use a proper BB wrench, not a headset wrench (see pic)

This next part is best done when the bike has wheels mounted, standing on the ground, but in a stand should work...

put the wrench on the cup, tighten up your setup, and then smack the wrench as hard as you can with a hammer

Works like a charm...

unless you are going into a shop where you can 100% trust the mechanic do it yourself...

All my road bike BB from back in my road bike days were like this... the campagnolo ones on italian frames had 70mm shells so the drive side was not reverse threaded so it HAD to be super super tight,,, usually took quite a few wacks with a hammer, but always worked.
 

Attachments

  • 70-1500-NCL-TOP.webp
    70-1500-NCL-TOP.webp
    8.6 KB · Views: 998
Re:

after letting it soak for about week and a half or two in liquid wrench, i still couldn't manage to get the drive side fixed cup to budge. so late last week i took some time and went by a local shop to see if they could help. after quite a struggle, they finally managed to extract the cup… YEAH!!! :D

so here are the two bare frames side by side. the black decal one is now on it's way to it's new home. i started to refinish the frame with rubbing compound to remove the corrossion and heavy oxidation in areas. you can see the after effect on the chain stays compared to the down tube. i'm not looking to polish this up perfect, just tidy it up a little so it's more presentable in a used but clean state.
 

Attachments

  • DSC00347.webp
    DSC00347.webp
    32.4 KB · Views: 784
  • DSC00344.webp
    DSC00344.webp
    46.3 KB · Views: 783
Re: Rocky Mountain "Syncros" Expérience

There is a guy that commutes everyday to work on one of these in my hood. He's had it since new and its still trucking. He gave me crap when I started commuting on my 29er.
 
Re: Rocky Mountain "Syncros" Expérience

with a lot of elbow grease, finally cleaned up the frame to what i'm happy to leave it at. did this over a few days here and there. still lots of patina on it. a few rough spots were there was some corrosion which i couldn't completely clean off without probably some heavy sanding. also a few nicks here and there, with one somewhat deep one on the top tube. much more than the prev frame although i'm still happier with this one, as the other had some more serious flaws on it.

now that i'm ready to put this back together, debating if i should stick with the original black anodized Forged cranks, or perhaps switch to a set of Revolutions??? also silver rings, black rings or mix??? hmmm… :?
 

Attachments

  • DSC00385.webp
    DSC00385.webp
    71.8 KB · Views: 738
  • DSC00383.webp
    DSC00383.webp
    44.6 KB · Views: 736
Re:

so finally rebuilt the Experience up. didn't receive any feedback so i gave the Revolutions a go. i think they look better, though it could be the fact that i have a different colour pattern for the rings with silver/black/silver instead of the black/silver/black.

again i had to up the axle length from the recommended 117mm axle to 122.5mm, as the FD would rub the nobs on the tyres. luckily i still had the original ti axle that i had swapped out for 113mm to fix the same issue with the Forged cranks.

so this is the final build for this aside from maybe trying the Forged cranks again with the silver/black/silver ring setup. only thing required now is for me to get on to getting black decals done. original magenta decals will stay on until then.
 

Attachments

  • DSC00394.webp
    DSC00394.webp
    73.1 KB · Views: 747
  • DSC00408.webp
    DSC00408.webp
    48.8 KB · Views: 748
  • DSC00397.webp
    DSC00397.webp
    57.6 KB · Views: 746
  • DSC00399.webp
    DSC00399.webp
    67.9 KB · Views: 744
  • DSC00403.webp
    DSC00403.webp
    118.3 KB · Views: 744
  • DSC00392.webp
    DSC00392.webp
    101.9 KB · Views: 741
  • DSC00391.webp
    DSC00391.webp
    95.3 KB · Views: 743
  • DSC00387.webp
    DSC00387.webp
    110.3 KB · Views: 744
Re:

would like to showcase and thank B3 who helped make me some replacement spring stops for my Avid Arch Supreme brakes. had broken one of the original plastic ones, and these alloy ones are much better! 8)

also here are some more close-up shots.
 

Attachments

  • DSC00412.webp
    DSC00412.webp
    48.4 KB · Views: 740
  • DSC00406.webp
    DSC00406.webp
    37.7 KB · Views: 738
  • DSC00405.webp
    DSC00405.webp
    29.8 KB · Views: 735
  • DSC00404.webp
    DSC00404.webp
    36.9 KB · Views: 736
  • DSC00410.webp
    DSC00410.webp
    32.8 KB · Views: 739
  • DSC00409.webp
    DSC00409.webp
    117.7 KB · Views: 738
  • DSC00401.webp
    DSC00401.webp
    61.1 KB · Views: 739
  • DSC00389.webp
    DSC00389.webp
    35 KB · Views: 740
Back
Top