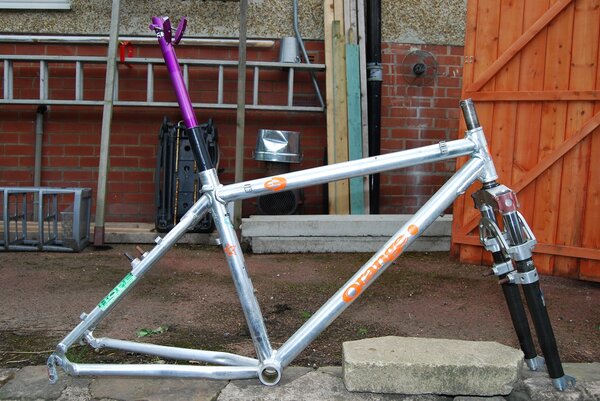
Orange E3 renovation/rebuild

I use a product called Maguires ultimate metal polish, available from Auto accessory shops, this not only puts a very fine mirror finish on Aluminium, bit it leaves a long lasting water repellent protective coat on the bare surface.
I use this on my Aluminium and Titanium frames and it does limit oxidisation a lot..
Nice work BTW, but make sure you use a really long seat post with at least 4 inches below the top tube in the frame, as these were really prone to cracking!
 
Wold Ranger":b9d3owrm said:
I use a product called Maguires ultimate metal polish, available from Auto accessory shops, this not only puts a very fine mirror finish on Aluminium, bit it leaves a long lasting water repellent protective coat on the bare surface.
I use this on my Aluminium and Titanium frames and it does limit oxidisation a lot..
Nice work BTW, but make sure you use a really long seat post with at least 4 inches below the top tube in the frame, as these were really prone to cracking!
I'm using either the USE alu in the picture, once I've had it re anodised blue, or a Syncros hardcore. Both are pretty long and I've only got short legs so I reckon there should be enough in the seat tube! :D
 
Hi there, Virgil Brigman back on the air...

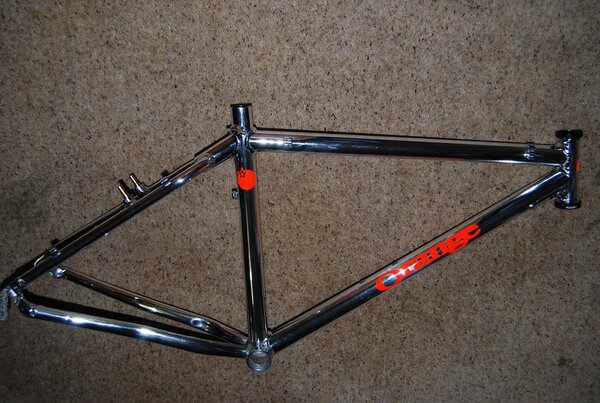
I have finally got going again with the E3 rebuild. After polishing the frame to a mirror finish, I attempted to lacquer the frame myself using car lacquer. What a waste of time and effort!!! I obviously did something VERY wrong. :!: The lacquer would not apply to the surface evenly. In some places it was perfect and clear, but in others it was rough and opaque. I gave up on this and re-stripped the varnish, which took a lot longer than it did to get the original lacquer off. I then polished it again with fine and ultra fine wire wool, then finished off with the Mothers cream again.

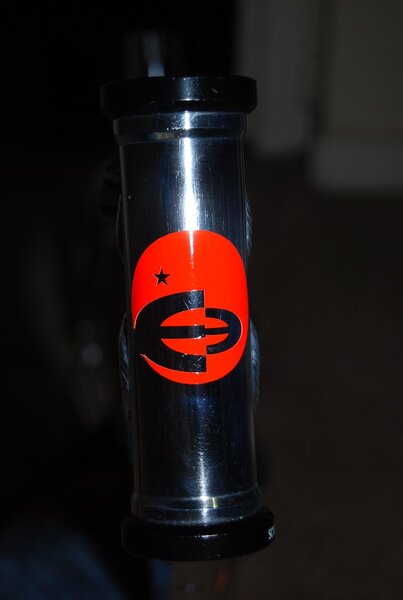
Now I have the decals applied, apart from the "E3's" either side of the top tube and a Ritchey Scuzzy Logic headset fitted (£9 brand new - what a find!!!!).

Now the fun bit, putting all the parts on the frame. :D :D :D

I will keep you informed about the progress.
 

Attachments

  • DSC_1359.JPG
    DSC_1359.JPG
    227.6 KB · Views: 714
  • DSC_1357.JPG
    DSC_1357.JPG
    217.8 KB · Views: 714
  • DSC_1360.JPG
    DSC_1360.JPG
    43.8 KB · Views: 714
the "orange" on the seat tube needs to be moved lower down, but stunning job on the frame - Dave Hemming replica build perhaps??
 
fattiman":161zhurc said:
the "orange" on the seat tube needs to be moved lower down, but stunning job on the frame - Dave Hemming replica build perhaps??

I thought Dave Hemming rode Roberts bikes. Never saw him on an Orange.

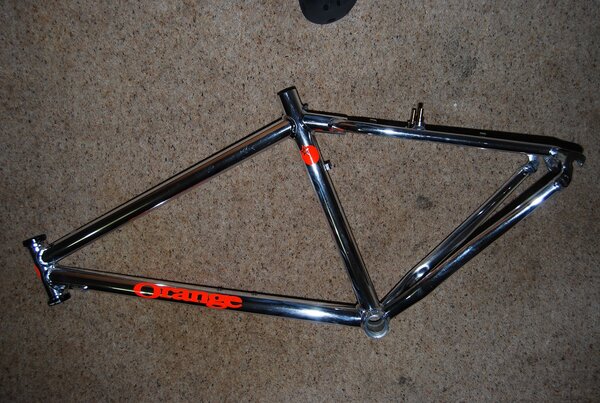
The placing is a deliberate ploy to aid cleaning and polishing. The lacquering attempt I made on the frame in summer was a disaster so I just stripped and polished it up again with the intention of cleaning and polishing on a regular basis when I'm using it (Hah! Like THAT'S ever going to happen! :roll: )

All I'm missing now is the E3's on the top tube. I don't want too many stickers on, one due to the problem cleaning and two there'd be no point polishing it up if I then go and plaster my hard work with coloured plastic.

Incidentally, this frame originally had the orange stars on the down tube, not the orange (see pic), but I'm not sure if these were the original factory stickers, as they were slightly off centre, particularly the head tube sticker.
 

Attachments

  • E3 pic 1.JPG
    E3 pic 1.JPG
    186.2 KB · Views: 688
Re:

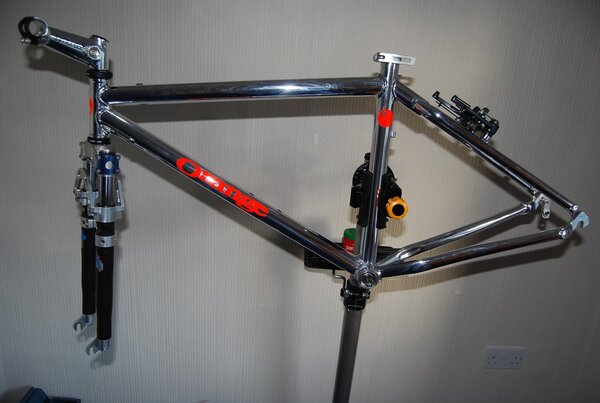
Forks and stem fitted, long with the XTR bottom bracket, rear XTR V brakes and seatpost clamp. Still awaiting the top tube E3 decals.
 

Attachments

  • DSC_1400.JPG
    DSC_1400.JPG
    108.9 KB · Views: 638
Re:

Looking good... Your toil hasn't been in vane

Nice to see your hanging worthy parts on that frame.... would have killed your build if you had a 100mm fork
Or other modern Tat :D
 
Back
Top