Mountain Cycle Shockwave 9.5 revamp. 14.7kg final weight.

When I first built this bike up, I paid pretty much zero attention to the weight of stuff, the result being an 18kg+ behemoth.
This time around I've been a bit more judicious in my selection of components, and tried to reduce weight here and there in a few places (without it becoming excessive).

So I plan to reduce the current total weight by another ~100 to 250 grams.
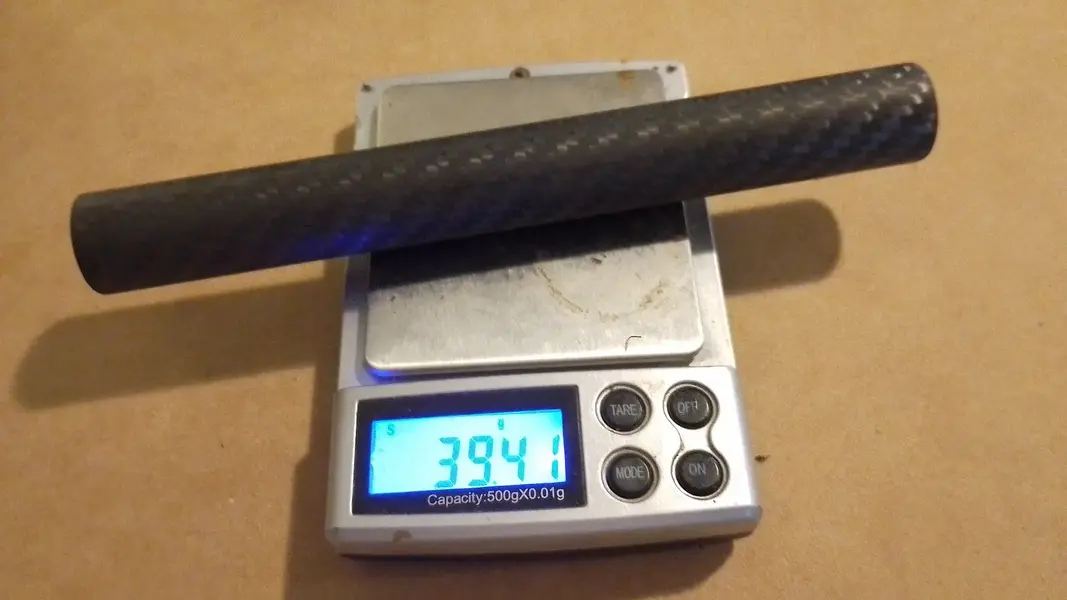
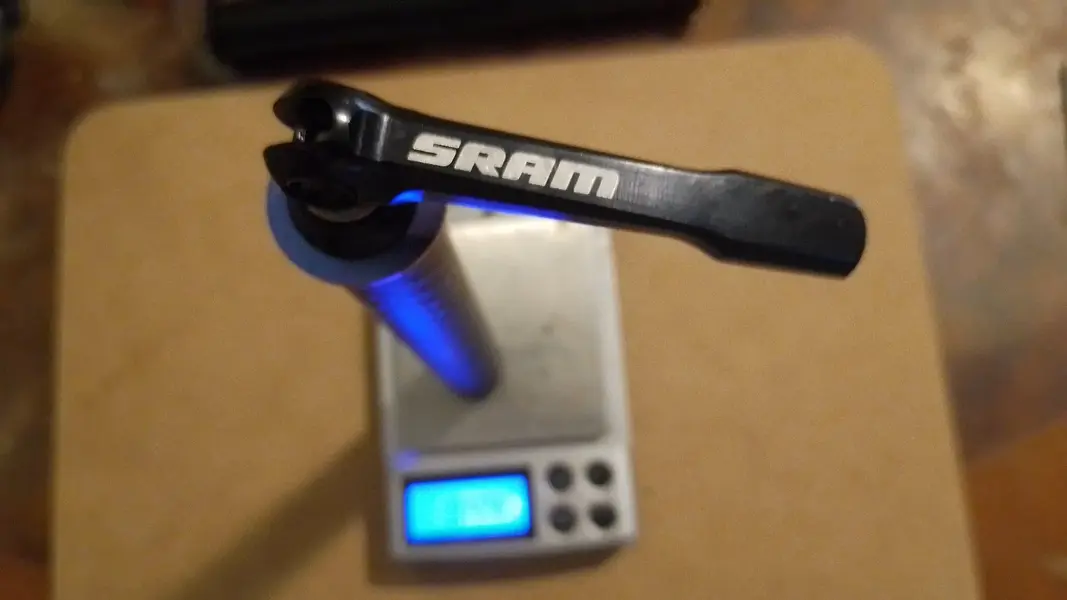
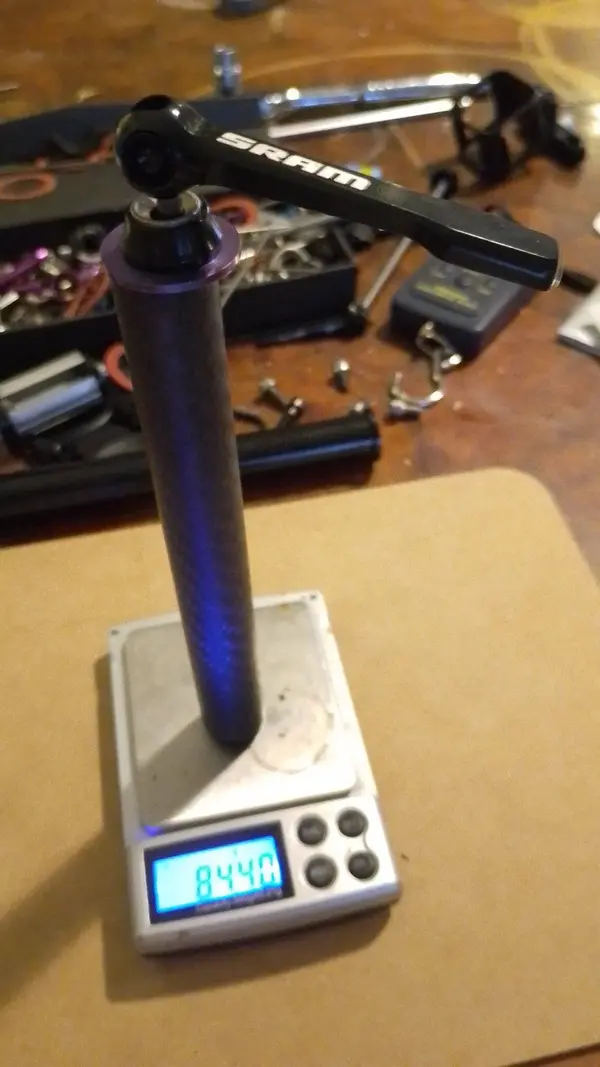
For example I'm getting a new lighter front axle, more on that later.😊

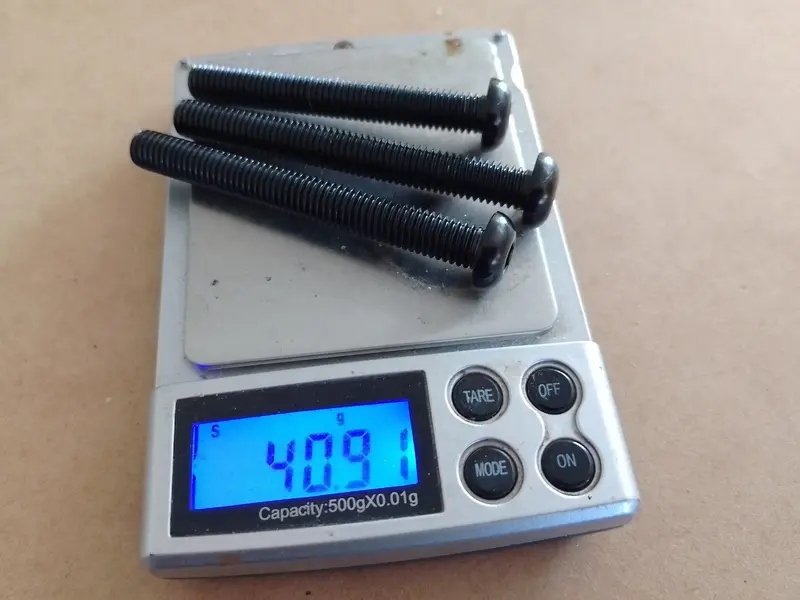
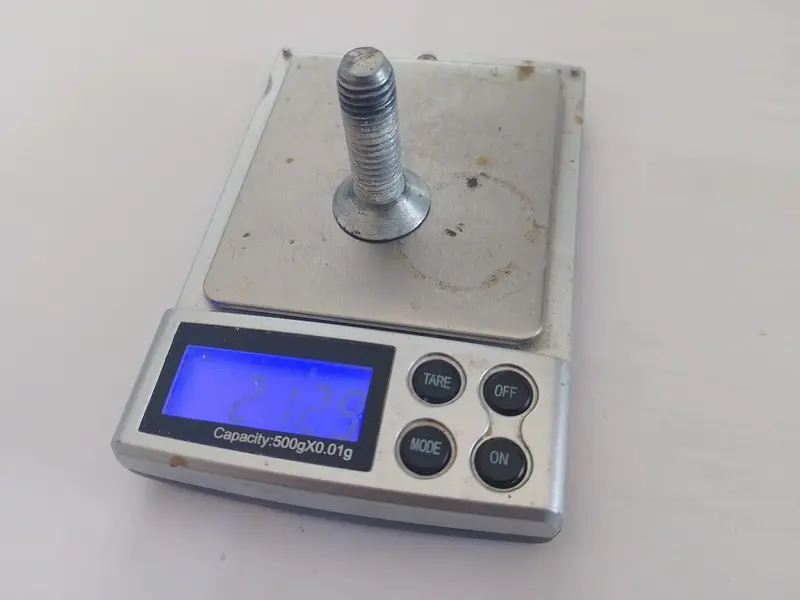
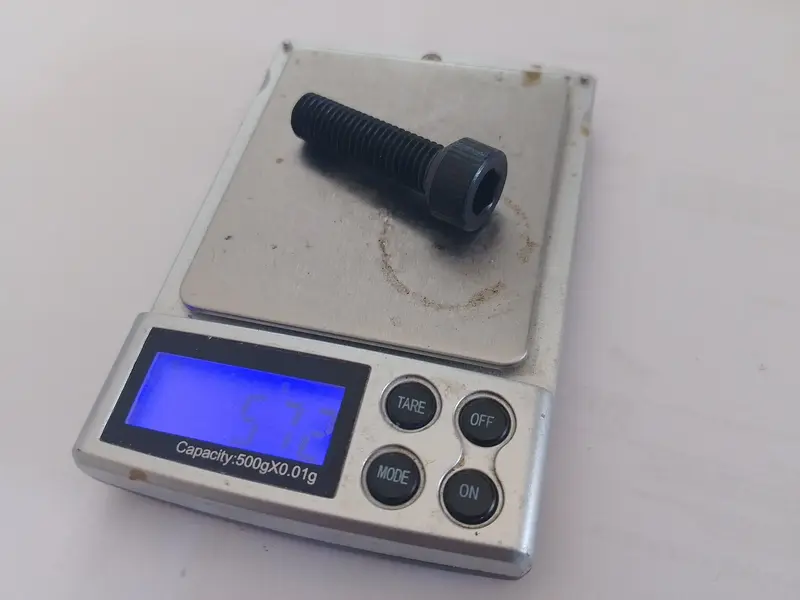
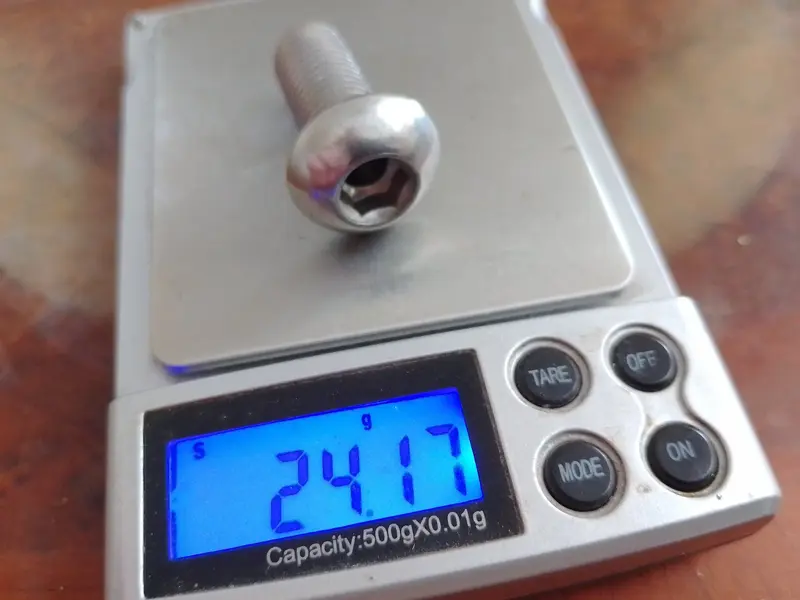
Next up, some lighter bolts. The two main pivot bolts get a bit rusty and so I'm going to replace them with hollow stainless steel bolts.
These two bolts alone save about 15 or 16 grams over the original bolts. I think they'll be strong enough (I hope🤞🙏🤪).
 

Attachments

  • IMG_20230519_141400.jpg
    IMG_20230519_141400.jpg
    337 KB · Views: 3
  • IMG_20230519_141429.jpg
    IMG_20230519_141429.jpg
    293 KB · Views: 3
A small update (pics another time when daylight is better).

Given that the limiting factor of riding uphill was my gearing not suspension bob as I expect it to be, I decided to change the gearing to make the bike more useable...

Road and MTB stuff is not meant to be interchangeable beyond 10 speed.
I say bugger that, and got a road bike cassette (cheaper & lighter).

So I changed the cassette to an ultegra 12-25T 11 speed one, and I put a 32T chainring on.
I also have an 11-23T that I may use once I start taking it to proper downhill runs.

I just got some XT 11 speed shifters.

The good news is that it works! It's meant to be out by 1.6mm over the length of the cassette.
I don't know if it's the full length housing compressing and making up the difference or what, but I'm going with it.
 

Attachments

  • Screenshot 2023-07-29 at 21-36-15 Bicycle cassette (rear chainrings) standards BikeGremlin.png
    Screenshot 2023-07-29 at 21-36-15 Bicycle cassette (rear chainrings) standards BikeGremlin.png
    60.4 KB · Views: 1
Taping the second wheel, I thought I did a better job after taping it.

Had a cup of tea and came back to make the valve hole. Job nearly complete (or so I thought).

Then this happened. Why? Because nobody (I'm talking about manufacturers here) seems to punch a hole in one end of their tubeless tapes.🙄
Why not? It's not that difficult. FFS.

Honestly, I was poking down on the valve hole, mostly blind (because I put the recommended two layers on, see below). I decided to poke up from the other inside side to be more accurate, get the hole centred properly, and this is the result. The tape is split and I had to do it all again (the tape is now trashed). A waste of half a roll of tape, and not exactly my fault.

I probably won't buy that tape again (Joe's; and that goes for you too Stan's, because the exact same thing would have happened using your tape).
I'm now redoing it with Spank fratelli polyimide tape (because it's a much superior material to start with).

Also, this whole idea of "doing two layers" is rubbish to start with. I feel it's very amateurish. They know one layer might not be good enough.
If they chose the right material to begin with, it would be the right thickness and stiffness with only one layer.

Nothing wrong with that tape, and the application of multiple layers is a common tactic to build up thickness depending on rim. I've used 3-4 wraps before where tyres are baggier (or rims smaller), especially back when I was racing DH as it ensured keeping the tyre on with a puncture.

The best way to get the valve through is to poke up through the rim hole to the back of the tape as you did, but only enough to leave a dent in the tape so that you get the right position. Then nick the point with a sharp scalpel point and push the valve through correctly. The dent ensures you have the right spot while the nick allows you to push the valve through without damaging either it or the tape. The nick doesn't need to be huge, just enough to start the hole for the valve. Hopefully this helps you for future installs.
 
I decided to try to make this bike a bit lighter still...
I wouldn't care if it was all downhill, but being lighter will enable me to ride it uphill more, hence more useful.

Anyway, some new bolts arrived today.
Sometimes it's nice to have things to look forward to.

These are for the shock linkage.
Twenty-something grams lighter there.
Probably not ideal replacements as one of them doesn't have a flank/shoulder as the original does, but whatever.
(I didn't actually see this until I removed it today, oh well😳)

I am also getting a lighter steerer tube expander.
Possibly some different cranks as the current ones are pig-heavy.

And that'll virtually be it really. Apart from one or two last things.
I'll take photos of my new front axle once that is finalised.
 

Attachments

  • IMG_20230809_142526.jpg
    IMG_20230809_142526.jpg
    334.4 KB · Views: 2
  • IMG_20230809_142550.jpg
    IMG_20230809_142550.jpg
    326.5 KB · Views: 2
Okay, I finished the front axle.
It's made of a carbon fibre tube with a 3mm wall thickness.
So that's 50 grams lighter than the original Marzocchi 888 axle.
 

Attachments

  • IMG_20230809_172555.jpg
    IMG_20230809_172555.jpg
    290.3 KB · Views: 5
  • IMG_20230809_172532.jpg
    IMG_20230809_172532.jpg
    288.6 KB · Views: 5
It's always kinda bothered me that this bike didn't have quick release through axles.

I can't afford a new fork (plus they're all for 27.5 and 29" wheels now anyway).

So I fashioned my own (qr thru axle) one out of a spare quick release skewer I had lying around.
I can probably knock another 10 grams off that if I go to a Ti skewer axle.
This is just to remove lateral play in the axle system.
There are four pinch bolts on the fork itself which holds everything together.
The idea is that you do one side up, tighten the quick release, then do the other side up.
The nice thing is that it can be removed leaving just the carbon tube in place.😎

I haven't installed it on the fork yet. Hopefully it works.🤞
I need to find a better nut for it.

The good news is that I put a rockshox quick release thru-axle on the rear too!
Photos of that another time.
 

Attachments

  • IMG_20230809_172709.jpg
    IMG_20230809_172709.jpg
    247.2 KB · Views: 5
  • IMG_20230809_172904.jpg
    IMG_20230809_172904.jpg
    295 KB · Views: 5
Last edited:
I finally got around to replacing the countersunk M10 bolt underneath the main frame.
This holds on the inbuilt fork stop. It was held in there really tight.

The thing is though, I don't intend to do massive jumps/hucks or whatever with this bike, I'm not that skilled.
So I don't think there's much worry of a high speed crash.🤷‍♂️

And hence I don't think this bolt needs to be that strong.
So I replaced it with a fiberglass-reinforced nylon bolt.

Filed a makeshift 45° countersunk angle on the bottom of the bolt head.

Saved 15 grams right there.
I don't think that's a bad little weight saving.
 

Attachments

  • IMG_20230815_125056.jpg
    IMG_20230815_125056.jpg
    229.8 KB · Views: 4
  • IMG_20230815_125150.jpg
    IMG_20230815_125150.jpg
    226.6 KB · Views: 4
  • IMG_20230815_125213.jpg
    IMG_20230815_125213.jpg
    178.5 KB · Views: 4
Back
Top