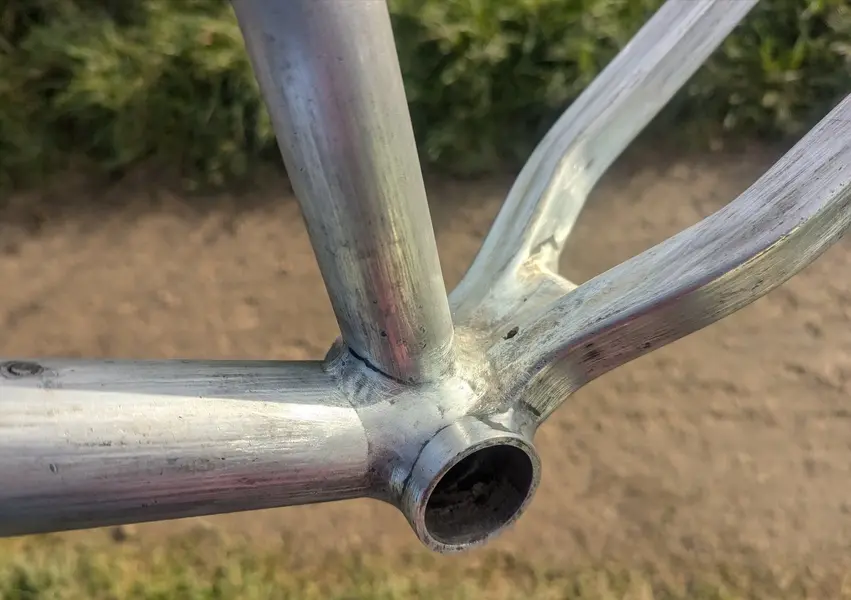
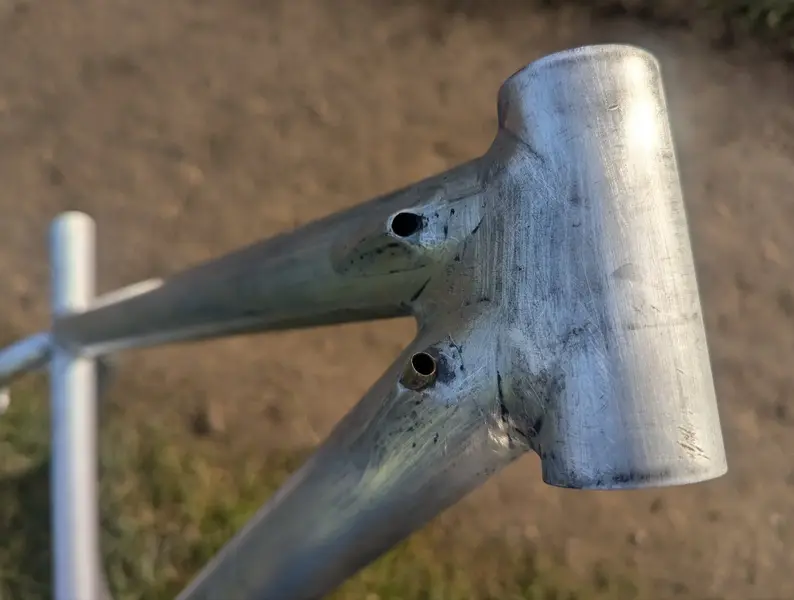
The old paint came off pretty easily. Unsurprising perhaps as it was just slapped on with no primer. Some of the original black paint remains around the welds but this probably just serves to smooth these areas off even more so no bad thing.
Of course much huffing and puffing was endured getting the bottom bracket out but managed to employ a stack of Mavic hub bearings, some headset spacers, a crank bolt, a prop shaft coupling and a headset press to good effect!
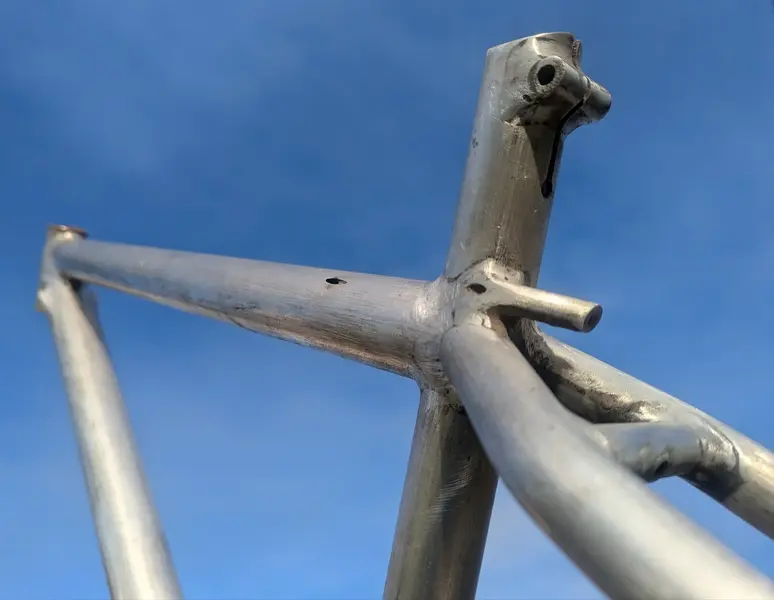
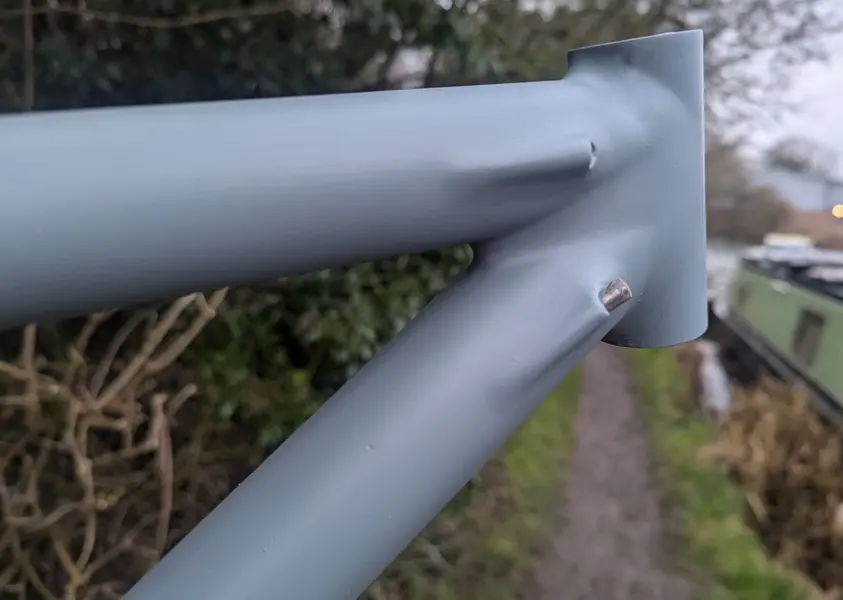
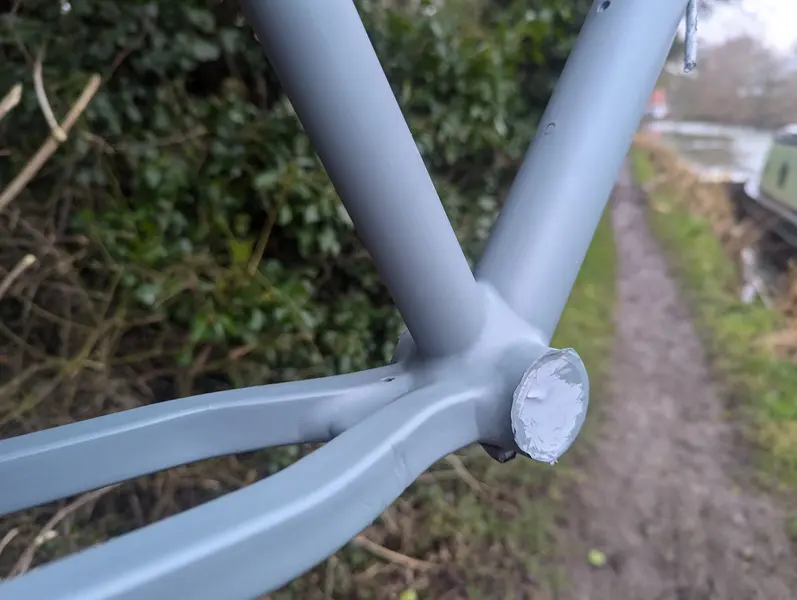
Some minor issues with the frame... A couple of ferrules are fused in the ends of the internal cable routing. I suspect just inserting an un-ferruled outer cable into these would pose no problems. One bottle boss has sheared off - no attempt to remove it yet so we'll see how that goes. The headset came out a little too easily for my liking but I have a deeper cup headset to replace it with so this should install snugly enough.
Always nice to see a paintless Klein - their welding work is really something. I'll give it the once over with some finer sandpaper and then it will be time for a few coats of etch primer...
I'm in for the artistry. Hand lettering is one of my favorite things. As one of the last generation of graphic designers trained in the old ways, I see it as a connection to our past. Feel free to share more examples of your other work along with the Klein
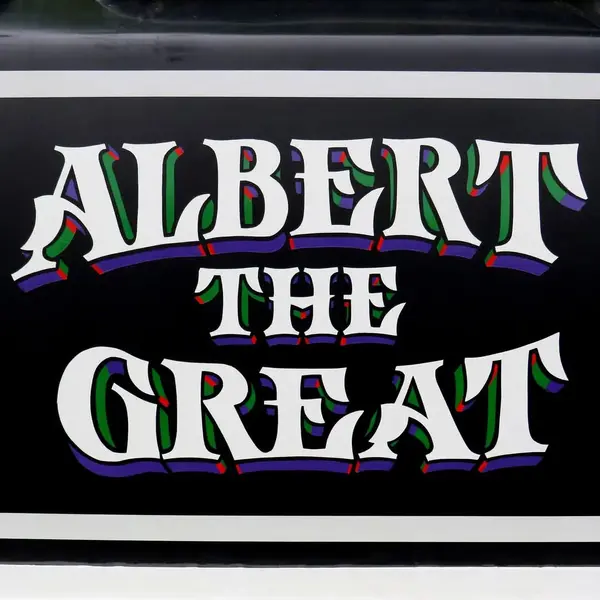
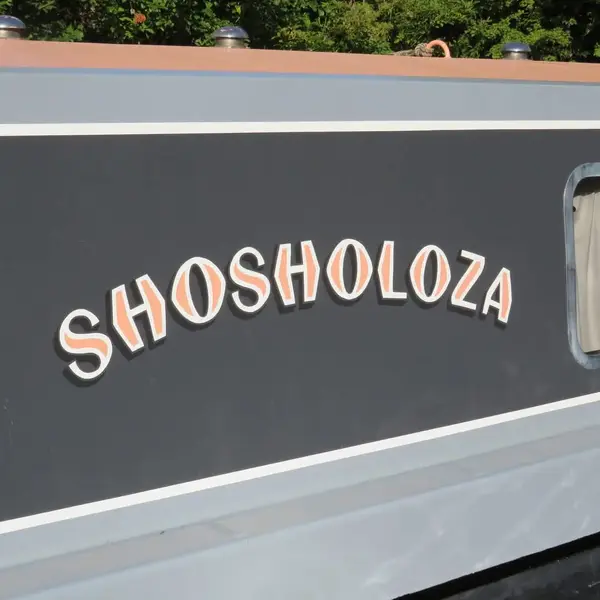
Very interesting that you mention hand painted lettering... I think I might have a stab at that actually seeing as the Klein logo is pretty chunky. I remember seeing a Salsa logo that had been handpainted on here once. Here are a couple of examples of my painted sign writing work. Much of it was done using masking so not the full on traditional method but there is a fair amount of freehand work in there.
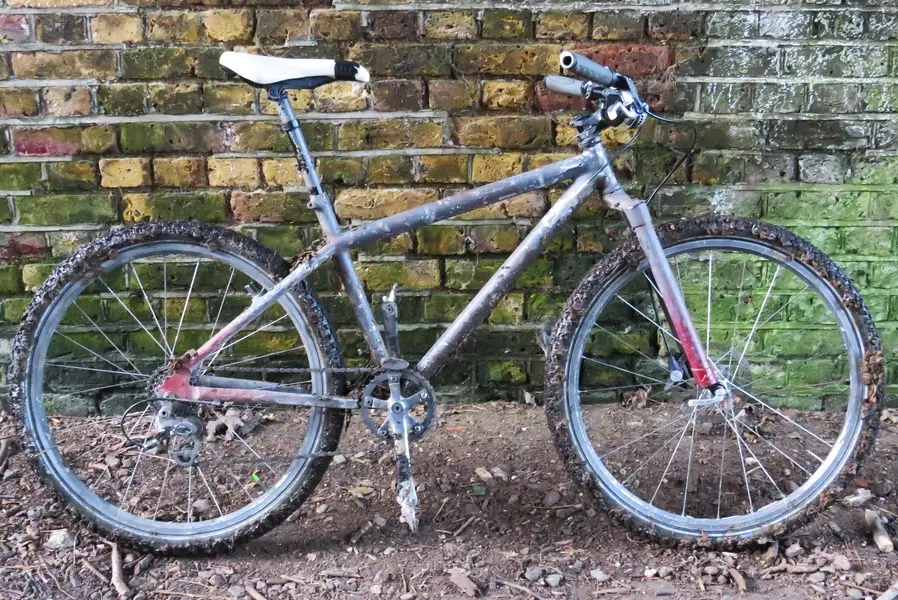
Here it is in its built up state... It's was recently replaced as my cycling-to-the-shops bike by a similarly uglified sub 20lb Scott Scale Premium with Pace RC31s as I wanted something silly light!
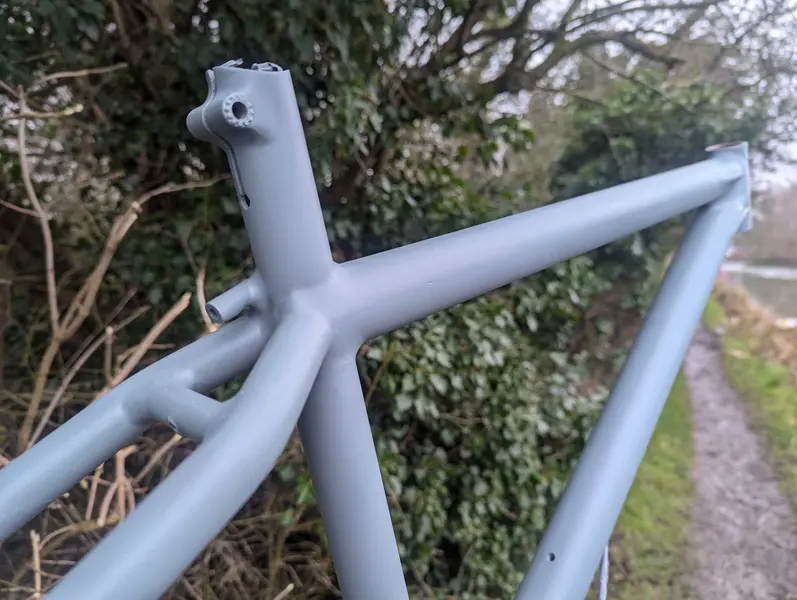
4 layers of primer and 3 layers of undercoat completed. Very happy with how it's going so far as there are only the very faintest brush marks visible. Was a bit worried how the finish would turn out around the more intricate welded areas but it seems surprisingly good!
Will be giving it a light sand before proceeding so what little there is in the way of brush marks should all but vanish before the next stage. No sanding has been required so far as the chemical bond of the undercoat is enough to ensure sufficient adhesion, provided each coat is applied on consecutive days.
I'll be applying a 50/50 mix of undercoat and topcoat before applying 3 layers of gloss topcoat as this will improve the adhesion between undercoat and topcoat. Although the gloss finish would technically amplify the appearance of any brush marks, the longer drying time allows the paint more of a chance to 'relax' into a smoother finish so I'm optimistic this is going to turn out nicely. In addition to that, the fact that I'm going for the sponge-applied Rainforest style scheme should completely hide any imperfections in the finish anyway (provided I don't mess that stage up!)
Perhaps the only bit of head-scratching I have left with this is how to apply the Klein logo... I'll have to test it out before hand but I'm wondering whether or not the sponged paint will provide a smooth enough surface to apply a decal. We'll see...
")