Hat off to you buddy! That’s an impressive amount of commitment and dedication. Can’t wait to see the end results of your hard and time consuming labour.
The dropouts are different from any others from Sandvik I can find….. love to know more? Here’s a photo from when it was ready for welding. The dropouts are 3D machined.
Here we go, ready for welding, the inserts from Paragon Machine Works were all mitred by hand and I also made up tiny inserts for the 2 top tube cable stops that had been drilled out :-( ......
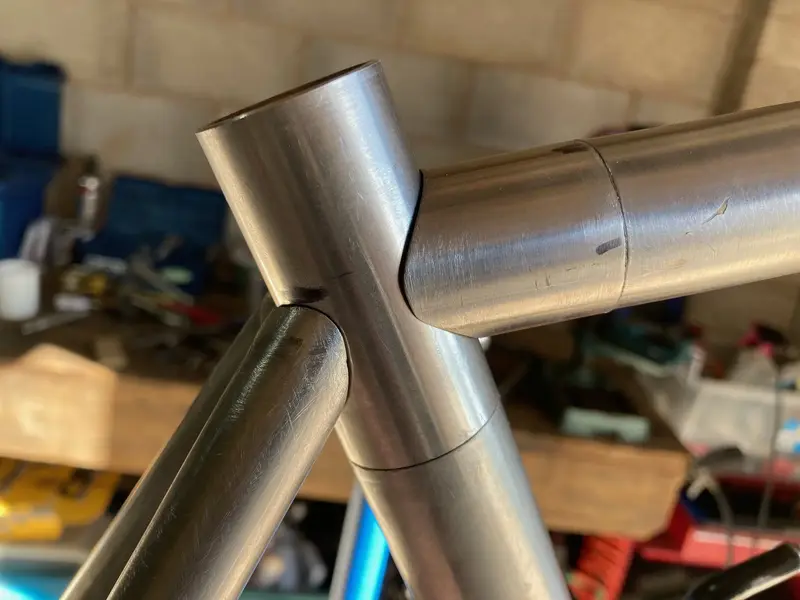
Supremo welder at work.....
Fresh off the torch...heatsink, with tinfoil to ensure a snug fit...incredibly tight access, great uniform welds, spot on first time and tube alignment is perfect...amazing job. Can you work out who the welder is, clues are in the pictures!
Back to the shed for finishing...first clean up with Scotchcbrite....
Time to make an investment from Machine Mart and start experimenting with blast media....custom blast cabinet
Aluminium oxide 120 grit first.....cleaned up the welds and Scotchbrite marks but is way too dull....
Now for glass bead.....several hours, maybe days, it felt like a long time....cable guides also back to factory spec too . Beginning to think this is possible, glass bead definitely the way to go...
On with the decals from Gil (thanks)....
Another update next weekend.....donor bike part restoration and component choices, choices, choices.....
That happend before it came to me, hence I always ran full outers. Having said that, as a winter bike that worked fine.
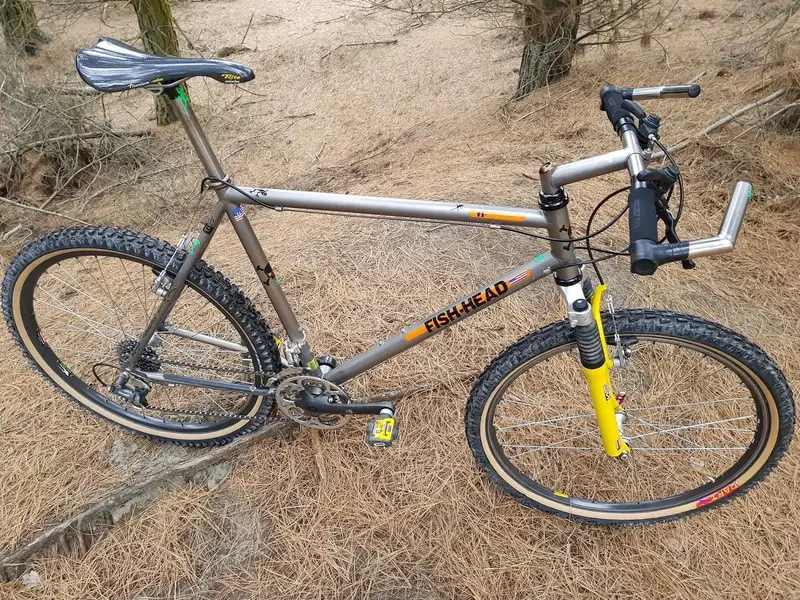
The finish you managed to get with the glass beads looks fantastic! I was wondering what you planned to do for the finish, as that was one of the tings I really liked about it and the photo in the sunlight has a very nice Satin look to it.


")