Early 50s La Gazelle - Eau-de-Nil 🛠️ The Merlot Aftermath 🍷

Dynamo Off

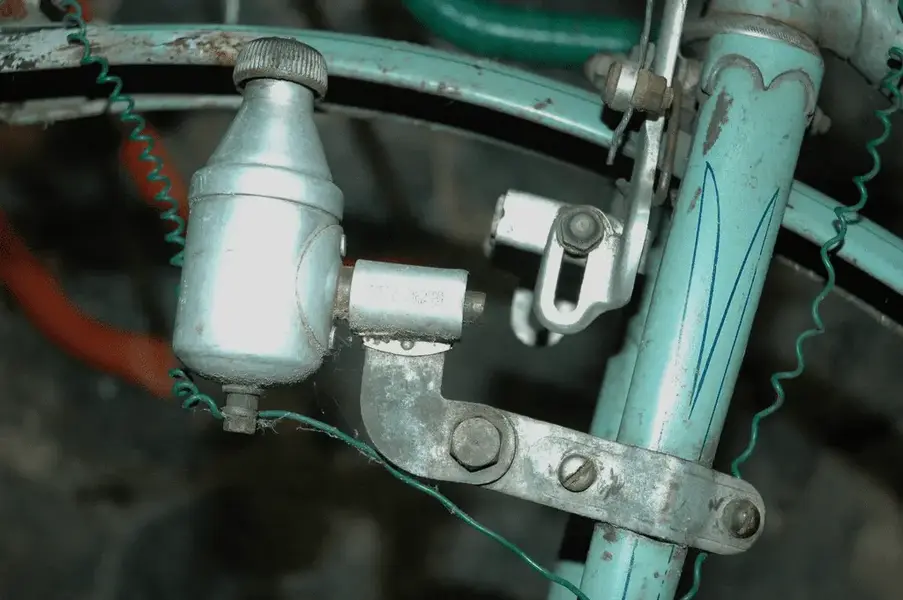
Fairly straight forward. For those who don't know, the dynamo also serves as a junction box to connect the front and rear light. You unwire starting from the dynamo, back to the mudguards. The wire is typically soldered to the light terminals. My heart already started to sink - different screws with different nut sizes and I only just started. Good news, it was off, cables left intact to the mudguards, and importantly no fork crimp damage or big rust hole :) Some evidence that the dynamo got repositioned a few times - presumably for different tyres.

1662377920407.png

1662377982600.png
 
Rack Off

The rack was held on with P-clips. So simple right - no. Nut size was 9.5mm - which I don't have.

Worth mentioning that really having the right tools for these bikes - a socket set, open ended spanners and ring spanners in metric sizes and half sizes is very useful. This half size madness seems more common with small nut sizes. The last thing you want to do is chew up the nuts. You can forget allen keys and your cross-point screw driver.

Not much to say about the rack, except it is light as hell - made with semi-complete rolled thin steel, brazed and can be folded flat 👍

I'm pretty sure the rack was a later addition - the frame and mudguards are not purposely built for a rack, which means this is not a fully fledged Randonneur in my books.
 
Mudguards - the blessed but lovely mudguards

Anywhere else in the world, a mudguard is a low level thing just to keep - well, shit off you. In France, they are an elaborate integral part of any high end all weather all year bike. It's enough to look here to see that the whole subject is on a different level: Crocodile Mudguards

If they are painted, they are most likely painted at the same time the frame is, when the colour and paint batch is mixed. I'm convinced they are one of the first things to go on the bike, unlike today where they are a later addition. If you a see a French bike that just bent the wire supports because they were a bit long, it was not assembled properly and with pride. Everything is meticulously integrated with the frame.

Been through this removing mudguards before, but this time I wanted to take them off intact and not destroy them out of frustration. You need all sorts of sockets, spanner sizes, screwdriver and a possibly a small hammer. It is best to lie the bike down, no wheels, because you operate from the inside and outside.
 
Mudguards - the blessed but lovely mudguards

Anywhere else in the world, a mudguard is a low level thing just to keep - well, shit off you. In France, they an elaborate integral part of any high end all weather all year bike. It's enough to look here to see that the whole subject is on a different level: Crocodile Mudguards

If they are painted, they are most likely painted at the same time the frame is, when the colour and paint batch is mixed. I'm convinced they are one of the first things to go on the bike, unlike today where they are a later addition. If you a see a French bike that just bent the wire supports because they were a bit long, it was not assembled properly and with pride. Everything is meticulously integrated with the frame.

Been through this removing mudguards before, but this time I wanted to take them off intact and not destroy them out of frustration. You need all sorts of sockets, spanner sizes, screwdriver and a possibly a small hammer. It is best to lie the bike down, no wheels, because you operate from the inside and outside.
I've found pair of "spanners quick grip" (GPO) very useful. In particular a more modern pair that can be adjusted so that the Jaws are always parallel. You need a firm grip obviously to avoid the dreaded rounded nuts.
"
 
  • Like
Reactions: Woz
I've found pair of "spanners quick grip" (GPO) very useful. In particular a more modern pair that can be adjusted so that the Jaws are always parallel. You need a firm grip obviously to avoid the dreaded rounded nuts.
"
That or an adventurous mouth and a good set of pearls.
 
Great input chaps - none of you resorted to the bolt cutters and tin snips then :LOL:

Pictures will follow - it certainly helps when the mudguards are high end. A lot as to do with the metal quality, you can sort of feel straight away on the first nut how the job will pan out. Taking these off, I certainly got much more respect for French mudguards, but to be honest I'm not at all a fan of mudguards.
 
The wrestle with the rear mudguard ....

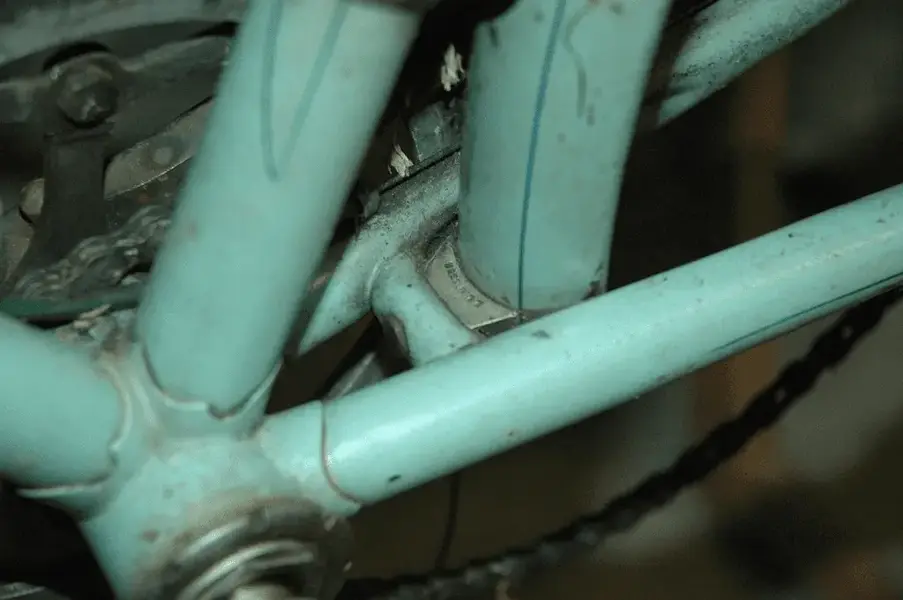
I started down in the bowels first. And I probably shouldn't have according to some mudguard dark art witch craft.

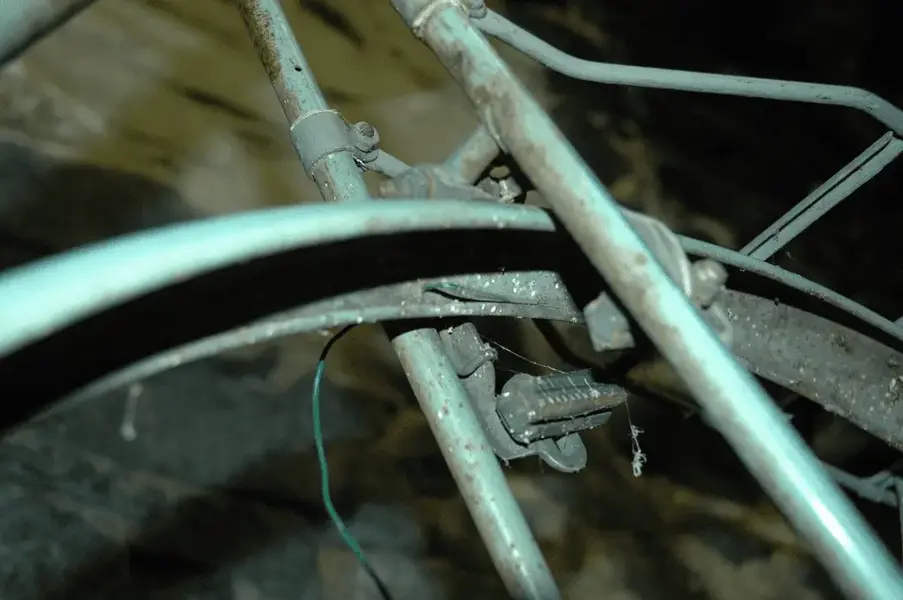
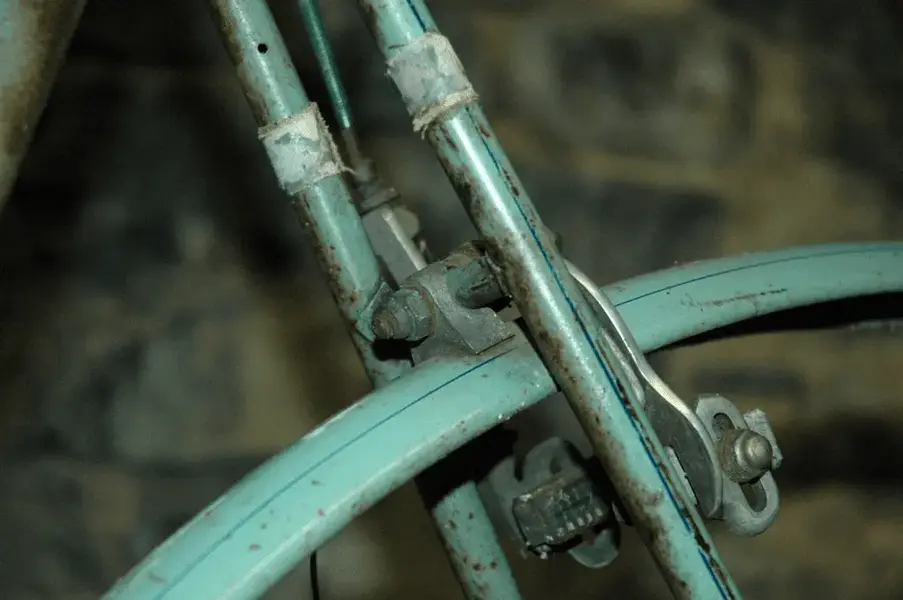
The thing is oozing quality. Only way I could remove the bolt is via a nut on the inside, then gently tapped out.

1662383470644.png
 
Mmmh. Integrated brake bridge brake washer thingy. Decided to remove it from the mudguard. Another bolt on the inside.

Removed the rear brake at the same time. Lastly I removed the mudguard wire supports from the rear drop-outs.

1662385069450.png
 
Back
Top