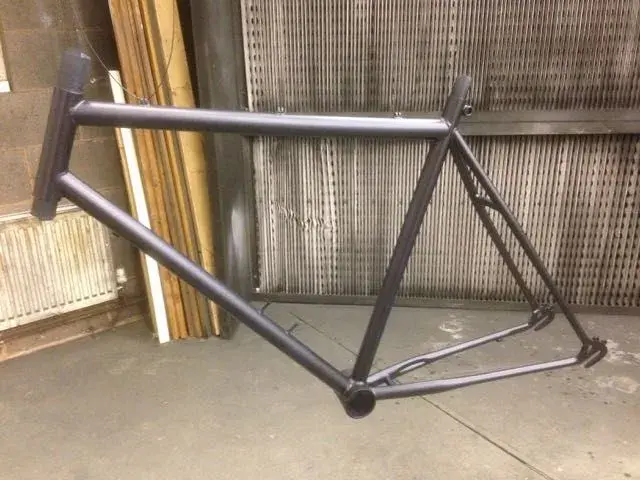
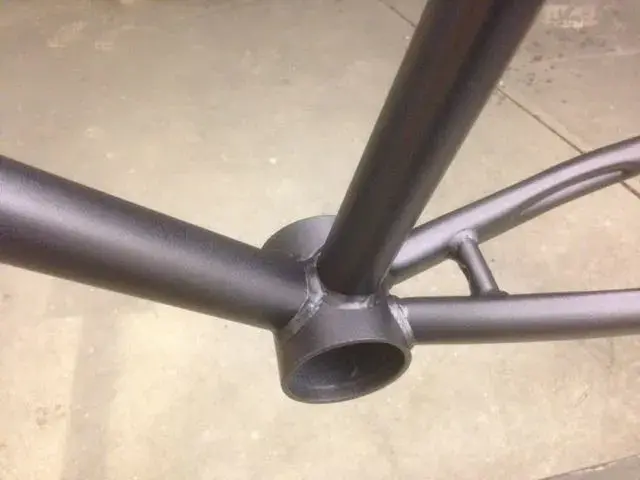
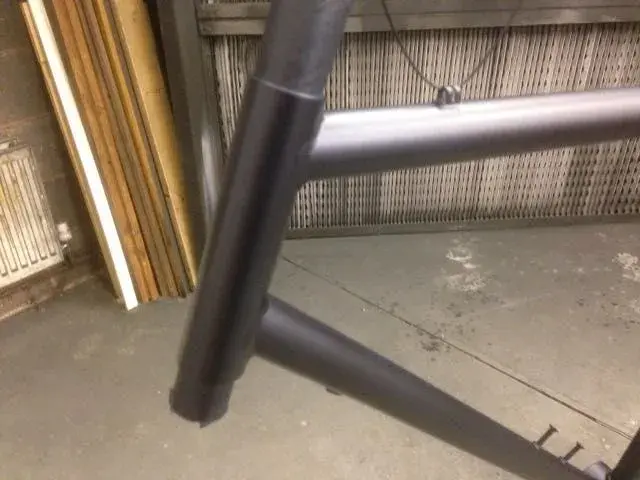
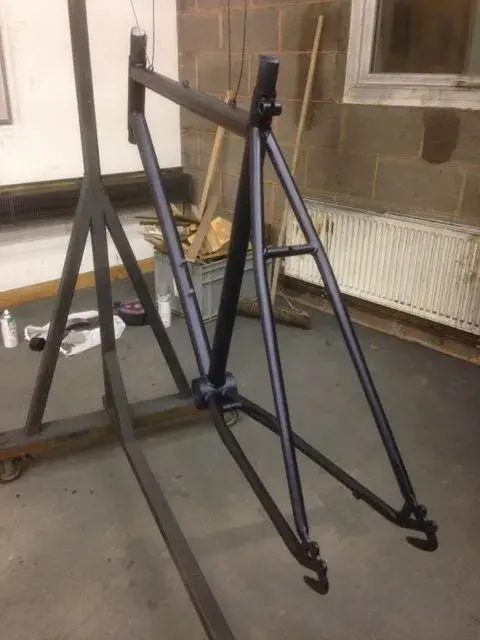
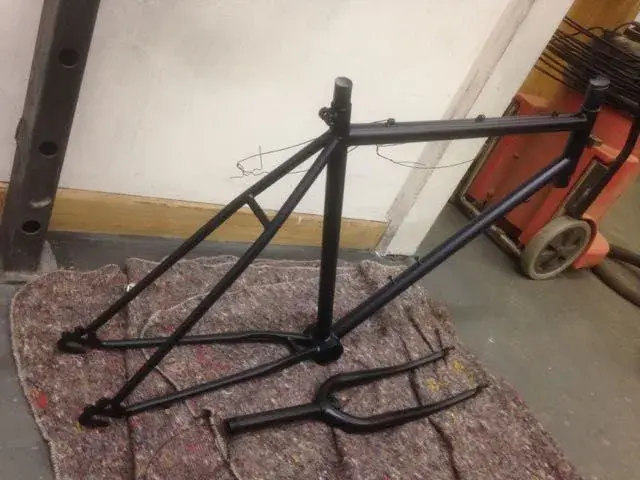
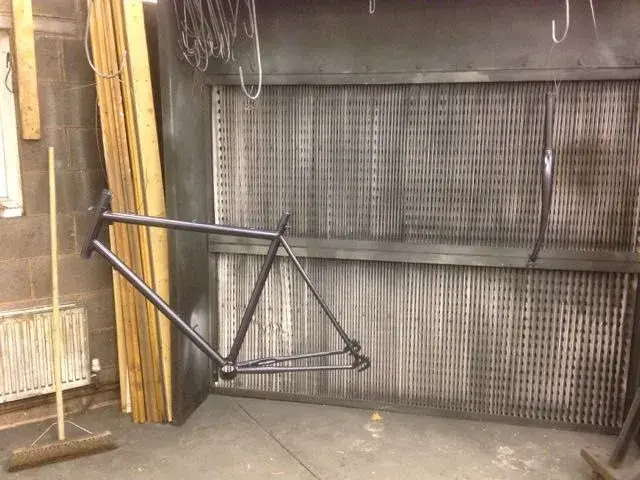
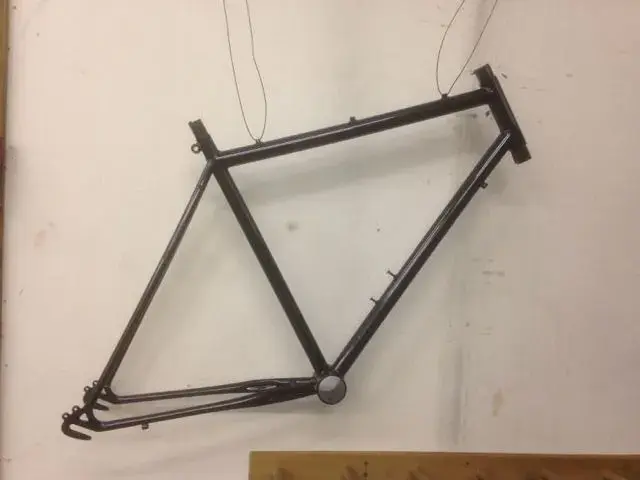
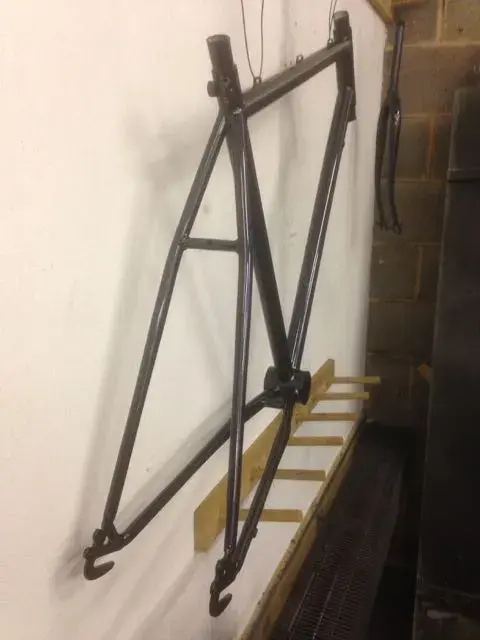
Complete rebuild of 1990's MTB to 2016 XT spec 1x10

Hi Shedobits

Sounds bad. Being new to cycling I don't think I will be pushing the brakes too hard. However if once up and running they don't seem brilliant I will replace with a Shimano dual pivot version.

Thanks for the positive comments
 
Time for an update.

I have been busy during lunchtimes and after work spraying the fork and frame with the help of a friend at work. First we applied two coats of colour over the primed parts and allowed this to dry at 30 degrees.

Photos below...
 

Attachments

  • IMG_3219.webp
    IMG_3219.webp
    43 KB · Views: 561
  • IMG_3220.webp
    IMG_3220.webp
    15.2 KB · Views: 561
  • IMG_3221.webp
    IMG_3221.webp
    29.5 KB · Views: 561
  • IMG_3222.webp
    IMG_3222.webp
    24.2 KB · Views: 561
Next was to gently rub down all the parts to remove any remaining high spots. Once this was carried out two more coats of colour were applied. This was allowed to dry ay 30 degrees for approximately six hours.

See photos...
 

Attachments

  • IMG_3292.webp
    IMG_3292.webp
    15.1 KB · Views: 553
  • IMG_3293.webp
    IMG_3293.webp
    18.7 KB · Views: 553
  • IMG_3294.webp
    IMG_3294.webp
    16.6 KB · Views: 553
  • IMG_3295.webp
    IMG_3295.webp
    37.7 KB · Views: 553
  • IMG_3296.webp
    IMG_3296.webp
    33.3 KB · Views: 553
  • IMG_3297.webp
    IMG_3297.webp
    32.8 KB · Views: 553
Next came the really fun bit, the lacquer.

We applied three coats of lacquer with thirty minute intervals to generate a really deep shine. At the end of the today it was looking really sweet. Just left to dry now at 30 degrees over the weekend to ensure everything has fully hardened.

Assuming everything sets and no one touches or drops it in-between, next week I can start the rebuild and develop the new bike as planned.

See photos....
 

Attachments

  • IMG_3334.webp
    IMG_3334.webp
    49.8 KB · Views: 546
  • IMG_3374.webp
    IMG_3374.webp
    10.5 KB · Views: 546
  • IMG_3375.webp
    IMG_3375.webp
    15.6 KB · Views: 546
  • IMG_3376.webp
    IMG_3376.webp
    11.8 KB · Views: 546
  • IMG_3377.webp
    IMG_3377.webp
    19.3 KB · Views: 546
  • IMG_3378.webp
    IMG_3378.webp
    11.7 KB · Views: 546
Re:

NewRider - When you say "dual pivot", I'm guessing that you mean a normal cantilever U-brake style of set-up ... yes?
 
https://www.google.nl/search?q=u+brake+ ... QNaZdFY7hM:

If you want to mount different brakes on the bike I would suggest changing to BMX style U brakes. Road style dual pivot brakes don't have enough tire clearance for MTB tyres. Use the mounting plate as in above link, or create one, you seem to be highly creative. That wil give you upgraded brake performance with good tyre clearance.

Paint looks really nice good job!
 
Great thread so far I'm liking the progress, however don't boast about the paint to loudly or we'll all be knocking on your door frames in hand :lol:
 
Hi bartsince1975

Good points well made. I haven't really thought to much on the brakes as my plan has been rebuild the original single pivot and update them as much as possible. I had not appreciated the tyre width affecting the dual pivot design.

I like the mounting plate idea for dual pivot, very clever. If the original brakes prove not to effective I will look at the conversion.

Many thanks
 

Latest posts

Back
Top