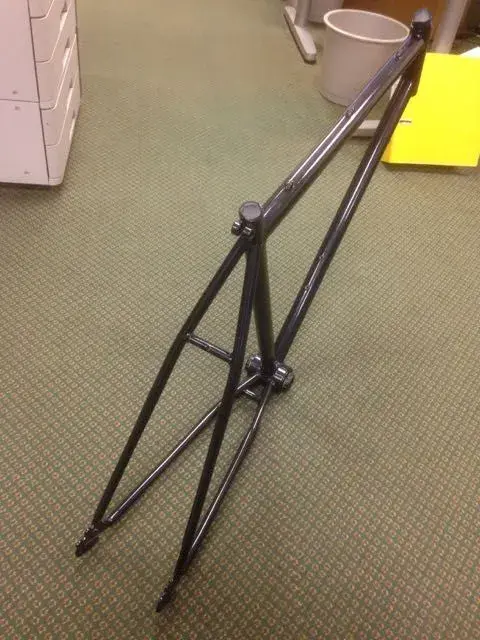
Complete rebuild of 1990's MTB to 2016 XT spec 1x10

Re:

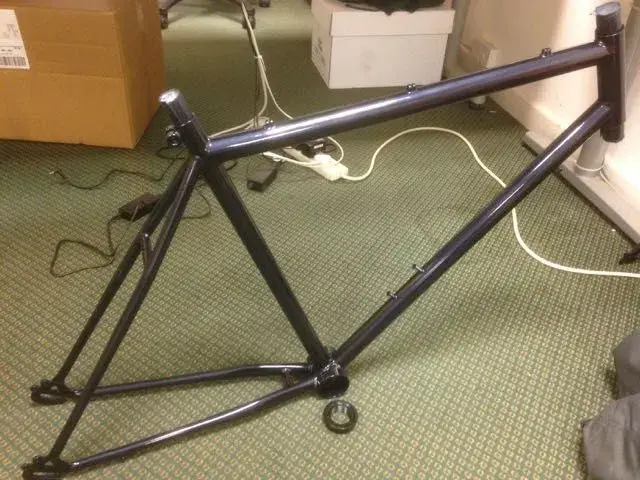
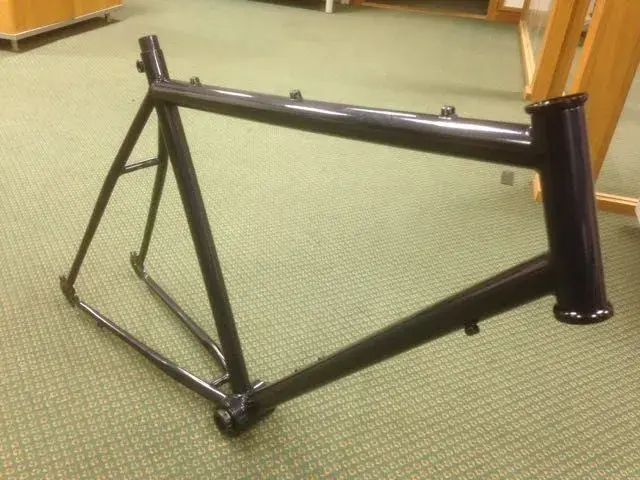
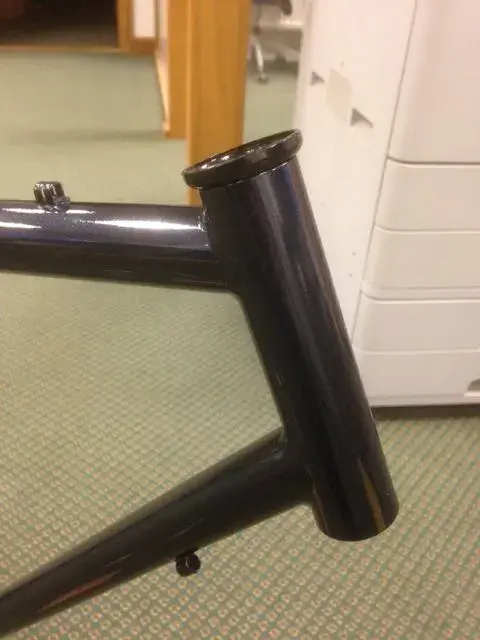
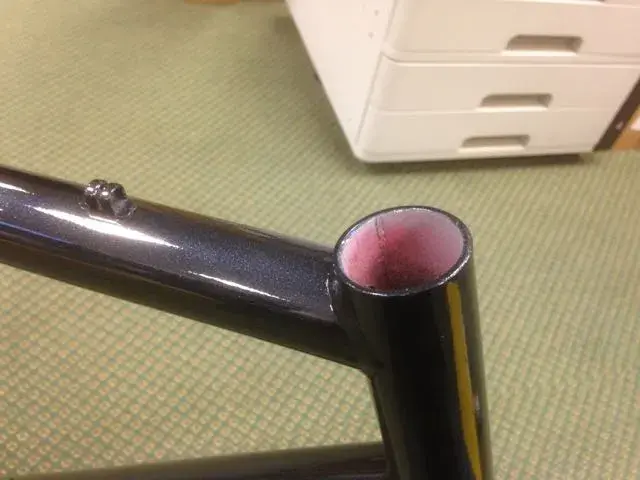
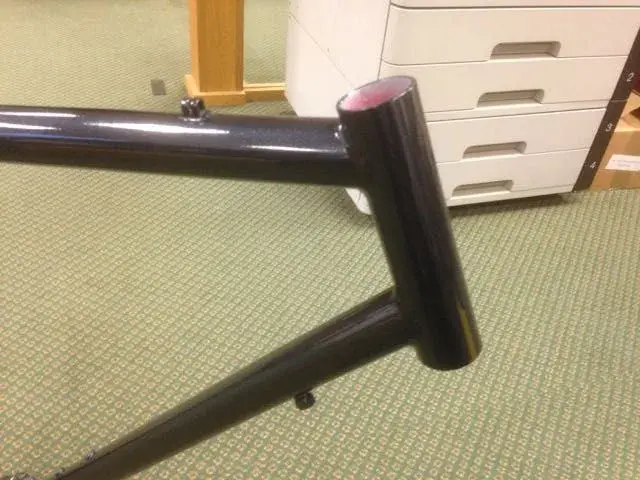
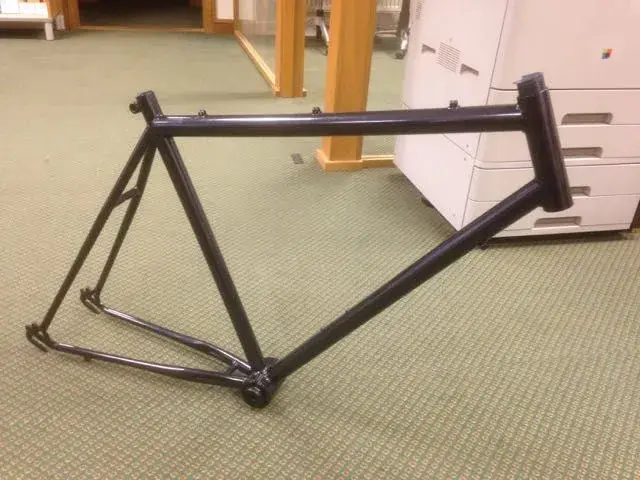
Hi NewRider, having been allowed out of work today, I've managed to get round to reading through your hugely engrossing and ambitious build. It's quite an epic approach but then again there should be no regulation rules to a bike build. The frame is looking cool in the new metallic midnight blue paint – it's actually a much better colour than the original. I am watching your creative adaption of the rear hanger to take the larger cassette – I'm sticking to running one chainring on my old frame for simplicity and to optimise a limited chain line, but I'm interested in some sort of custom approach to running a larger range cassette with a huge wall climbing 1st cog. Anyway, carry on with the build and good luck – looking forward to seeing the finished bike.
 
Hi Groovyblueshed

Thank you for the message and the support. Being new to cycling I have limited experience of riding bikes, I only rode this Apollo in its original guise and a friends very expensive SRAM 1x11 mountain bike. For me the 1x system was just such a pleasure to use I thought I would like a bike like this. However in reality the cost of them was just to much to justify and to me all that suspension was a little bit of overkill for my needs. To buy a bike and have to convert it to 1x seemed just wrong so I decided on this approach. I love engineering and challenges, I like the looks of the original bike while it has sentimental value to me as it was my Dad's bike for twenty or so years before.

The response to this project has been brilliant on this forum, as most people who find out about it through conversation look at you funny and simply state you could buy a nice bike with out that hassle.

They tend to miss the point!

This will be a quiet weekend as the frame is hardening so may look at putting spec together ready for the start of the rebuild next week.
 
With the paint hardening on the frame I have decided to put together a spec sheet of bike so far...Thanks to rutteger for the spec sheet format.

I will continue to update as required and parts completed.

(last updated 027/04/2017)


Frame: Mid 90's Apollo steel frame (3210 grammes)

Frame Modifications: Rear drop outs respaced to 136mm.
Rear drop outs realigned to be parallel within 0.46mm.
Rear drops outs realigned in height to within 0.21mm.
Welds cleaned up and smoothed as much as possible.
Front derailleur end stops removed.
Weld machined out and smoothed within bottom bracket.


Fork: Mid 90's Apollo steel forks (964 grammes)

Fork Modifications: Welds cleaned up and smoothed as much as possible.
Front drops realigned to 0.16mm


Frame Colour: VW Night Blue Metallic

Headset: Original - completely refurbished and painted black and finally lacquered
Stem: Original - completely refurbished and painted black and lacquered.
Handlebar: Aluminium unit from a unknown 2006 mtb - completely refurbished and painted black and lacquered
Grips: Lizard Skin 130mm grips


Brakes: Original - completely refurbished and painted Night Blue Metallic and fully lacquered
Brake Pads: Clarks 72mm MTB pro V Brake pads (38 grammes per pair)
Brake Cables: Shimano M System outer cable with stainless steel inner cables (custom cut lengths planned)
Brake Levers: Shimano Tiagra BL-4700 brake levers

Front Shifter: Not applicable
Rear Shifter: Shimano Deore XT SL-M780 10speed rapid fire
Front Derailleur: Not applicable (cable ends all removed)
Rear Derailleur: Shimano Deore XT M786 shadow plus, black (236 grammes)

Rear Derailleur hanger: Bespoke design allowing traditional mounting hanger position while converting to Direct Mount Derailleur while also changing derailleur geometry to suit normal set up on a 42t cog.

Derailleur Cables: Shimano XTR cable set
Cassette: Sunrace MX3 10speed 11t-42t in black (400 grammes)
Chain: KMC X10.93 114 link chain (268 grammes)
Cranks: Shimano Hollowtech 2 Deore M590 in black (476 grammes)
Chainrings: Absolute Black Oval 34t Wide/Narrow
Chainring bolts: Shimano M590 standard length with 1.2mm,10mm 316 stainless steel washers
Bottom Bracket Adaptor: Truvativ Bottom Bracket BMX American/Euro convertor (118 grammes)
Bottom Bracket: Shimano black BB93 XTR (64 grammes)
Pedals: Shimano Saint (all metal studded) flat pedals (488 grammes)

Hub Skewers: Shimano black Deore (62 grammes)
Rear Rim: Mach 1 MX aluminium in black (1095 grammes)
Hubs: Shimano Deore in black
Tyres: Halfords profile 26" x 2.0
Tubes: Continental MTB

Hub Skewers: Shimano Black Deore (62 grammes)
Front Rim: Mach 1 MX aluminium in black (866 grammes)
Hubs: Shimano Deore in black
Tyres: Halfords profile 26" x 2.0
Tubes: Continental MTB

Saddle: Brooks B17 saddle in Black
Seatpost: Original - completely refurbished
Seatpost Binder: Original - completely refurbished

Weight:
 
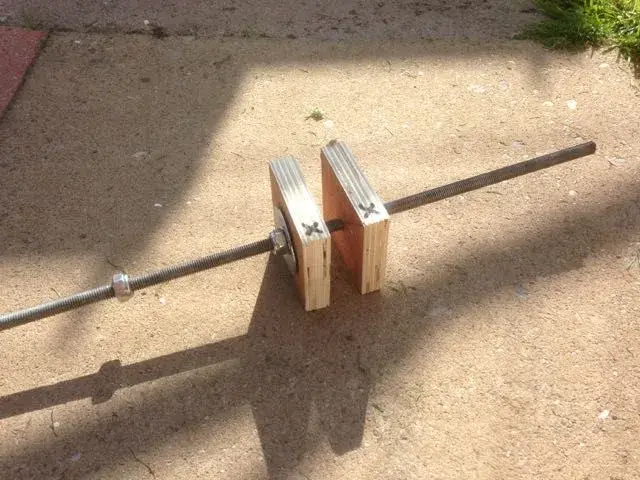
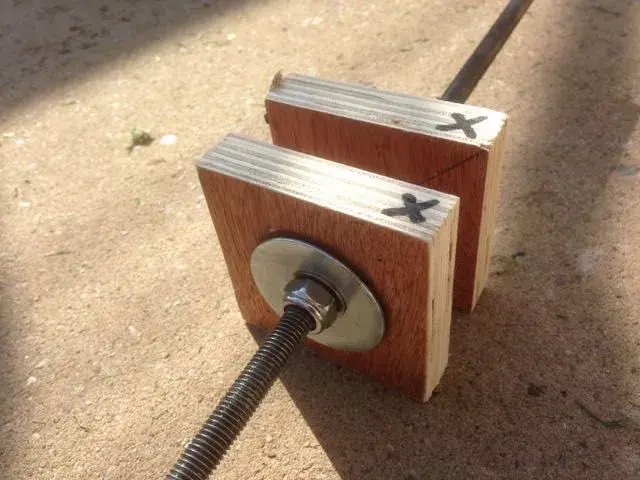
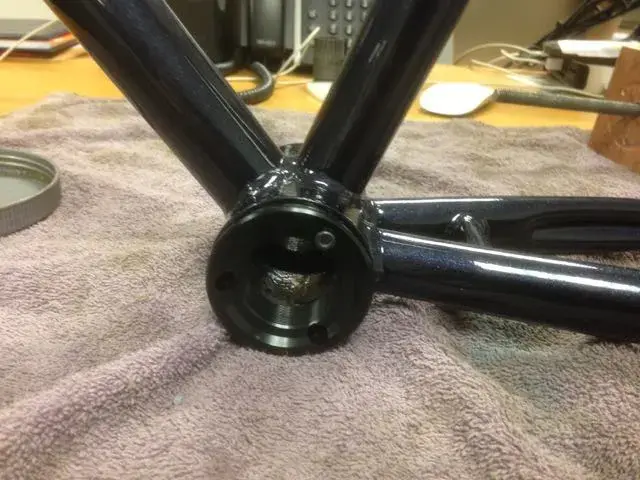
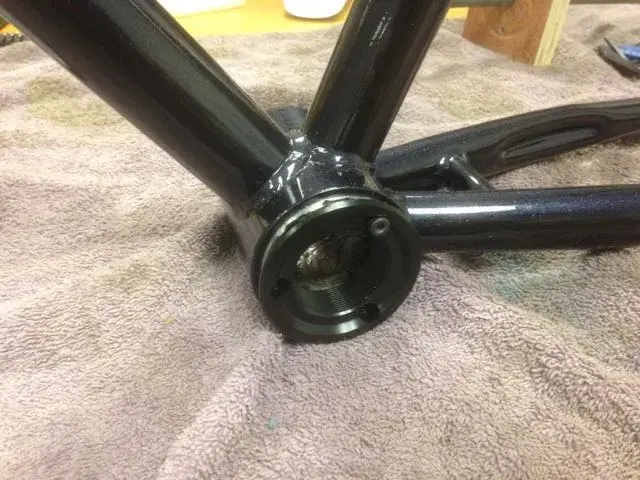
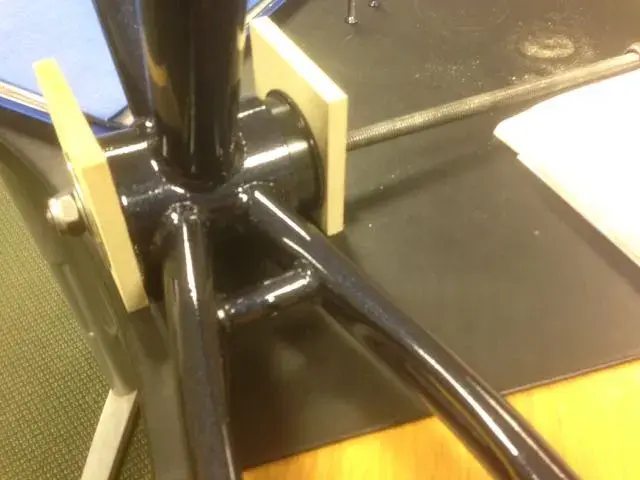
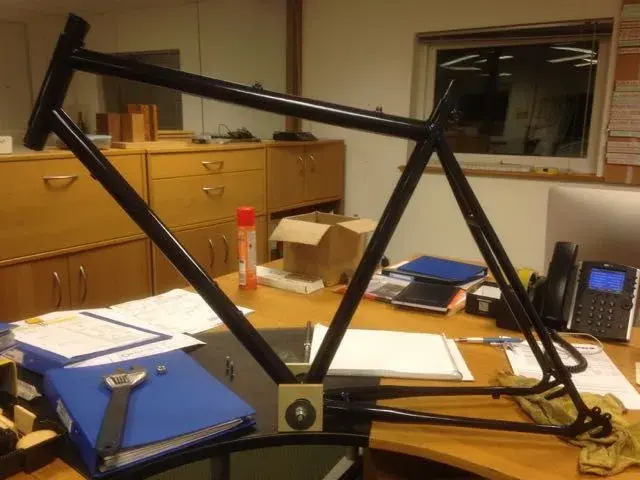
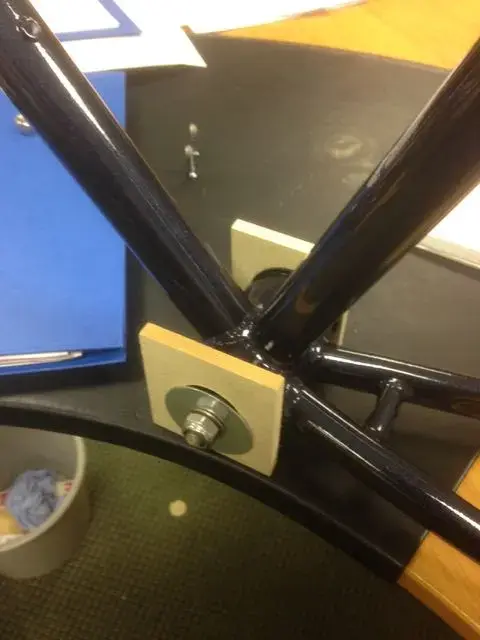
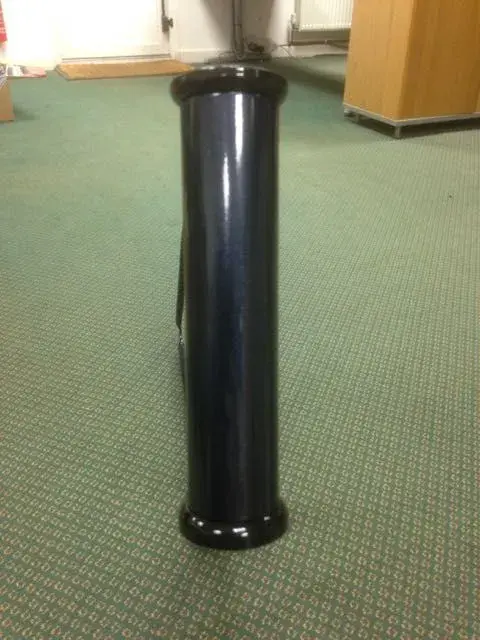
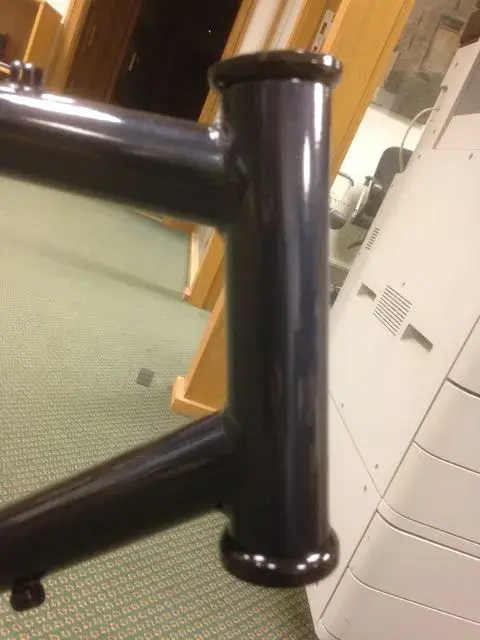
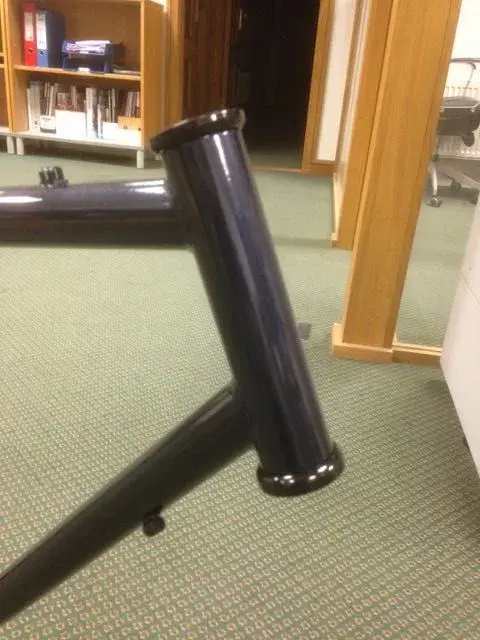
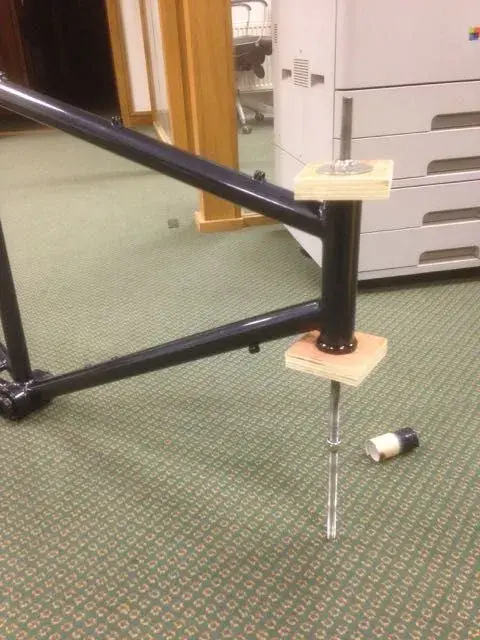
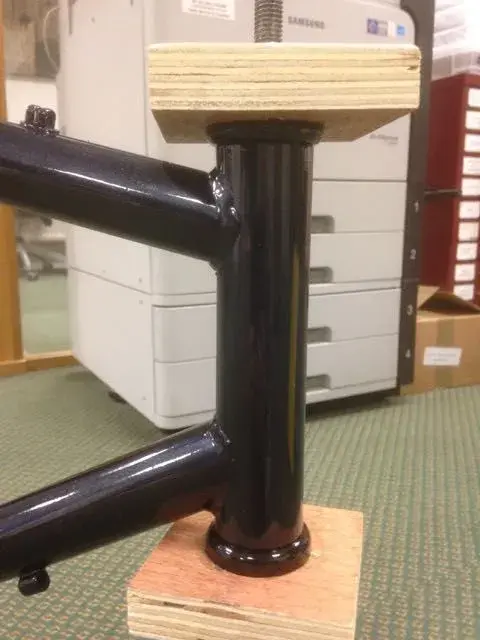
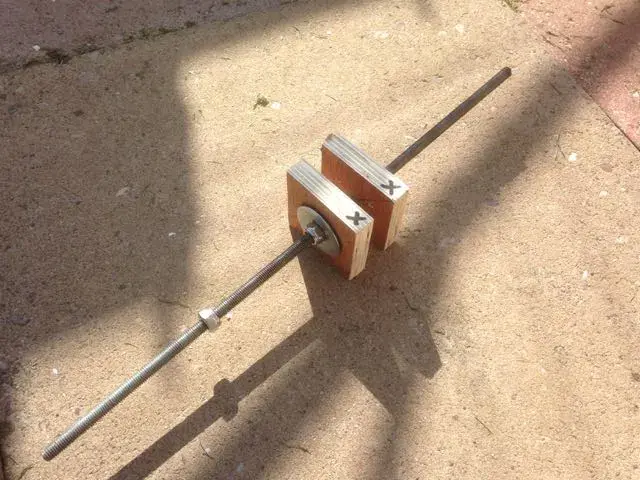
So today helped by a friend we made a tool for pressing in the bottom bracket adaptors and the head set cups. We tested it by knocking out and pushing head set cups into an old bike frame belonging to Phil and it worked a treat. To help seat the American/Euro bottom bracket adaptors we drilled three holes into the press. One side has oversized holes so that the holding bolts and press straight through. I plan to press one bracket adaptor first into place and then followed by the second while slightly tightening up the bolts as we go. As the conversion kit is aluminium together with the bolts I don't like the idea of trying to press the second adaptor in purely on bolt pressure alone.

Press currently shown in the headset cup press configuration. All being well Monday evening will be the presses first real use.
 

Attachments

  • IMG_3869.jpg
    IMG_3869.jpg
    59.9 KB · Views: 775
  • IMG_3870.jpg
    IMG_3870.jpg
    63.7 KB · Views: 775
  • IMG_3871.jpg
    IMG_3871.jpg
    52.3 KB · Views: 775
  • IMG_3872.jpg
    IMG_3872.jpg
    58.8 KB · Views: 775
NewRider":1l650sr7 said:
Hi Groovyblueshed

Thank you for the message and the support. Being new to cycling I have limited experience of riding bikes, I only rode this Apollo in its original guise and a friends very expensive SRAM 1x11 mountain bike. For me the 1x system was just such a pleasure to use I thought I would like a bike like this. However in reality the cost of them was just to much to justify and to me all that suspension was a little bit of overkill for my needs. To buy a bike and have to convert it to 1x seemed just wrong so I decided on this approach. I love engineering and challenges, I like the looks of the original bike while it has sentimental value to me as it was my Dad's bike for twenty or so years before.

The response to this project has been brilliant on this forum, as most people who find out about it through conversation look at you funny and simply state you could buy a nice bike with out that hassle.

They tend to miss the point!

This will be a quiet weekend as the frame is hardening so may look at putting spec together ready for the start of the rebuild next week.


Back in the mists of MTB time, drive trains composed of 3 chain rings and a 7speed cassette offering an amazing 21 gears were the thing. To be honest, they were a right pain to run, maintain and keep tuned. Since rediscovering my bike from 1993 and resuming cycling again in 2010, I realised that I only used 3 or 4 cogs out of the cassette and one chain ring, on the whole. Because the chain line tolerances were quite tight, I decided to run a single chain ring with a 7speed cassette. This has made life so much simpler and has improved the efficiency and smooth running of the drive train so much. Shifting is smarter and more instinctive now – before, with all those gears you had to think about it before shifting to avoid contorting and jamming the chain at an inappropriate moment. The simplicity and ease of maintenance of the 1x system (or even single speed) has proved to be popular with so many as it allows people to get on with enjoying the riding without the faff.

You're right about people missing the point about engineering your own creative solutions. Sure, one could go out and spend a fortune on some fancy bike, widget or tool, but if you've got the knowledge and the skills, there's a joy and personal satisfaction in doing something yourself. Most importantly though, it's that you are keeping the spirit of your dad's bike cherished and alive.
 
Time for an update.

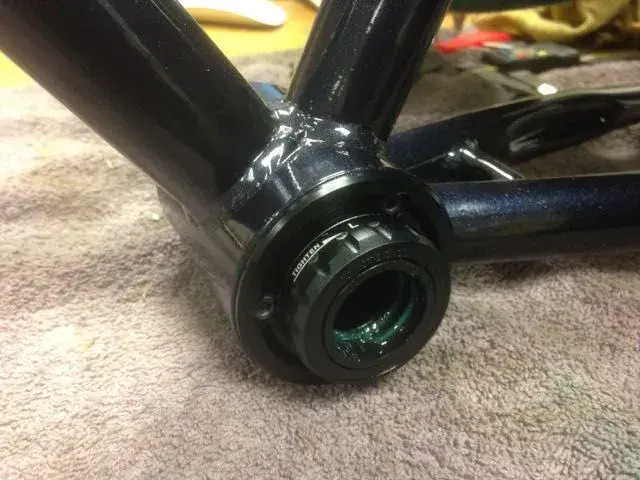
Went in Monday morning and frame has dried really well. So after work decided to fit the American/Euro adaptor kit and install the XTR BB93. Put towels down to protect the desk and using the homemade pressing tool started to fit the drive side of the adaptor, but unfortunately it was too tight to push in the required 20mm. As a result I turned down the aluminium adaptor to give it just such an ever so slight taper leaving a 9mm flat at the closing end. Having applied a generous amount of medium machine grease we tried again and it pressed it beautifully.

Next it was the non drive side so I turned this down in the same manner together with the grease. Having aligned the bolt holes and tightened down the bolts while it was pulling in once it became very hard we used a combination of the press and alternating the tightening of the bolts. It was slow going but worked really well. In the end after checking the alignment the BB adaptors where near perfectly parallel.

Having cleaned up the excess grease I applied a good amount inside the BB chamber to protect the metal just in case any paint pulled away and then built up the bottom bracket inserting the drive side first using the threads present within the adaptors. I chose the Shimano XTR 93mm Hollow tech two as it is roughly 3mm narrower in diameter than the cheaper versions which ensured the the BB would seat onto the adaptor as the feature quite a narrow flat area.

Once fully tightened tried turning the BB and moved very smoothly. Next will be pressing in the Head set cups.

Photos below...
 

Attachments

  • IMG_3451.jpg
    IMG_3451.jpg
    52.9 KB · Views: 703
  • IMG_3450.jpg
    IMG_3450.jpg
    40.8 KB · Views: 703
  • IMG_3449.jpg
    IMG_3449.jpg
    51.7 KB · Views: 703
  • IMG_3448.jpg
    IMG_3448.jpg
    57.3 KB · Views: 703
  • IMG_3439.jpg
    IMG_3439.jpg
    38.5 KB · Views: 703
  • IMG_3438.jpg
    IMG_3438.jpg
    46 KB · Views: 703
  • IMG_3437.jpg
    IMG_3437.jpg
    35.3 KB · Views: 703
  • IMG_3436.jpg
    IMG_3436.jpg
    62.7 KB · Views: 703
Completed the next big part of the project by fitting the two headset cups. All of the headset parts have been primed and sprayed in matt black followed by two coats of 2k clear lacquer. This was done at the same time as the fork and frame.

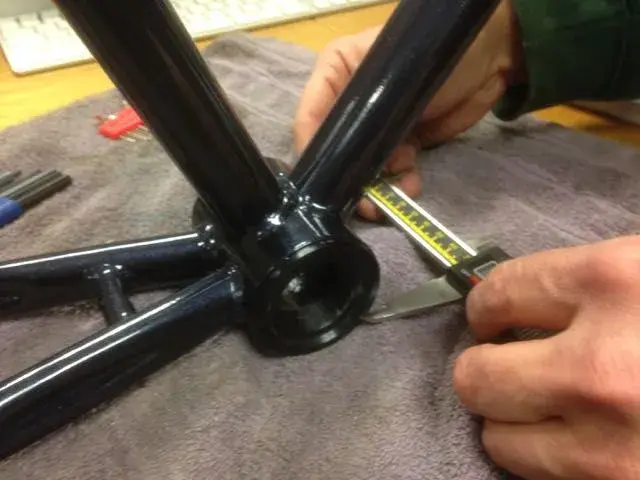
Using the homemade press I first pressed in the top cup which again I applied a little medium grease in the head tube first. Once fully pressed in I checked the cup was parallel to the head tube but checking its measurements with callipers.

Once checked and happy I repeated the process for the bottom cup. After it was fully seated I checked that both cups were parallel to each other with the callipers and thankfully the fit was perfect.

Some pictures below...
 

Attachments

  • IMG_3484.jpg
    IMG_3484.jpg
    57.1 KB · Views: 634
  • IMG_3482.jpg
    IMG_3482.jpg
    49.3 KB · Views: 634
  • IMG_3481.jpg
    IMG_3481.jpg
    39.5 KB · Views: 634
  • IMG_3480.jpg
    IMG_3480.jpg
    50.9 KB · Views: 634
  • IMG_3478.jpg
    IMG_3478.jpg
    54.8 KB · Views: 634
  • IMG_3477.jpg
    IMG_3477.jpg
    38.4 KB · Views: 634
  • IMG_3476.jpg
    IMG_3476.jpg
    47.4 KB · Views: 634
  • IMG_3475.jpg
    IMG_3475.jpg
    35.4 KB · Views: 634
Some additional photos...
 

Attachments

  • IMG_3474.jpg
    IMG_3474.jpg
    36.3 KB · Views: 632
  • IMG_3473.jpg
    IMG_3473.jpg
    39 KB · Views: 632
  • IMG_3472.jpg
    IMG_3472.jpg
    52.3 KB · Views: 632
  • IMG_3471.jpg
    IMG_3471.jpg
    53.9 KB · Views: 632
  • IMG_3470.jpg
    IMG_3470.jpg
    61 KB · Views: 632
I cannot tell from photos but if you painted over inner side of headset, the bearings are going to chip it out and it will make cracking sounds in it.
 
Back
Top