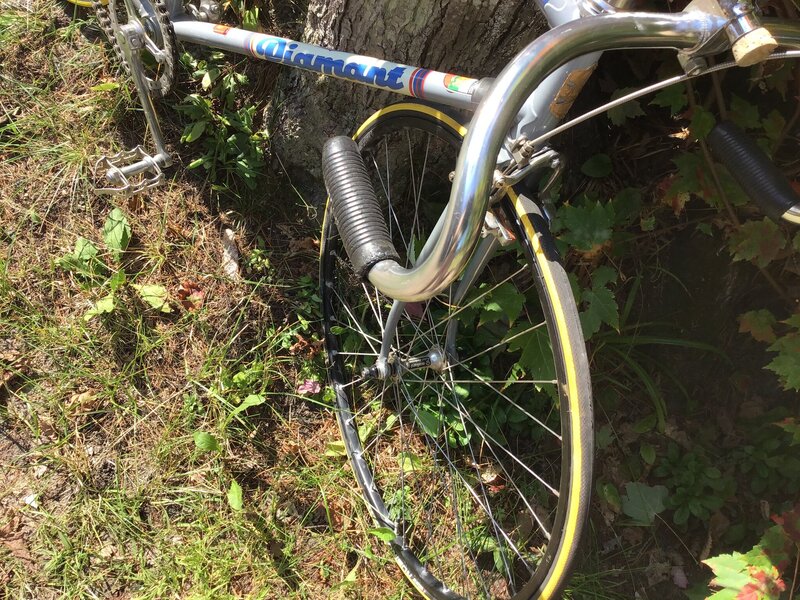
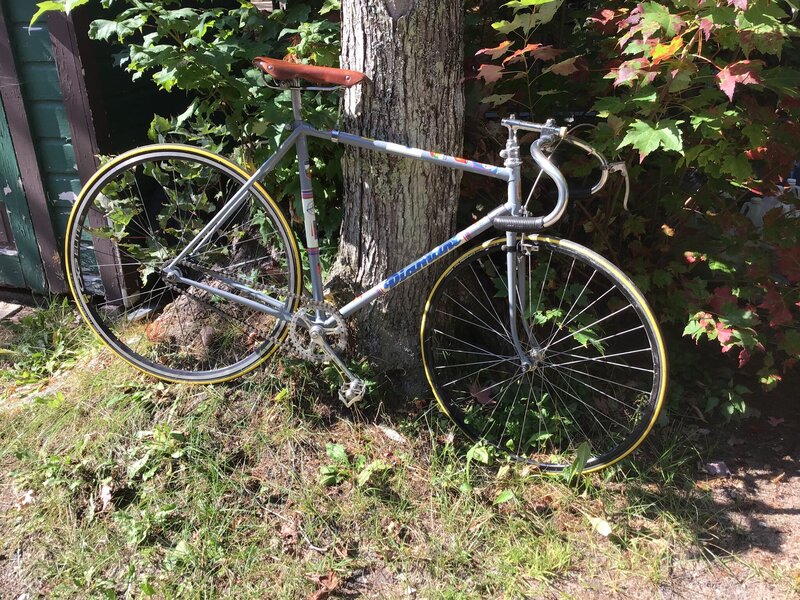
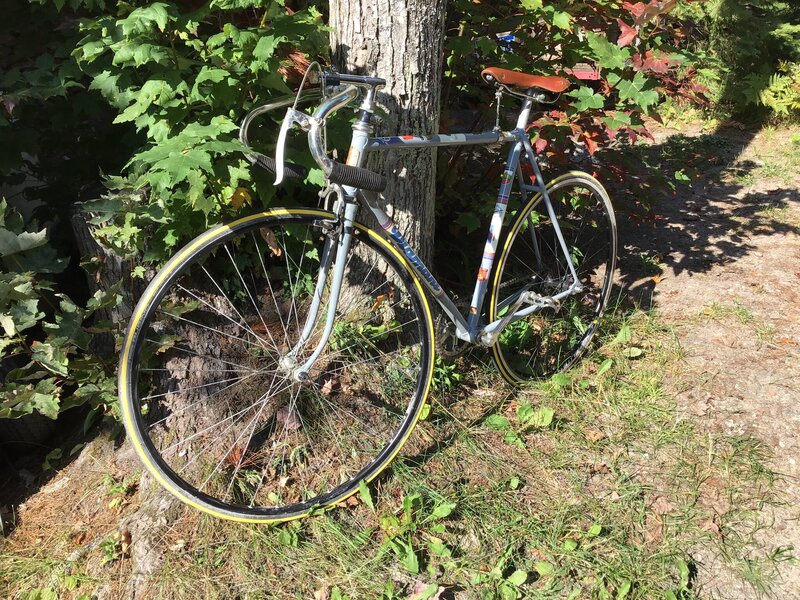
Commie frame Diamant track bike build.

Nabeaquam

BoTM Winner
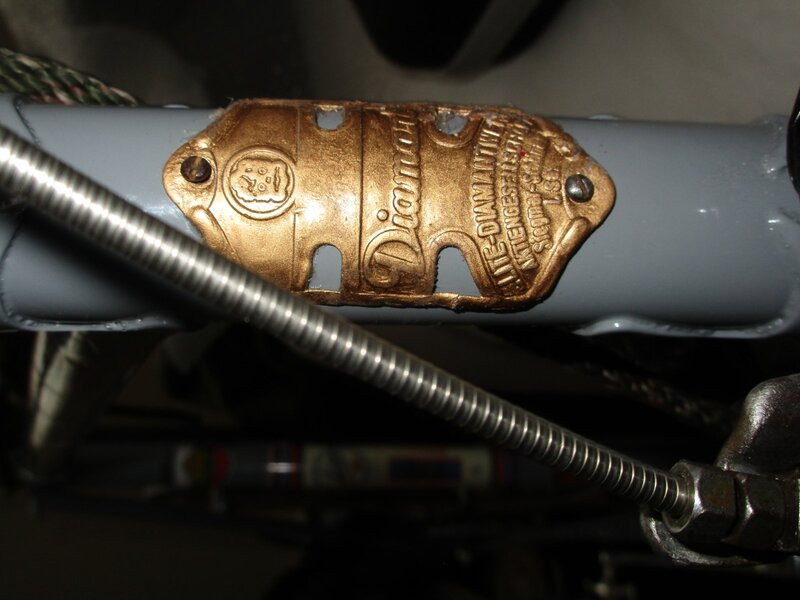
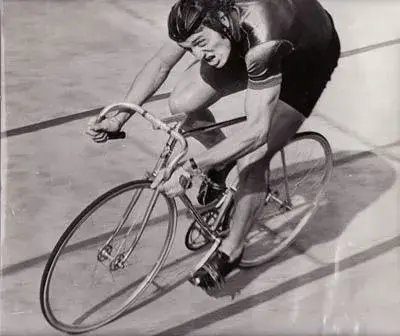
I posted this before, but here it is again as I found more photo details about the build. It made me realize how frustrating this build was. I supposedly got this frame, fork, seat post, stem and bb from the Bulgarian Bicycle Museum, if there is even such a thing. The story I got is that the museum had two and stripped this one for a restoration. They sent me a photo of the supposed museum restored specimen, complete with the cloth wheel covers. They said the bike belong to their nation sprint champion and 5th place Olympian, Dimo Angelov.
IMG_0818.jpeg

Performance back then was probably due more to steroids than bike quality, but that’s a guess. Seems like bike doping does back to the start of professional cycling with strychnine and wine being the drugs of choice in the early 1900s. The commies were just better at it back then.
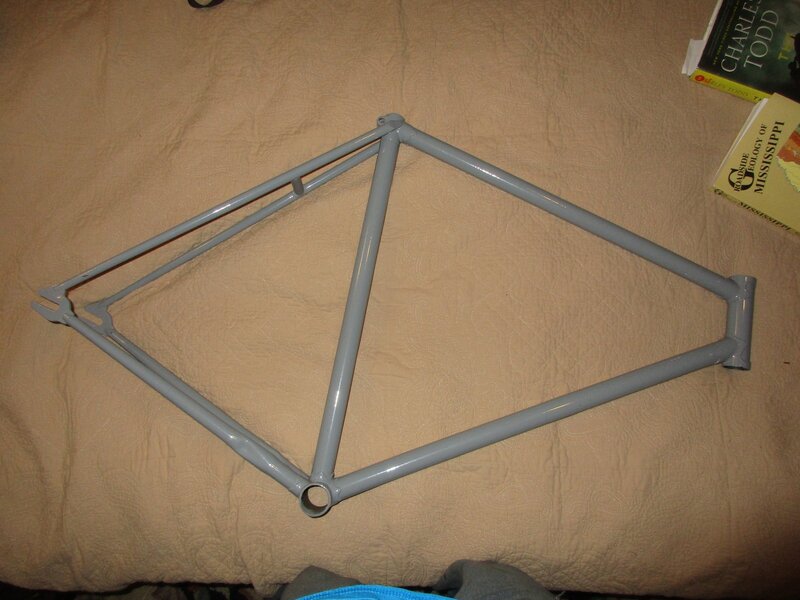
The frame when I got it. IMG_1281.jpeg
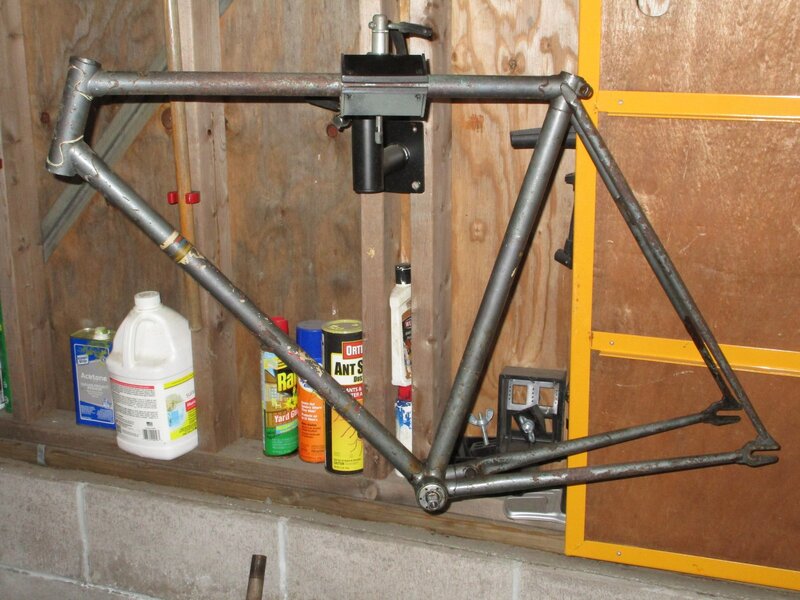
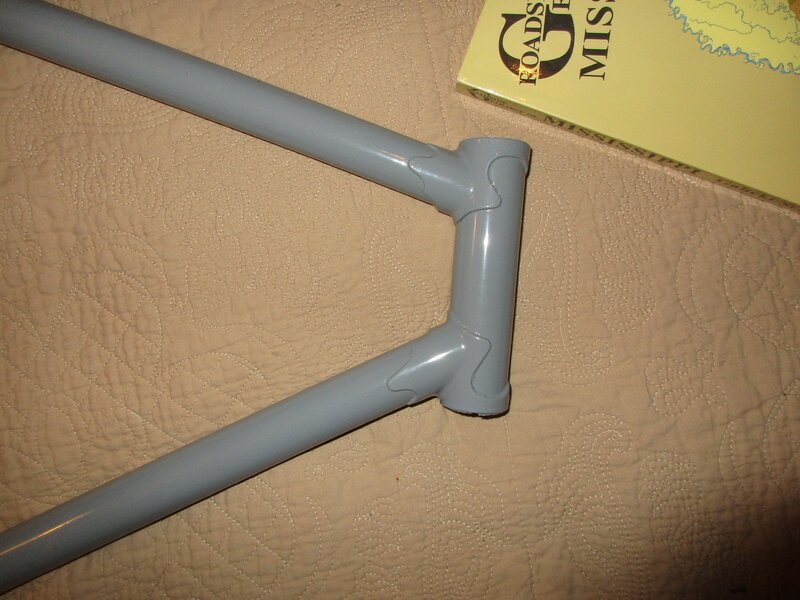
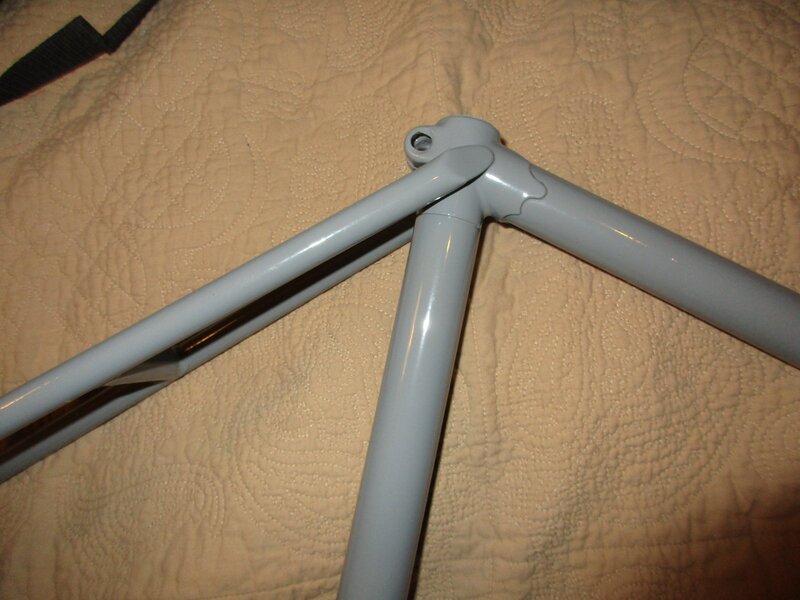
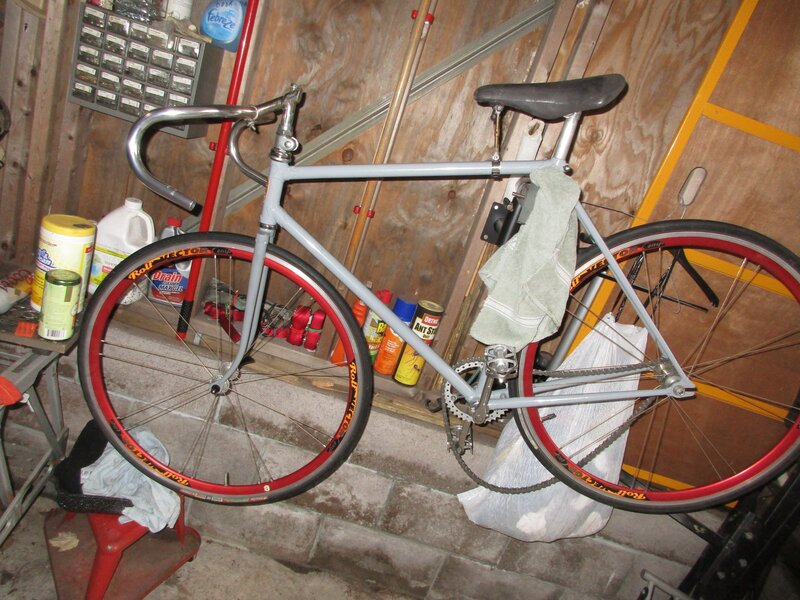
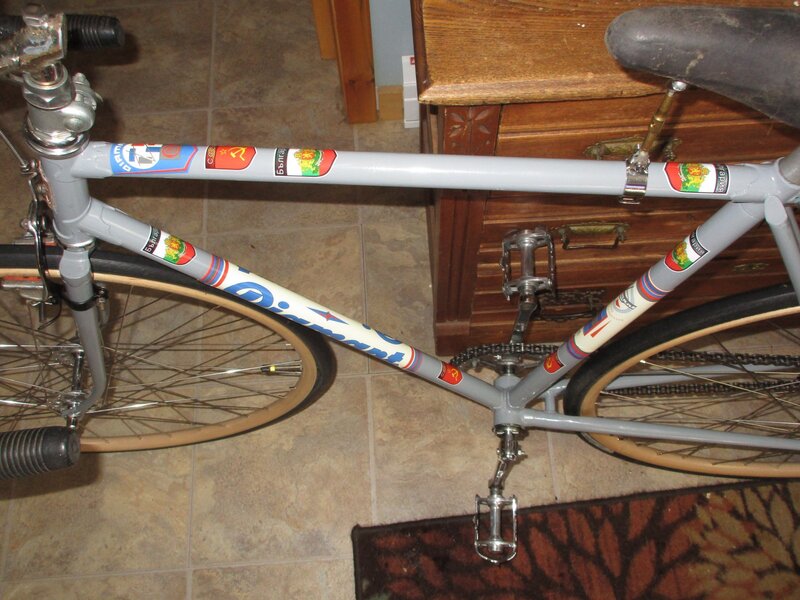
I painted it shiny battleship grey, so it looked like a morose commie utility device. Just my take on what the western image was of communist products.
IMG_1282.jpeg IMG_4138.jpeg IMG_4139.jpeg
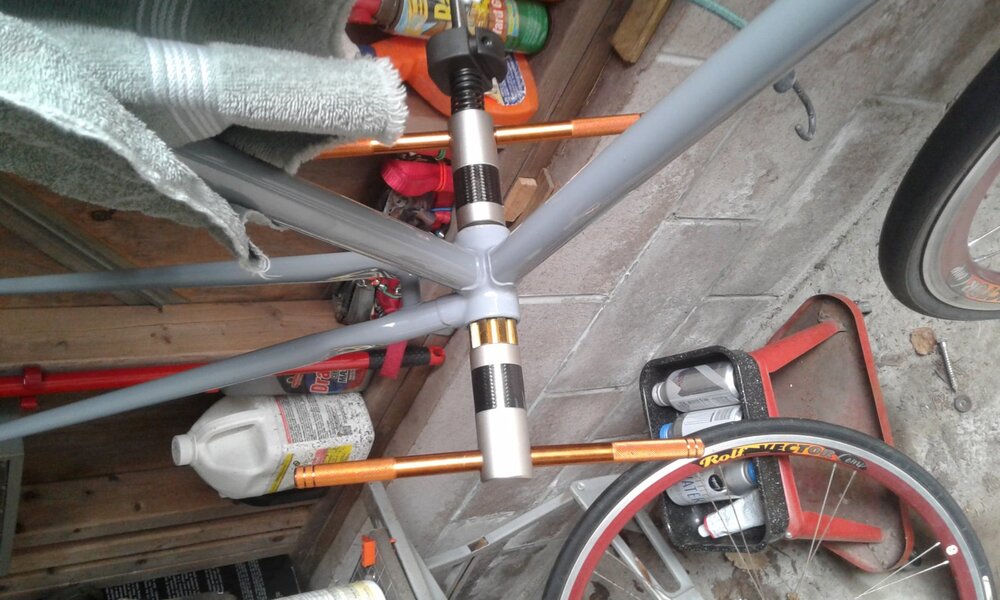
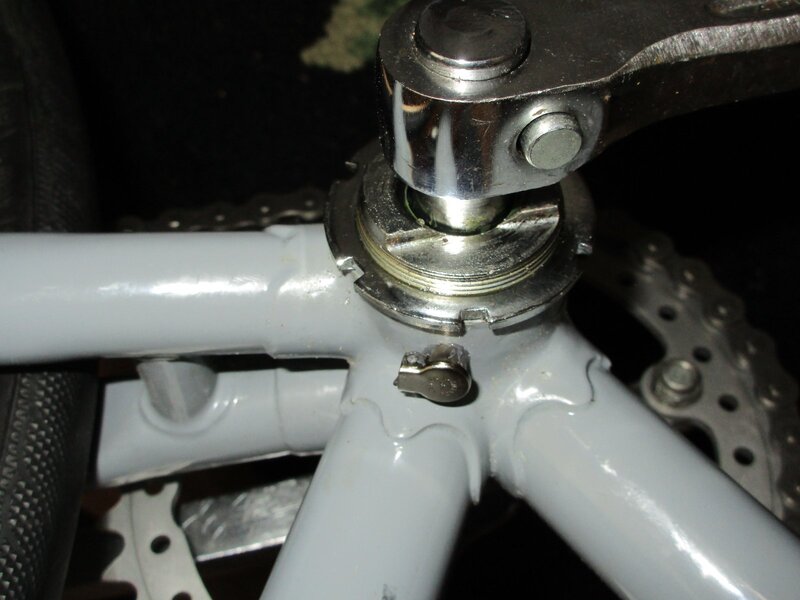
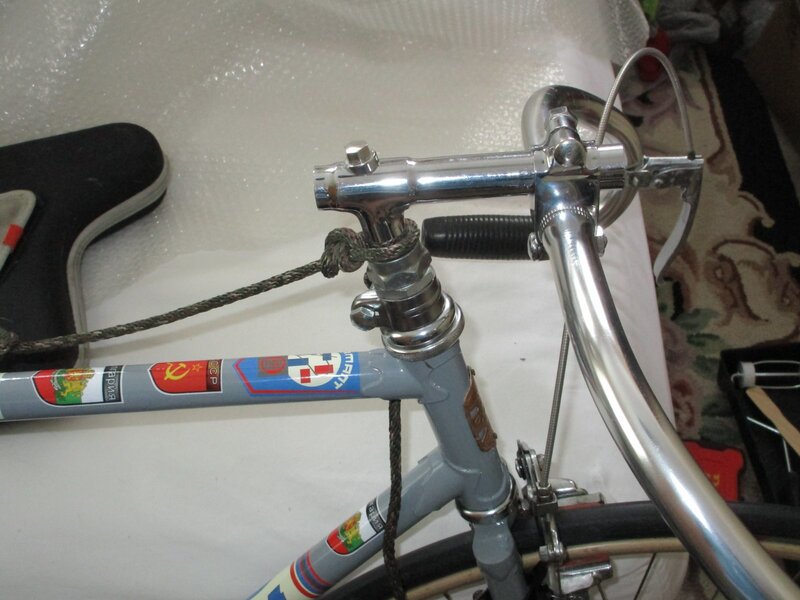
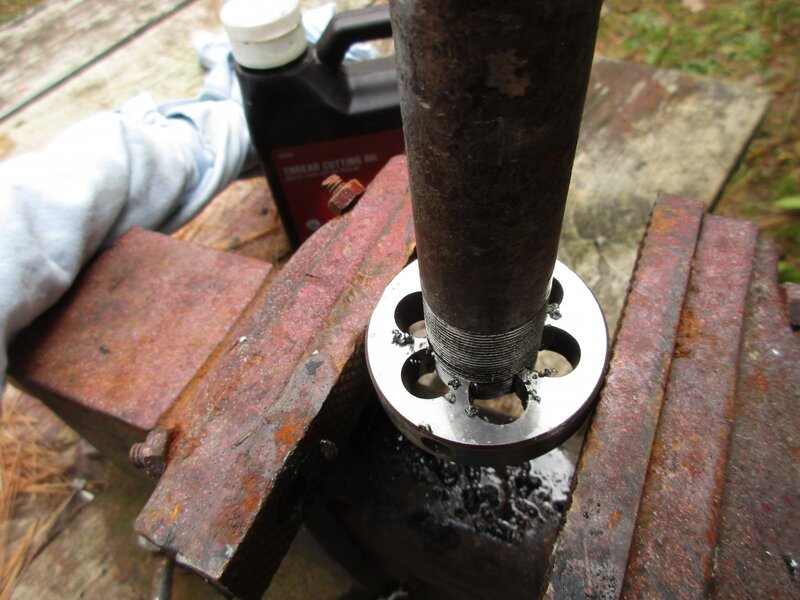
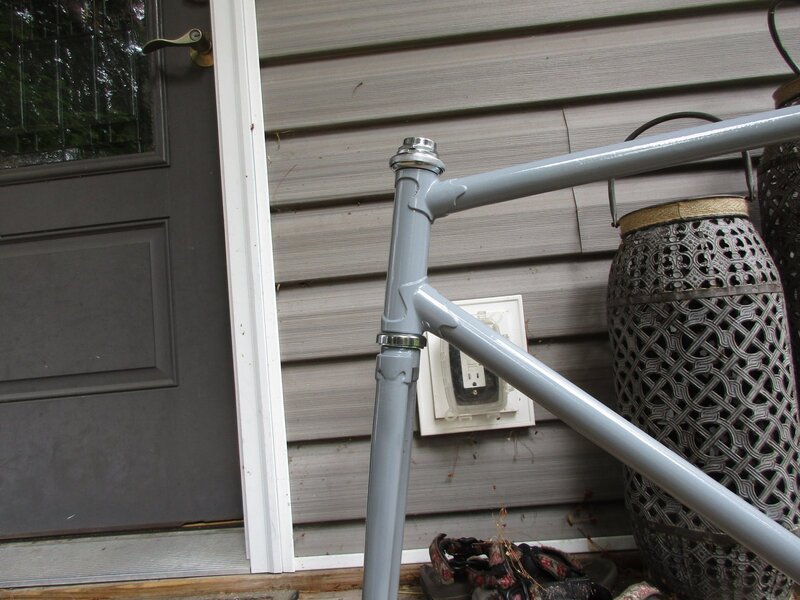
The bb offset was a problem and the fork threading was metric. Replacement headsets wouldn’t thread on. Gave me fits as I thought it would be a straight up bolt together with replacement standard parts, ha. I had to rethread the fork to standard and chase and face the bb shell. Frustrating fun. IMG_1283.jpeg IMG_4141.jpeg IMG_4143.jpeg
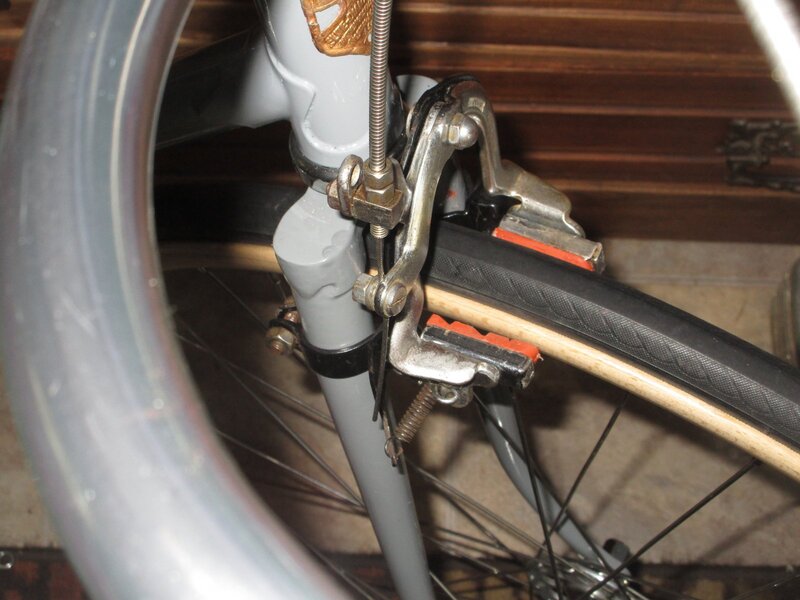
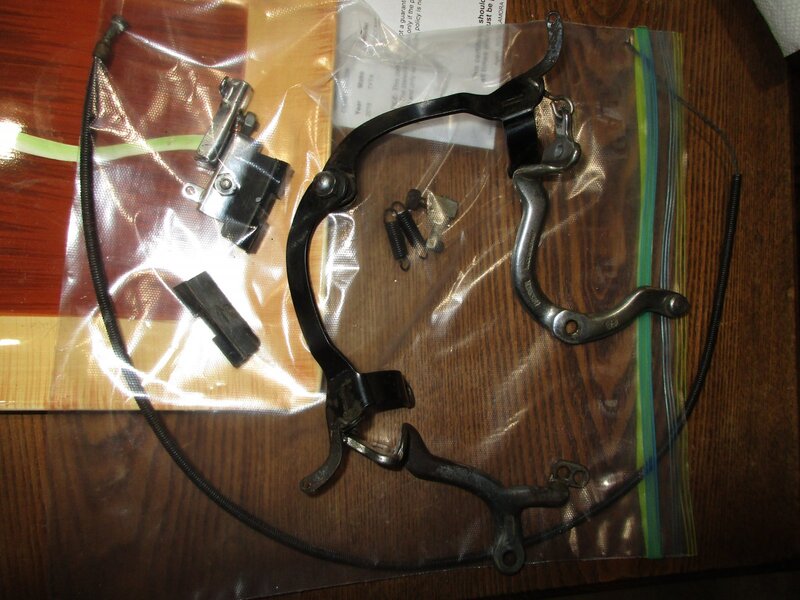
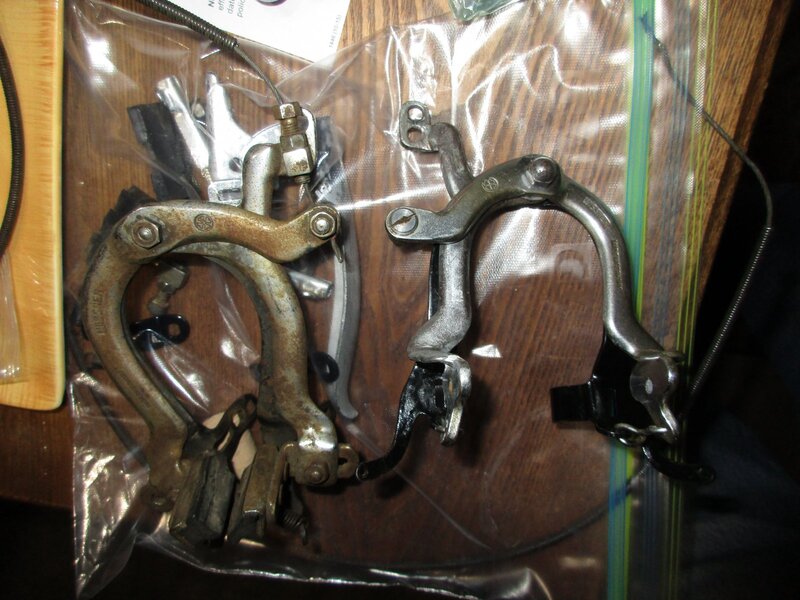
Weisner clamp on front brake that I rebuilt. IMG_4145.jpeg IMG_4146.jpeg
 
Last edited:
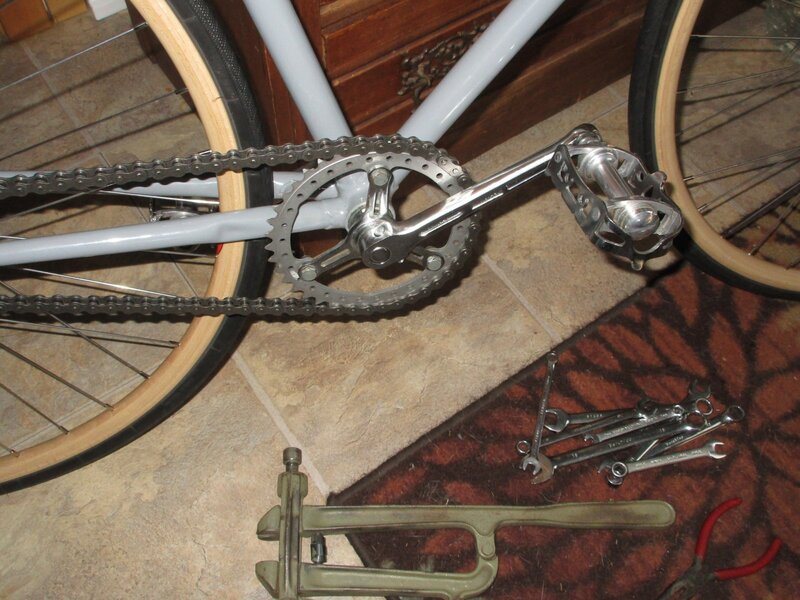
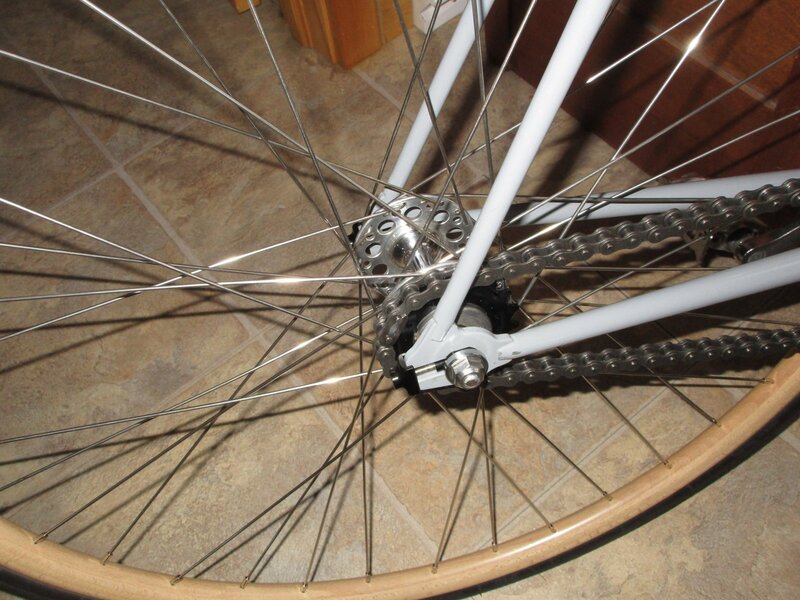
I used an old set of fixie wheels for a mock up build. I got a vintage TA track chainring that had good gearing for old legs as we have long steep hills here. They are vegetated sand dunes from the continental glaciers. Unridable for me without a front brake. I used a 1/2 inch pitch small motorcycle chain. Heavy and it’s the first thing people notice about this bike. “Look at that heavy chain”. I used a French cottered crank set that I had laying around. I forced on a set of 9/16 pedals into the French threads. I’ve done this several times without problems and it is done by others, but not a common practice. Use whatca got.

IMG_4142.jpeg
IMG_4144.jpeg
IMG_4148.jpeg IMG_4149.jpeg IMG_4150.jpeg
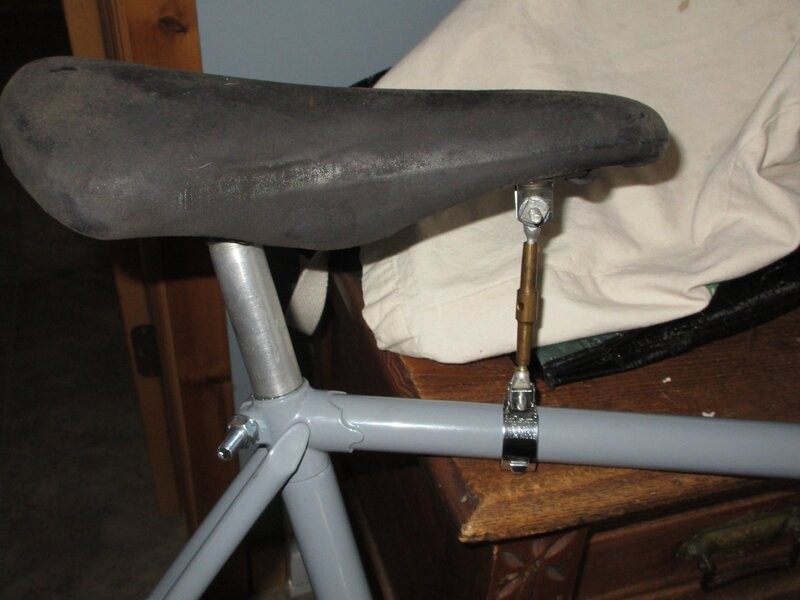
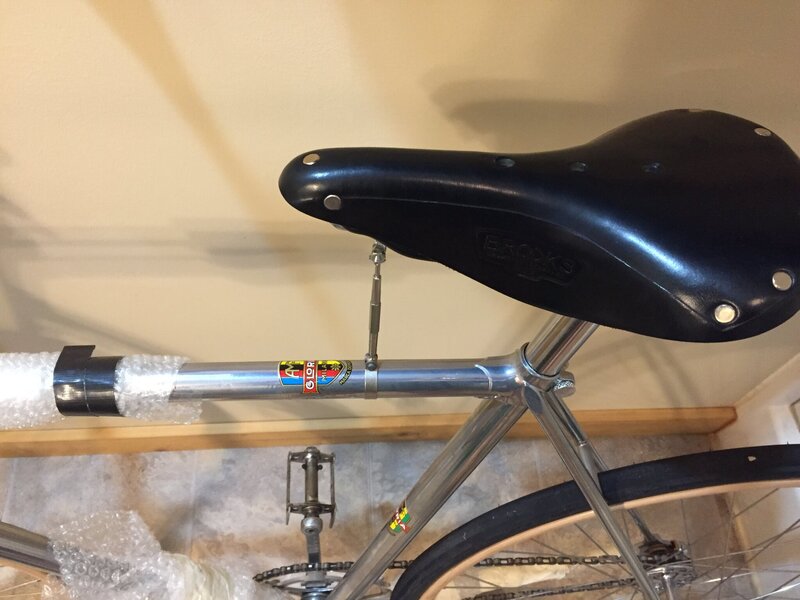
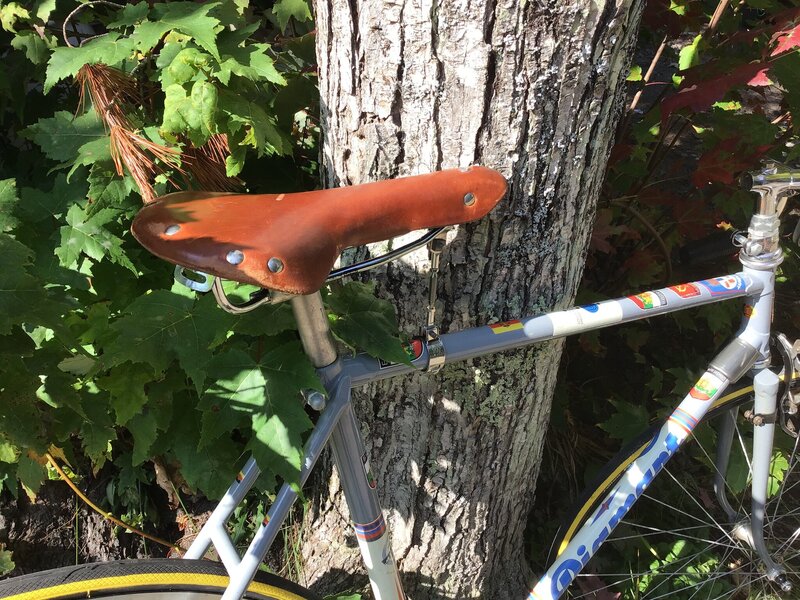
I always liked seat braces on track bikes but they are almost unobtainable. Sometimes, but rarely, you can find large model airplane turnbuckles for this brace. They are almost identical to the originals. I used a vintage airplane strut turnbuckle, which is a little too beefy for me. I’m still looking for a model airplane turnbuckle for this brace, but all the one I can find are tiny.
IMG_4151.jpeg
Real vintage track bike seat brace. IMG_0097.jpeg
Faux brace made from large model airplane turnbuckle. You can see by the frame discoloration that this bike originally had a brace, but it was gone when I got it. I’m still looking for a model airplane turnbuckle but I can only find tiny ones. 63788758046__7AB1E810-5441-4F6E-860B-69708BC2B795.jpeg
 
Last edited:
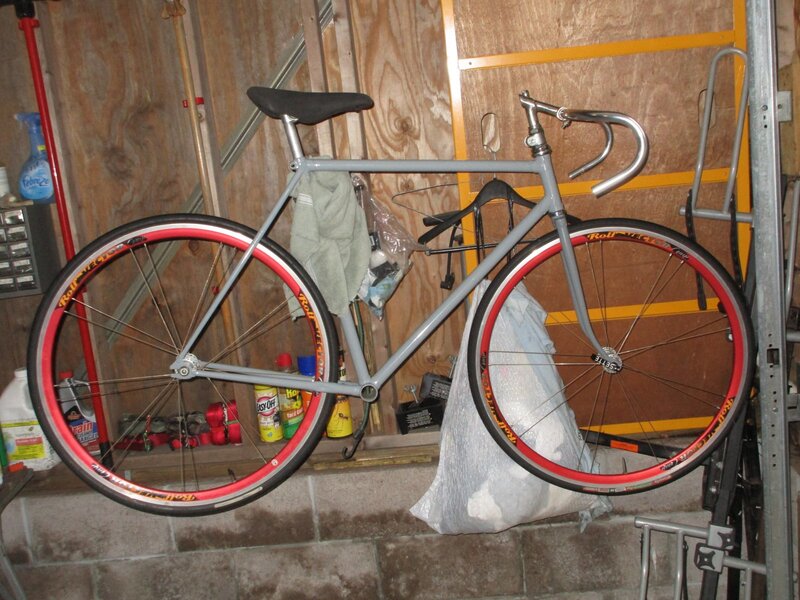
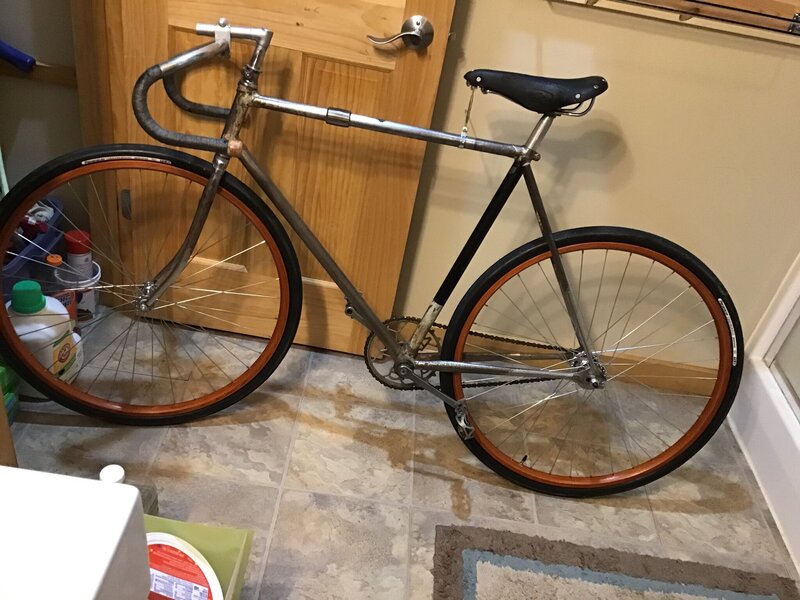
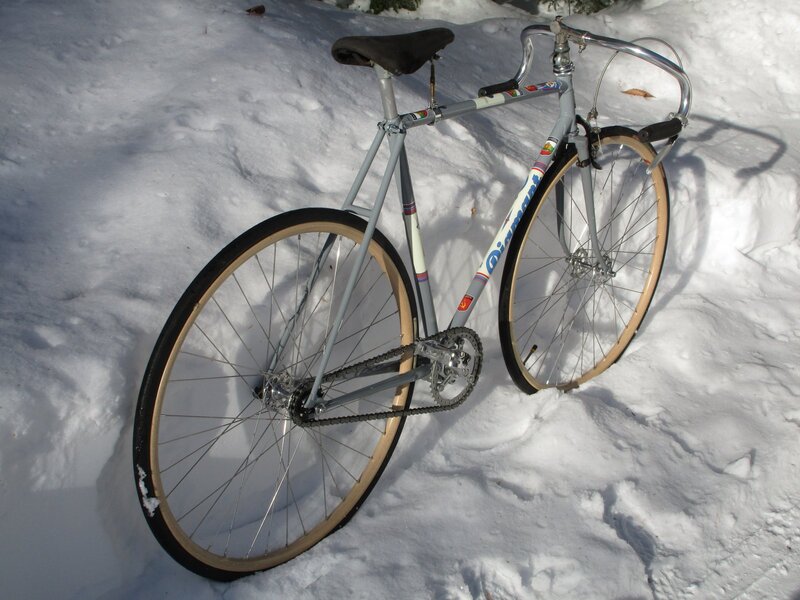
Here it is mostly finished. IMG_4155.jpeg IMG_4156.jpeg IMG_4154.jpeg IMG_4153.jpeg
IMG_4152.jpeg
As you can see it was built in our house in the winter. I want to make sure everyone knows it’s a commie bike so it’s got a lot of sticker vinyl. It has Bulgarian stickers added to the abundance of headlines. The wood wheels were temporarily taken from my Claud Butler track bike, just so I had a roller. As soon as I find a photo I’ll post it with the alloy track wheels. It’s fun to ride and not horrifically scary or difficult to ride down the steep long hills with the front brake. It’s amazing how well that brake works on the hills.
 
Last edited:
I just found some small stainless steel turnbuckles that are for large RC toy trucks. I ordered several sizes. Hopefully one will fit the gap between the seat nose and top tube. I can’t find the turnbuckles with eyes at each end that are for large size model aircraft that are made from stainless.
 
I put the stainless RC truck turnbuckle on the saddle, replacing the heavier aircraft strut turnbuckle. I replaced the original worn out suede saddle with a leather track saddle. I put on East German flag stickers that were for plastic models. It’s got Bulgarian, E. German and incase no one is familiar with East Germany being communist, I put on Soviet hammer and sickle decals. The bike frame, fork, seat post and bb were made in E. Germany. IMG_4175.jpeg IMG_4174.jpeg IMG_4173.jpeg IMG_4172.jpeg
 
Nice job. It looks very functional with the grey paint and touches like the seat brace and the bar grips but you've given it just a touch of flair with the stickers and graphics.

What is the tool that's lying next to the spanners?
Kevin
 
Nice job. It looks very functional with the grey paint and touches like the seat brace and the bar grips but you've given it just a touch of flair with the stickers and graphics.

What is the tool that's lying next to the spanners?
Kevin
Vintage VAR cotter press. Really applies a lot of force to install and remove cotters from cottered cranks.
 
Thanks for the quick reply. I like old, solid tools like that; VAR and Hozan made quite a few robust pieces - Gian Robert chain pliers are another - but it's a bit of a shame that there isn't a big call for them now with being able to cover most jobs with just a few hex keys.

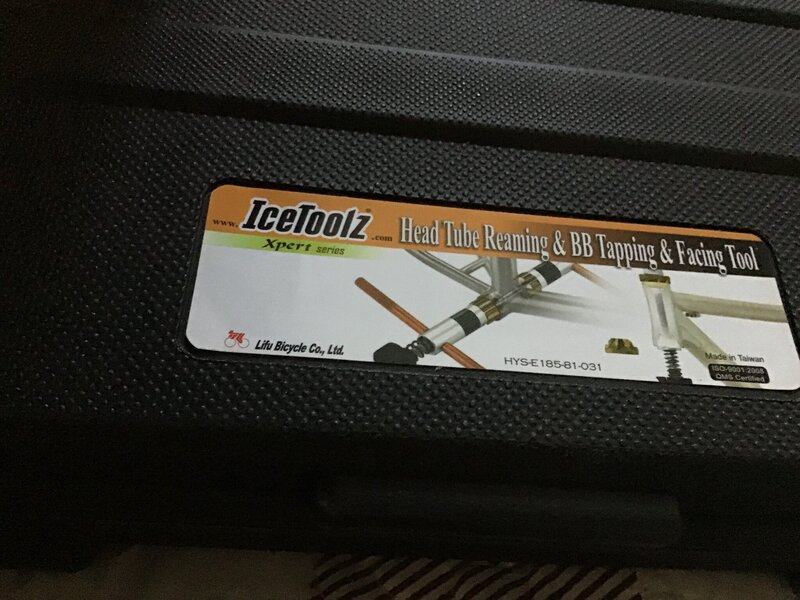
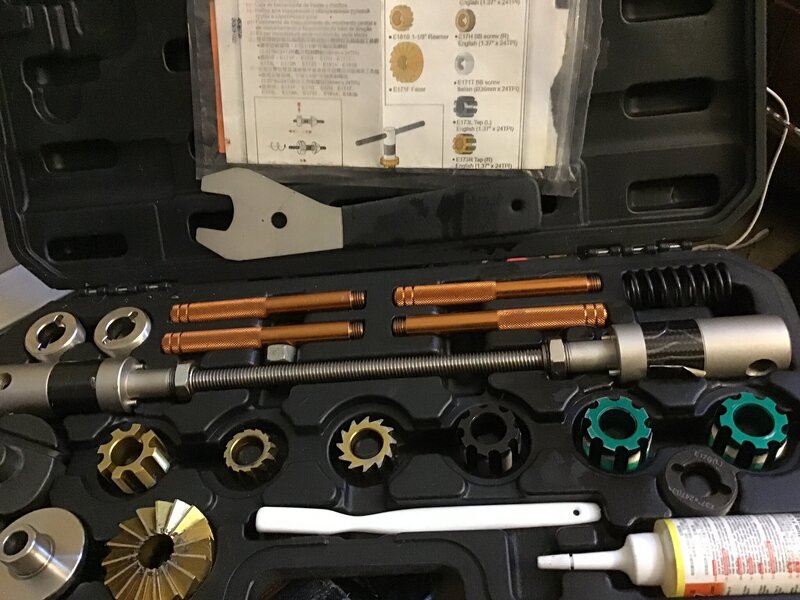
Sorry for being slightly repetitive but what make is your BB chasing tool?
 
IceToolz head tube reaming & BB tapping and facing tool is the brand. Not professional quality but still pretty good for someone who isn’t a pro. I’ve chased and faced 6 BB so far and reamed and faced 4 head tubes. I’ve used both the Italian and standard sets. I’ve also used the one and 1 1/8 head tube reamers. They’re heavy and strong but I don’t know how long the facers and reamers will last. I’m thinking this is where the cost savings comes in. So far so good over about 5 years of seldom use. Instructions are good. It includes cutting oil and I use a lot of it. Oil is cheaper than parts. image.jpg image.jpg
 
Last edited:
Back
Top