syncrosfan
Senior Retro Guru
"The frame finally arrived today, but annoyingly it had not been packaged very well and the seat tube must have taken a bump as it's no longer round, but slightly oval at the top." Ok so first of all the seller is a muppet! I bought the frame from him and I told him I need a large frame, he sent me a medium. Then the fork legs he sent me were two of the left ones, not a right and a left one. He did the worst packaging job in the universe, parts were just thrown in loose in there clanking around, I got lucky and the frame didn't get damaged. So I take the too small frame, package it properly, with spacer between the dropouts and everything done right, write him instructions as to how to properly package a bike frame, send it back, I get the new frame and it was still the worst packing job ever! At this time I was still nice because he was probably sitting on a Nuke Proof goldmine and I still wanted to score some parts, otherwise I would have ripped him a new one in the feedback section. Bottom line he's an utter Muppet!
What size frame do you need? I do have another medium frame I bought earlier, this one is raw aluminum but intact and it has the BB threads cut in already. did I mention that my frame doesn't have the BB threads cut in either? This is going to be a pain in the ass job right there. NO bike shop will take on the job, I asked everywhere. I talked to a frame maker in the LA area and he could help me out but he's super busy and I don't know when he could do it. All the bike shops are going like: oh it's a press fit BB here's one... No I know it's not supposed to be a press fit BB, the frame just isn't finished!
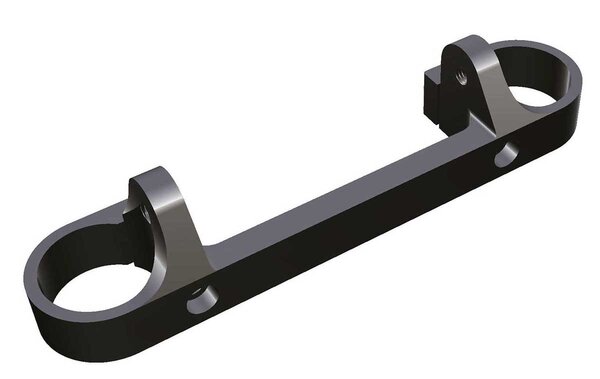
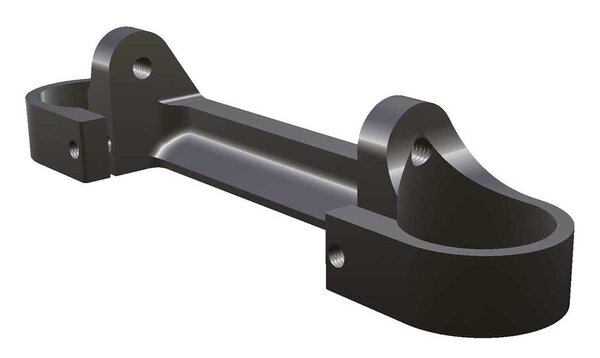
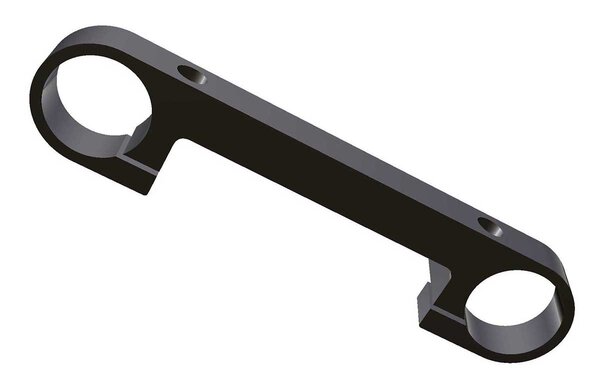
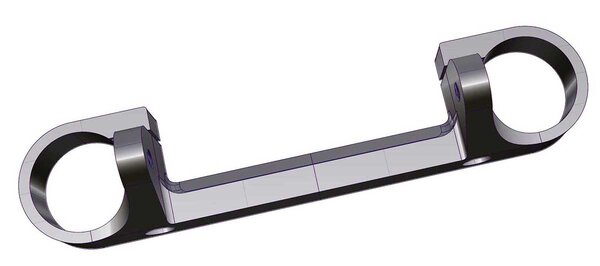
"Fork braces. None included with the sale (which I knew), but I need to source some." Don't worry I didn't forget about the braces, I'm starting on the CAD for those this week.
maybe around next week I'll have some rapid prototypes made (to make sure everything works right) before I release the data to the machine shop. I'm thinking 7075 aluminum clear anodized. The fork top caps are just some easy to turn on the lathe pieces I'll make them myself.
The frame and fork brake bosses seem to be quite straight forward standard parts, mine came without, but I test fitted some I had and the fit just fine, i don't see any issues on that side.
Bearings and bolts... i got lucky and one rocker arm had a needle bearing installed and the hardware to go with it so I can duplicate the setup. The bearings are INA HK 0912 made in Germany (that's the good stuff). I'll have to talk to my buddy who has a hookup with a bearing shop and can get them for wholesale price and see how much those will run price wise. Speaking of which, I hope you have the lower headset bearing since that's the one that's virtually impossible to find and believe me I tried!
Bottle bosses are going to be rivnuts I have the right size ones at work that's a pretty simple operation.
Decals, I got them from Gil and they look pretty good, just contact him. Headtube badge, now that's a tricky one, try a wanted ad and see if you get lucky maybe somebody has one (quite unlikely though). I'm thinking a bout making one. First I need to do the vector art of the original cockroach, then I 'll have to see whether I make it out of a thin sheet of copper (the original was copper or brass or something like that) laser cut then bent to the shape of the tube, or maybe make it in CAD and then make a mold and cast it in metal... that comes a little later.
As far as the build goes I'll have as many Nuke Proof parts as I can get. Hubs, stem, handlebars, QR skewers. I'll lace the hubs onto HED rims like the catalog bike (got the Nuke Proof decals for the rims as well). The original catalog spec was full XTR M951, but I'm going to use Syncros Revolution cranks, a black Syncros seatpost and magura HS 33's for the brakes. This bike is not going to be light (the frame is already over 1800 grams, but seems super sturdy) and some of the components (rims and brakes are not exactly light either).
Now as far as the post goes, I have some Syncros 31.6 posts that are a tad too small, plus the seat-tube needs to still be reamed, so I theory one could use a 31.8 or a 32 seatpost after reaming out the seat-tube (in my case I doubt that I can source a nice Syncros post in those sizes at a decent price). I might get a seatpost shim and glue it in and use a standard 27.2 post. Didn't quite decide on that one yet.
As far as the shock goes, I have the standard Noleen one too which should work OK, but I also have a DT XR carbon shock with the same dimensions which could fit and make the front end lighter. In any case I have to sort out the frame first, BB threads and seat tube. Then comes the front end with all the bearings and hardware.
I'll keep you posted on the progress. Post some pictures of the damage to the seat-tube (if you're a medium size frame I do have another one...)
I don't think you bit off more than you can chew but it's going to be one of those super challenging builds, that's for sure.


