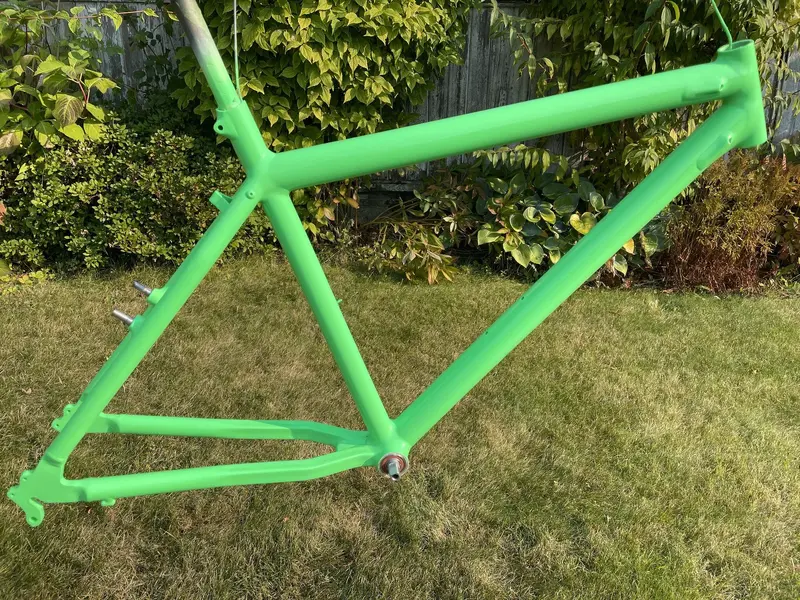
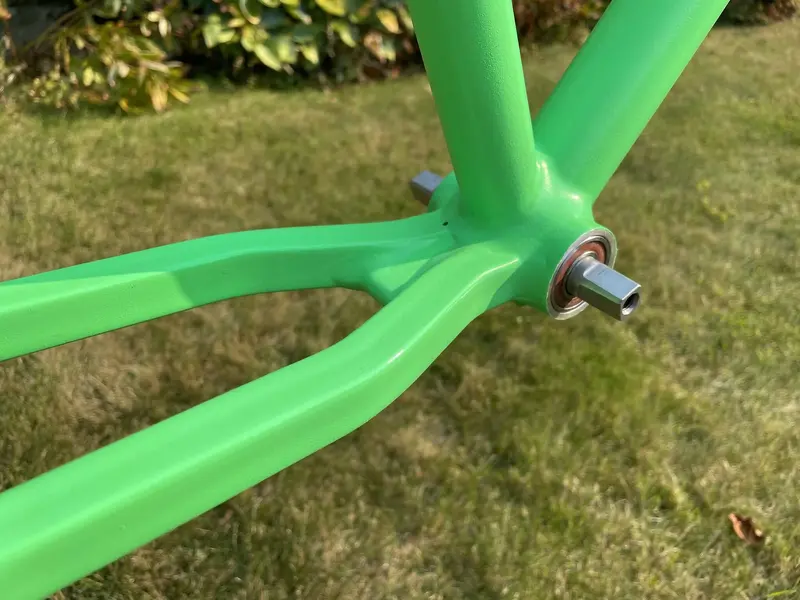
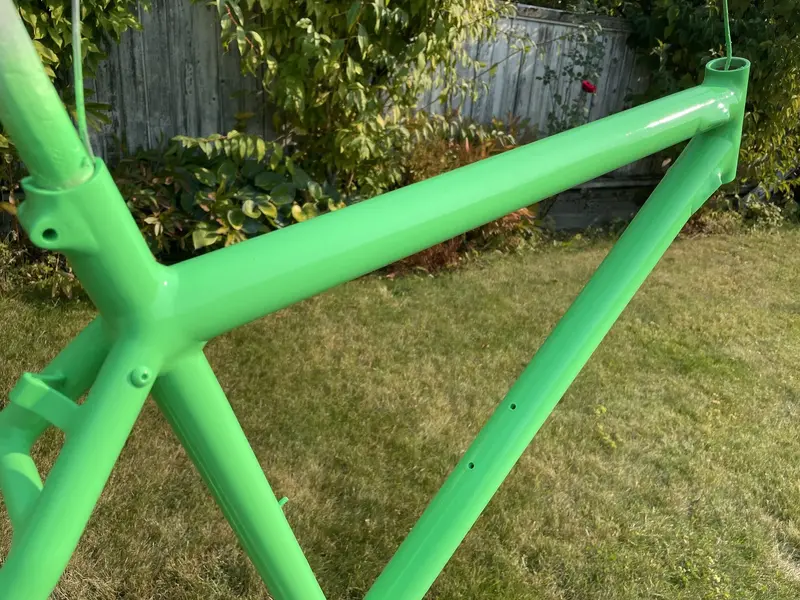
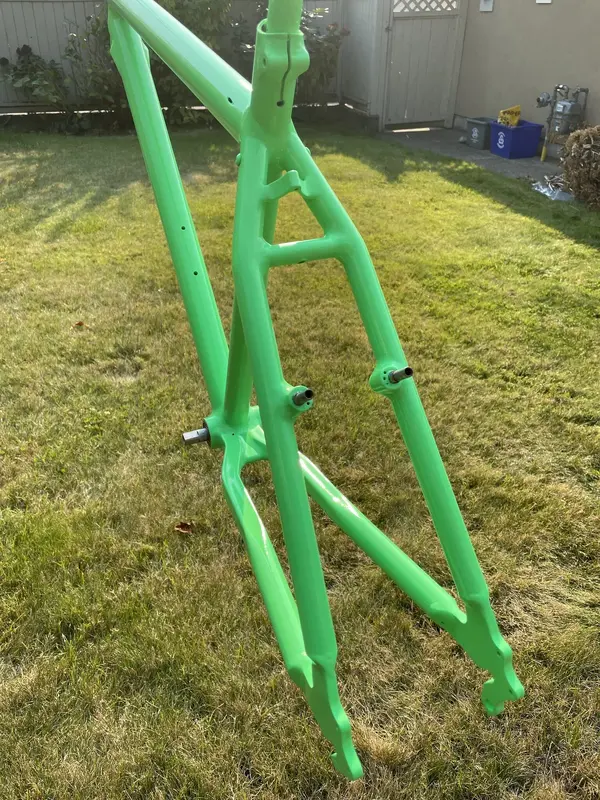
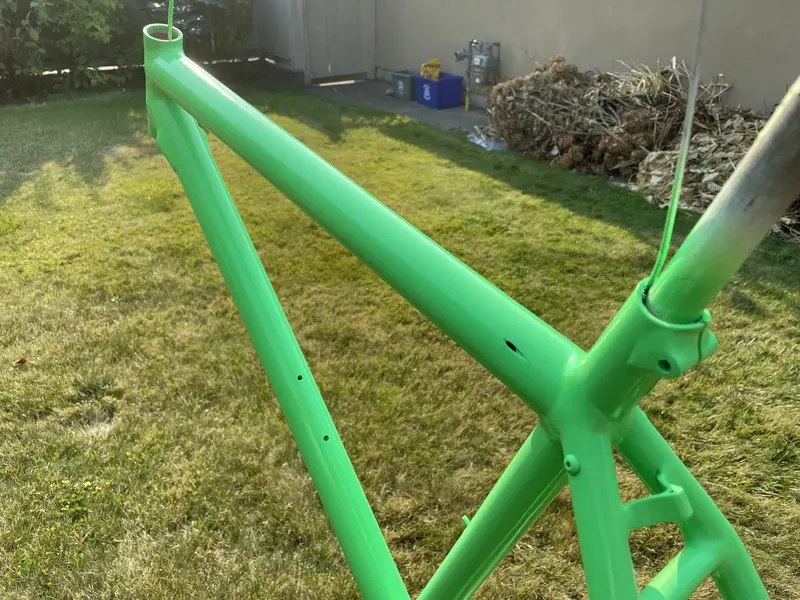
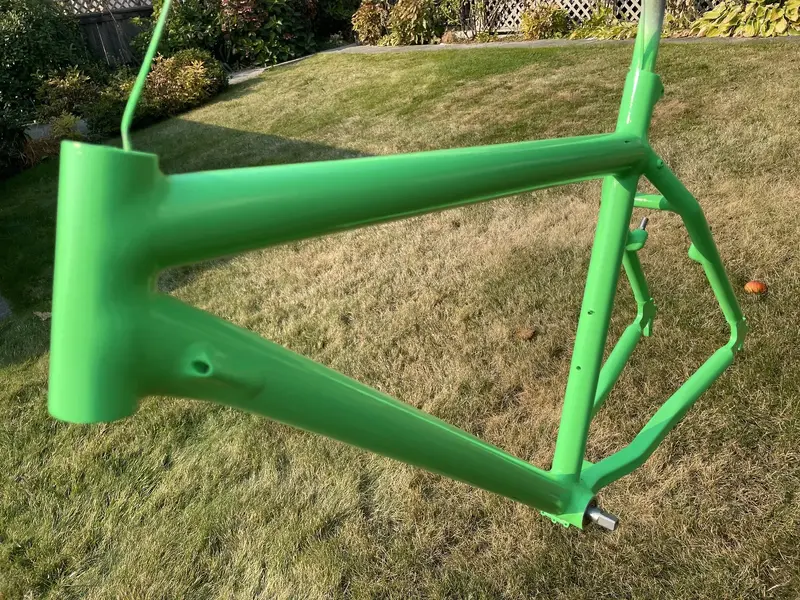
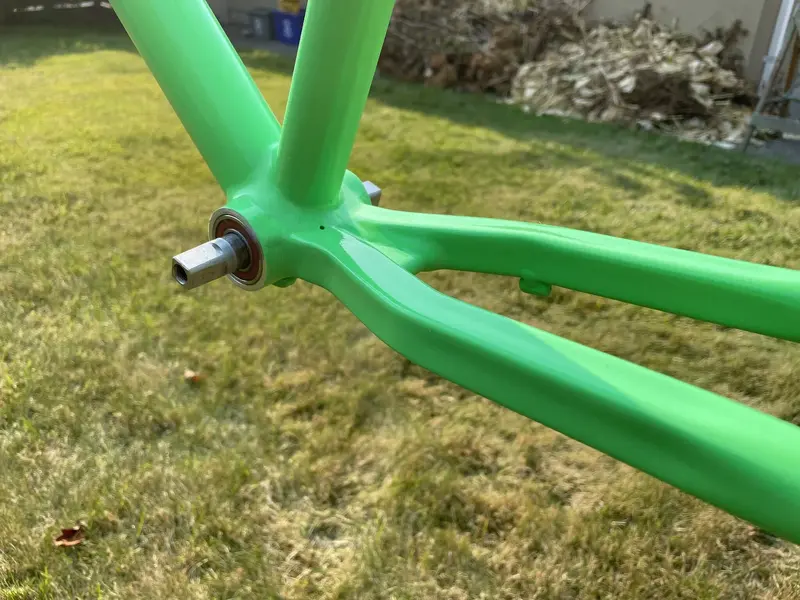
1991 Klein Pinnacle (finished on page 25)

Clearcoat done! Didn't ruin it! 😁

Overall I'm very pleased. Not my best work but given the challenges faced with using this different rattle can type of paint I'm satisfied but most of all relived it's done.

There are still some rougher looking bits when looking up close and the clear coat could be a bit thicker but yes, I'm happy with the end result.

Time for decals and the final build after some days to cure!

20221016_205949924_iOS.jpg
20221016_205956795_iOS.jpg
20221016_210001832_iOS.jpg
20221016_210009571_iOS.jpg
20221016_210016009_iOS.jpg
20221016_210040993_iOS.jpg
20221016_210211904_iOS.jpg
 
Top job! Looks great in the green. You’ve got the most enjoyable part ahead now. Final build/first ride 😁.
Hang on. You’ve skipped the decals/stickers part! 😜

Looks great @Canuckbiker! You could have told us all you did a perfect professionally finished job with totally flawless finish and we’d be none the wiser as it looks like a very shiny Fluro green frame in the photos you have kindly shared! 😎👌💪

Awesome job and hopefully the stress levels and blood pressure have dropped back to normal!!! Keep up the great work! 👏
 
The decals are part of the final build, and no where as stressful as paint. I know everyone works differently, but I tend to do the decals last. I’ve alway found decals on a bare frame hard to get right. I finish the build, add a few tape markers, stand the bike in a wheel stand, flat and vertical. Then apply the decals.
 
Looking real good. Have you got new cable noodles for it? Took me an evening to get them done big magnet with needle and thread, use gravity to help . A little patience and it shold go good for you
 
Thanks @HuskyDinoBomber, I'm reusing the cable noodles that came with the frame as they are in good shape. Last night I decided to just try pushing them in and with a little finesse was able to land the other end right by the tiny hole (twisting back & forth inside the frame) and then pull it out with an appropriate tool. Worked for all three :eek:.

The pictures shared above do show the paint came out nicely based on the outdoor lighting but indoors under certain light there is far too much orange peel for my liking. I'm going back in... I'd hate to have regrets for just letting it go.

This morning I removed the cable noodles and added required masking tape where needed. @MuchAlohaNui, I'm planning to wet sand and add one last coat. Yikes! Would 1000 grit make the most sense?

Pretty sure it'll go smooth, the Montana varnish went on pretty well yesterday with no runs. The can directions recommend 24 hours between coats unless close together so I should be fine for cure time as well.
 
This loosely depends on how many clear coats you've laid down. Will you wet sand and buff the final clear coat as well? At any rate, I suggest something finer like 1500 or even 2000. But really take your time and be mindful of not letting the sanded material get too slurry-like between the paper and paint. If there is a slurry then you are cutting through too much clear coat. Keep everything nice and wet. Additionally, wipe off sanded surfaces with wet sponges or wet t-shirts to remove sanded material as well as to reveal your progress; do this often.

For complex areas like the bottom bracket and stay welds, consider ripping off paper a bit larger than the surface area of your index finger and using that piece plus the one finger to work the surface. Use your naked fingers often to rub over the paint to check for smoothness through transitions and on high vis areas like the top tube and bottom tube. I have hammered you wearing gloves and cross contamination, but for the coats leading up to the final, your naked fingers will yield a lot of information on the smoothness of your sanding job. Personally, I will ditch my gloves during all wet sanding but put them back on for cleaning the frame for applying the last clear and polishing the last clear.
 
Last edited:
This loosely depends on how many clear coats you've laid down. Will you wet sand and buff the final clear coat as well? At any rate, I suggest something finer like 1500 or even 2000. But really take your time and be mindful of not letting the sanded material get too slurry-like between the paper and paint. If there is a slurry then you are cutting through too much clear coat. Keep everything nice and wet. Additionally, wipe off sanded surfaces with wet sponges or wet t-shirts to remove sanded material as well as to reveal your progress; do this often.

For complex areas like the bottom bracket and stay welds, consider ripping off paper a bit larger than the surface area of your index finger and using that piece plus the one finger to work the surface. Use your naked fingers often to rub over the paint to check for smoothness through transitions and on high vis areas like the top tube and bottom tube. I have hammered you wearing gloves and cross contamination, but for the coats leading up to the final, your naked fingers will yield a lot of information on the smoothness of your sanding job. Personally, I will ditch my gloves during all wet sanding but put them back on for cleaning the frame for applying the last clear and polishing the last clear.
Thanks so much for the pointers. I emptied two cans each to about 80%, so a few light coats yesterday followed by a thicker final one. I had thought naked and hands during wet sanding made more sense, gloves for the final wash before paint makes sense as well. I think I'll go with 2000 grit then as I already have a bunch. My main focus will be to smooth out tops of main tubes and stays as they catch the light the most. I'm sure the additional coat thickness will help as well.

Even if the effort does not produce a better result than where I'm at now it'll be fine. I'd be kicking myself down the road if I didn't at least try for a better finish before final build 😁
 
Impressive result, glad Montana treated you better than spray.bike, though it still had some of the same annoying traits as .bike

Looks great.
 
Back
Top