You are using an out of date browser. It may not display this or other websites correctly.
You should upgrade or use an alternative browser.
You should upgrade or use an alternative browser.
1991 Klein Pinnacle (finished on page 25)
- Thread starter Canuckbiker
- Start date
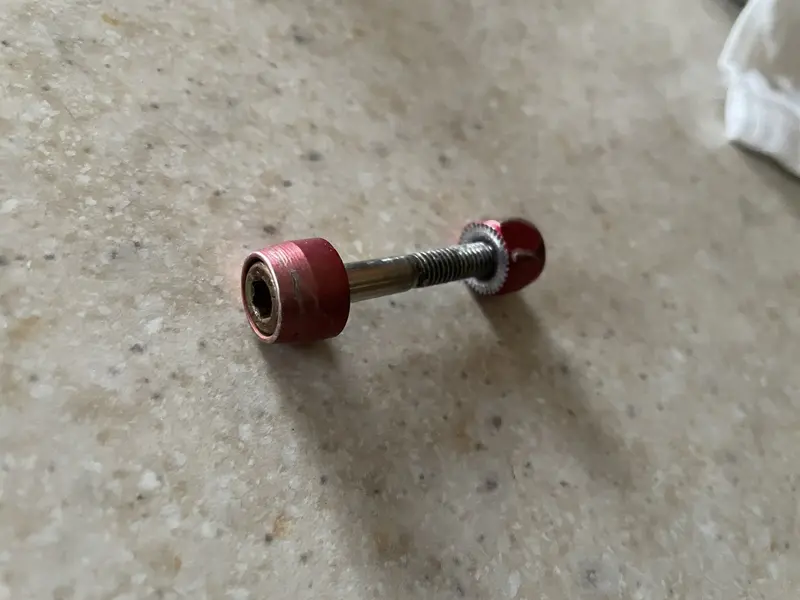
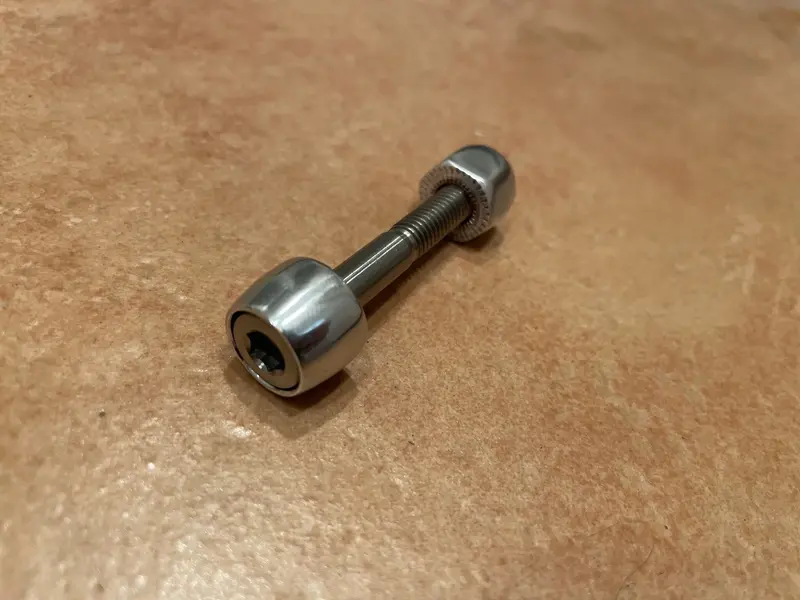
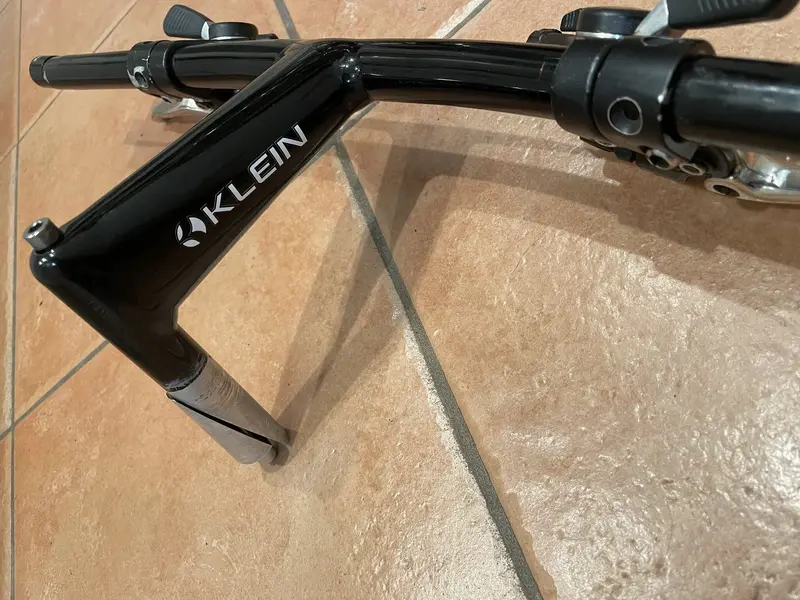
Wondered if those would be noticed
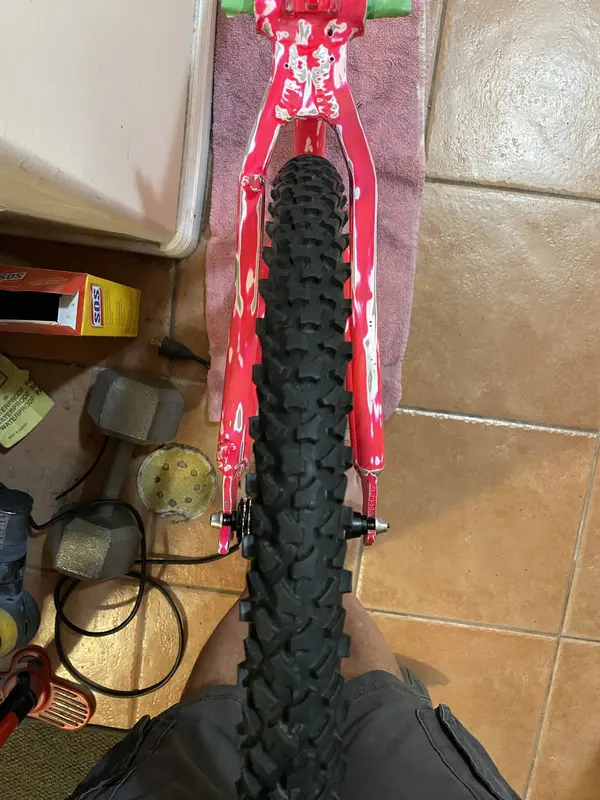
Thanks for pointing this out @Prodigal Son, I was able to find an easy solution, by swapping a 5mm axle spacer with two 2.5mm spacers (one on either side of the hub) I corrected the dish issue and the wheel is no perfectly centered. I was surprised 2.5mm extra on one side would affect it so muchWon´t you have to redish the rear wheel after going for a shorter axle? Btw.... i love the look /geo/stance of this bike, bad paint and all.
MuchAlohaNui
Senior Retro Guru
Found it. Looking good.
Guess it was time for a curve ball to be thrown at this build… To sum up my experience trying out spray.bike paint last night: brutal
So no, I will not be a return customer. I’m not about to bad mouth this brand though, it just did not work out for me. I have seen successful use of spray.bike paint on-line more than once which is partly why I decided to give it a go.
It’s very possible I made some missteps but, I did: read all the directions, FAQs, watched videos, etc and followed directions carefully. I received a blessing from customer service via email where I was told my preference to complete the full paint job in one session (primer/colour/clear) would not be a concern as long as 30-45 minutes between coats was observed and 1 hour for clear coats.
The primer went on nice, just like regular paint. The base white is where I started getting concerned. It comes out like a misty powder. I’ve never used rattle can powder coat so unsure if it is considered to be powder coat paint or not, it is acetone based. I found it next to impossible to lay down a smooth surface. Spray.bike recommends the use of parchment paper after 20-30 min drying between coats to “smooth” the finish. This did nothing in my case. I restored to light sanding between coats with 1000 grit which helped a bit but certain areas increasing became pikes of crustyness. See photo of chainstay bridge right before clear coat

The bottoms and sides of tubes weren’t too bad but had a surface much like fine sandpaper (not smooth like regular paint), tops of tubes, etc end up getting covered in spray dust even after you gone away to wait 30 minutes for the last coat to dry as particles floating in the air begin to settle.
About halfway through the first clear coat I decided this was not happening, it looked terrible. May as well cut my losses and start stripping while the paint is fairly fresh. Got about 90% of the paint removed last night before crawling into bed.
Oh well, live and learn. Like I said, I may be at fault for the result but I gave it my best shot.
Now to source some good ol’ acrylic enamel in fluro green and try again. Stick to what I know
So no, I will not be a return customer. I’m not about to bad mouth this brand though, it just did not work out for me. I have seen successful use of spray.bike paint on-line more than once which is partly why I decided to give it a go.
It’s very possible I made some missteps but, I did: read all the directions, FAQs, watched videos, etc and followed directions carefully. I received a blessing from customer service via email where I was told my preference to complete the full paint job in one session (primer/colour/clear) would not be a concern as long as 30-45 minutes between coats was observed and 1 hour for clear coats.
The primer went on nice, just like regular paint. The base white is where I started getting concerned. It comes out like a misty powder. I’ve never used rattle can powder coat so unsure if it is considered to be powder coat paint or not, it is acetone based. I found it next to impossible to lay down a smooth surface. Spray.bike recommends the use of parchment paper after 20-30 min drying between coats to “smooth” the finish. This did nothing in my case. I restored to light sanding between coats with 1000 grit which helped a bit but certain areas increasing became pikes of crustyness. See photo of chainstay bridge right before clear coat
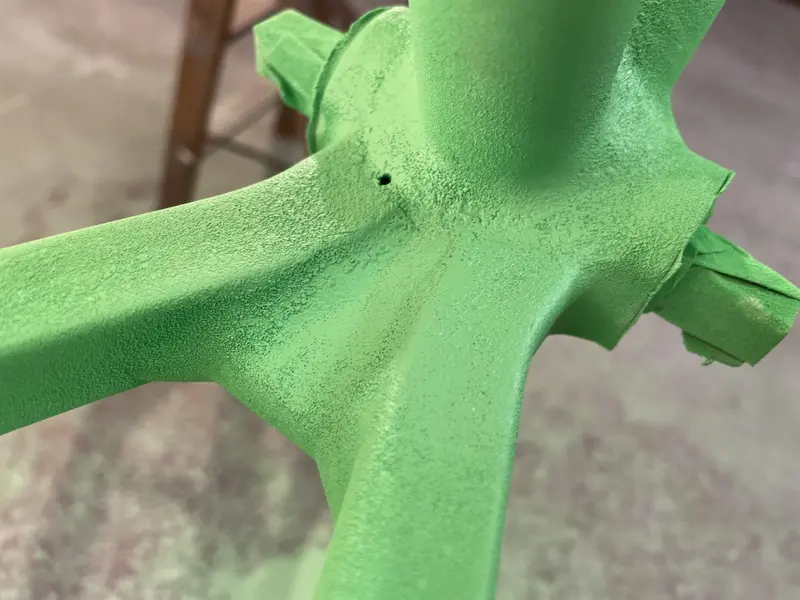
The bottoms and sides of tubes weren’t too bad but had a surface much like fine sandpaper (not smooth like regular paint), tops of tubes, etc end up getting covered in spray dust even after you gone away to wait 30 minutes for the last coat to dry as particles floating in the air begin to settle.
About halfway through the first clear coat I decided this was not happening, it looked terrible. May as well cut my losses and start stripping while the paint is fairly fresh. Got about 90% of the paint removed last night before crawling into bed.
Oh well, live and learn. Like I said, I may be at fault for the result but I gave it my best shot.
Now to source some good ol’ acrylic enamel in fluro green and try again. Stick to what I know
27motorhead
Old School Grand Master
- Feedback
- View
F U C K ! ! !
I feel your pain! I told you the pink/primer/raw alu looked awesome!
Somehow you've managed to make the new paint have a more vintage appearance than the previous!
I've heard some good, but mostly bad things about Spray.Bike. Never used it myself. I've sprayed tons of things over the years as I used to work as a modelmaker and help make numerous prototypes in design agencies and shit like this has happened many a time including all-nighters prior to the items being presented/sent off!!!
get back to what you know, or just keep sanding until that delicious pink comes back!
I feel your pain!
Somehow you've managed to make the new paint have a more vintage appearance than the previous!
I've heard some good, but mostly bad things about Spray.Bike. Never used it myself. I've sprayed tons of things over the years as I used to work as a modelmaker and help make numerous prototypes in design agencies and shit like this has happened many a time including all-nighters prior to the items being presented/sent off!!!
get back to what you know, or just keep sanding until that delicious pink comes back!
Spray.bike can look nice but requires constant wet sanding to smoothen out the sandpaper bits. But yeah that's why I prefer montana.
It is not rattle can powder coat, that's what they call it, but there is no powder coat element to it, it is far less durable than an ordinary high gloss rustoleum or hammerite
It is not rattle can powder coat, that's what they call it, but there is no powder coat element to it, it is far less durable than an ordinary high gloss rustoleum or hammerite
MuchAlohaNui
Senior Retro Guru
Maybe do sanded green and pink at this point, wet sanded with 1000 then 1500 then 2000. Decal the bike then apply three to five coats of clear, never allowing the clear to dry. Let cure for a week. Finish with wet sanding then polish.
Your picture shows a problem with the paint mixture being off within the can and/or the paint to some extent is drying semi solid in mid air before bonding to the surface. When you rub your finger over the surface does material crumble off?
Your picture shows a problem with the paint mixture being off within the can and/or the paint to some extent is drying semi solid in mid air before bonding to the surface. When you rub your finger over the surface does material crumble off?
Similar threads
- Replies
- 0
- Views
- 259
- Replies
- 4
- Views
- 966
- Replies
- 115
- Views
- 8K

