LumPi Panda
Retro Guru
- Feedback
- View
Do you expect me to talk?
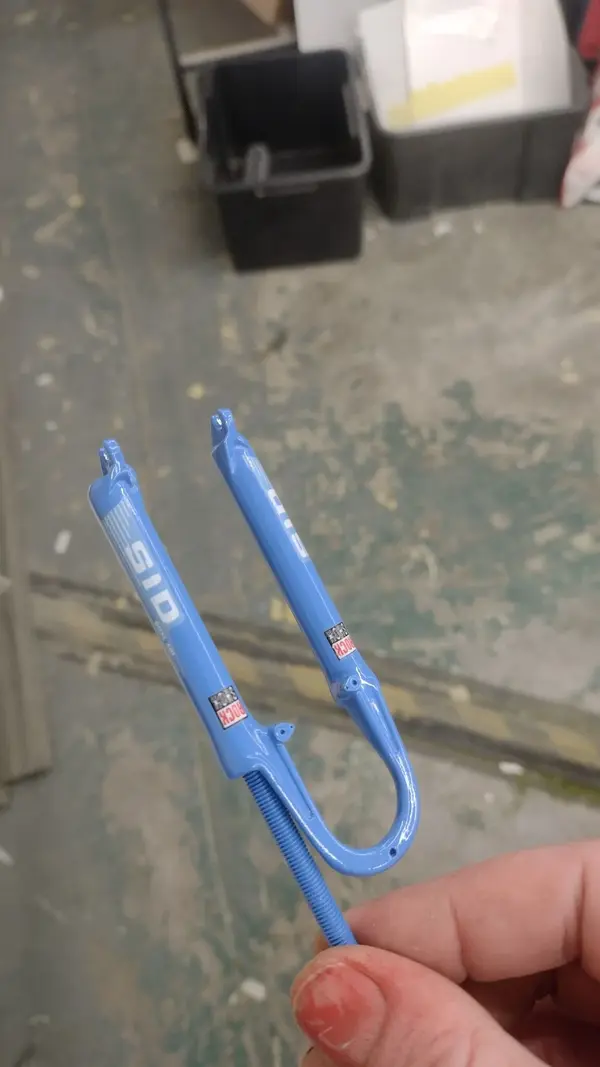
Are the water transfer decals on white or transparent film? I have found that they only work well on light colors. If the background was darker, I had the problem that the colors also became too dark. Perhaps the film I used was simply too thinBeen held up with other Christmas related tasks recently, but made some progress today.
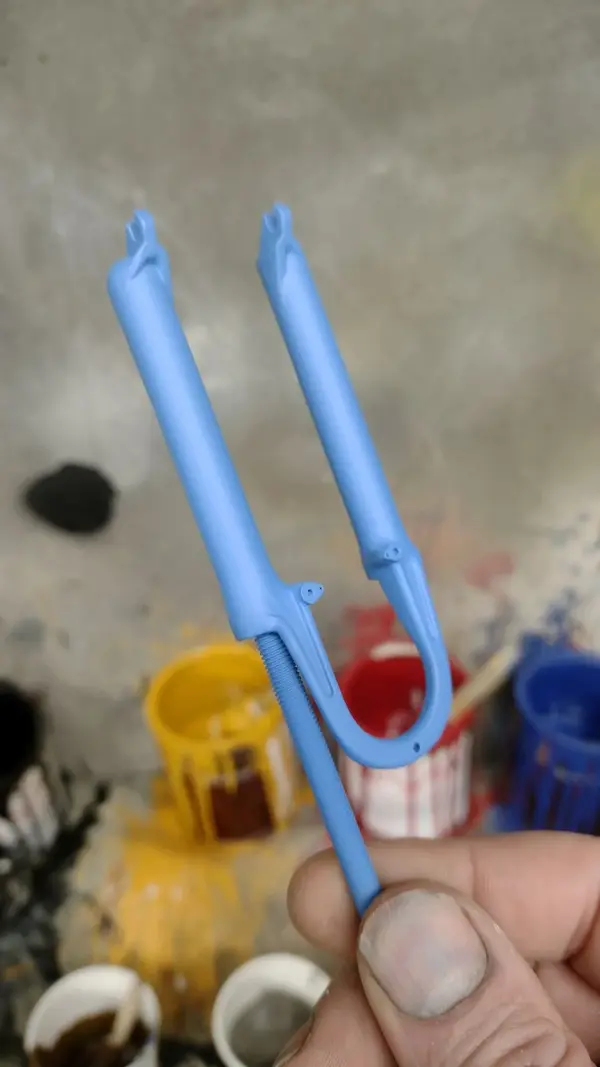
Enamel basecoat's gone on.
View attachment 909956
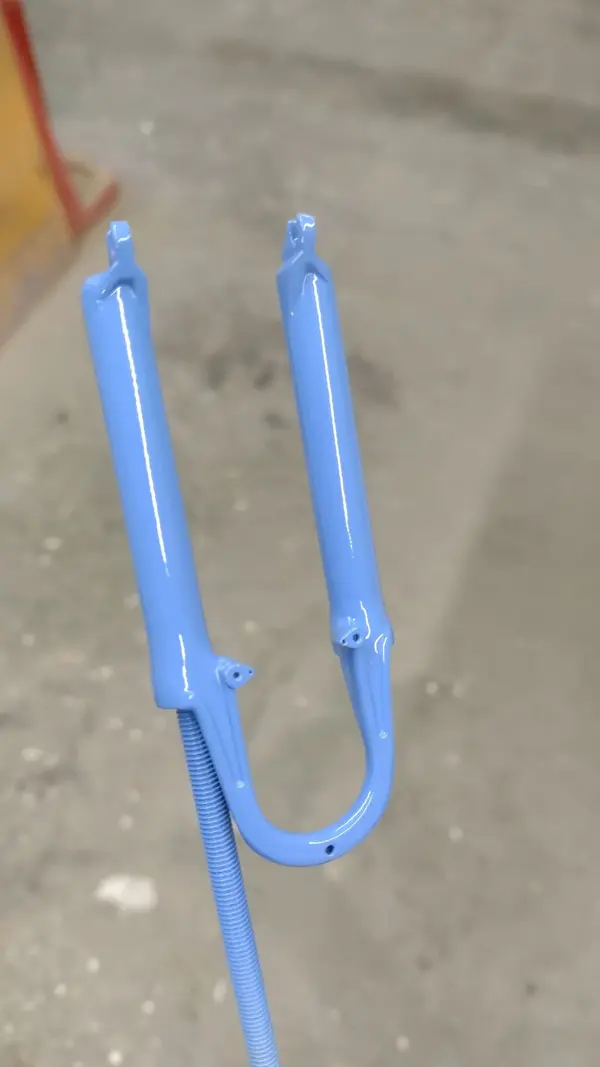
Clearcoat. This gives a nice surface for the transfers to stick to without trapping air under them.
View attachment 909957
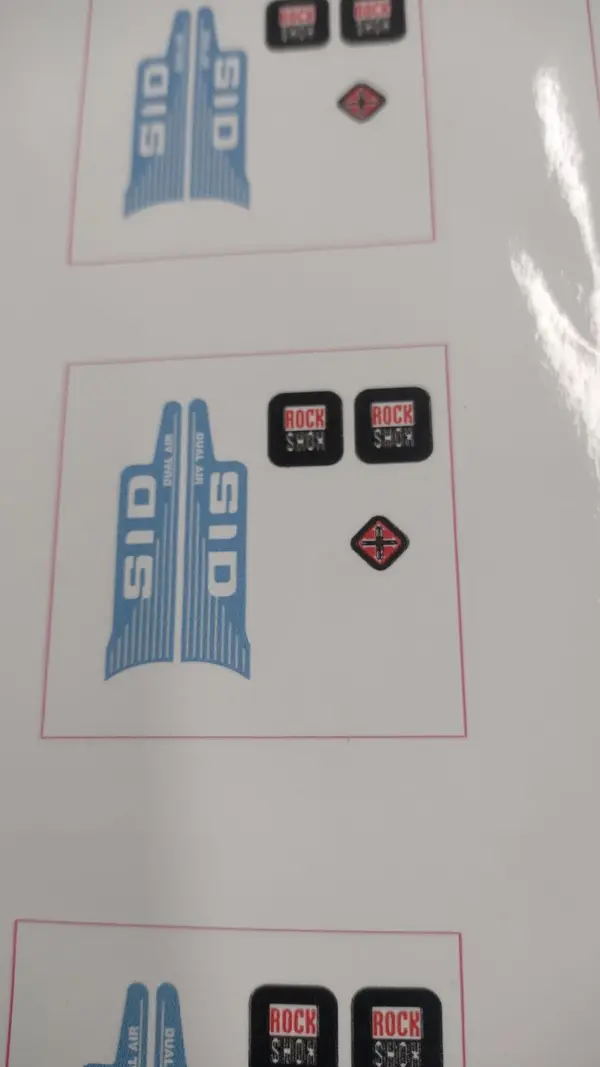
Meanwhile, printed the waterslide decals and clearcoated them too, to stop the ink running when they're soaked. The pink box around them is to line them up in a card template to cut them out on the laser.
View attachment 909958
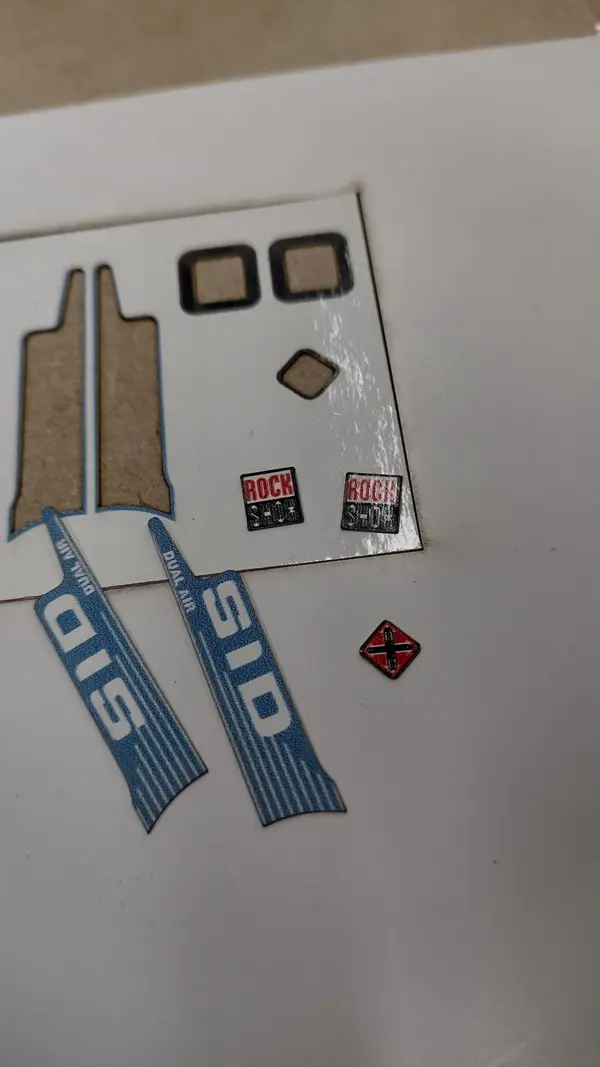
Cut them out on the laser...
View attachment 909959
Stuck them on.
View attachment 909960
The cut edges will be touched in with a brush to get rid of the white edge of the decal once they are thoroughly dry. Then another layer of clearcoat.
I guess that's a pretty average job of applying decals...
JOKE!!! Amazing work as ever, just thought I'd add a disgruntled comment to try and even things up!


Welcome.wow. following this for sure
They're on white film.Are the water transfer decals on white or transparent film? I have found that they only work well on light colors. If the background was darker, I had the problem that the colors also became too dark. Perhaps the film I used was simply too thin
The fork casting looks perfect, amazing!!!
Thanks for the info! I was to lazy for brushing but I will try it out next time.They're on white film.
I pretty much always use white, clear is OK for really dark graphics. White film does leave a thin white edge when they're cut, so it takes a bit of fine brush work to blend them down.
Some films are better than others, but clear film is never that great in my experience. It's probably more to do with the ink in the printer not being opaque enough, like different colour primers under paint giving a different finish.
There are places that will screen print decals, but I'd rather save the money and settle for a lesser quality print.