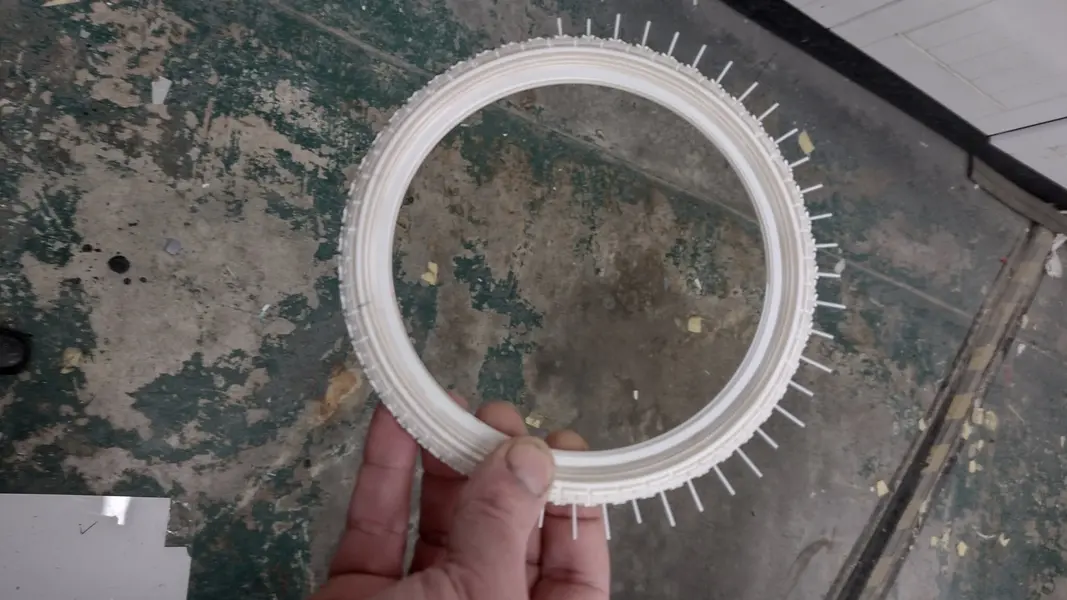
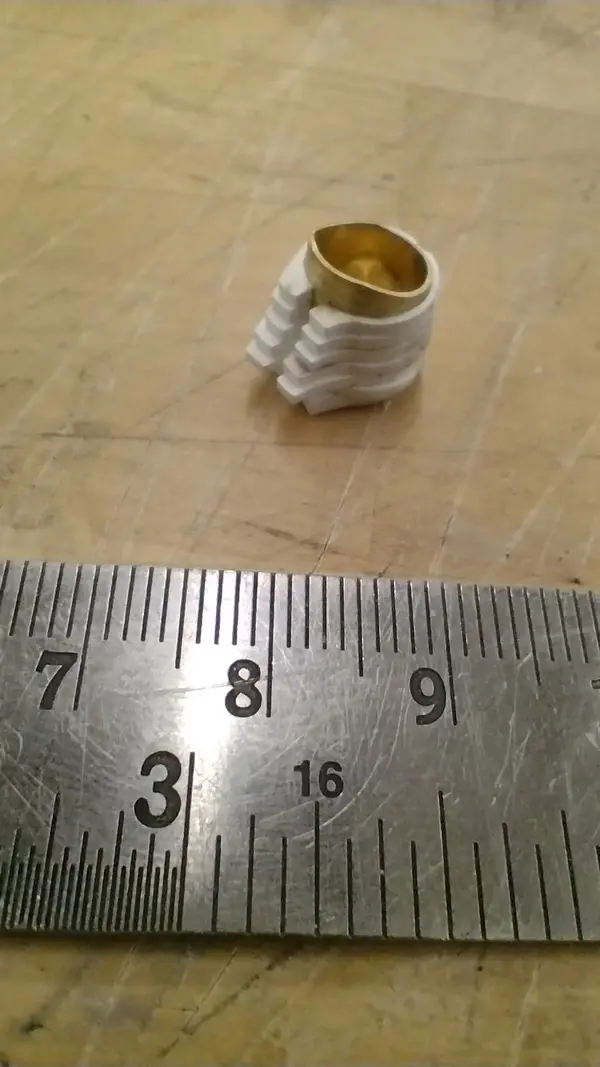
1:4 scale Ritchey P20, this is going to take a while...

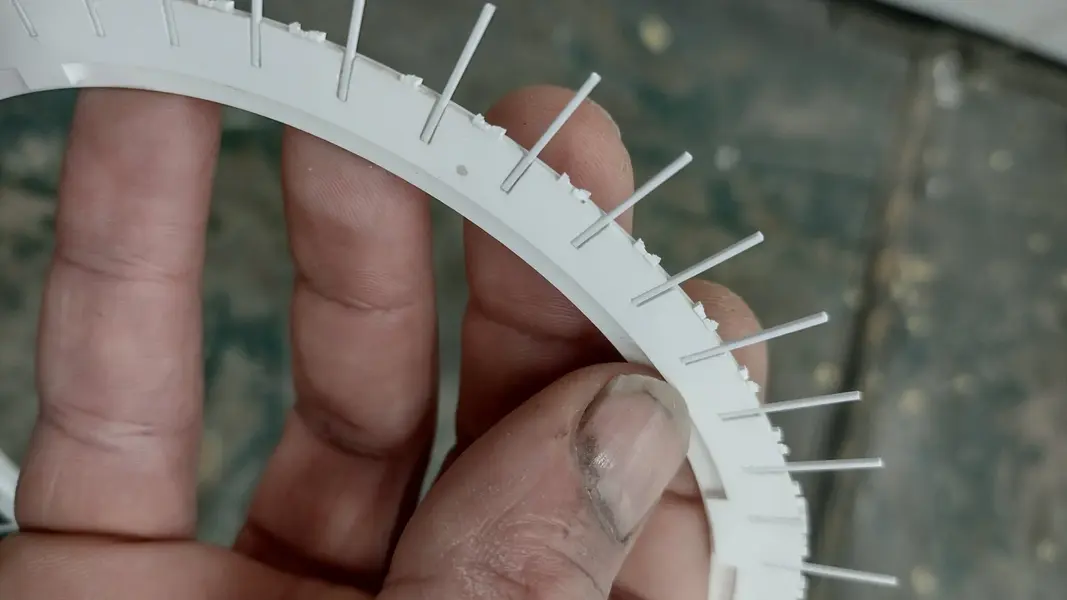
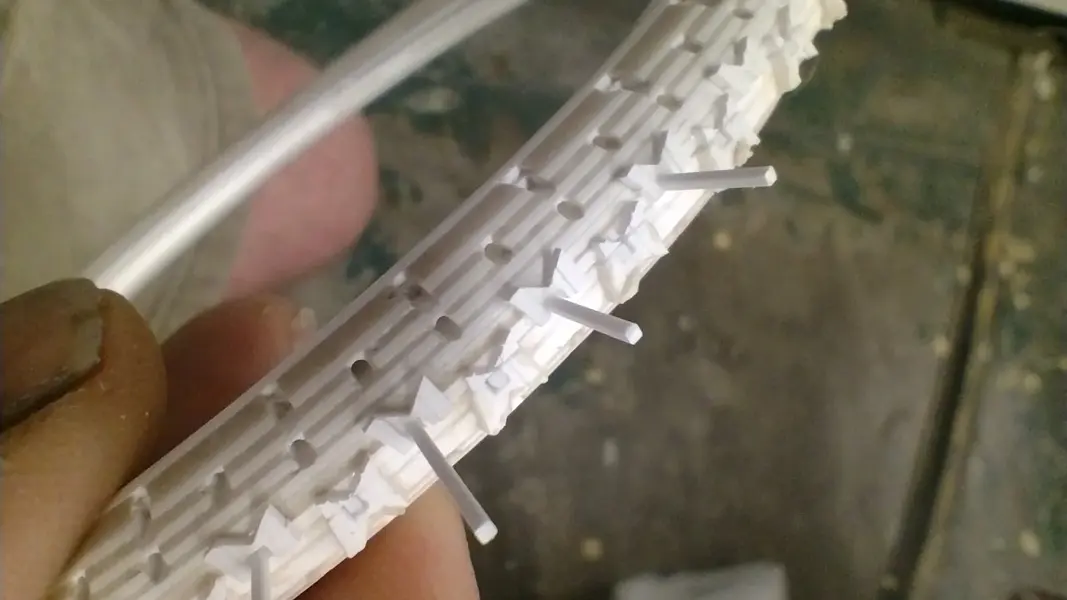
A short section of 1mm square styrene strip fits into each slot...
08.jpg

...then the treads slide onto the rod. Using square rod helps to keep all of the treads lined up nicely.
Once the big bit is stuck on, the two tiny little triangles can be superglued onto the other tyre half to complete the classic Z-Max Z
09.jpg

The central row of Z treads is made of 416 individual bits, plus countless others that end up flying out of the tweezers into oblivion
I think they used a similar exercise in Guantanamo bay.
10.jpg
 
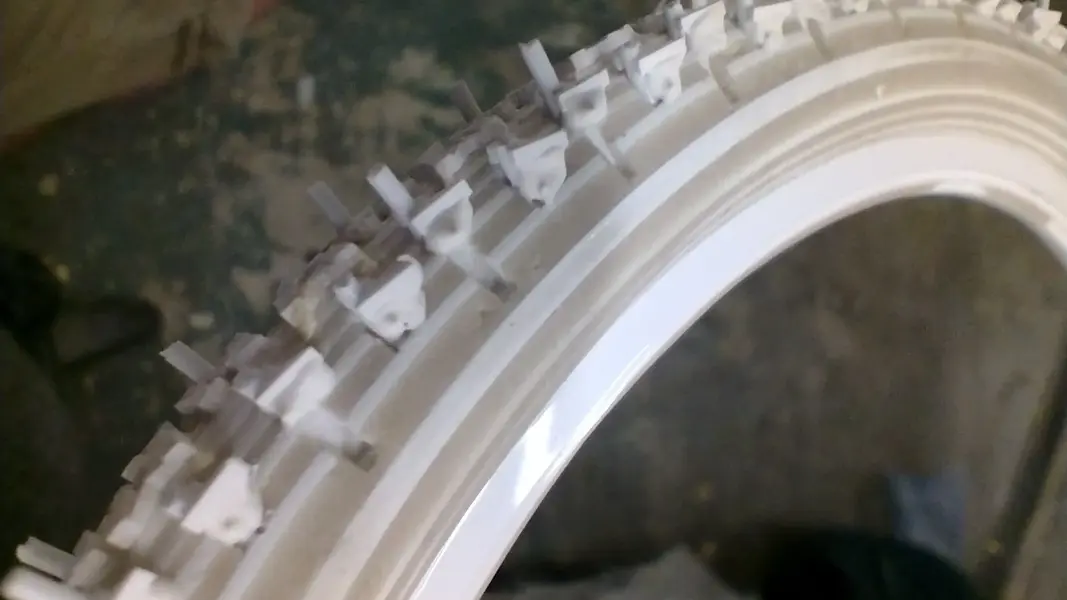
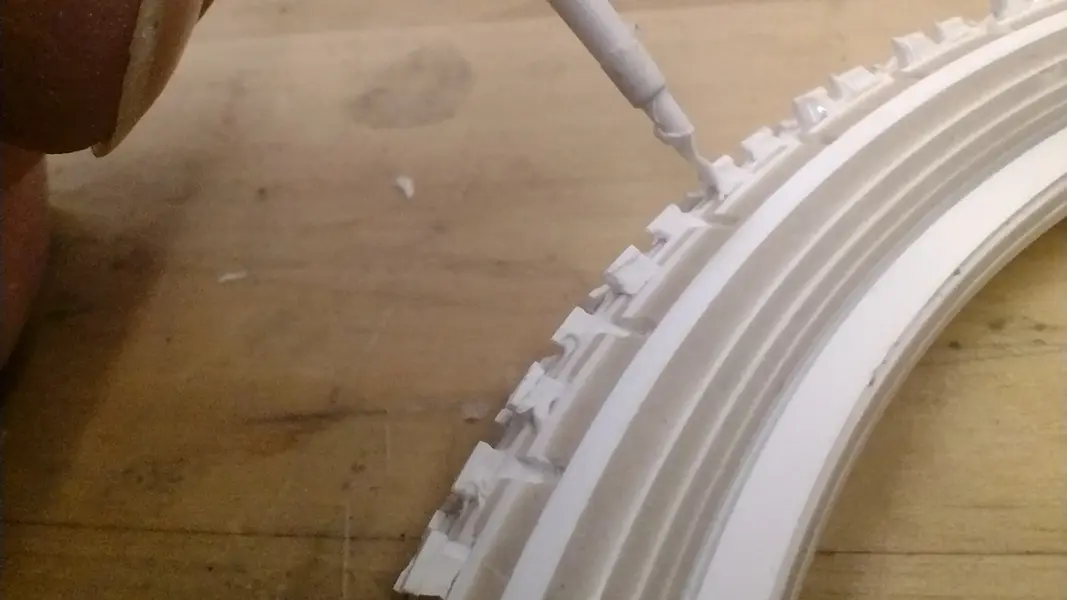
Now we start working our way around with filler to build up the sides of the blocks. The exposed slots left in the carcass will have another row of treads in eventually, but it's easier fill these ones before the next row get in the way.

11.jpg

Once the previous batch of filler has cured it is cut back square and then any missed bits can be touched in with more filler.

For the really sad individuals amongst us, this filler is an air curing one rather than a two-part. This means less urgency in getting the filler in before it sets but longer to wait before it can be shaped.

This will be repeated.

A lot.

12.jpg

This part of the build joined me on a recent trip to the Isle of Skye where it made ideal rainy day fun.
 
Last edited:
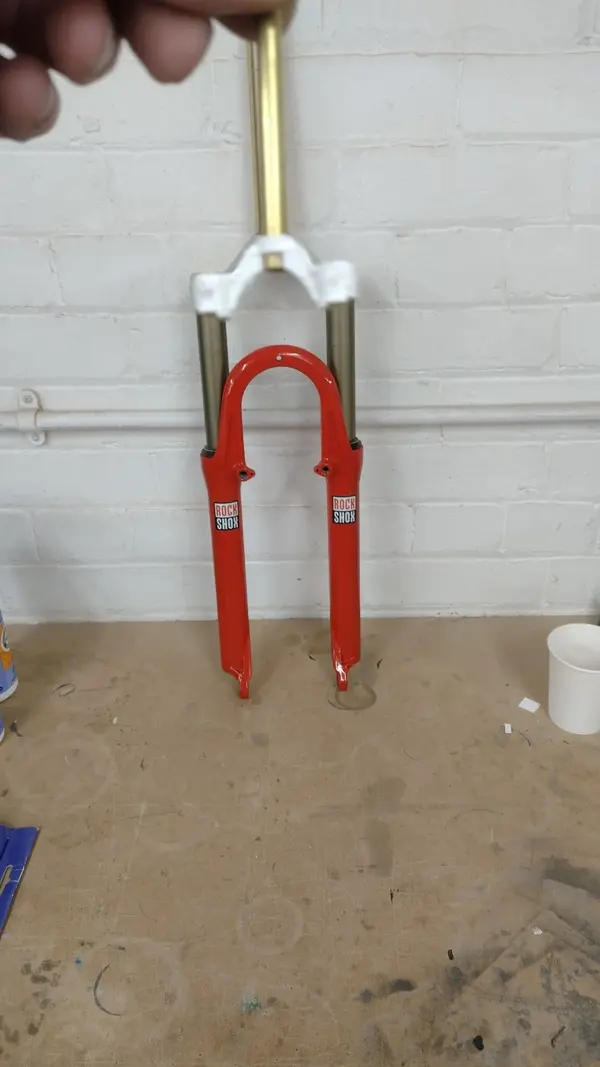
While we're on the subject of Skye, a seriously massive thank you must go to @crazybiker247 who very kindly answered my plea and has lent me a pair of old Rock Shox SID forks for the price of postage. I got shot of my old 1" steerer SIDs from the P20 years ago and regretted it ever since.

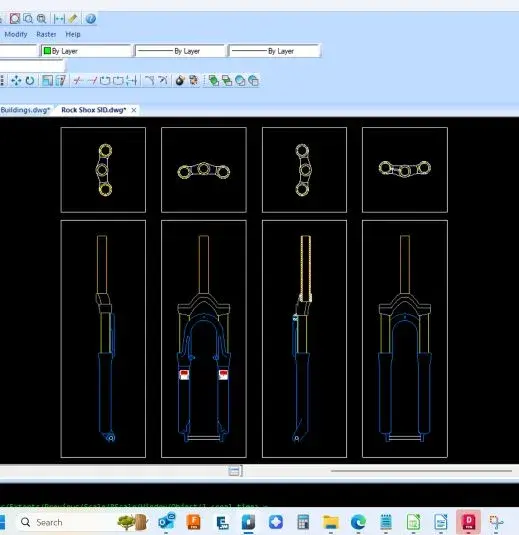
Thanks to crazybiker247 I was able to get the measuring tape and crayons out while I was away and make a start on replicating them at 1:4 scale.

SID Artwork.jpg

Thanks must also go to Dean at SRAM customer support who has agreed to help with various other details.
 
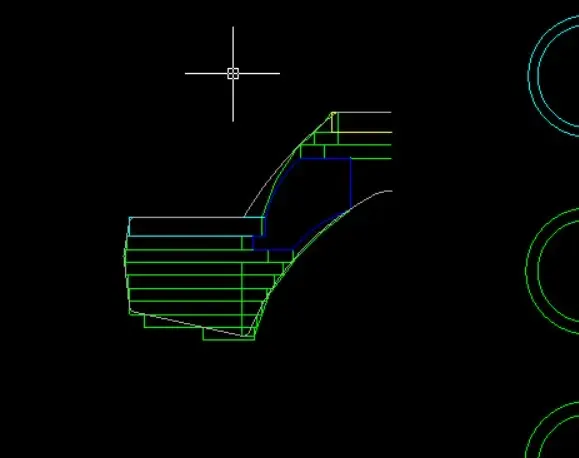
The SID fork crown is a bit more elegant than the Pike crown on the Yeti model. It's going to need more than just stacked laser cut plates to get the shape right.

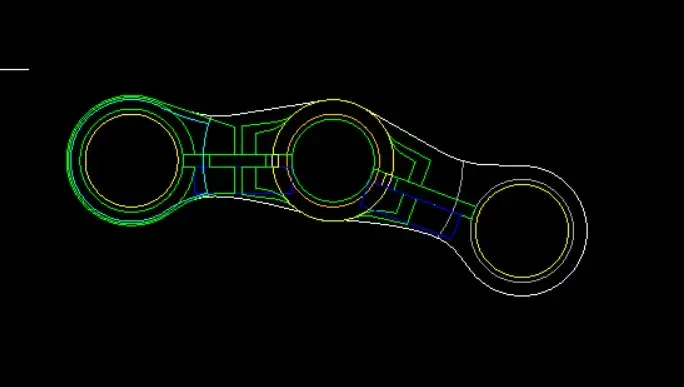
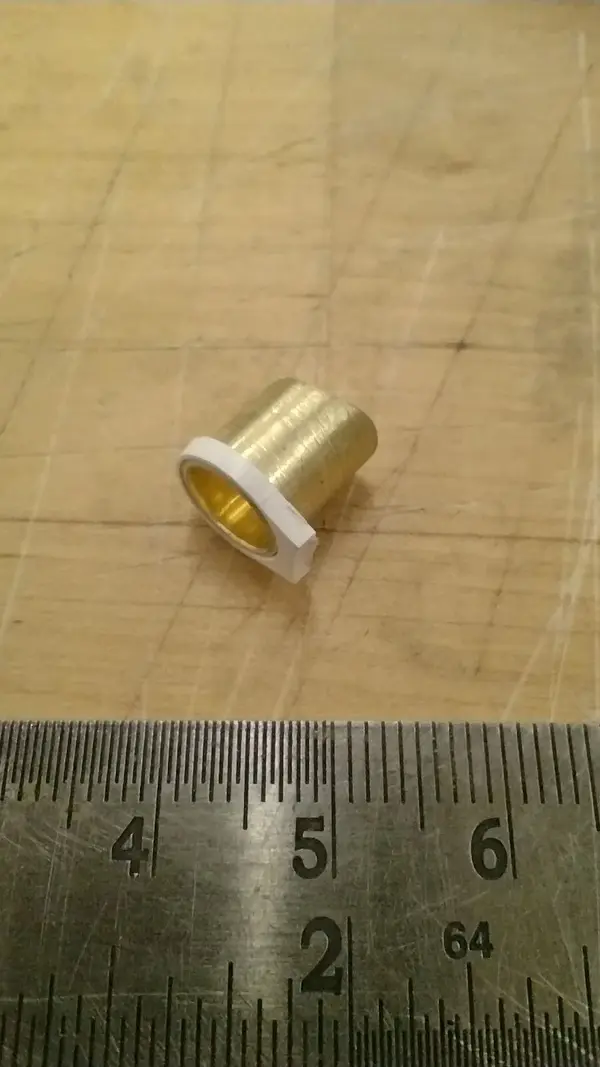
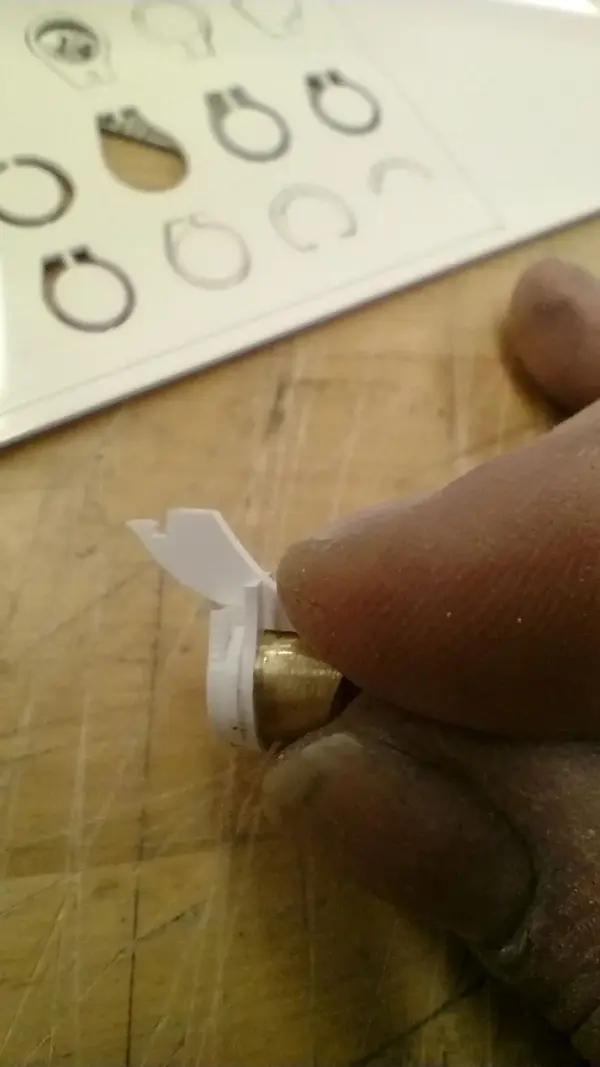
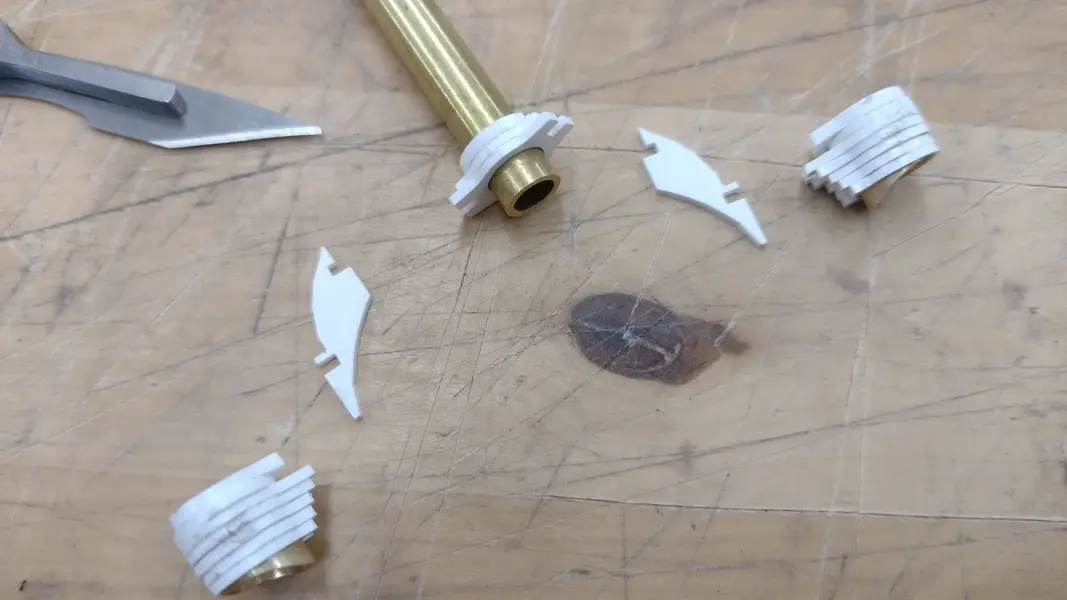
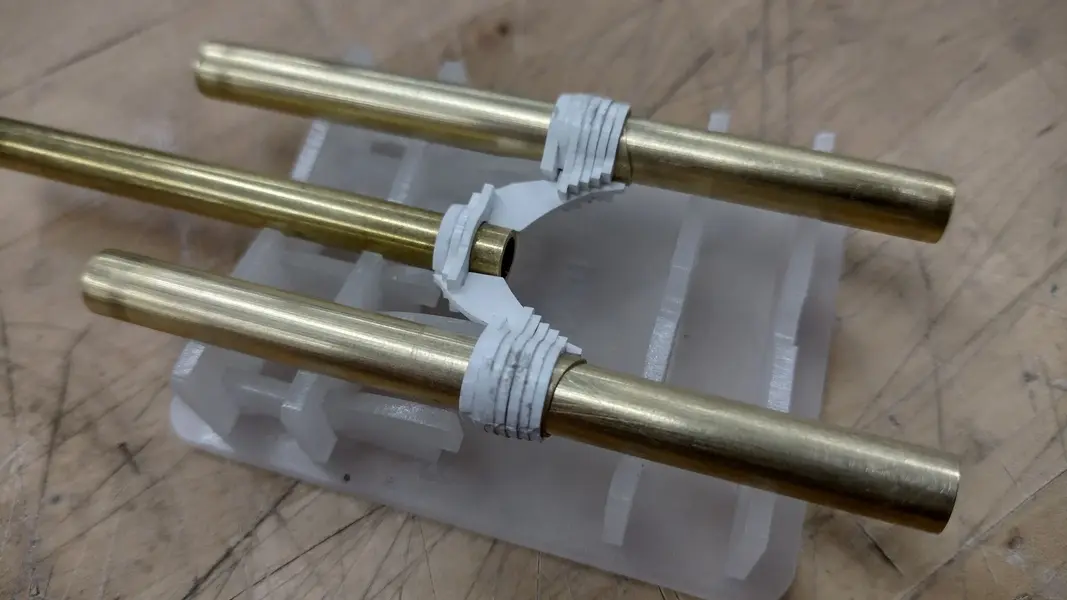
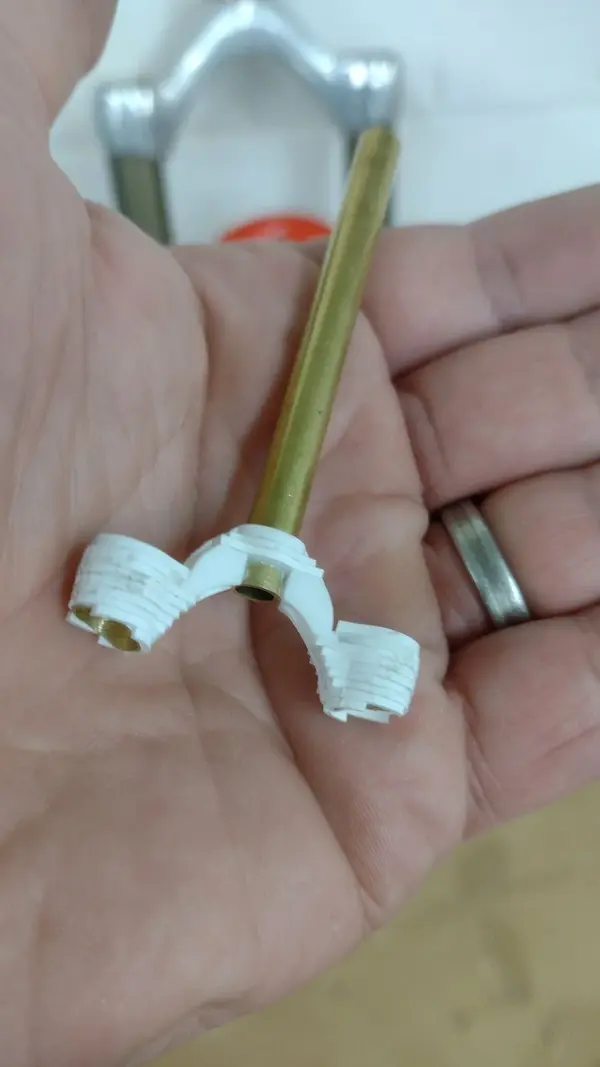
This is the general idea. Stacked horizontal plates around a bit of thin walled brass tube for the stanchion and steerer bits, then a couple of vertical plates to connect the three pipes together.

01.jpg 02.jpg

The stanchions will fit inside the brass tubes in the crown after it is painted. This means I can get the rather tasty curved profile where the stanchion meets the crown.
 
laser2.gif
LASER TIME!!!!

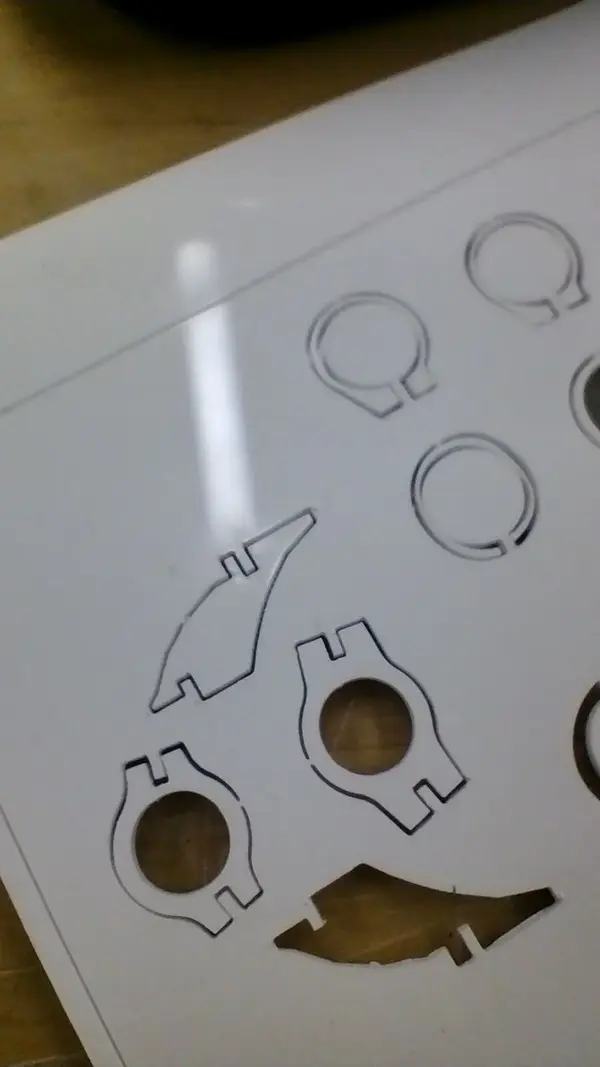
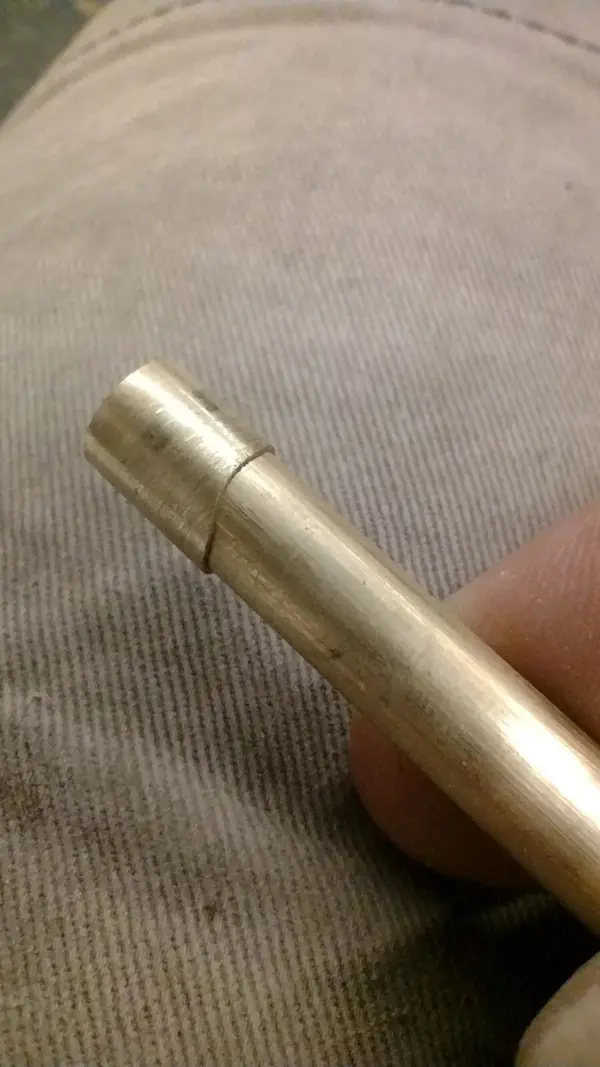
39 bits to make up the basic form of the fork crown. 1mm, 1.5mm and 2mm laser cut acrylic. I've cut the curve on the bottom of the brass tube too.
03.jpg 04.jpg

Now time to combine...

05.jpg

Etc...
 

Latest posts

Back
Top