HahahahahaPeachy!":neu9w5fo said:Retro Spud":neu9w5fo said:........commando crawl
What? :shock: with no pants on?
-------------------------------------------------------------------------------------------------------
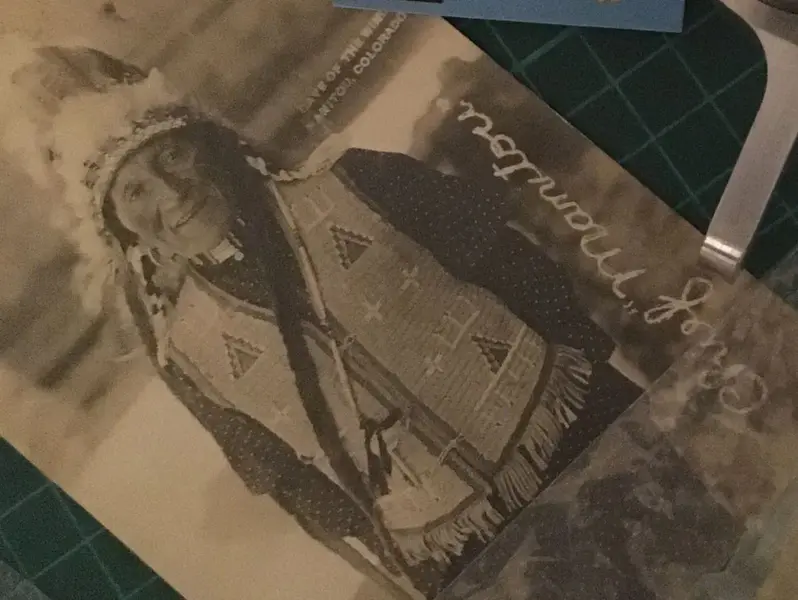
OAH, Spud, Peachster, you'll be pleased to learn I have since last post, opened up the forks, and had the pleasant surprise of finding relatively fresh new elastomers from SuspensionForkParts.net, inside. This is also good news for our friend Ade (raidan73) who asked if I happened to have extras, as he needs some but like many, hates the thought of being shafted with import duty and tax to ship some into England. So, Ade's getting my new set. I popped in frash wiper seals as the others looked mangled, possibly attacked with a tool of some sort (Spud on a commando crawl catching the edges as he slides past, perhaps?
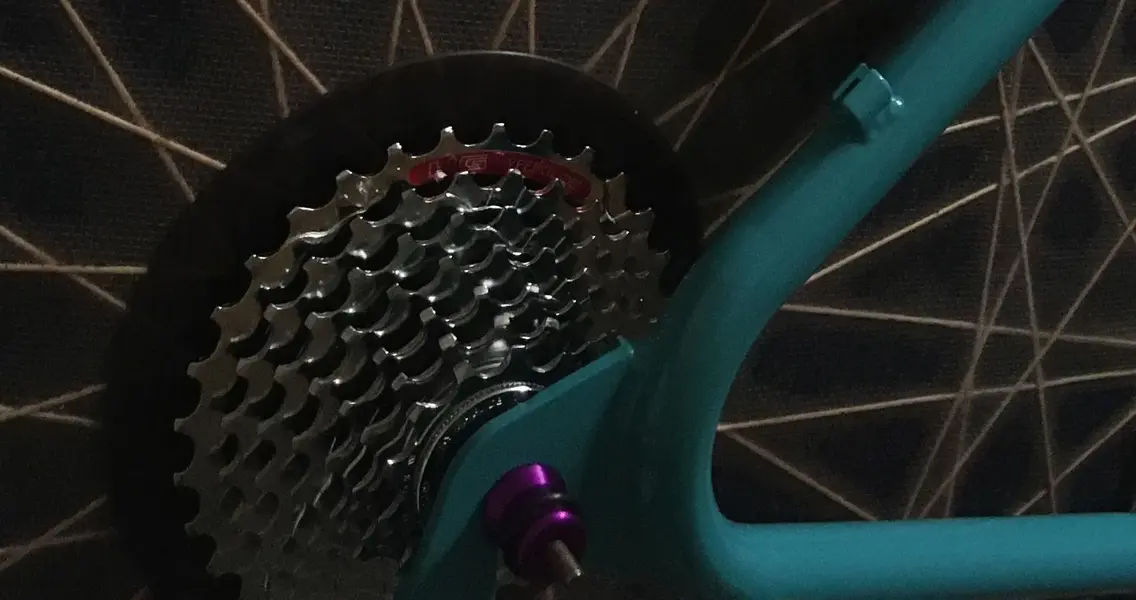
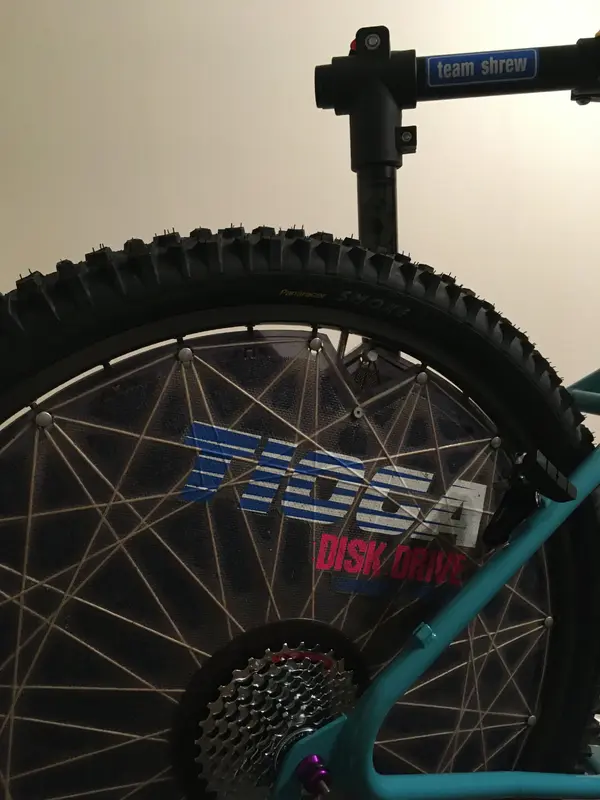
Also managed to get one of my most favorite components of all time, let alone of this build, fitted. The Tioga Disk Drive has been a hell of a task. As per previous posts, I had a NOS Tioga Disk Drive Comp (the one with the better cut out valve access hole) lined up to fit to the ProFRO and it was going to be a rider. When the plan changed to the C-26, as well as needing almost everything else, the TDDC was then redundant as a PC prt, being launched in 1993, so the hunt for an original 'first-gen' (TDD1) (albeit its not technically the first, which had an aluminum mesh and/or mesh outside the laminated sheets (see Jason Smith's build)) TDD was now on. I had an offer of a super clean TDD1 built onto an XTR M900 hub and a silver Araya RM-400 rim, from Jerven Wong in Singapore. Logistically tricky, though not impossible, I was up for a trade, but I'd still have to strip that down and swap the hub and rim, and Jerven wanted not just my NOS TDDC in exchange, but my NOS M900 XTR hub that I'd planned to build it plus the NOS black 36h Mavic AND he wanted me to build it before sending. Lots of umming and ahing later, I said "no thanks". I didn't want to lose the M900 hub, or the other NOS M732 hub I'd also obtained by that point, or build it, to then strip and rebuild Jerven's, and he wasn't willing to strip his and swap discs because he had nobody to rebuild it for him. The hunt was still on. This was in March this year. A short while later, after making some posts on the Facebook page for Tioga/Sugino Tension Disc Fans (yes, such a thing exists! - search @tiogadisk on FB and IG if you haven't seen them), I was approached by Vini Watson, who was interested in my NOS TDDC, because he didn't have one. He had a few other tension discs and most importantly - and I still can't quite believe my luck - a very clean TDD1 built onto a NOS M732 Deore XT hub AND a NOS, black, Mavic M231. Bingo!!! Full house! Well, almost, the TDD1 wasn't NOS, but Vini is an even bigger lover of tension discs than I am and knows his way around them, so could vouch for this in details having also built it himself. And he's relatively local compared to Jerven, albeit on the east side of England. I didn't want to post either wheel given we're on the same continent (!) so we arranged a meet. Vini occasionally travels to Wales for work and business, riding my local trails at BikePark Wales. We eventually met up and exchanged TDDs just after I broke my ankle in June. With my missus doing the driving and me on crutches (it was on the way back from dropping the Mayhem jerseys at RetroSpud's house the days before the RB gang headed to MM) I handed Vini my NOS M900 hub, NOS black M231 rim and a NOS TDDC, he handed me a fully built TDD1 with NOS M732 hub and same rim I gave to him. The wheel is solid, true, and tight, so if it was ridden it would make a really great characteristic 'rumble-hum'! He even included the bag which, despite my TDDC being NOS and in the box, I didn't have a bag. In fact, after owning three TDDs (this one from Vini would be my fourth) I've never owned a TDD bag.
- Segué to another Yeti story and one of my all time MTB heroes, the legend that is three-time Repack downhill winner, FIVE time Mammoth downhill/Kamikaze winner and course record speed setter (56m.p.h.), MTB Hall of Famer, former Team Yeti racer: Jammin' Jimmy Deaton, sent me one of his TDD bags because he saw me bemoaning the fact I'd never had one despite owning three TDD wheels on the Vintage Yeti Bikes FB group, and that I was putting a TDD on this Yeti build. Jimmy is now a good friend, and this bag is one of my greatest retro MTB treasures. Absolute legend of a man, super kind and generous, a real GoodGuy
 . Thanks Jim GG77.
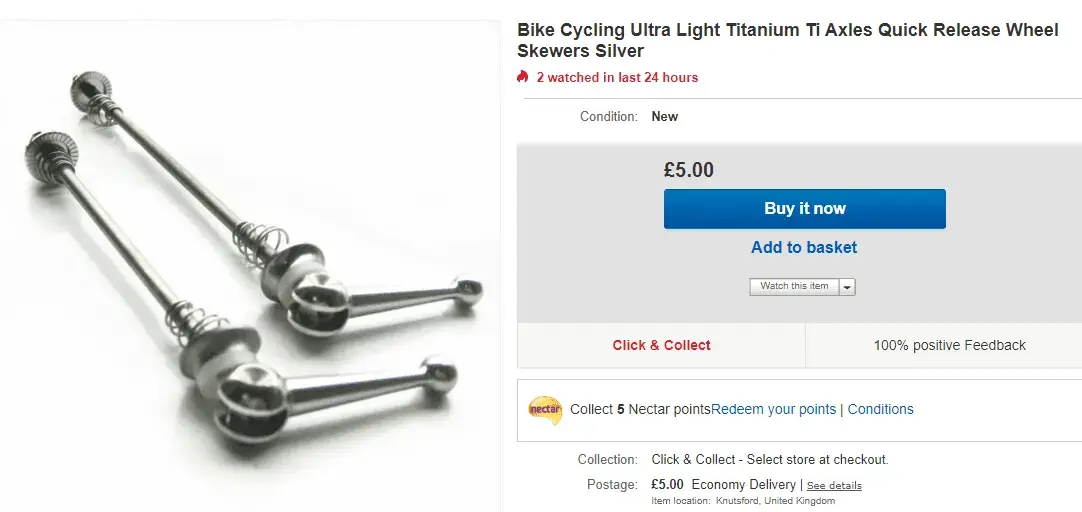
Slapped on the NOS HG90 cassette, then slotted in the NOS Ringlé 3dv Holey Ti-Stix rear skewer and squashed it into the dropouts (needed a shove as the paint is a bit thick!). Not sure the Ringlé skewer is meant to stick out this far? I had a horrible thought that the axle might be 130mm. I have no way to measure it accurately without taking it out - ideas, anyone? - and even then I'm afraid to find out.
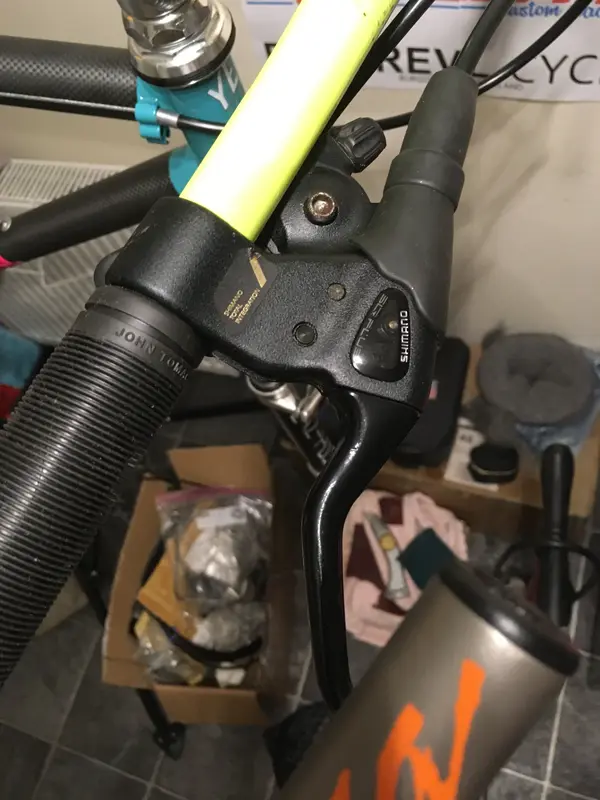
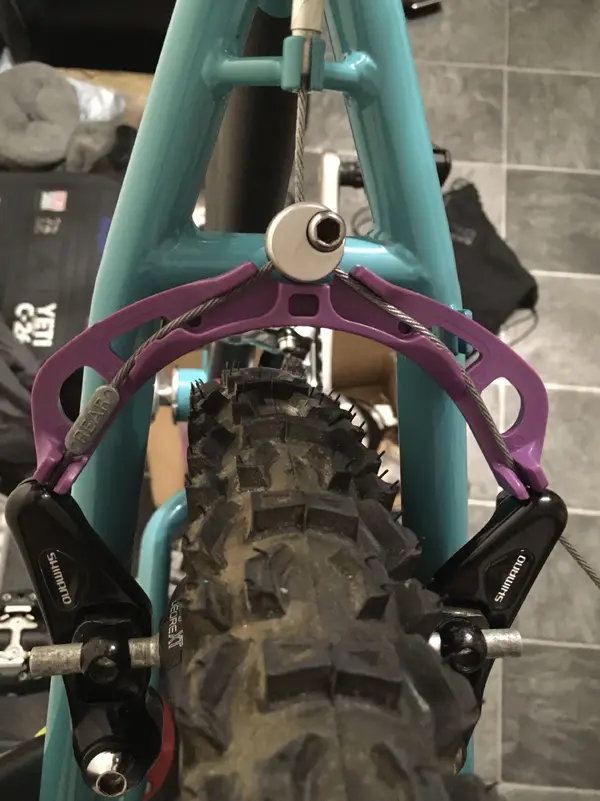
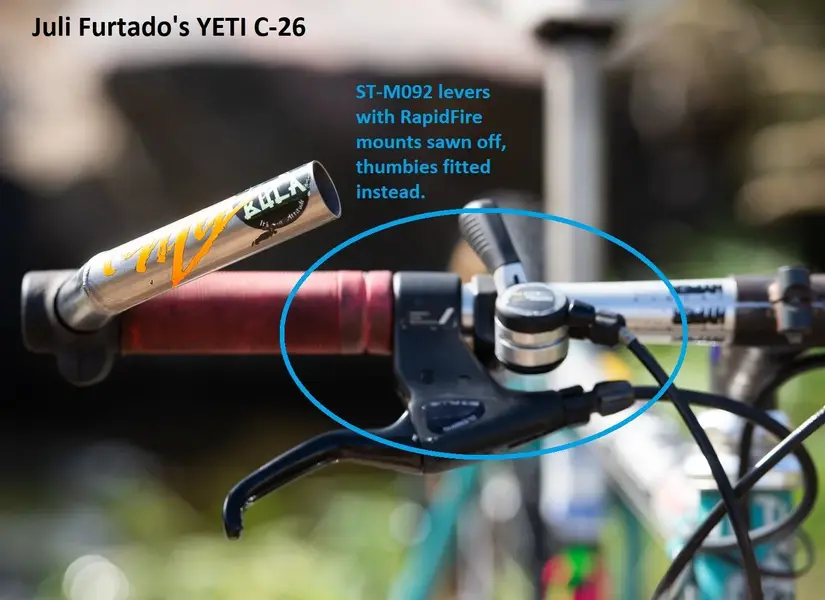
Also got the rear brake hooked up, with a NOS 6mm Deore XT SLR cable, using one of my most favorite tools of all time, the Shimano Pro Set Cantilever Tools. Piece of Pish. These black M734 cantis came with a really fresh looking pair of Deore XT brake blocks/pads, so they're staying. This is Shimano's best ever braking setup before XTR came in 1992. Juli's C-26 at the Worlds had Servo Wave brake levers paired with M732 Thumbshifters, but those Servo Waves were not available as a standalone brake lever, only coupled with the STI RapidFire 'push-push' under-bar levers, but following the infamous rush in swapping from full Campagnolo groupset to Shimano overnight between the Worlds' practice day and race day, and because Juli was only used to thumbshifters, so the team sawed off the pushies and fitted thumbies instead!
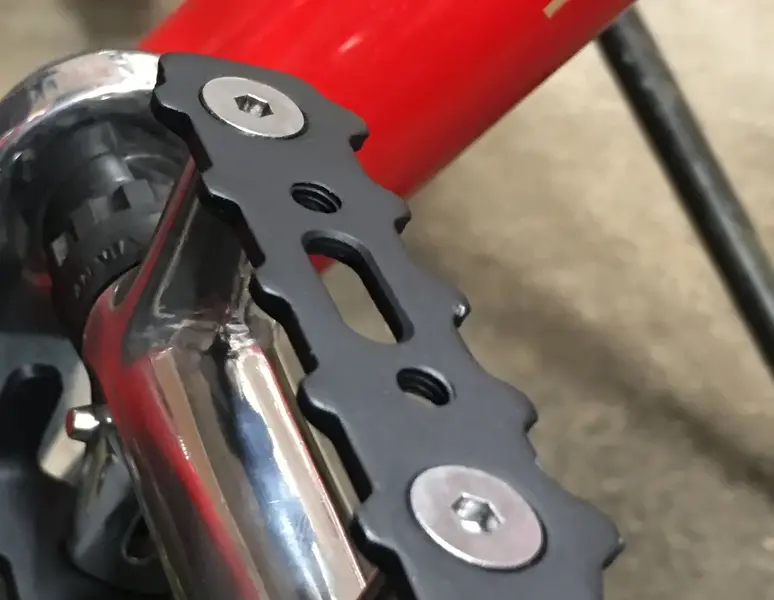
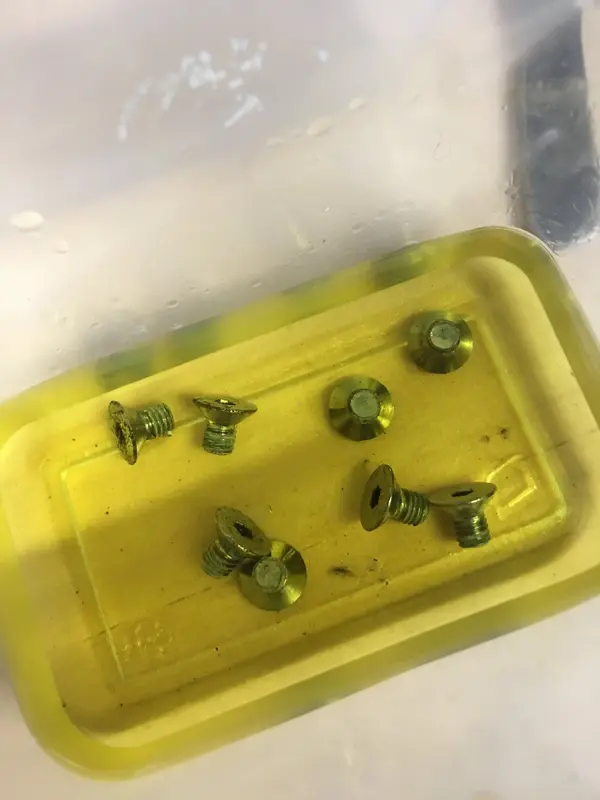
In 1990/91, I was obsessed with the new Shimano RapidFire levers and lusted after them, so they were my first choice for this bike build. On looking closely at these photos (btw, thanks John, RB Guv'nor, for increasing upload sizes), there's a lot of rust on some of these bolts, which I can't see in the flesh with my naked eyes, becasue my eyesight is terrible, even with contact lenses AND reading specs on! Therefore, a bit of spit and polish is needed on these bolts.
Attachments
-
 ServoWave_STI push-push levers.webp776.9 KB · Views: 386
 -
 Shimano Pro Set tool B82 rear Black M734.webp416.6 KB · Views: 380
 -
 TDD wheel and Smoke fitted.webp639 KB · Views: 376
 -
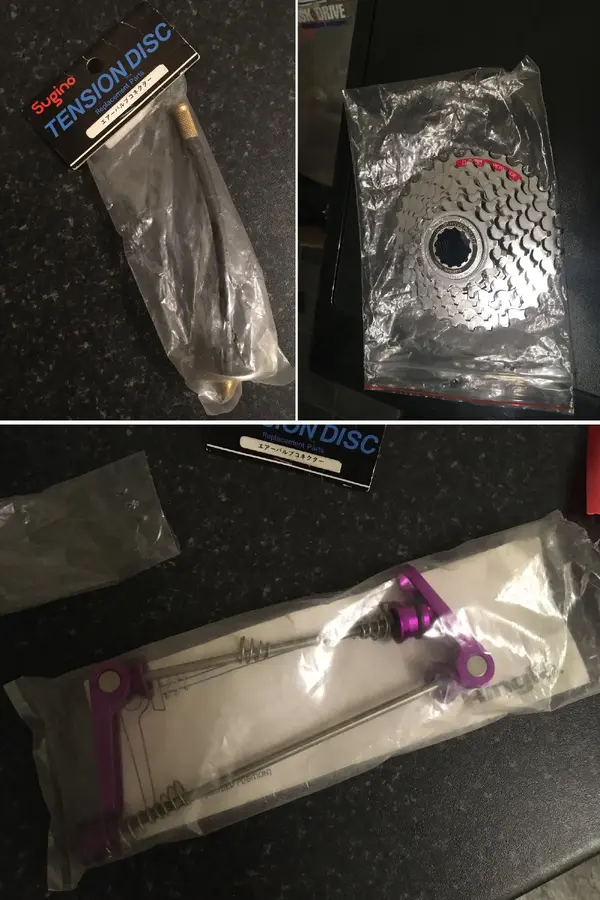 NOS REAR WHEEL BITS.webp643.1 KB · Views: 373
 -
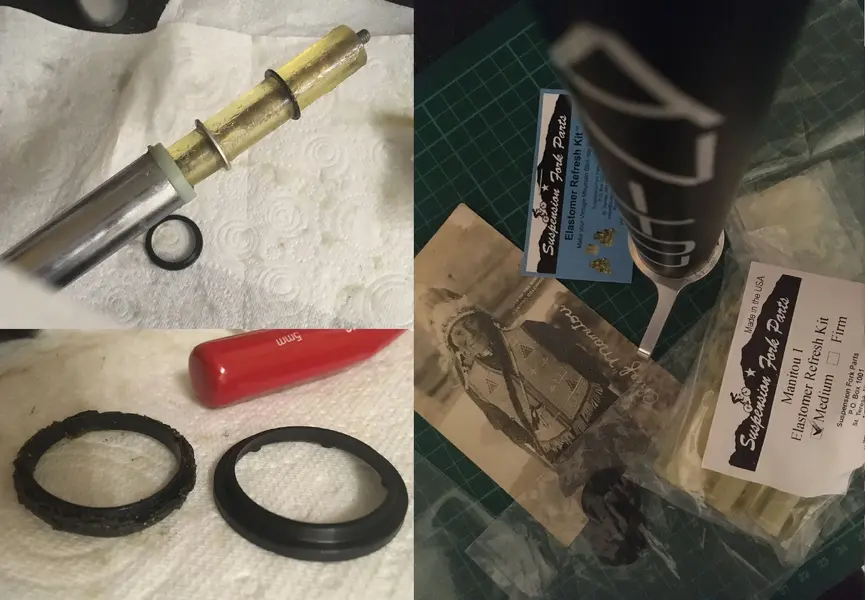 Chief Manitou kebab seals.webp1,023.6 KB · Views: 372
 -
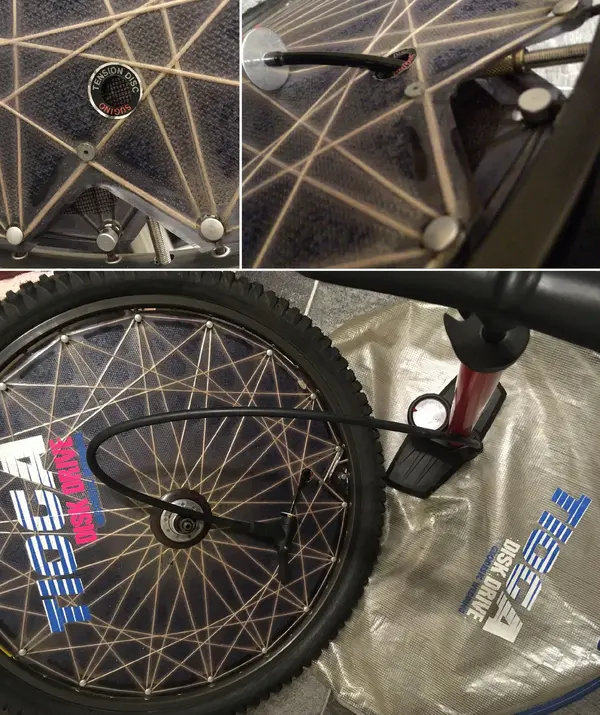 TDD SETUP.webp1 MB · Views: 370
 -
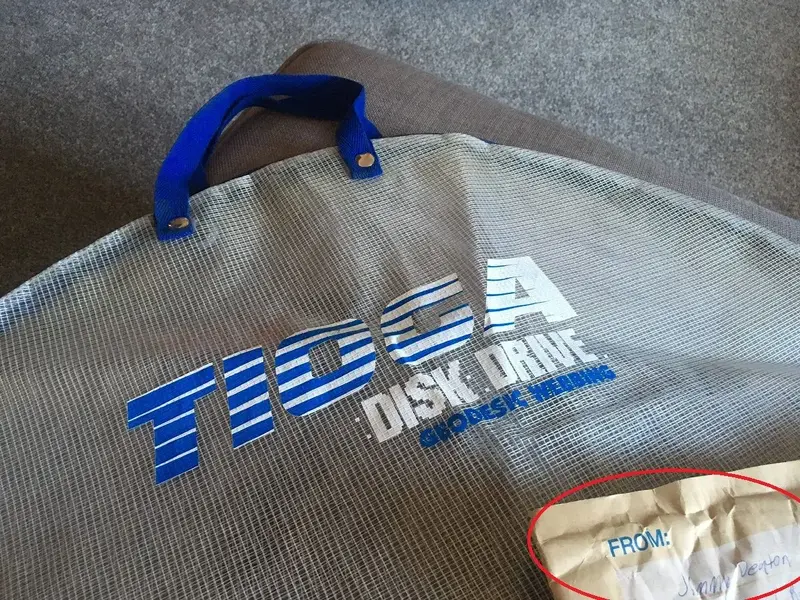 tdd bag jim.webp333.6 KB · Views: 378
 -
 Juli's levers.webp75.7 KB · Views: 386
