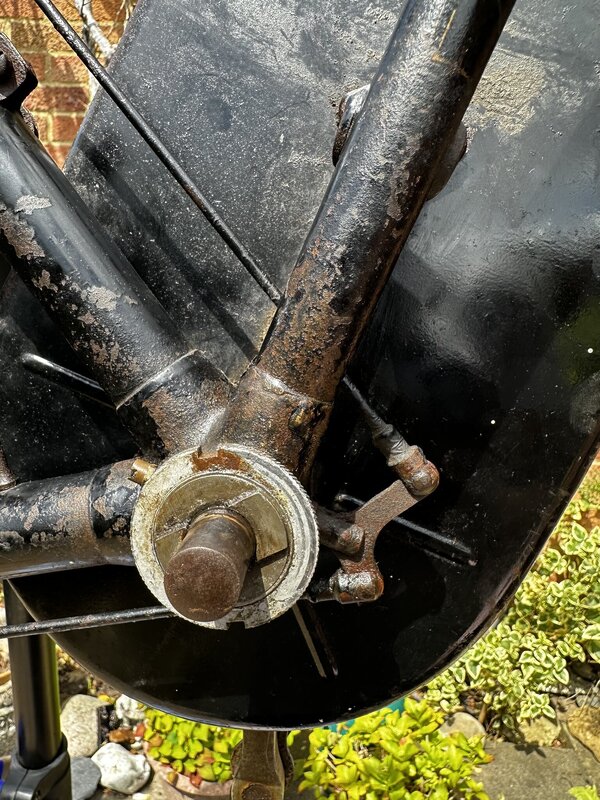
I’m restoring a Sunbeam ( based on the Online Sunbeam Museum (pictures) it’s probably a ‘1939 Sunbeam Ladies Royal Light Tourist’).
Ive managed to remove the wheel and I I now removing the crank arms. The Cotter Pins are out . But question:
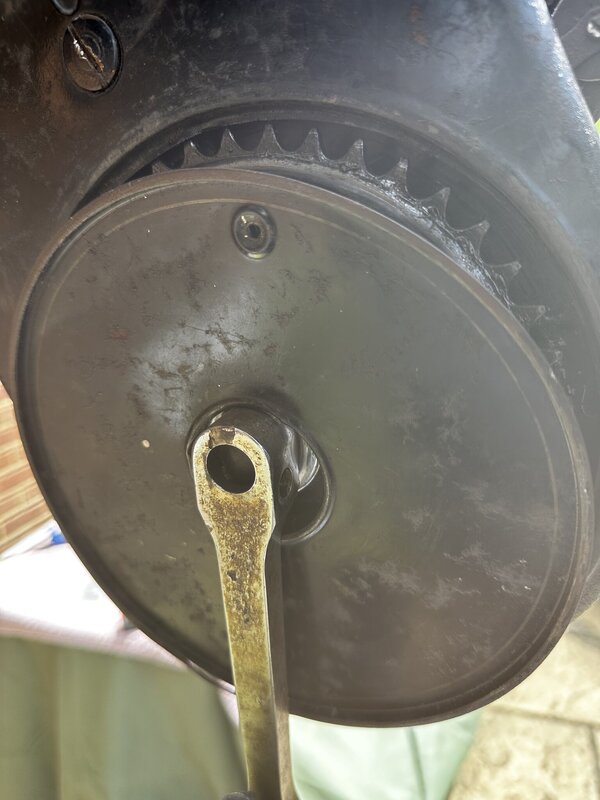
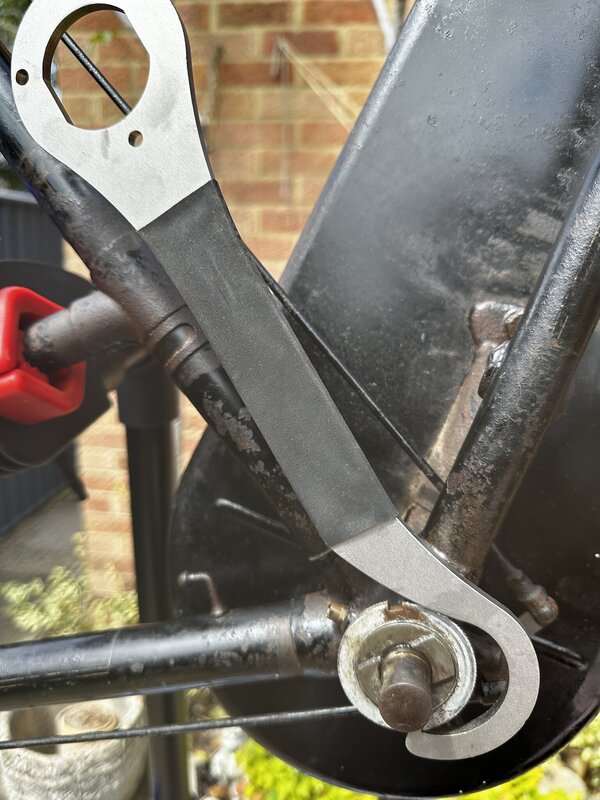
- Which way the lock ring should be turned to remove it?
I’m thinking lefty-loosely but I’m not sure after watching a few YouTube videos.
I’ve tried searching Sheldon Brown site but I’m a bit lost (newbie woes).
This is my first restoration so I want to do the bike justice.
Some pics below
Ive managed to remove the wheel and I I now removing the crank arms. The Cotter Pins are out
. But question:- Which way the lock ring should be turned to remove it?
I’m thinking lefty-loosely but I’m not sure after watching a few YouTube videos.
I’ve tried searching Sheldon Brown site but I’m a bit lost (newbie woes).
This is my first restoration so I want to do the bike justice.
Some pics below
 .
.