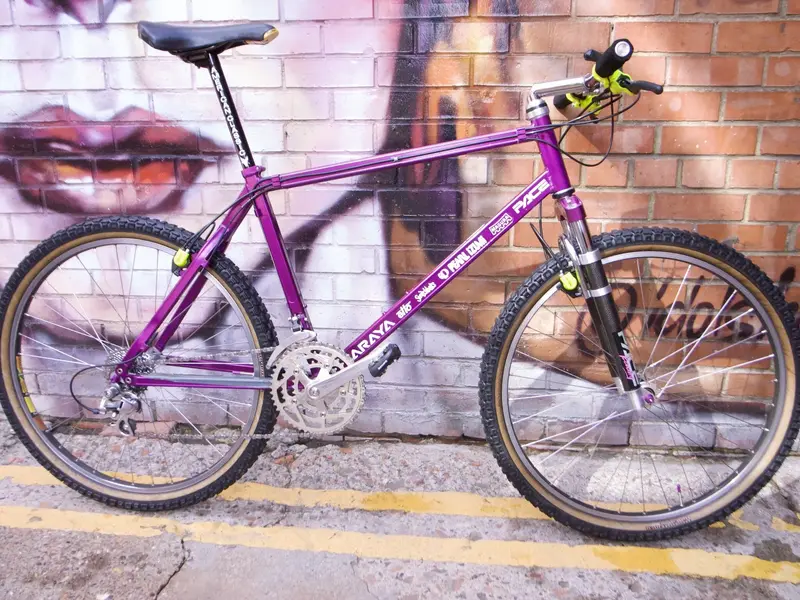
Feature Bike Richard Thackray Original Team Pace F1 - Restoration Thread - Completed

R0012394-1.jpg Completed May 2021

Setting The Scene
: Its fair to say I'm a huge Pace fan taking inspiration from Jerky, Gil M ,Rich Matthews, Bollox64 as well as many others

Through the years I've seen some epic Pace builds. DR s (pretty sure he sprayed his RC100 six times until he was happy with the colour) , Neil Millard's, Rich's Pink Pace (Mavic Groupset) and the perfection that Bollox64 goes to with his builds. I can't write about amazing Paces and not mention Bibbsey's original RC100 with a Campy groupset which is outstanding

In the late 90's a friend turned up on a Red F7 to go for a bike ride and id honestly never seen anything as stunning. I made him give me first refusal and when he later wanted to buy an Orange I jumped at the chance of owning it.

At the time of buying my F7 I genuinely wasn't aware that there were 6 previous iterations of this model, let alone that the RC100 existed. I made obtaining a RC100 and then an RC300 a goal and thanks to Jerky and the Caramba kid I got one of each. Since then I've added a stunning F1 finished in Champagne from Bollox64 and an F2 to my collection

I have previously mentioned there being 4 Pace's around that I would love to add to my collection, but that in reality I only stood a slim chance of buying one of them .

The Bike:

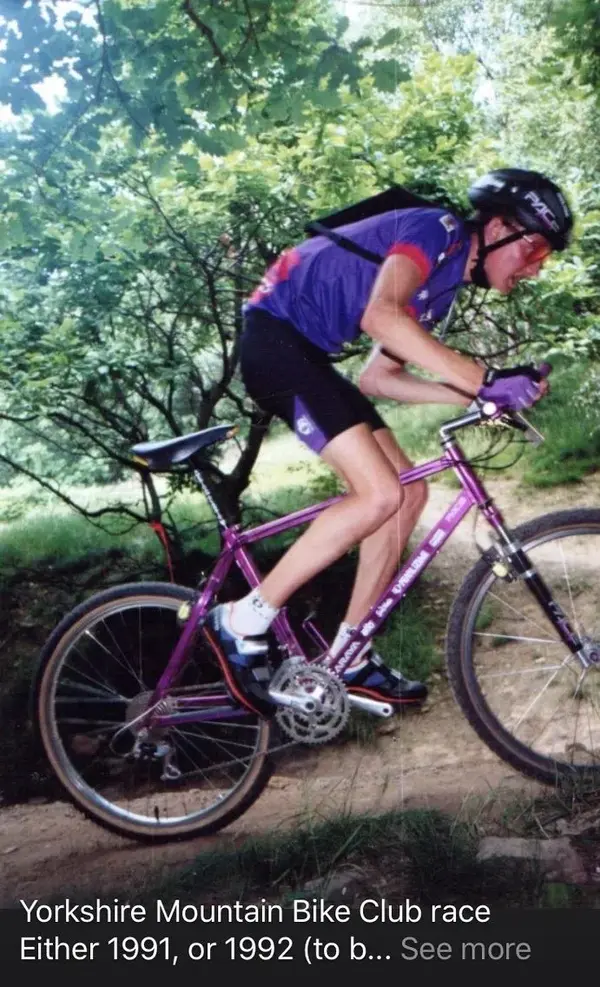
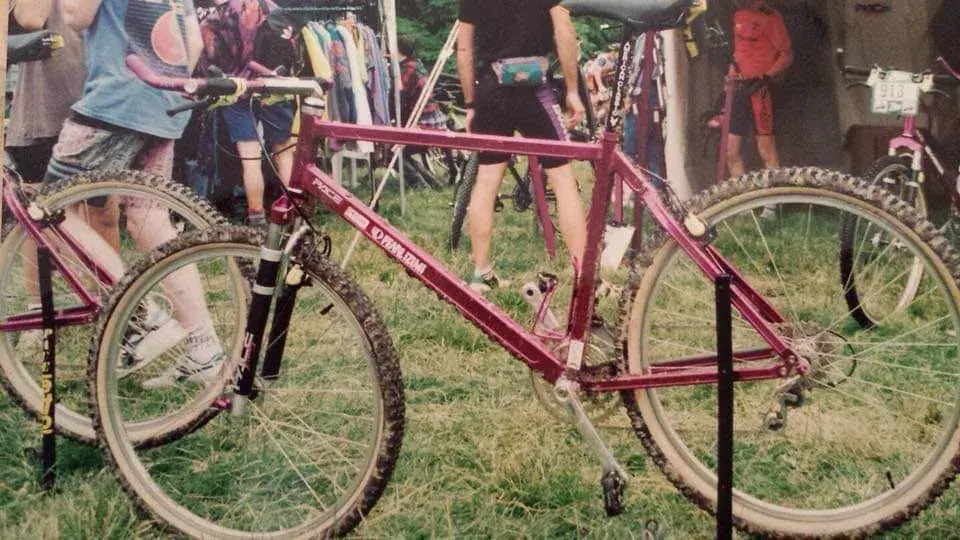
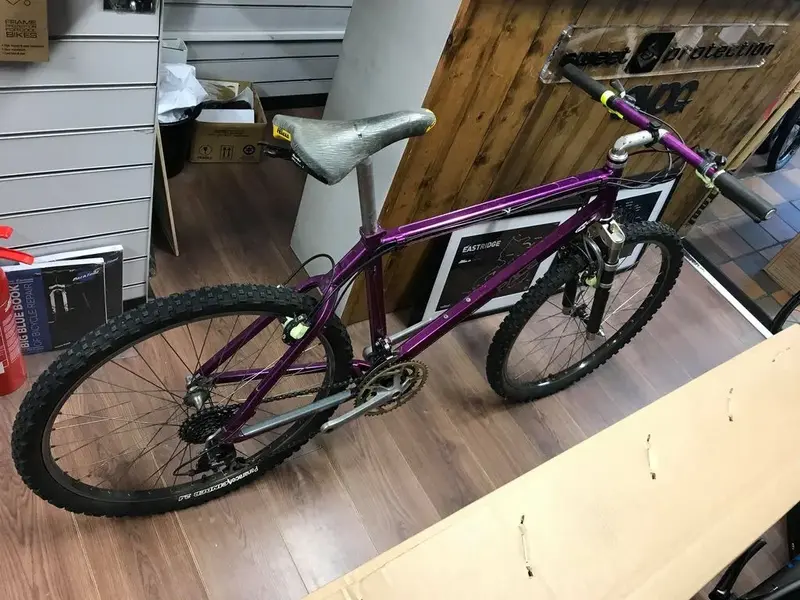
After a few ups and downs but definitely finishing on an up I've managed to buy Richard Thackray’s iconic ex team Pace F1 from around the 92 era (It definitely was the era of Purple or 3DV) . Although this bike was one of the four id love to own, I didn't think I stood a chance of buying it

The bad news however is that its been ridden over the years. Not normally a bad point but regrettably its been ridden to a point where damage has occurred. Its my aim with the help of some very talented people to restore this to as original a condition as I can. Thanks to Adam Bentham and Rich Matthews I have an idea of how the bike looked in its heyday and the component spec and what I aspire to return it to

For me its about keeping this as original as possible and showcasing the work of the talented people who without their help it would not be possible to see this return to becoming a rider.

This actually featured on an episode of the GMBN tech show. If interested follow the link at its at 7mins in (Thanks John Paddock aka Spud):

The talented people I will be engaging will hopefully add to this thread to showcase their specialisms as they undertake the work. This thread may go quiet given the current climate but will be added to as and when I can

The first order of business is to get it stripped down. The frame will be going off to the Leg End that is Dan Chambers, the Forks to Tim at Fork English. GIL M is kindly going to build the wheels and Retrodecals are working on producing a set of decals to match the bike in its sponsored race livery

I do need the following parts to help with this special build:

1) Rear 32H Pace Alloy Hub
2) Early Renthal (Shimmed Bars) sorted
3) M735 Shortcage Rear Mech (must be v.good + condition)
4) Silver or Purple X-Lite Crank Caps
5) X-Lite Cam Lock Seatpost Pin
6) Purple American Classic Bottle Cage (Fingers crossed that is in hand) Now sorted

Thanks already to SI33 for the pedals, its really appreciated and I will hopefully be receiving some special parts to make this build truly authentic. More on that as it happens

Pics:

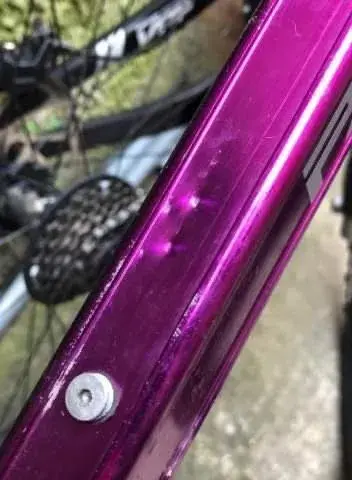
Pic 1 - Damage to downtube
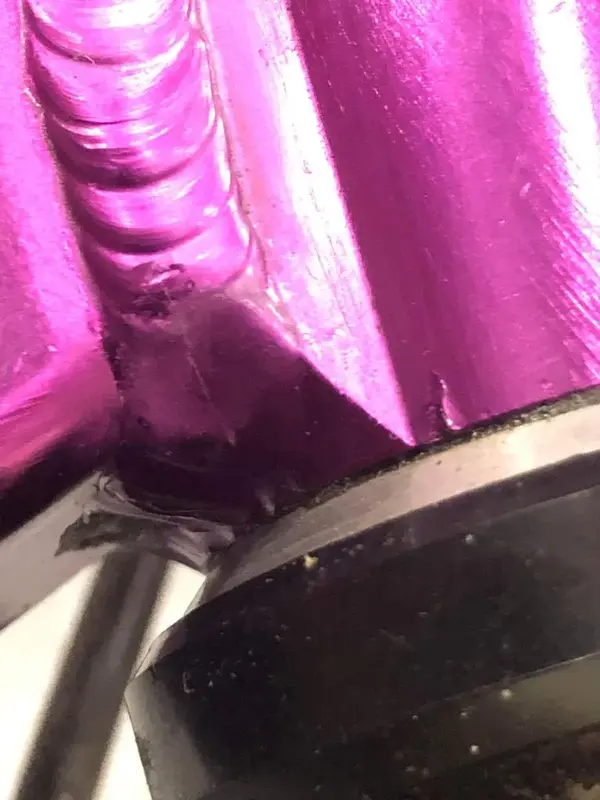
Pic 2 - Crack to Headtube Weld
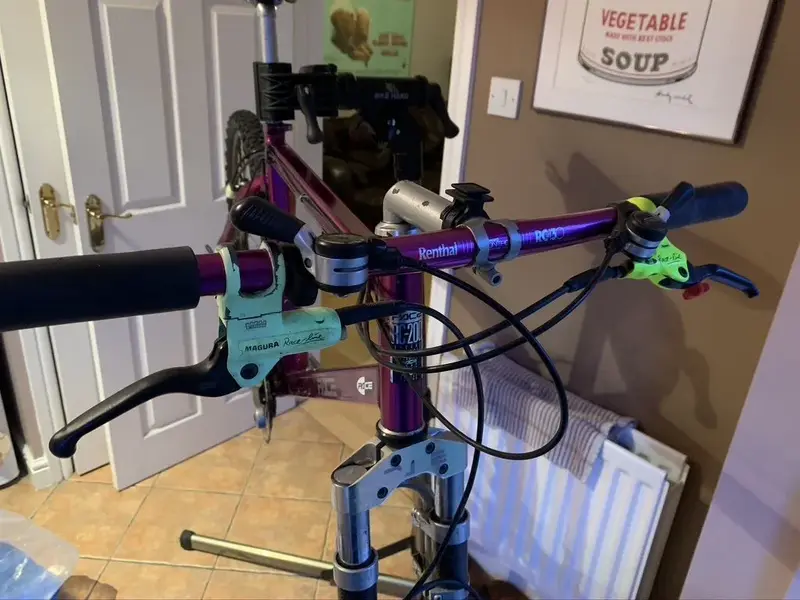
Pic 3 - Miss-matched brake levers
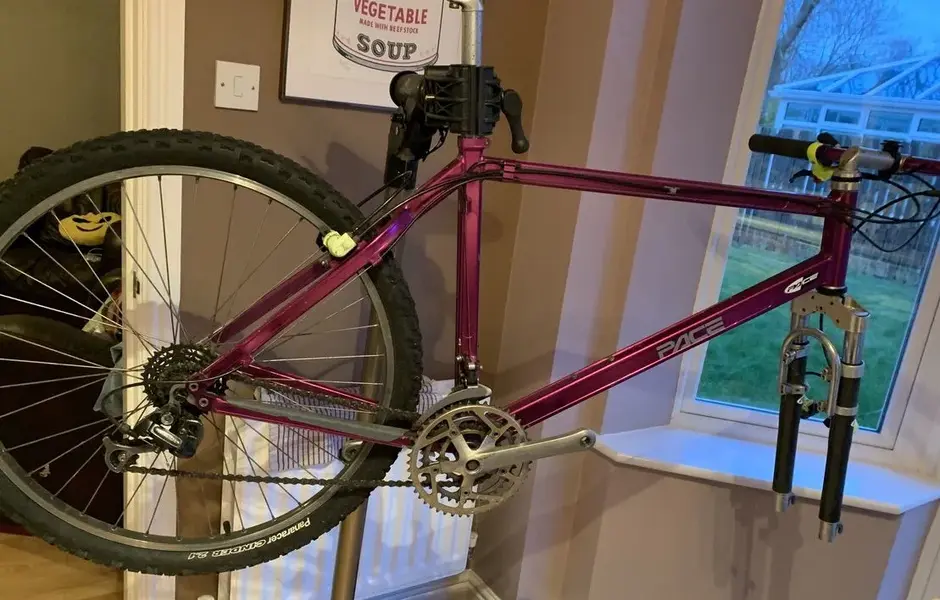
Pic 4- In my kitchen strip down commenced
Pic 5 - Ready for collection
Pic 6 - Parked up looking good
Pic 7 - The Bike in its heyday being ridden by Rich
 

Attachments

  • Richard Riding Pace.jpeg
    Richard Riding Pace.jpeg
    160.5 KB · Views: 3,267
  • Parked Up Pace.jpeg
    Parked Up Pace.jpeg
    104.5 KB · Views: 3,251
  • Ready For Collection.jpeg
    Ready For Collection.jpeg
    148.1 KB · Views: 3,220
  • Kitchen Stripdown.jpeg
    Kitchen Stripdown.jpeg
    130.1 KB · Views: 3,216
  • Miss Matched Levers.jpeg
    Miss Matched Levers.jpeg
    106.3 KB · Views: 3,232
  • Head Tube Crack In Weld.jpeg
    Head Tube Crack In Weld.jpeg
    102.2 KB · Views: 3,230
  • Down Tube Damage.jpeg
    Down Tube Damage.jpeg
    25 KB · Views: 3,227
  • R0012403-1.jpg
    R0012403-1.jpg
    583.2 KB · Views: 307
Last edited by a moderator:
Right then...on to the bent seatpost.

Here's the problem:
About 9mm out of plane, with a distinct tight bend over a short distance where the post stuck out of the frame.
I don't have a frame that I would want to use to replicate the original bending force, just in the opposite direction, and that would be really hard to hold and load safely anyway.
If I support the ends ot the tube and push in the middle, because the tube is of equal stiffness all the way along, it will want to bend into a U-shape along its length.
This would leave the tube in a W-shape, rather than re-straighten just the short bent section in the middle :|

But first, to mark on the plane of the bend, and the start and finish points.
Hold the bent tube flat on the surface table and run a square along a length of masking tape on the side: And mark the bend position by eye off the surface table.

So, how to make the tube bend preferentially at the middle?.. :|
I need to make the straight sections on the ends stiffer than the bent section, more like a nunchuk than a fishing rod :LOL:
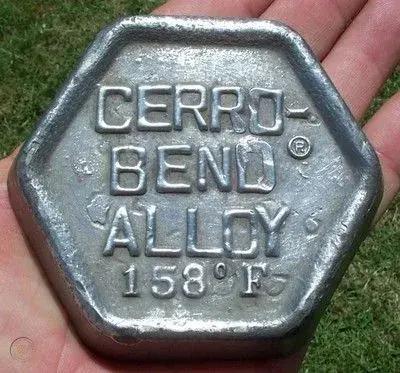
Luckily, I have some bending compound in my toolkit. Traditionally this was a low temperature melting metal alloys such as Cerrobend.

However, while mostly made from reasonably benign bismuth and tin, it also has some nasty stuff in it that's best not heated (Lead and Cadmium :shock: ), so is generally discouraged these days, unless absolutely necessary.
It has been replaced with resins such as WS8, which, in the words of the UK manufacturer is "a new technology alternative to high density fusible alloys for tube bending operations. Resin WS8 is a low density solid (~1) with a melting point of about 70DegC which can be used to fill tubes prior to bending operations. It offers excellent dimensional and wall support during bending, can be simply removed with heating and a special advantage any residue can be removed with plain water." :p

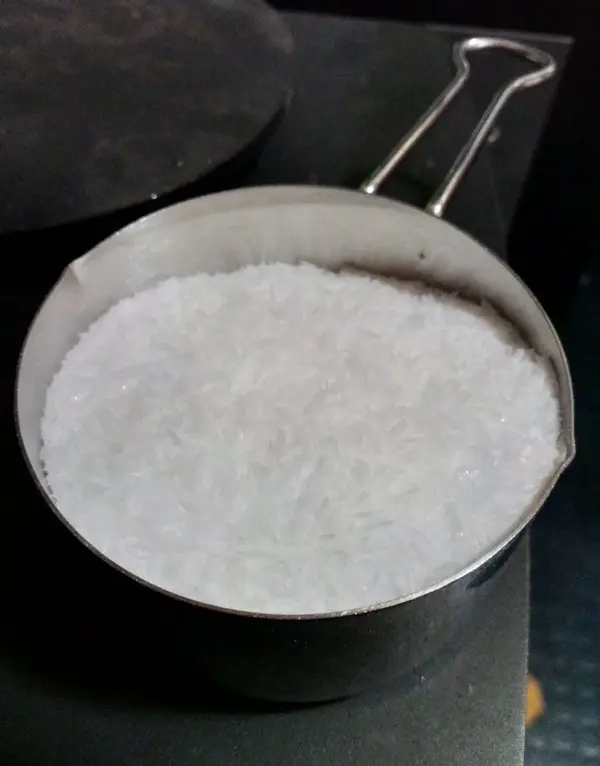
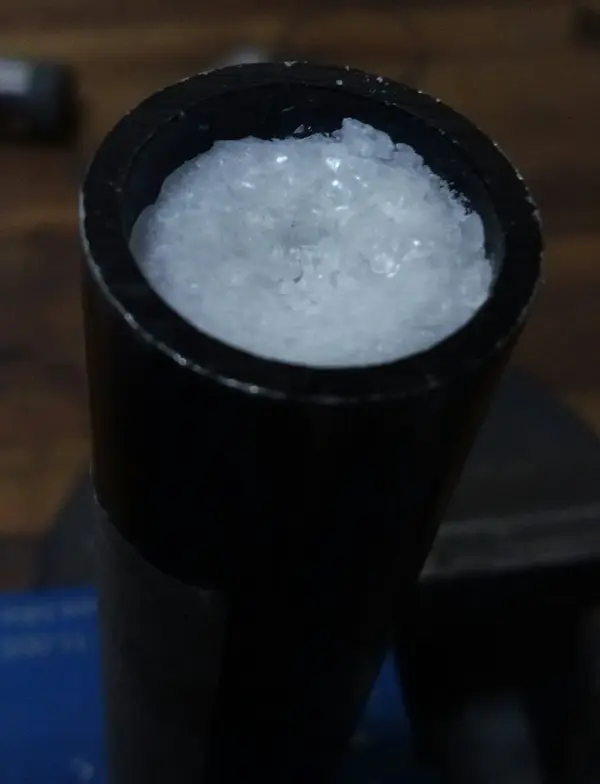
It's a white sparkly crystalline product, best not smuggled through customs:
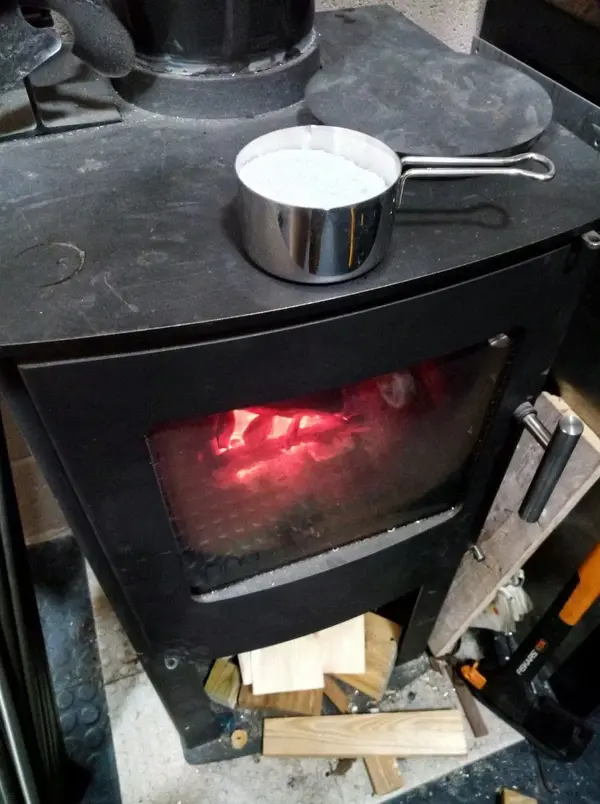
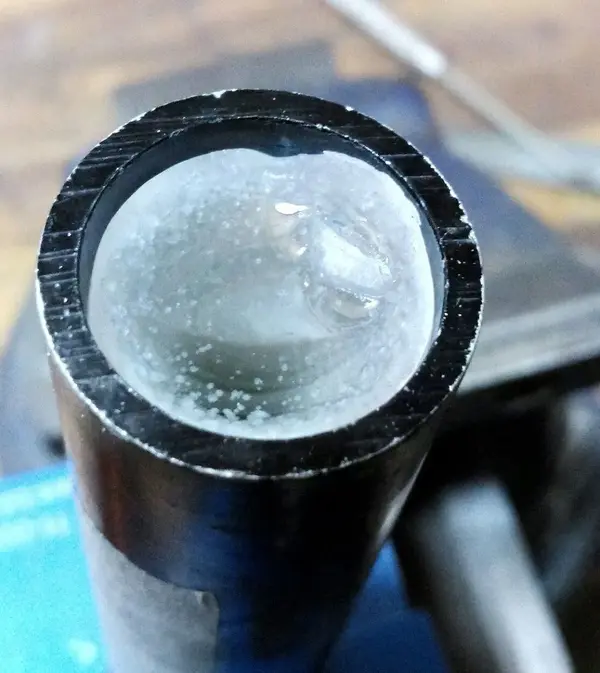
which when gently heated (on top of my workshop stove):
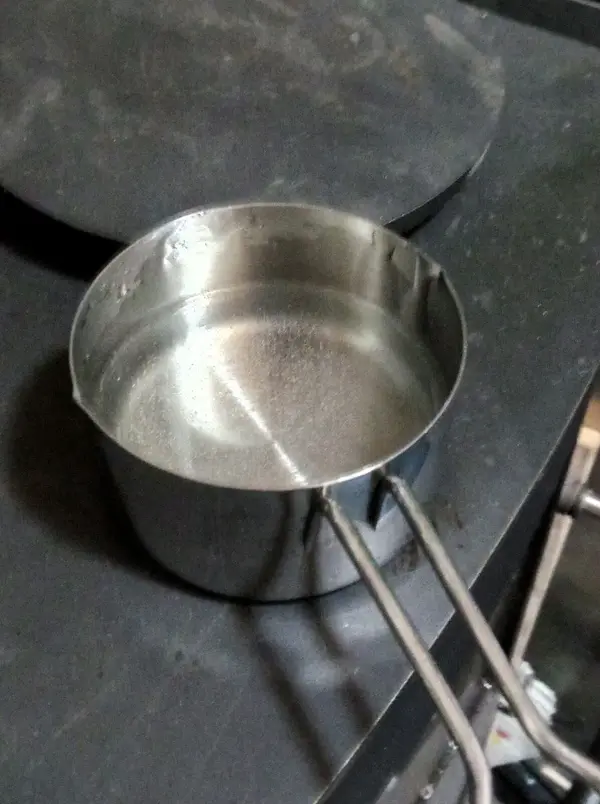
melts into a slightly viscous clear liquid:

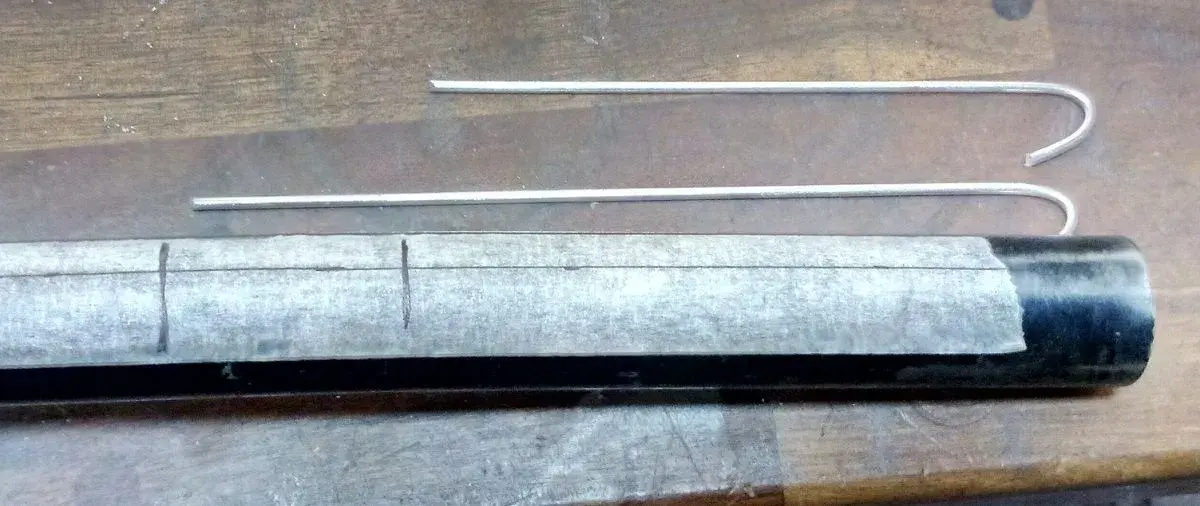
While the resin was melting, I made 2 dipsticks to test the depth of fill, because it's dark down there:
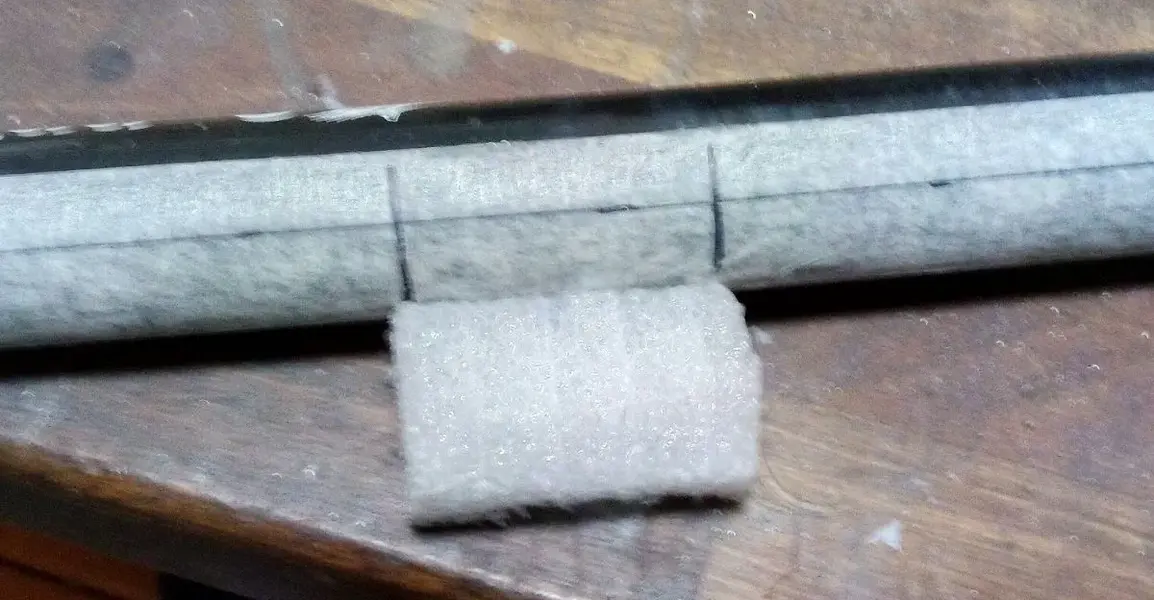
After filling to the first level mark (start of the bend) and leaving to cool, I inserted a plug of plastic foam to stop the resin filling the bent section, but still let the tube bend.
Then checked its position and length with the shorter dipstick:

To be continued.

All the best,
 

Attachments

  • IMAG0825.jpg
    IMAG0825.jpg
    59.4 KB · Views: 459
  • IMAG0826.jpg
    IMAG0826.jpg
    171.9 KB · Views: 460
  • IMAG0828.jpg
    IMAG0828.jpg
    117.6 KB · Views: 459
  • IMAG0827.jpg
    IMAG0827.jpg
    153.4 KB · Views: 457
  • IMAG0830.jpg
    IMAG0830.jpg
    148.6 KB · Views: 457
  • IMAG0829.jpg
    IMAG0829.jpg
    99.3 KB · Views: 457
  • vintage-cerro-bend-cerrobend-alloy_1_02ecd8b9d6691736153f209399ae34fb.jpg
    vintage-cerro-bend-cerrobend-alloy_1_02ecd8b9d6691736153f209399ae34fb.jpg
    41 KB · Views: 458
  • IMAG0831.jpg
    IMAG0831.jpg
    118.6 KB · Views: 458
Re:

Continued:

Fill the second, lower section of seat tube with molten resin. You can see where it has cooled and quickly set where in contact with the colder aluminium:
Leave to cool overnight. Completely solid:
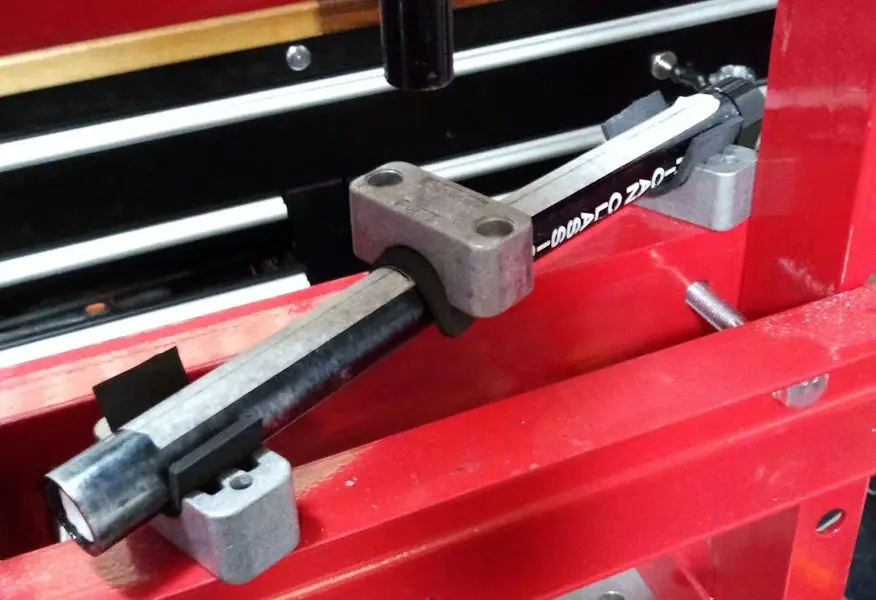
Mount the seatpost on two rubber lined tube blocks in my hydraulic press, wih the marked plane of bend facing upwards.
Another rubber lined block acts protects the tube from the piston and spread the load; I don't want a flat spot:
Set the piston to the top of the block and count pulls of the pump lever (so it can be repeated if necessary) as the piston loads the tube and the tube looks loaded enough past straight.
This is by eye and experience, as it will need to be bent past the straight point, as the material will always spring back when the load is removed.
Remove the piston load and check the straightness.
Ideally it's one shot only, and I certainly don't want to go past straight, and have to re-re-bend back in the original direction.
Thankfully done in just 2 attempts...nice and straight again:
Place the post on top of the stove to warm up enough to melt out most of the resin into the pan for re-use.
Rinse out any residue with boiling water.

All the best,
 

Attachments

  • IMAG0832.jpg
    IMAG0832.jpg
    179.7 KB · Views: 450
  • IMAG0838.jpg
    IMAG0838.jpg
    77.5 KB · Views: 452
  • IMAG0840.jpg
    IMAG0840.jpg
    139.4 KB · Views: 451
  • IMAG0841.jpg
    IMAG0841.jpg
    53.5 KB · Views: 452
Dan this update is absolutely amazing and showcases the fantastic attention to detail you apply to repairing components. I can’t thank you enough for all of your expertise you have given to this restoration
 
Re:

Great work Dan :D

As I read the prep, I was thinking surely he’ll have to insert a solid bar into the tube somehow - but I didn’t expect a solidifying solution to be the answer :shock: Very cool :cool:
 
Re:

Wow,

Awesome work Dan that’s spectacular

Another piece of the puzzle done David :)
 
Very interesting, every day is a school day on here :cool:
 
Excellent work Mr Dan.... :xmas-cool:
 
Back
Top