
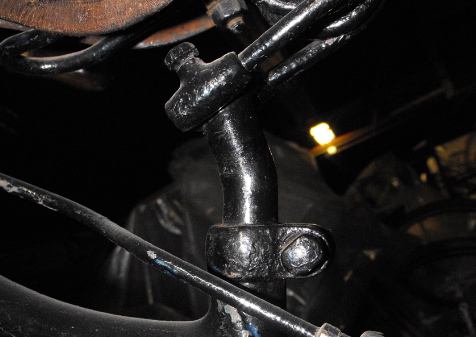
I didn't have a lot to go on for the Whippet seat post. The Whippet drawing shows a straight seat post, so why does this one have a kink? If the factory wanted a bend, it would have been a smooth bend. I chose to ignore the kink, but I did like the shape of the top clamp >
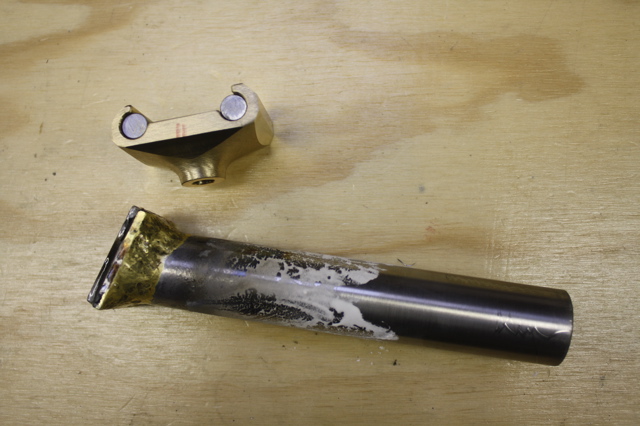
I used a piece of 954 bearing bronze. As long as the cutting tools are very sharp, machining is not a problem >
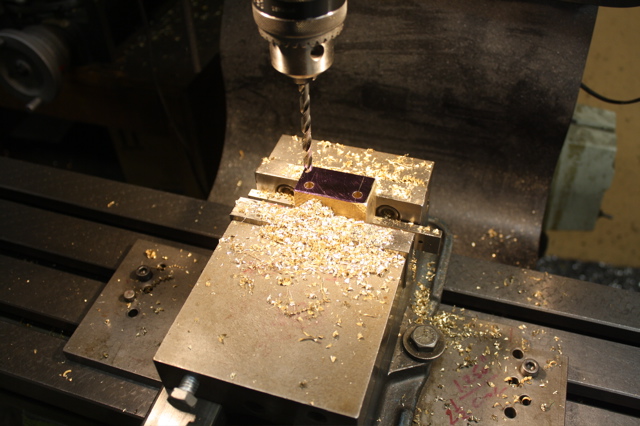
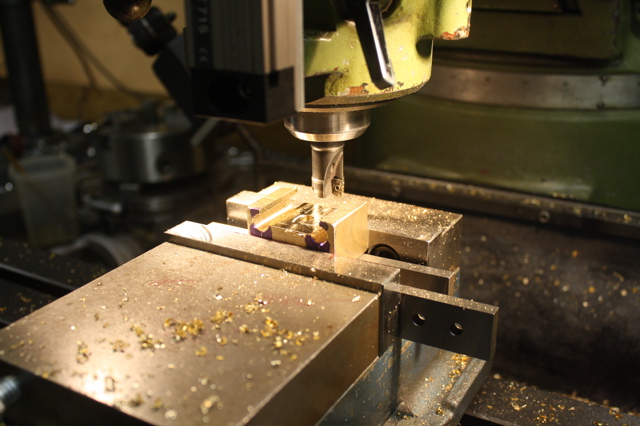
After drilling 2 holes, the block is turned, and the centre milled out >
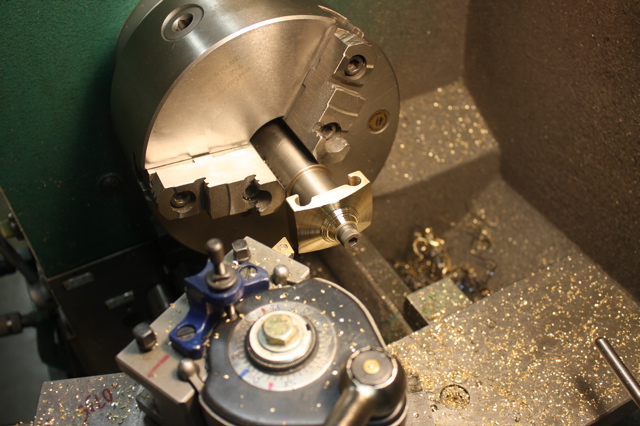
The block is now mounted on a spigot, and spun in the lathe. I machined the top of the clamp at an angle and included a crude radius for the top >
At this stage I really wasn't sure what the bronze caps' final shape looked like. I started the hand filing process, and the shape emerged as I worked..
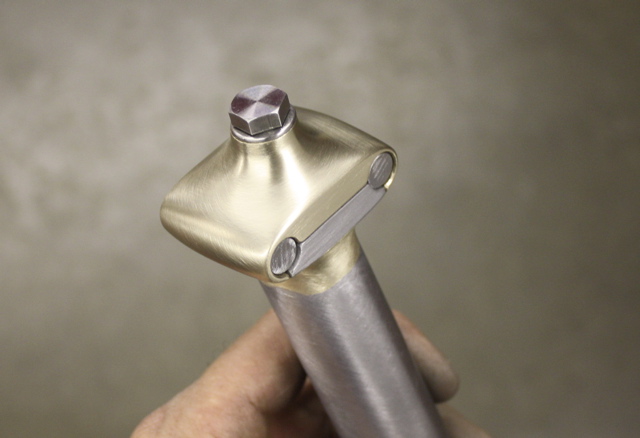
Below is the seat post: non-adjustable and fillet brazed >
I was pleased with the end result. The seat post will get bead blasted and nickel plated. An old fashioned square bolt will replace the modern hex bolt >
Thanks for taking the tour,
Paul Brodie