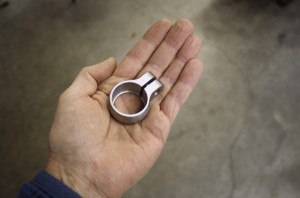
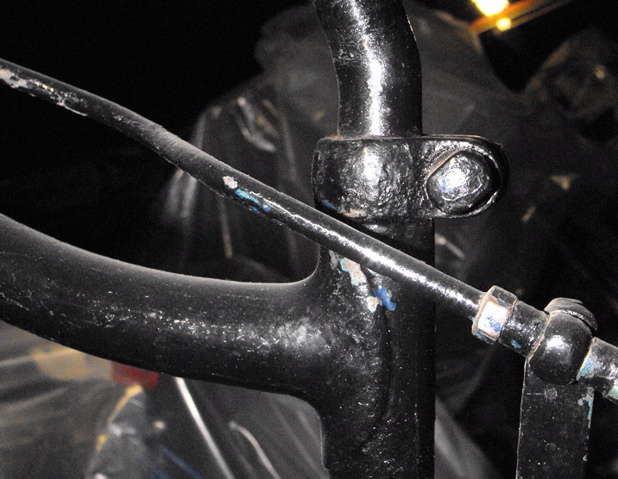
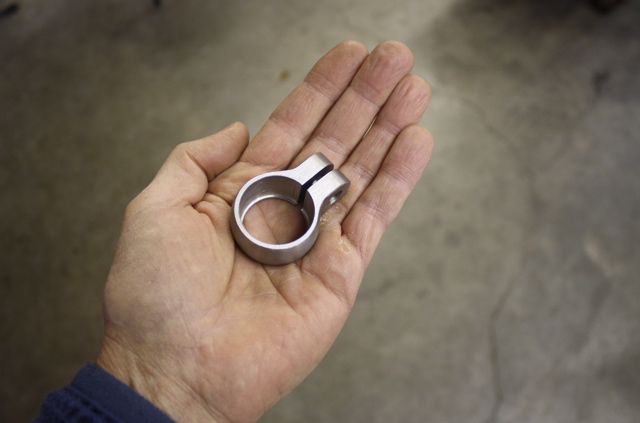
Building the seat collar was a fun job. Pretty simple, and only one days work. First step was to figure out dimensions >
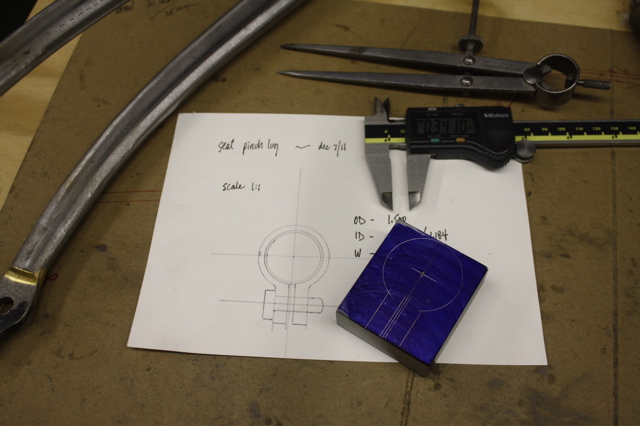
I drew on cardboard, and made the correct amount of space for the bolt. Starting with 1" mild steel, the drawing was transferred by scribing on layout dye >
The rotary table really was invaluable when building the Whippet. The combination of lathe, mill, rotary table, and digital readout is REALLY quite powerful >
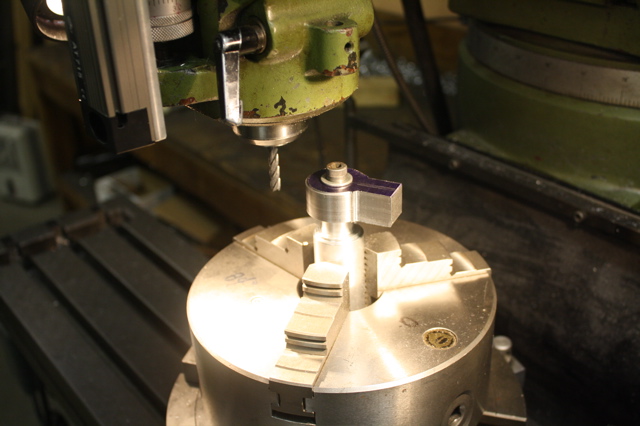
OK, there were a few steps in between these two photos. After milling the radius (above), the seat collar went into the lathe, and the centre was bored out, leaving a step. Then back into the rotary table, and a 1/4" endmill relieved the radius (top and bottom) to be used as a guide for hand filing. Next the slot, followed by the bolt hole. Radius around the bolt hole. File and shape to suit. The hard part is the blending from radius to flat; that's where you need patience >
Thanks for taking the tour,
Paul B.