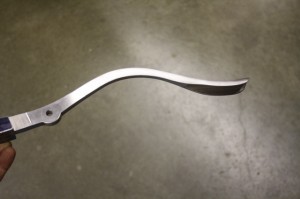
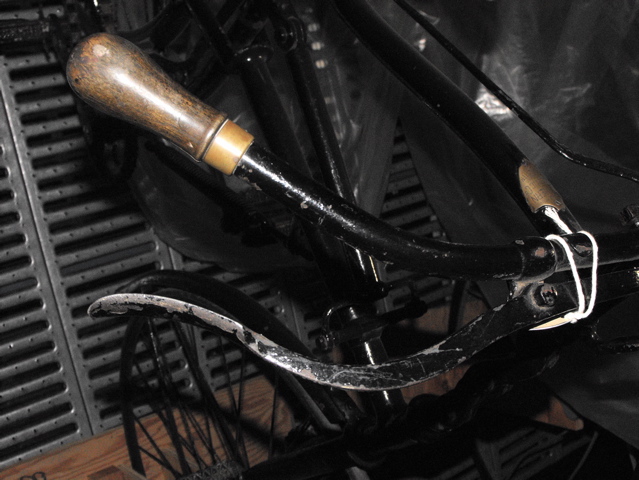
Hi. Paul Brodie here. NAHBS is coming up FAST, and I still have a LOT to do on the Whippet! I have never made so many parts for just one bike. In this tour of my shop, I'll show you how the brake lever was created by copying the original in the photo below. In all, it took about 2 days >
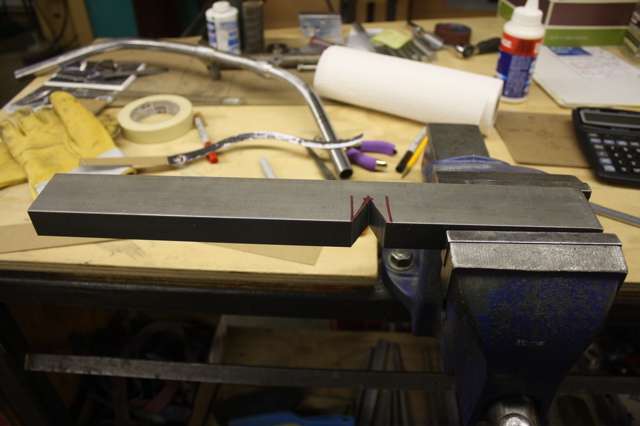
I wanted to carve it from solid, with no welding. I should have used a 1X3" steel flatbar, but only had 1X2" on my shelf. So, I cut a notch >
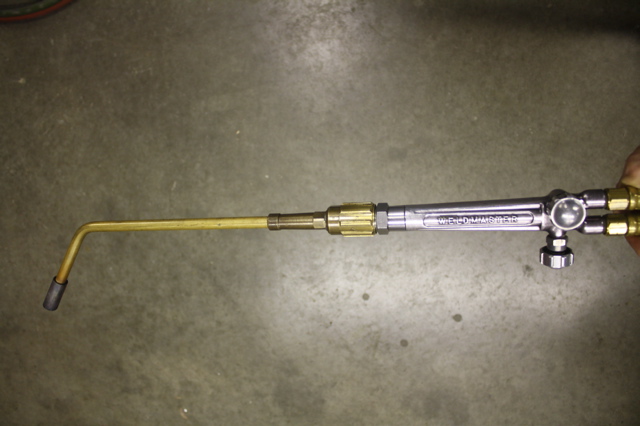
This is my big torch, with a "rose-bud" tip... it generates a lot of heat >
The bar is supported in the arbor press and heated >
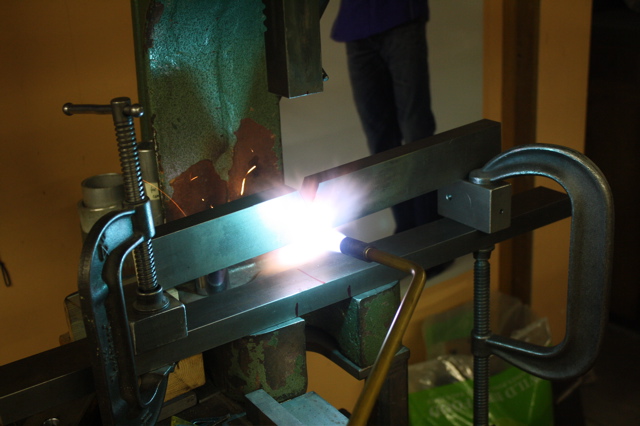
It gets hot... it gets bent. That's Valentino Rossi on the door poster >
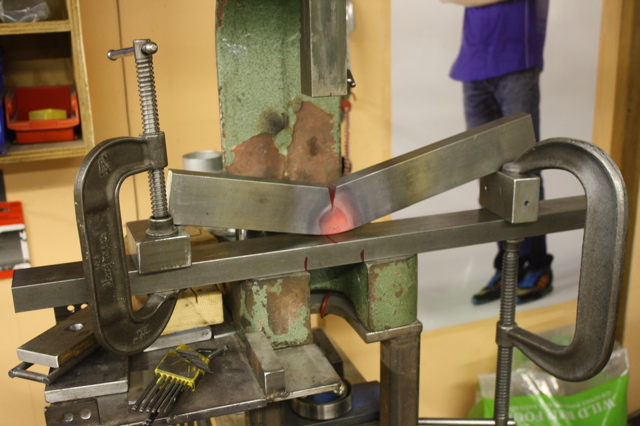
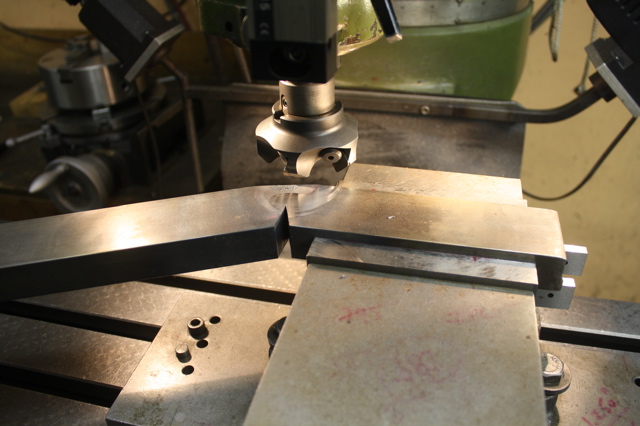
After cooling, the high spots are machined off >
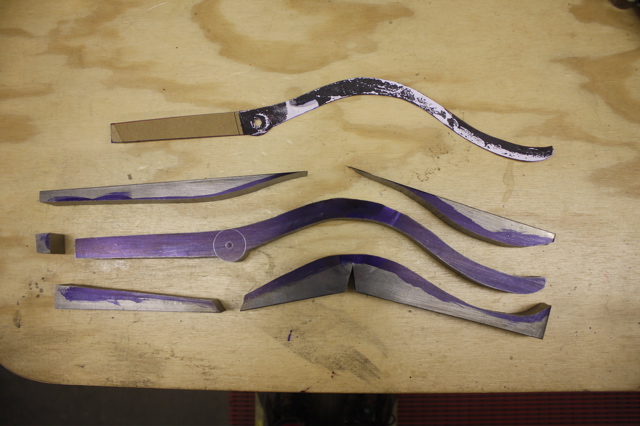
I took the photo (of the brake lever..) to a photocopier, and enlarged the image to life-size. I glued it to cardboard and cut it out. The steel was painted with layout dye, and the shape scribed onto the steel >
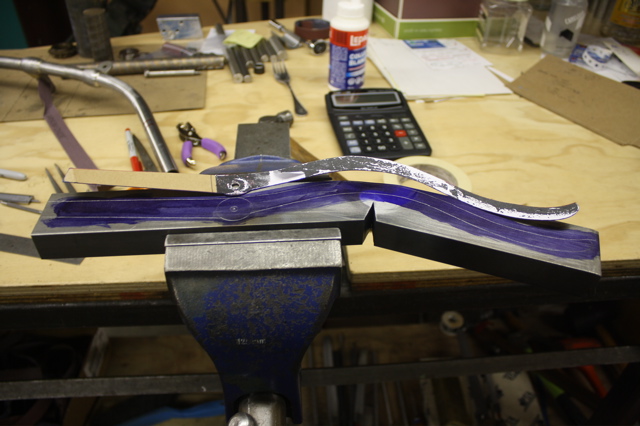
Vertical bandsaw was used to cut out the shape >
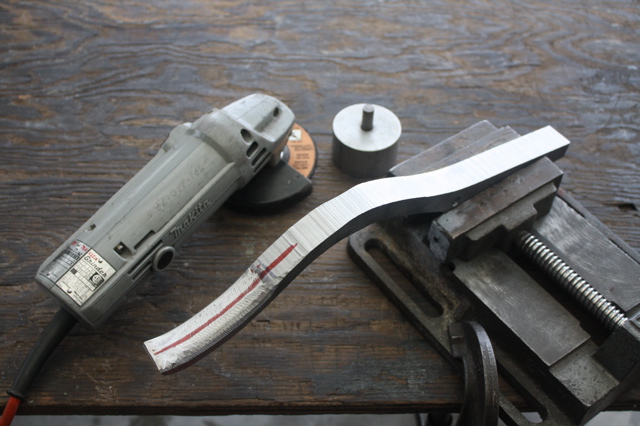
Here, I'm using a Mikita angle grinder to start shaping the "hand" end of the lever >
A little hand file work gives the final shape >
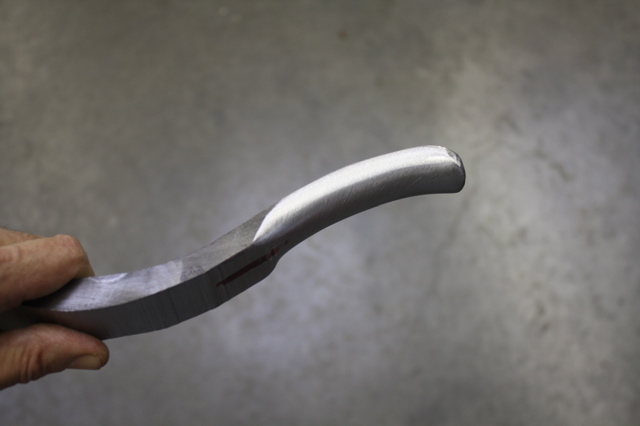
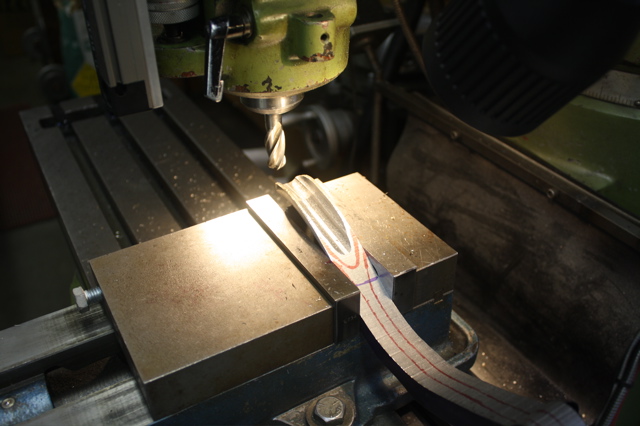
An endmill with a rounded nose hollows out the back of the handle. The red felt pen marks help define the middle section of the lever >
A Spiral Roll mounted on a high speed grinder smooths the shape created on the mill >
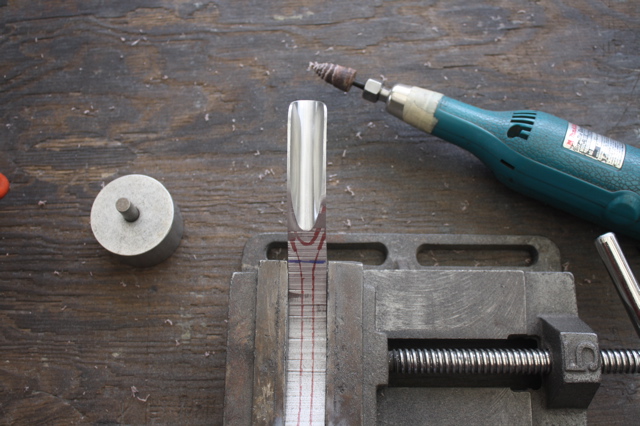
Bandsaw rough cuts the top and the bottom >

And a file and emery cloth make smooth >
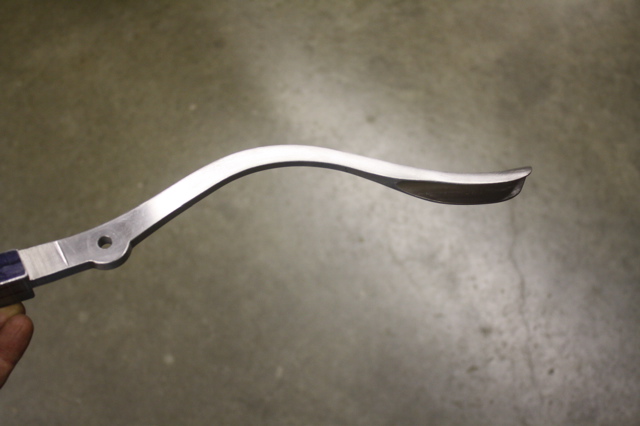
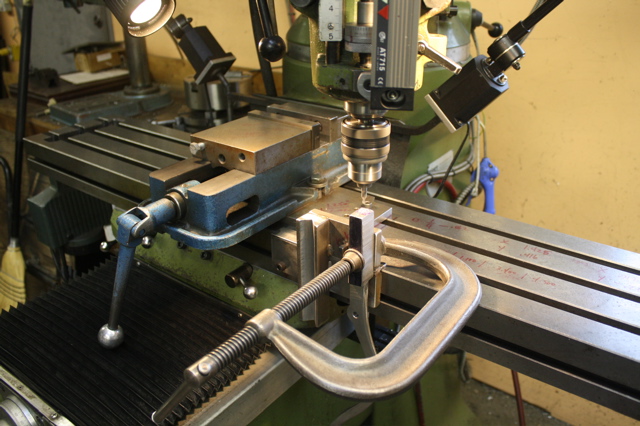
The other end of the lever needed a 5/16" thread, and i wanted it to be right in line. The lever end got C-clamped to a fixture on the edge of the mill table >
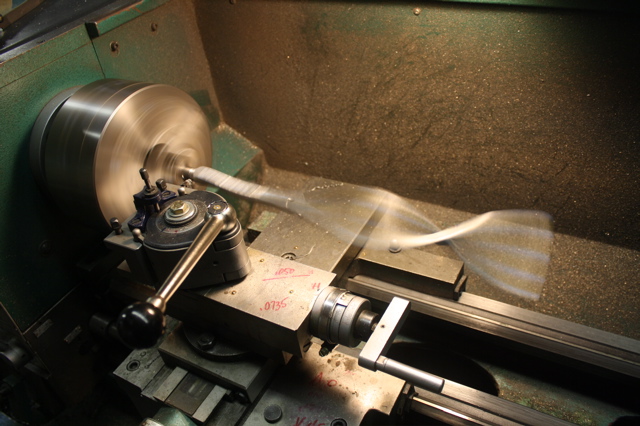
I thought the end of the lever needed to be round, so the lever got threaded onto a 5/16" stub, and turned it down to 5/8" >
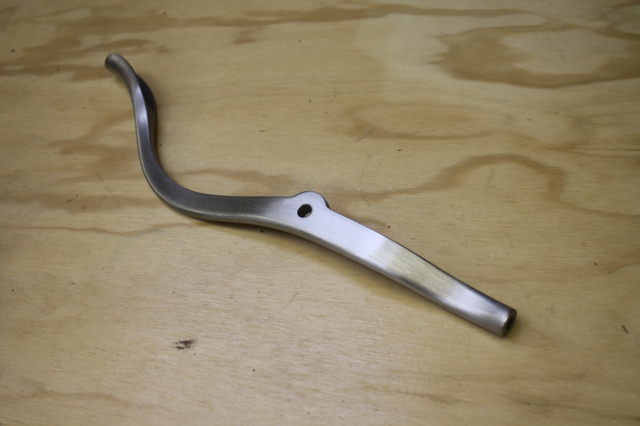
Brake lever is now finished except for bead blasting, electroless nickel plating, and installation >
Thanks for coming on a mini-tour of my shop. Until next time,
Paul Brodie