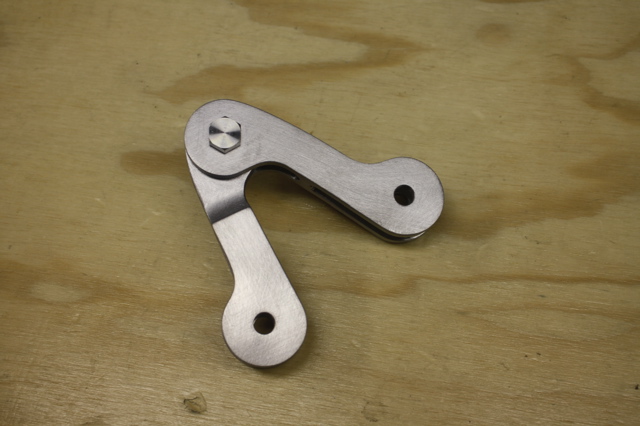
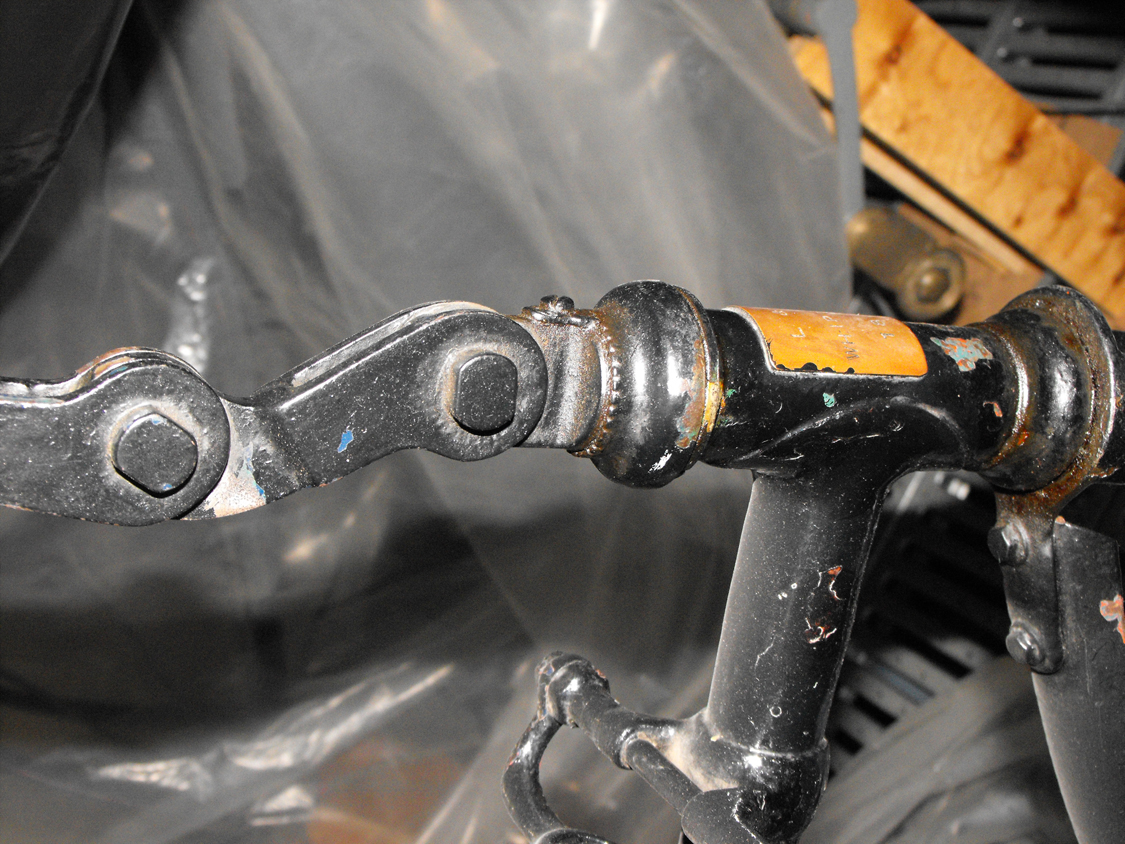
Hi. Paul Brodie here. This is the 2nd installment in a series detailing how the 1888 Whippet came together. This bike will be shown at NAHBS March 2-4, 2012. It falls a bit outside of "regular framebuilding" because so many of the components have to be created from basically nothing. My lathe, milling machine, digital readout, and rotary table got used a lot! What I'm making here is the Scissor Linkage, pictured below >
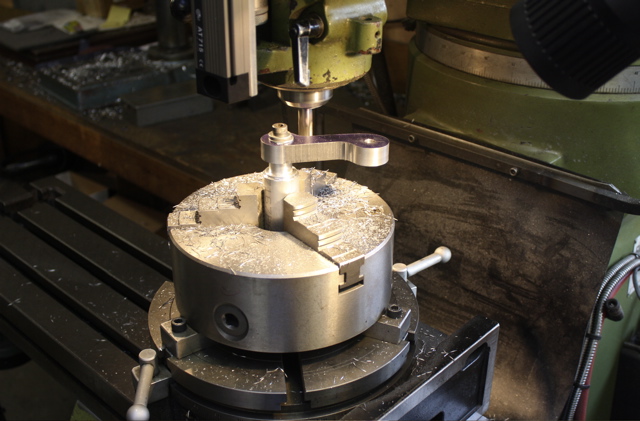
I've taken some 5/8" flat cold rolled steel, marked out the shape, rough cut it in the bandsaw, drilled (2) holes, and now the ends are having a smooth radius cut with an endmill. The holder is mounted in a 3 jaw chuck, on top of the rotary table >
The ends are now smooth, and I've drilled (3) holes and marked material to be removed with a red felt pen. The piece of cardboard is my template; that's all I'm working from. No fancy Autocad drawings to get this bike done! Next step is to carefully use the vertical bandsaw to remove the metal between the lines >
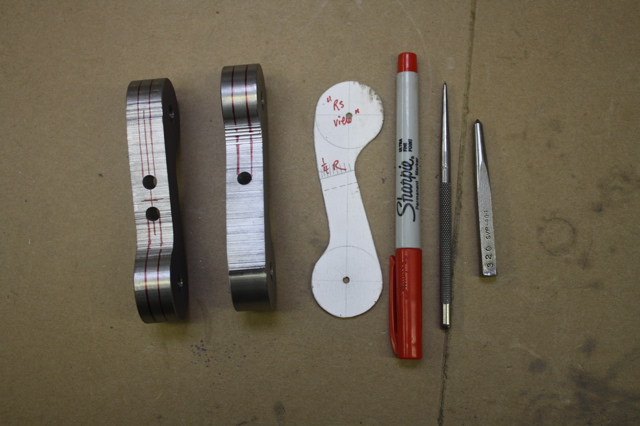
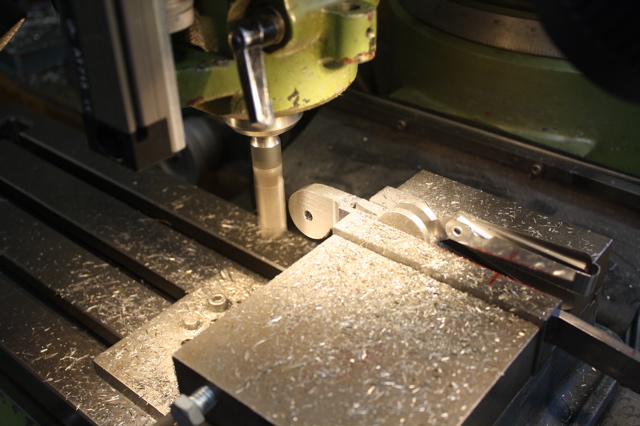
Each linkage piece is now put back in the mill vise and a 1/4" endmill used to finish the slot. It needs to be quite precise as the (2) linkage pieces have to fit together well.
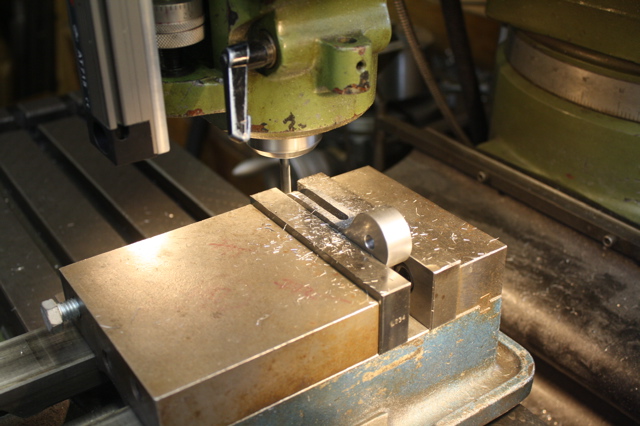
A larger endmill is used to shape the other end. Note the feeler gauge being used with another small piece of steel (not seen..) to prevent the end being held from "squeezing in". This allows the vise to hold the linkage securely >

This is the finished Scissor Linkage after a bit of filing and polishing. It will get bead blasted and sent out for Electroless Nickel plating, which is a very nice finish. I hope you have enjoyed this installment of how things get made in my shop.
Cheers!
Paul Brodie
