My 99 Lobo Restoration and build

I used the Isopon P38 stuff, sands nicely but the more skilled you are in application the easier to finish. I think I used about 3 layers in places because I kept oversanding!

Excuse the white balance but this is now the a grey filler primer! Much thicker than the epoxy and will cover any small marks, there are not many but I do want to sand it smooth before colour. The epoxy layer is pretty thin despite two coats so there is no room to sand, you go straight to metal so it only used as an adhesive layer.

I will leave it cure overnight and then sand it all in the morning, probably apply a little more of this primer in a few places then dry and sand ready for colour. I'm hoping for Sunday completion!




ChrisBrown81":3t4imsmo said:
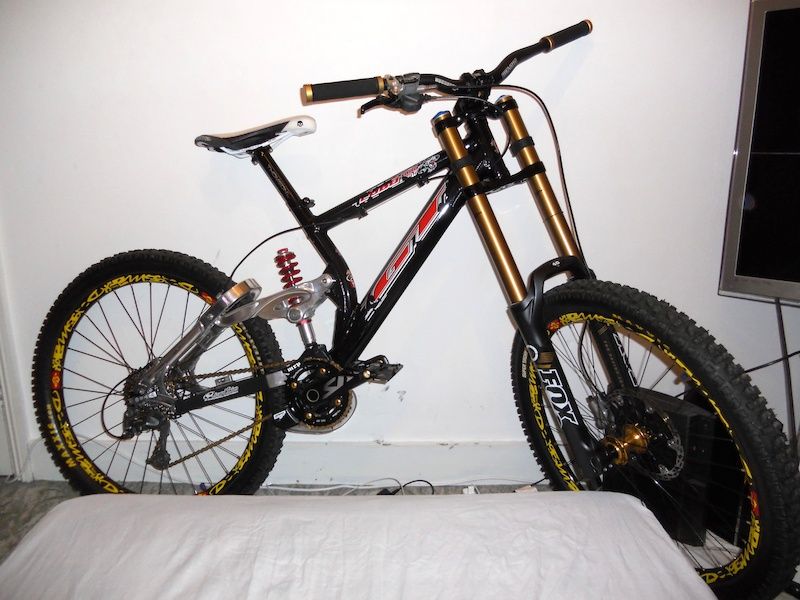
Wouldn't you fancy these forks??

lobo_40s_162.jpg


What is the brand of these seat and this chain ?

Because I want the same to achieve my project...

Thanks !
 
Mofofo":1zclfbfi said:

The chain will be kmc x9 (or 10) sl.
Seems everyone is running them even if the gold doesnt even closely match anything on the bike (they come in silver too).
 
ChrisBrown81":2x530kyz said:
Will you be going over the decals with the clear coat or putting them on top of the finished product? Just out of interest?

I'm going to regret it either way lol :D I'm going to put them ontop...

They are very thick, too thick imo to cover well with clear and I really don't like the step you get. I've got enough decal issues without trying to get them re-re-produced on a thinner substrate. Additionally I've never done it, clear goes from nice to runny in the blink of an eye and the temptation will to be keep laying it thick. I really can't risk trying it for the first time ontop of £80 worth of primer and paint...the irony is because I'm not using solvents the usual wrinkling issues do not apply...

I'm my ideal world I'd have a slim set under the clear, next time maybe :)
 
I think you do right. It all looks like its going to plan and to ruin all the hard work at the final stage would be a real kick in teeth!
 
This is a real labour of love and a great read!! Made me chuckle the way you ended up with lots of spares and parts; something I can definitely relate to :D Looking fwd to seeing the next part of the puzzle come together
 
Hangover weekend out of the way and onward!

Everything fully hard and the finish is pretty good. You can probably get away with base coating right over it but for a good finish you need to sand every inch of the primer.

I've used a nail block wrapped in 800 grit wet and dry, there is a debate over wet or dry but ultimately wet for me is less messy and easier to see what needs to be done. You want to remove any and all texture making sure you do not go through to bare metal else you start all over again. You wait for the other half to go out and then stick it in the shower to clean it :p

Suffice to say something like the frame takes a long time and is about the hardest thing ever to sand but the base coat will hide nothing, if you see it now you'll see it later! You want one flat even colour and minimal texture, it should feel like plastic or glass. You must resist the urge to use fingers and try to use the block to maintain flatness. The forks took an hour and the frame nearly three, ideally you'd primer them again and sand once more but you have to draw the (insanity) line somewhere! :D


Started with the colour on the forks, first picture two coats, second picture three coats plus a mist coat to make the pearl/mica stand up. It looks like shit now but it is supposed to. On with the frame now and clear coat later I hope.


Back
Top