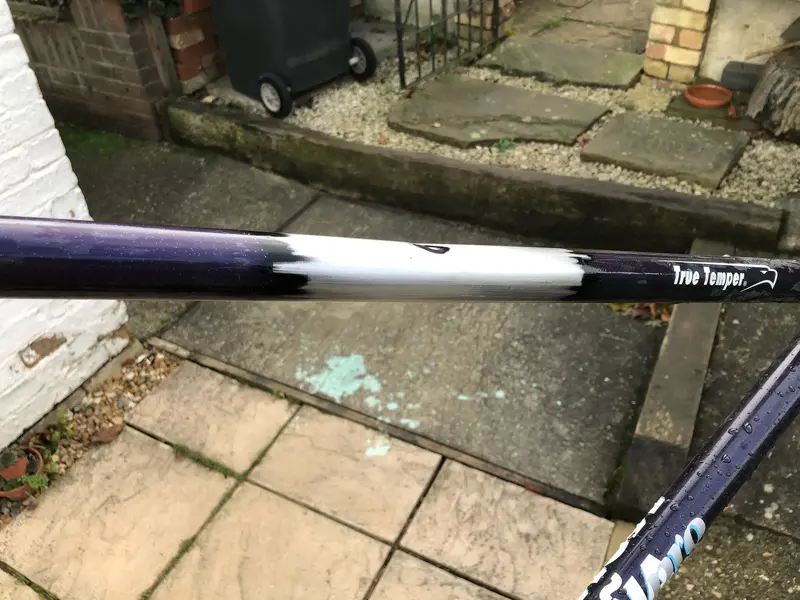
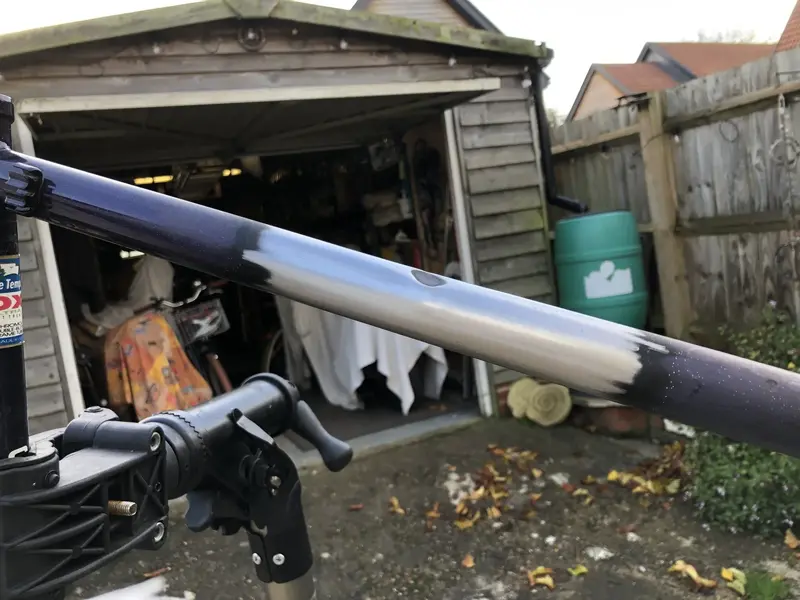
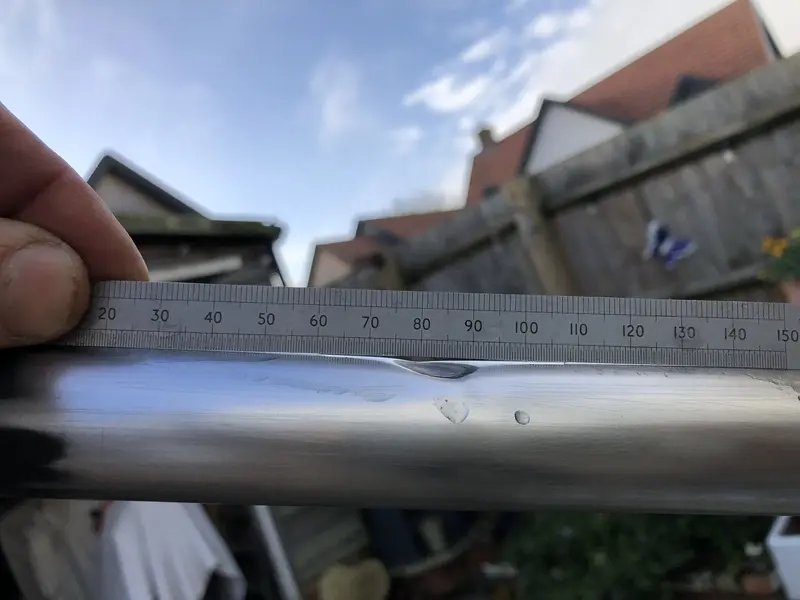
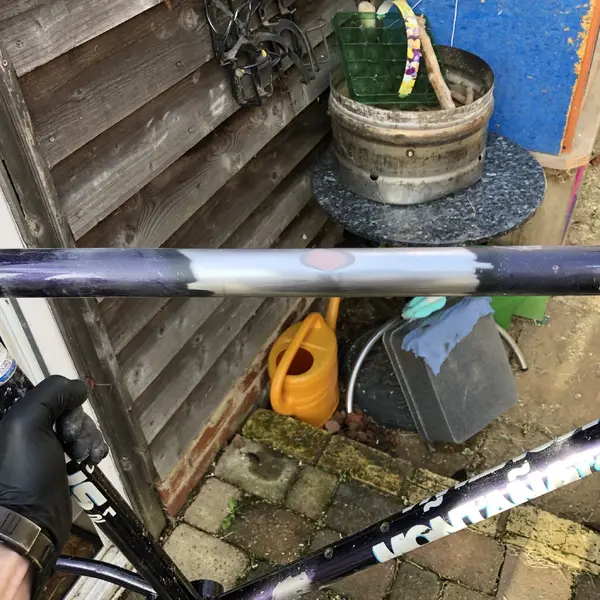
KHS Montana Pro (dented/fixable?)

That kind of dent in a steel frame is no problem stability wise, imho.
I'd try and massage it out using a hardwood block with a hole in it the exact size of the tube, then sawn in half. The dent has made elevated "waves" on its side. If you slowly work them back down, the dent should "move" back out, too. It won't be perfect, but still. Oh, clamp the wood block in a vise, with the dent covered by the wood. Use little clamping force at first, turn the tube to "roll" dent smaller. Then tighten and repeat.
 
Thanks for the pointers - the YouTube link on page 1 of this post shows it being done exactly as you describe and I’d really like to try it.
Like you say it should be ok being steel, it won’t be perfect but that’s ok. The bike won’t have a hard life from now and it seems a shame to retire it, these KHS are really nice framesets in terms of weight and geo.
Just need to find some hardwood offcuts now and away we go, watch this space.
 
I was watching that one too... but having 3 damaged frames already I thought a 4th would be too greedy 🤣

Good luck with the dent removal. It looks like a bit of a beast!
 
Yes, having watched Paul’s vid showing how to ‘mostly’ remove a dent similar I’m anxious to see how you make out. If you get it smaller, a bit of filler and touch up paint and good to go 😁
 
Ok, thread update and before I start I’ve got to say - I don’t have access to a workshop anywhere near as fancy as Mr Brodie. Having said that I’m pretty happy with what I’ve achieved so far, read on: ;)
5F5B47F2-39D9-40D0-BDCC-71660EDCC461.jpeg
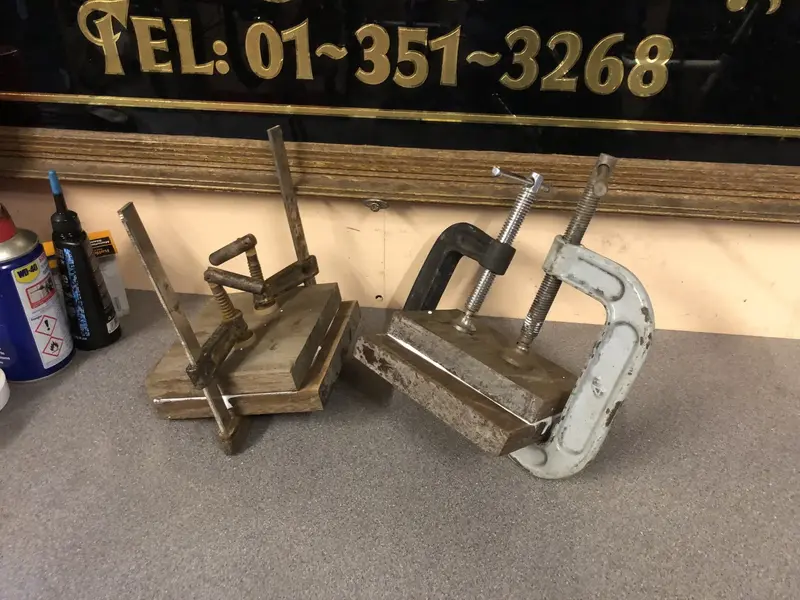
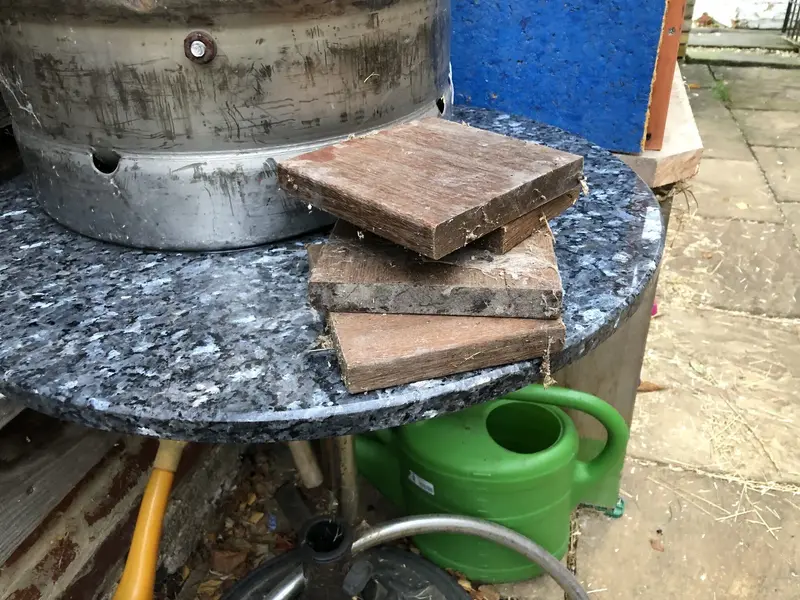
So I’ve been keeping an eye out for some suitable hardwood scraps and guess what? When digging through my firewood log store I found these bits of oak, no recollection of where they came from..
641A5B2E-90DE-4FDE-BB4E-CAE5E2AA1CF4.jpeg
Sanded the mating faces and then glued them and clamped them overnight, I also drilled and screwed them together once they were bonded.
564A2C39-1677-4E98-9E44-47D8F9037B81.jpeg
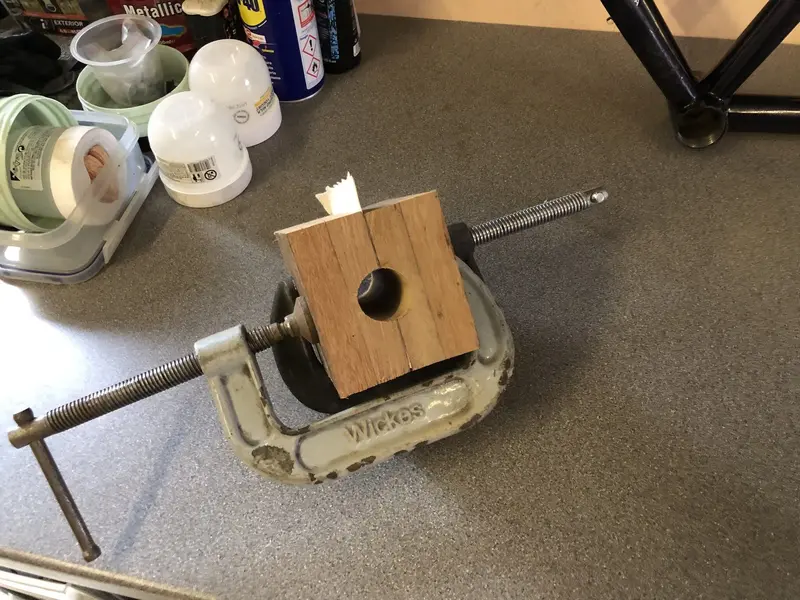
Trimmed the edges in my chop saw and clamped the two pieces together remembering to space them apart with card. My callipers said the frame was 28.7mm diameter including paint and luckily I had a 28mm spade bit to go through the centre.
DC5A69A8-1E62-4955-B833-CA1D144B06AD.jpeg
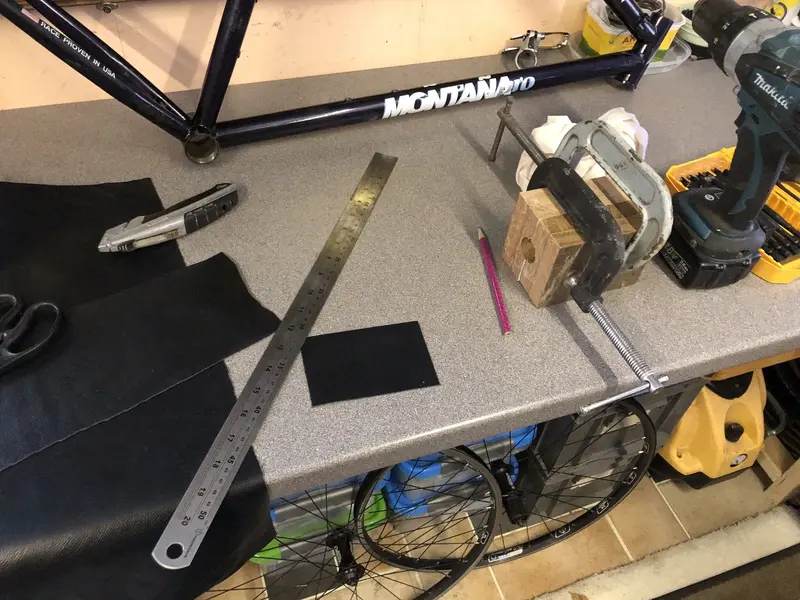
I loved the touch of using a piece of leather to make a hinge for the blocks and I had some knocking about so trimmed and used a piece..
 
Next comes the exciting bit..
505AD915-C1AF-4AE6-A624-72BC3E72A0F4.jpeg
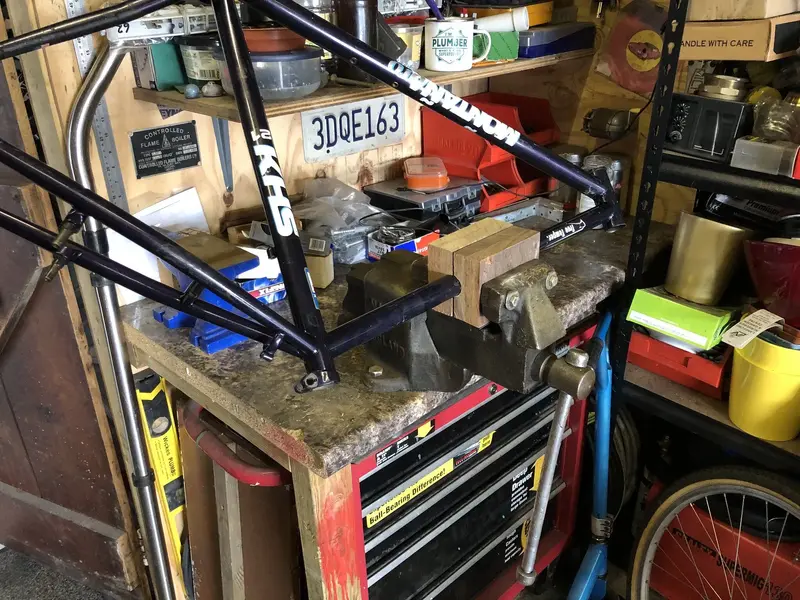
Rotating the frame and gradually tightening the vice. I did this in several small stages to check I wasn’t damaging anything..
After a very gentle initial pass I removed the paint from the dented section with a Stanley blade and then 240 grit wet and dry..
BDFEB5F0-777D-44AB-B96B-BD6AC6468A96.jpeg
Getting better, I gave it one more go after this pic.
0D7CDC2D-F484-4332-A7CC-4B956C95D75D.jpeg
FE415BD0-641F-4EF8-A875-F326A52E5356.jpeg
There’s still a smidge of daylight there but I think I’ve got it as good as I’m going to get it with this method. Next step will be body filler and then paint - I’m hoping to save most of the original paint/decals and blend this section in.. Might be tricky with the glitter fleck that’s in the lacquer but I’m going to give it a go before I think about a full respray and new decals.. 👌
 
Good work so far! Solid overengineering on the wooden part. I approve. 👍
I'd give it a few more passes to be honest. Maybe even sand down the wood blocks inner faces so you can squish the tube a tad more. Because if you try to bend metal into a specific shape, it springs back a little. You have to account for that.
 
Update time.. Had one more pass at it in the frame block but sorta concluded that I’d gone as far as I was comfortable with. The tube feels almost perfectly round now to the touch rather than squashed like before. Just needs a dab of filler:
1720B06C-9D9C-4DBB-BF64-B128B86CEF4B.jpeg
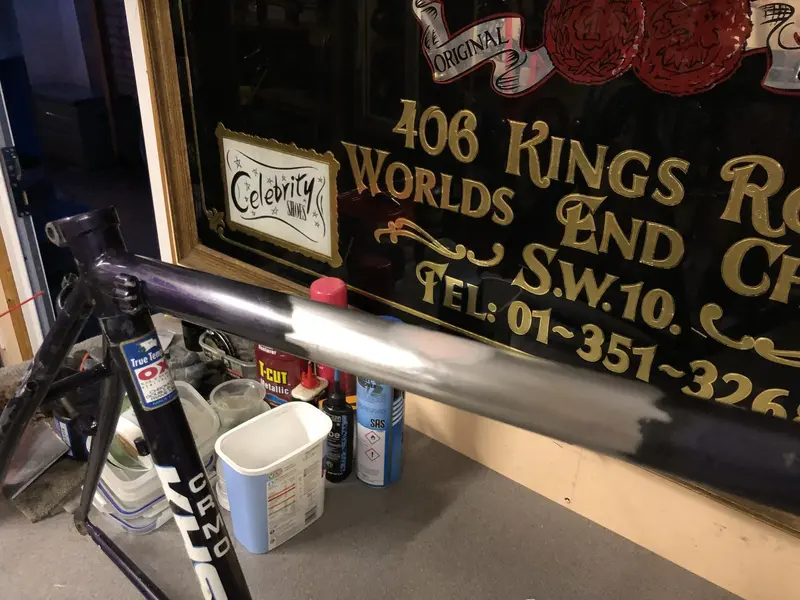
This was after the first application of body filler and sanding back.
272E20AE-2F8F-4BD9-850B-2B5DBCF059FE.jpeg
After second application of body filler and sanding (240/800 grit). Doesn’t really show in the pictures but there’s genuinely not that much in it after sanding.
A080F570-260B-43B8-A5C9-9E4CCDB82EE8.jpeg
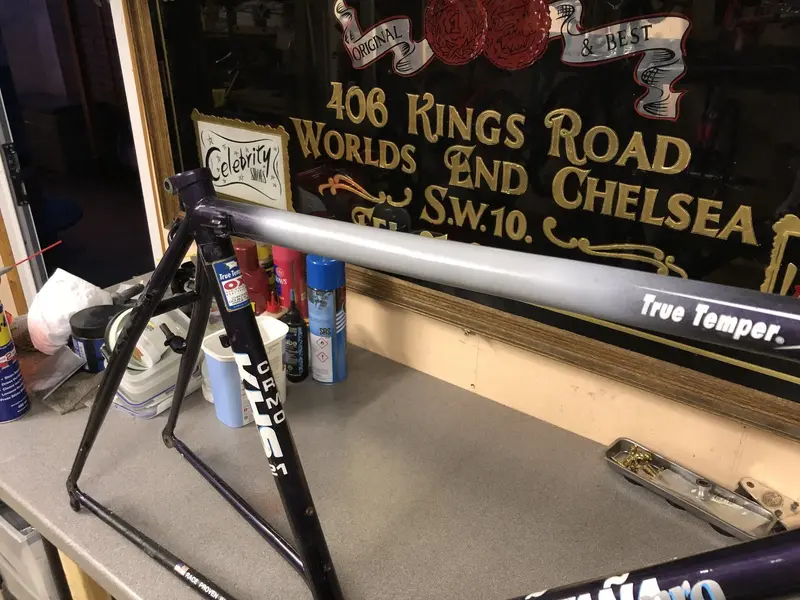
A couple of light coats of primer and it’s close to perfect (well, as close as I’ll get) - shh it’ll be our little secret.. ;)
I can’t see me blending the paintwork back in so I think a full respray and new decals is on the cards now. I did toy with the idea of a silver or pink fade into the original colour but I reckon that’d probably end up looking pretty naff.
I’ll give Gil a shout for some fresh decals in the new year and keep my eyes peeled for some decent paint, be nice to find some glitter lacquer too to try and replicate the (stunning) original finish.
Really happy how this is going so far. I’ve managed to get a complete LX group off a Marin I broke for spares so build up should be pretty straightforward. :D
 
Long overdue update time!
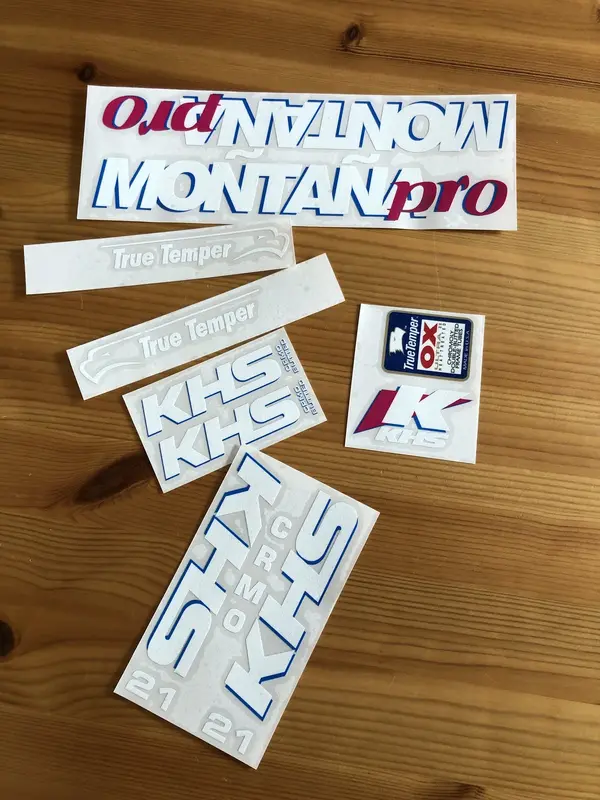
In reality I’ve been leaving this one while I wait for warmer weather for painting, and deciding to go standard or tweak it a little. Gil came up trumps (as always) with some repro decals for it, slightly different from standard with pink lettering (which I like better anyway).
19484ACE-4B05-4B39-A59D-F5EABA1C6540.jpeg
And that got me thinking, these look nice stock but I prefer the pink forks on the comp - just way more 90’s looking. So with that in mind, let the painting begin!
00FFF71C-899F-45FE-B01D-69E2A021051F.jpeg
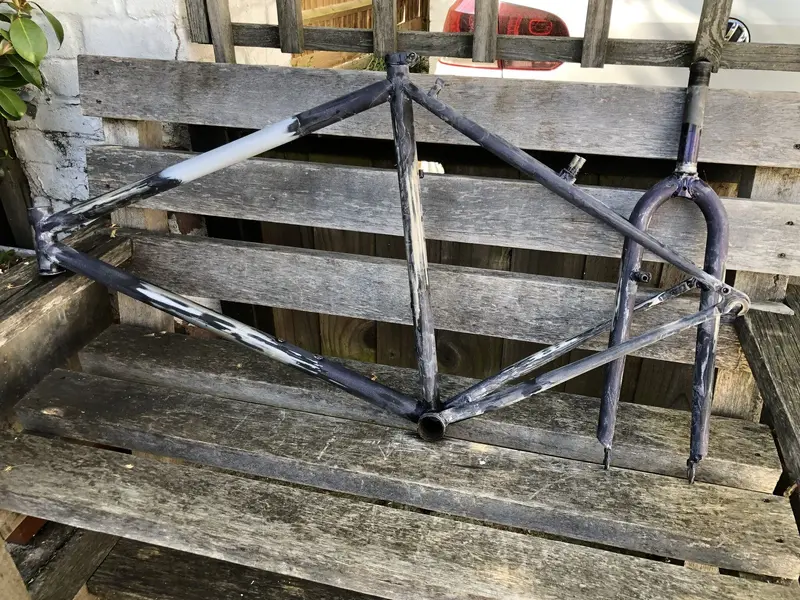
Thorough sand down/sticker removal.
398032A7-5FF1-4710-B0B8-07DD7FF413F0.jpeg
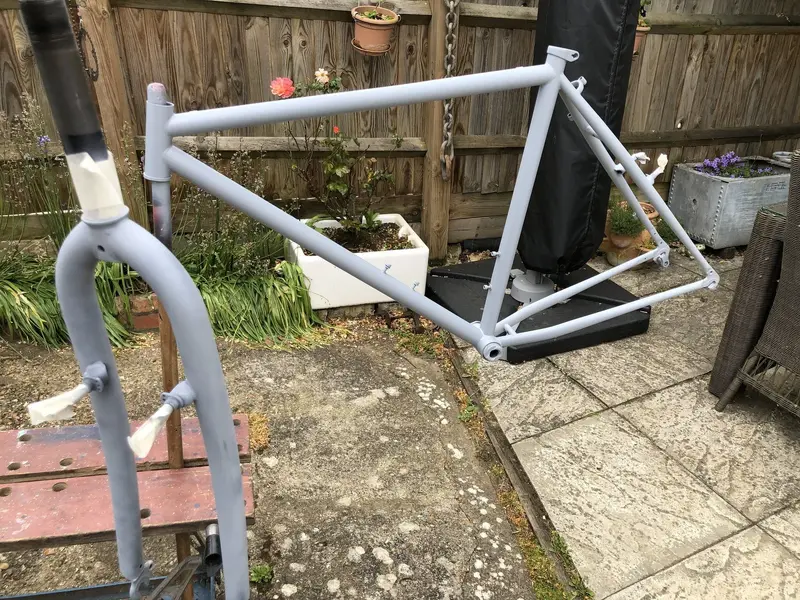
Two coats grey primer.
63F3A0AB-52ED-4AF2-AA25-D5F7BD2107B9.jpeg
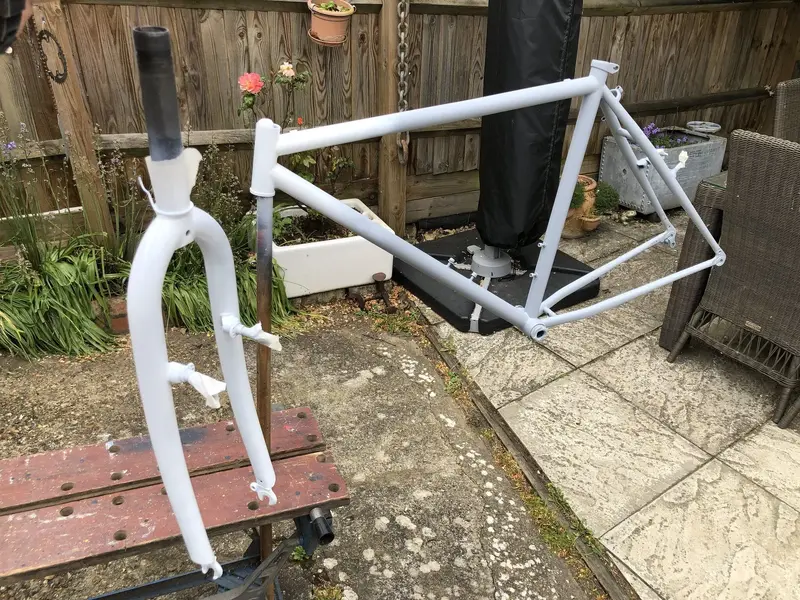
White base coat on forks and head tube, you can probably guess where this is going…
Stay tuned!
 

Latest posts

Back
Top