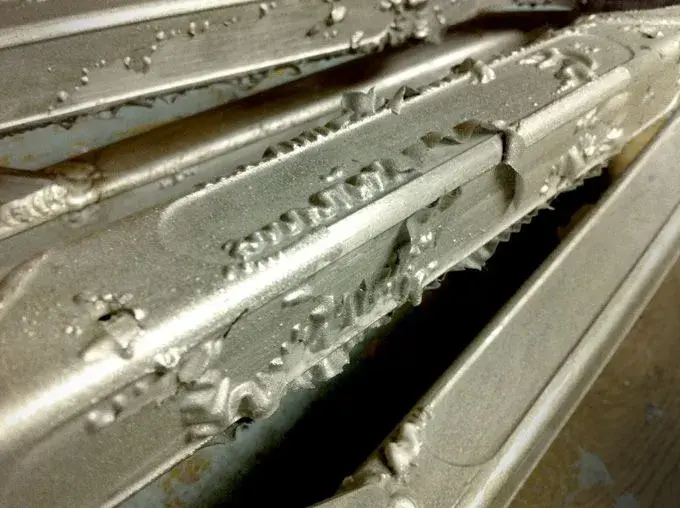
After experimenting with times (started with 30 seconds...) I found between 5-10 minutes gave the oven cleaner enough time to really start working. Then I took a cotton rag and scrubbed pretty hard. This didn't effect it so much, but I did notice a slight change, made the finish more matt if anything.
Did a few treatments - in the beginning there were a lot of white spots, which mostly disappeared after further coatings.
The end result is a matt, mottled and uneven finish, which in my experience looks very similar to the Intense Raw. And I love it!
Now that I’m happy with the main frame I decided that the rear needed looking at again. My plans for the pink/blue build were to keep the rear in its original metallic silver, but I don't think that would work with the new raw finish. So with a slight sense of regret (it was in great nick) that’s now getting stripped, followed of course by oven cleaner...... :twisted:
What sort of build, colours are you looking at? I'd be sorely tempted to get a brightly coloured headset with colour-matched seat collar, crank spider and hubs but everything else in either black or silver.
My original plan was to build a full-on 'factory' ride covered in stickers and oozing in bad taste, think H-Ball and Palmer...
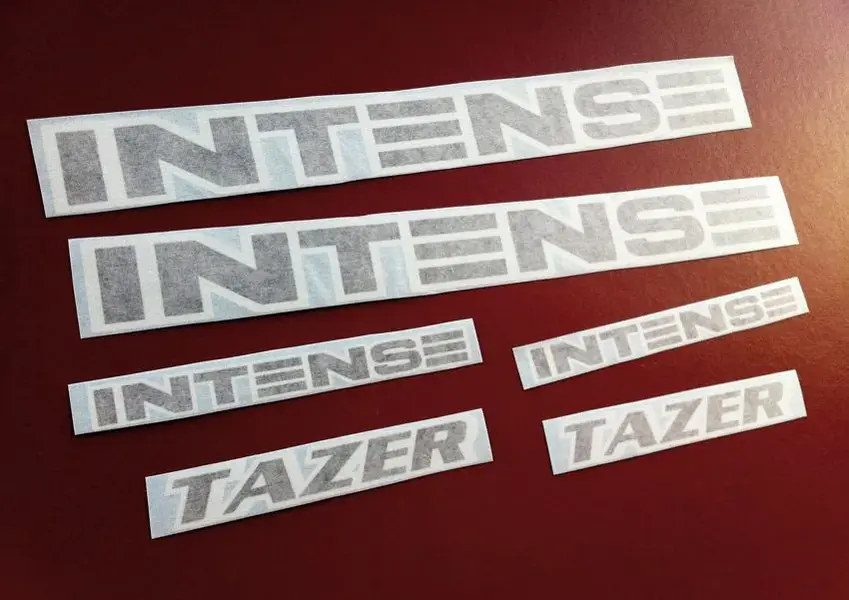
Thankfully that plan was derailed by deciding on the raw finish, and then I got further inspired by this 951 frame on ebay.de (still there I believe). So I changed the decal sheet that I'd designed for Gil The Almighty from a riot of colour to this subtle black and white set. They look super nice, can't wait to get them on the frame!
Old-school meets new-school!
Attachments
Decals.webp
42.3 KB
· Views: 1,350
951.webp
12.8 KB
· Views: 1,350
When you click on links to various merchants on this site and make a purchase, this can result in this site earning a commission. Affiliate programs and affiliations include, but are not limited to, the eBay Partner Network.
So, I'd got the stays stripped and treated, went to mount them and...... Noooooooo!! :evil:
The stays are from a later model, and I've now found out that the BB pivot on them has a larger bolt, making mounting the chainstay more or less impossible on this first generation frame. Next time I'll check this before starting a project Luckily the original chainstay was crack free, but it needed a damn good clean up, which delayed things somewhat.
I also stripped the peeling paint from the rusty spring with views on a repaint. But found that the bare, part-rusty finish suited the raw frame so that's getting left unpainted to patina (ok, rust) naturally.
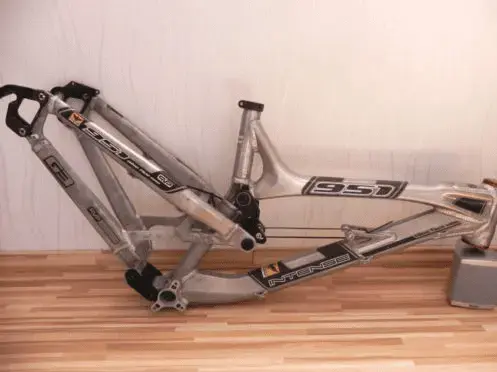
It feels great to finally have her built, here she is waiting for decals....

")


")
