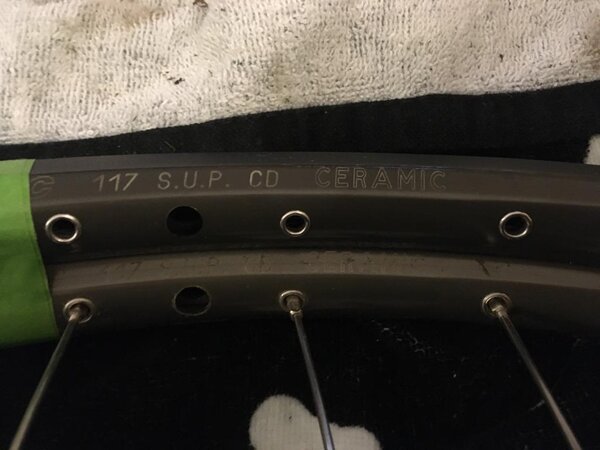
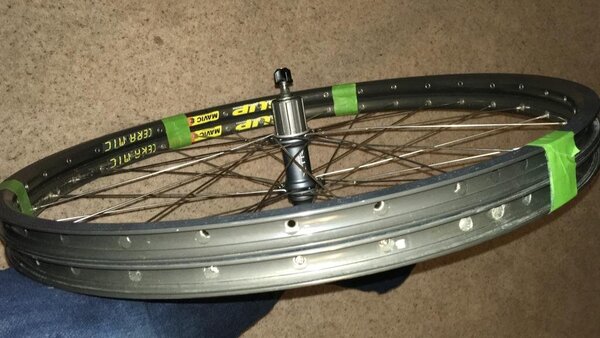
I've decided it's finally time to swap out the 25 year old 117 Ceramic for a NOS one i've been sat on for a while.
I nearly u-turned after taping the new rim to the side of the old rim - the ceramic coating is starting to look patchy but for a moment i wondered if this is really a job for spring, once the worst of the abrasive winter mud is over.
What better to do on a cold winter night....
I've built a dozen of so sets of wheels over the years, no by no means an expert, but they've all turned out true, and remained so despite some reasonably hard riding. This ones a rim-swap, rather than a full build from parts. If you're contemplating trying to build a wheel for the first time this is the easiest way to started.
I've got a new set of DT nipples. I'd recommend you use new ones every time. I don't have a wheel building jig, so this is going to be done using the frame and a spoke key.
This one is a 3 cross drive side / 2 cross non-drive side - my go to pattern for a rear.
1) Tape the new rim next to the existing one. (Check the value hole currently sits between the widest spoke gap and that the rim logo points at the valve hole. if not, now is your chance. The rim logo / label should always be read from the drive side of the bike. That's the law! :facepalm:
2) time to loosen off the spokes....
to be continued....


