You are using an out of date browser. It may not display this or other websites correctly.
You should upgrade or use an alternative browser.
You should upgrade or use an alternative browser.
Fixing a Victorian
- Thread starter Nabeaquam
- Start date
Nabeaquam
BoTM Winner
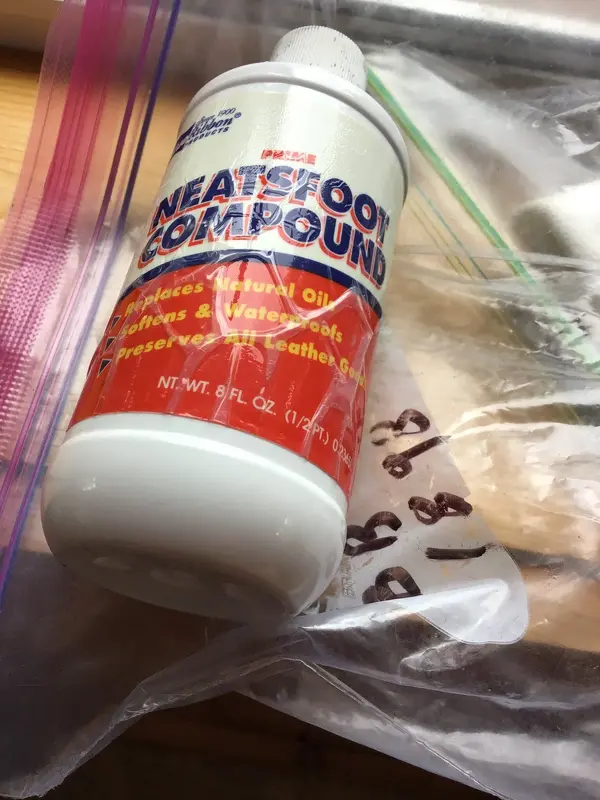
I did research on leather bearing seals and apparently their still the best for many applications, unless it’s corrosive. They are tough and flexible and can take it well. They need to be conditioned before you use them. I couldn’t find out much except when rebuilding a bicycle pump you have to put on the name brand conditioning oil and work it into the seal for 10 minutes. I have neatsfoot oil and I doused a paper towel with it, wrapped them up and put them in a zip lock bag. They should be saturated by tomorrow.Liking the colour and look - heading towards more of a wine colour than the cranberry
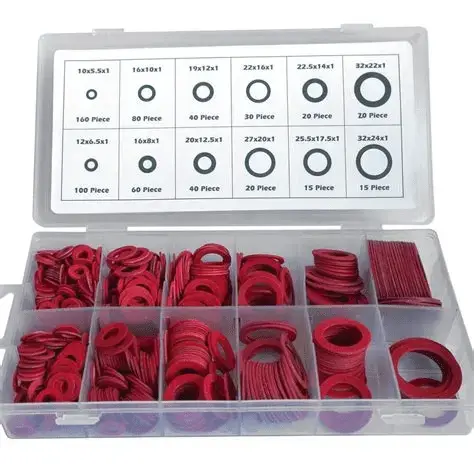
Would fibre plumbing seals do the job and be available? Too small perhaps ..... ?
View attachment 645416
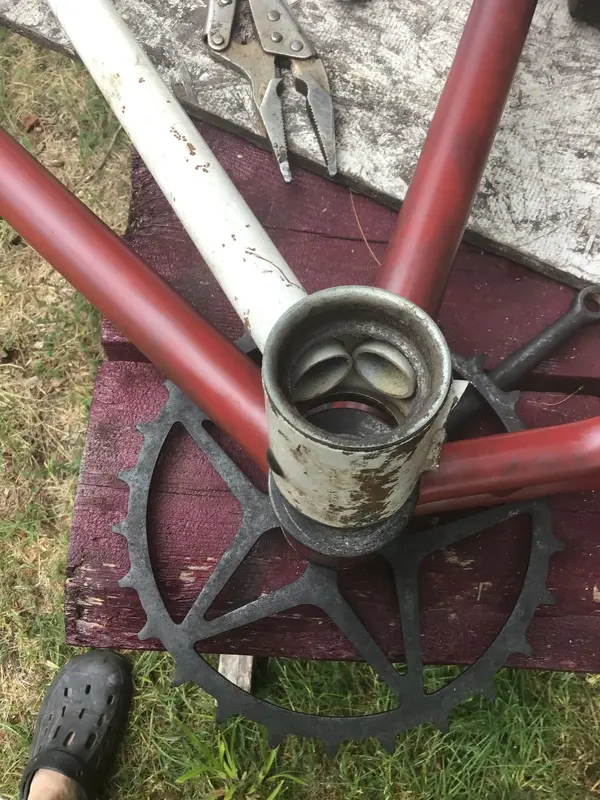
I started on the bottom bracket. The grease fittings are in. The leather bearing seals are harder to make than I thought. When I was young I would have been able to make smoother cuts.
One of the originals is good enough, I hope, for a pattern guide. View attachment 645404
View attachment 645405View attachment 645407
If you know someone with a laser cutter, they'll cut those out lovely.
Nabeaquam
BoTM Winner
No, I live in the bush. I don’t know any computer technical people that are nearer than 90 miles away. They won’t show and will be compressed under dust covers so they are good enough.If you know someone with a laser cutter, they'll cut those out lovely.
Mickeyspinn
rBotM Winner
I find old bike frames have just about all the hole punch sizes you needNo, I live in the bush. I don’t know any computer technical people that are nearer than 90 miles away. They won’t show and will be compressed under dust covers so they are good enough.
Nabeaquam
BoTM Winner
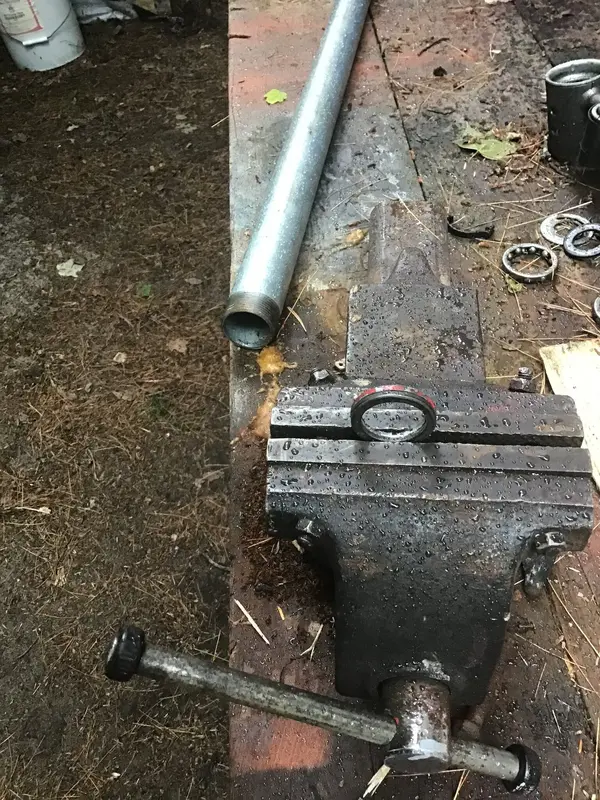
That was my original plan, sharpen a pipe and pound it through the leather but the tubing sizes required were too big for the outside and too small for the inside hole. Believe me I looked at my junk, old tv antenna, conduit and flag pole. Nothing I had was right.I find old bike frames have just about all the hole punch sizes you need
Nabeaquam
BoTM Winner
Boy that bottom bracket is not user friendly. Putting it together was easier than taking it apart, but no picnic. Taking it apart very slightly bent the dust caps and ball bearing “C” retainers. I had to make tools, a cut off hanger and ground down needle nosed Vice Grips and use a drift punch to finish seating the “C”. I guess back when the bike was new you punched out the dust cap a and replaced the caps and retainers with new. The bottom bracket was loose when I got it and had probably been like that for 100 years because you have to remove the crank arm to adjust it. I couldn’t adjust it right, there is either a little play or it’s slightly tight, probably from race wear and riding it loose. No sweet spot. I went with slightly tight, hopefully the new bearings will find a happy spot on the races. I don’t want to take it apart again. It spins but stops after a few rotations. Done is better than perfect.
I had to use a rubber mallet on the cut off bb to seat the dust caps. I used a small amount of silicone calking on them. I don’t want the slight bends to pop them off. I don’t think they would come off, their tight.

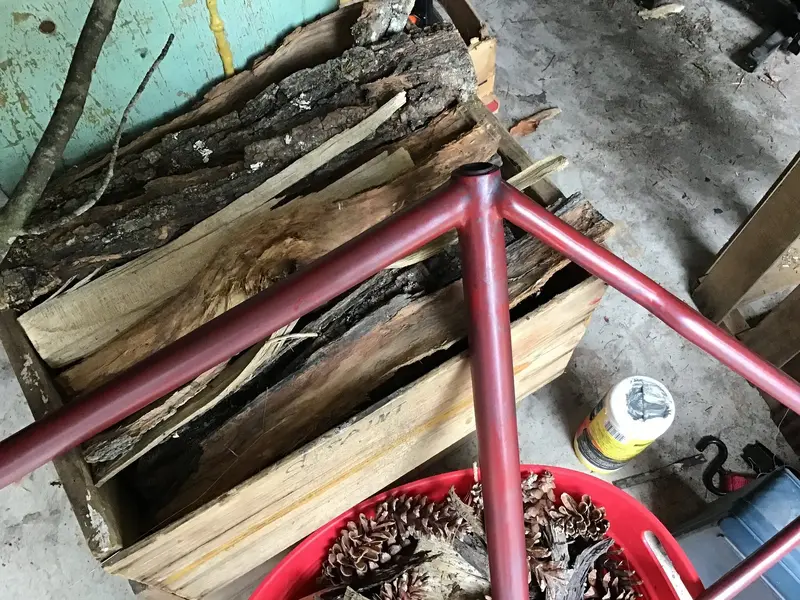
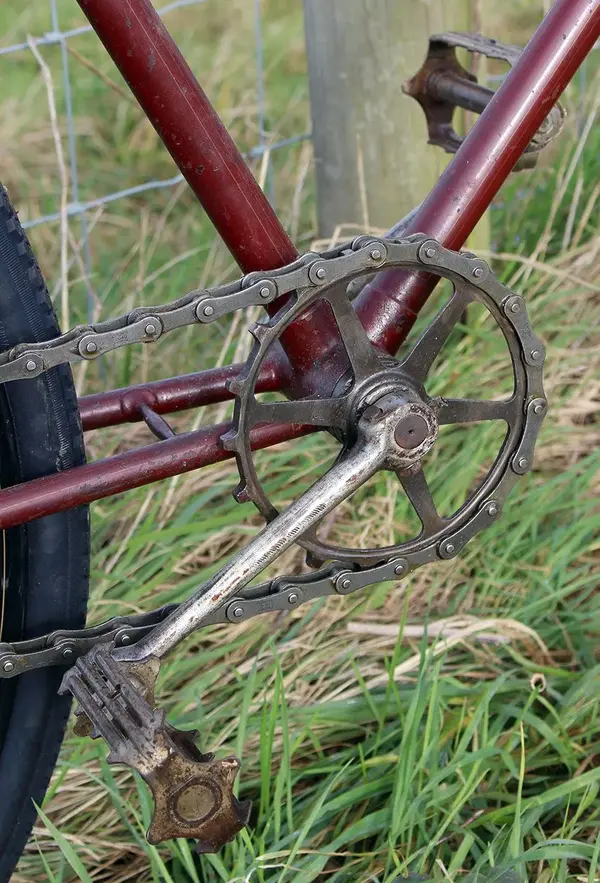
Here is an original Monarch color, close to my result. I couldn’t find anything close to the beautiful ground up insect crimson pigment.

I had to use a rubber mallet on the cut off bb to seat the dust caps. I used a small amount of silicone calking on them. I don’t want the slight bends to pop them off. I don’t think they would come off, their tight.
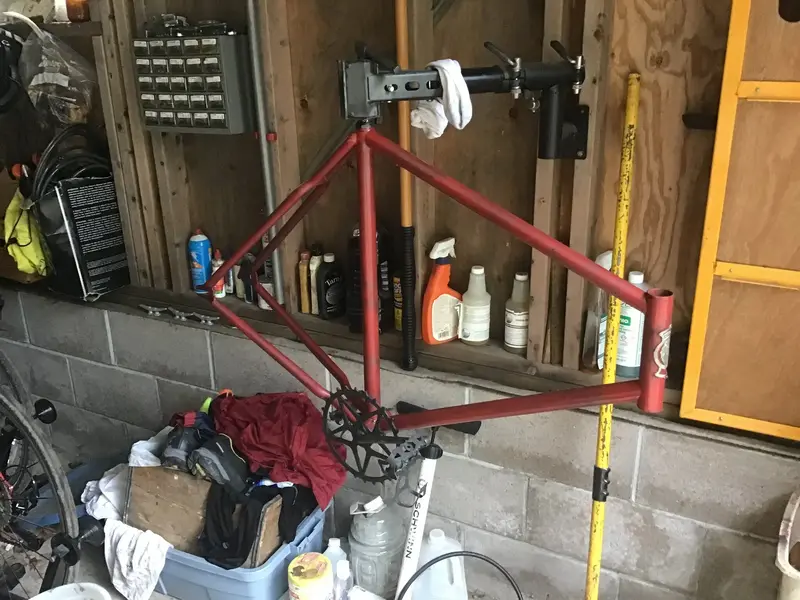
Here is an original Monarch color, close to my result. I couldn’t find anything close to the beautiful ground up insect crimson pigment.
Last edited:
Mickeyspinn
rBotM Winner
Dead bike tools....can't beat em ...well suppose you can 
Paint looks really good...good job clean but aged.... use and oily rag cleaning it's perfect nobody will know youve put in all that effort!
And I see head badge
May we have a closeup....or I gues you want to save that glory till done?!
Sterling work chap so good to see it coming together now
Paint looks really good...good job clean but aged.... use and oily rag cleaning it's perfect nobody will know youve put in all that effort!
And I see head badge
May we have a closeup....or I gues you want to save that glory till done?!
Sterling work chap so good to see it coming together now
Nabeaquam
BoTM Winner
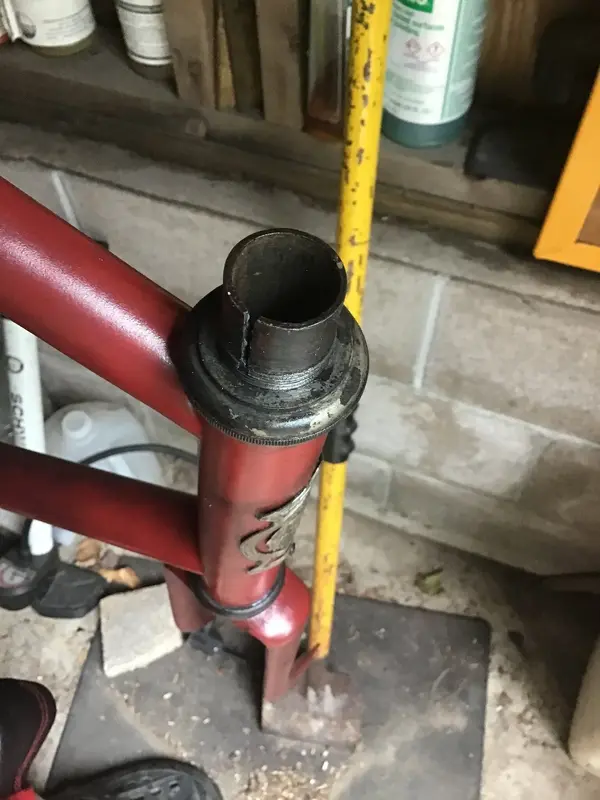
I ran into a temporary impasse. The fork wouldn’t turn when I got it and it took some penetrant to get it to move. Now that I’m putting it together I think there was a spacer missing. I took two head set lock rings, filed off the tab and they easily slid onto the fork tube, until they hit the threads. The threads are much larger, step out instead of cut in. They must be rolled threads. I have this problem with antique hubs, no nuts fit unless you rob them from another antique bicycle. I’ve read that they are rolled. It’s raining so I’ll have to wait for that to clear before I can file the spacers larger. The slot or curf, whatever it’s called, in the fork tube doesn’t go deep enough into the threads. There was also a missing lock ring. More parts to make. The head badge has to come off, it’s not fitting well.


Similar threads
- Replies
- 7
- Views
- 227
- Replies
- 9
- Views
- 2K
- Replies
- 17
- Views
- 2K
- Replies
- 4
- Views
- 1K
