Fixing a Victorian

I suspected this. There is no concept of a cone spanner. Just a spanner. Excuse the UK English .... wrench.
I call them spinners sometime. When it’s variable I always call em adjustable scanners. Here are my other bicycles with no drops on the fork.

1912 - 1917 Flying Merkle Racer. C12DAA9B-47BC-45E8-8F15-DF6A5E19A6FC.jpeg I have the original wheels, rebuilt to ride but the races are pitted badly. I seldom use the originals. A474643E-DC99-4BFC-B103-465BD2AF0E37.jpeg
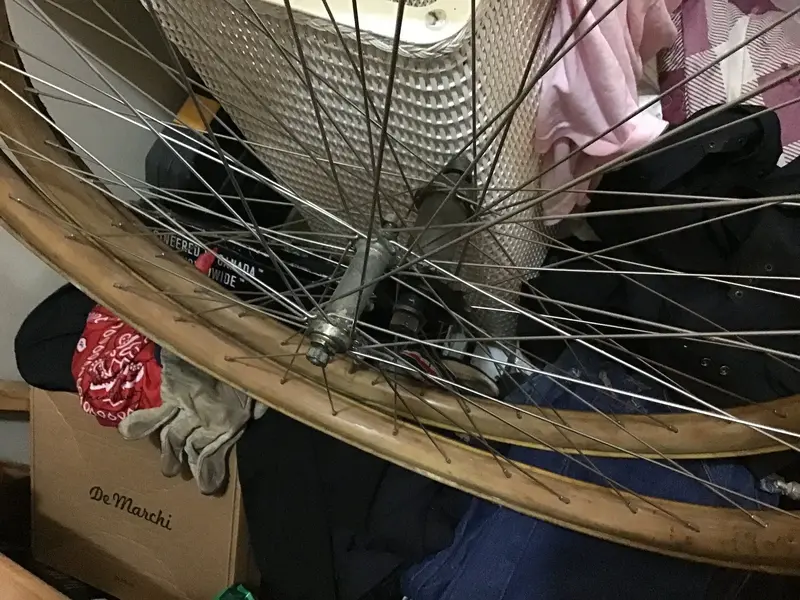
1920s Rollfast. I have the original wheels but they are really shot, unusable, rotted, cracked, etc so these are new. This bike is really junk, crooked needs a lot of work but I ride it anyway. 1969AD88-8547-4F08-B0EA-B988ED474C4B.jpeg
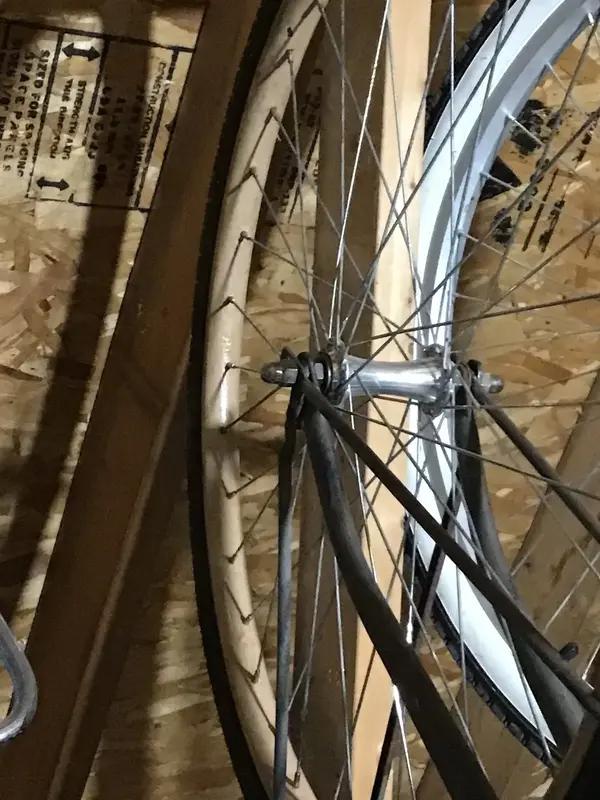
 
^ god I could so hang about your place. Learn, talk bike evolution over a beer. Talk semi-intelligent crap and go for a ride. I'm coming to the conclusion - in a round about way - that the way that front wheel goes is superbly clever once you dispense with the criteria of convenience.
 
^ god I could so hang about your place. Learn, talk bike evolution over a beer. Talk semi-intelligent crap and go for a ride. I'm coming to the conclusion - in a round about way - that the way that front wheel goes is superbly clever once you dispense with the criteria of convenience.
Yeah, we all gotta figure out the right way. In my attic the axle very easily turned on the cone nuts and I brought the short side way back. It looks like the axle could easily be made flush with the cone nut. Then put the long side in, a little struggle to force and grind the axle threads on the long side and pop it in with hardly any spreading. Then thread the axle through the flush side until it’s sticking out even on both sides. When I use replacement hubs with lock nuts it gets more difficult to mount. I think you still might be able to do a lock nut wheel mount easier with patience and thinking instead of grunt force. I’m excited to try thinking, see if something else works with lock nuts. Maybe a combo of ideas, the pickle fork/ball joint/shoehorn idea has promise.
 
^ god I could so hang about your place. Learn, talk bike evolution over a beer. Talk semi-intelligent crap and go for a ride. I'm coming to the conclusion - in a round about way - that the way that front wheel goes is superbly clever once you dispense with the criteria of convenience.
I agree, there is a lovely pared-back minimalism - nothing in that hub that's not totally essential.

This whole thread is a total joy, from the insane workarounds to seam a tube by brazing all the way through to hub design. Loads to learn, and it's fascinating to see the hundreds of tiny improvements and refinements over the decades. Welding is such an under-appreciated technological breakthrough.
 
It works but it is a pain, fiddling around, ride, stop readjust a few times, accept what it is, pretty close. They had some stuff figured out , some stuff wasn’t as close to as good as they eventually came up with. I have a klunker with this type of fork. I love to ride it, The fork is much older than the bike. I got it sorted but I’m dreading a flat.

I've got one or two bikes like that including a brompton for different reasons. Fixing a rear tube on a marathon plus equipped brompton while out and about is not something anyone wants to do. I pump loads of sealant into the tubes and it usually does the trick for a few years.
 
I've got one or two bikes like that including a brompton for different reasons. Fixing a rear tube on a marathon plus equipped brompton while out and about is not something anyone wants to do. I pump loads of sealant into the tubes and it usually does the trick for a few years.
I leave the tire on the bike, and pull the tube out, it’s still inside the fork, patch the leak and put it back together. So I don’t even remove the wheel to fix a flat.
 
  • Like
Reactions: Woz
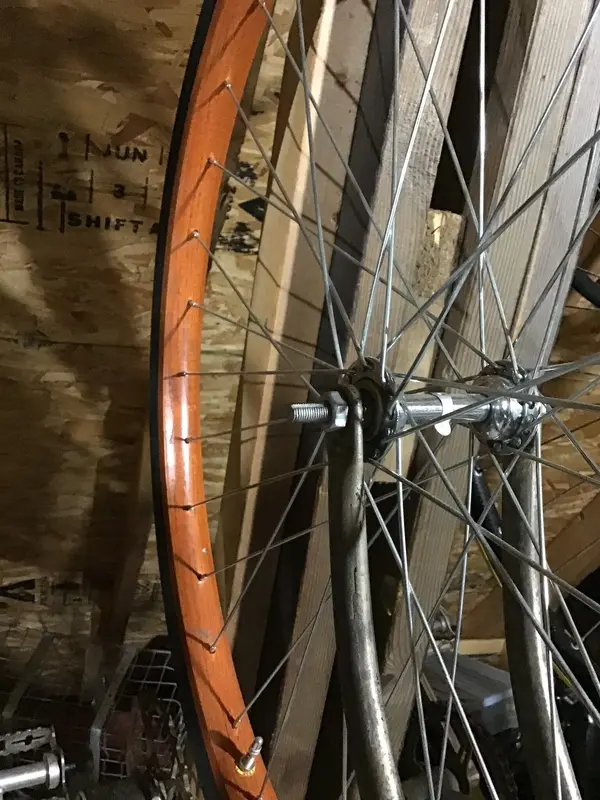
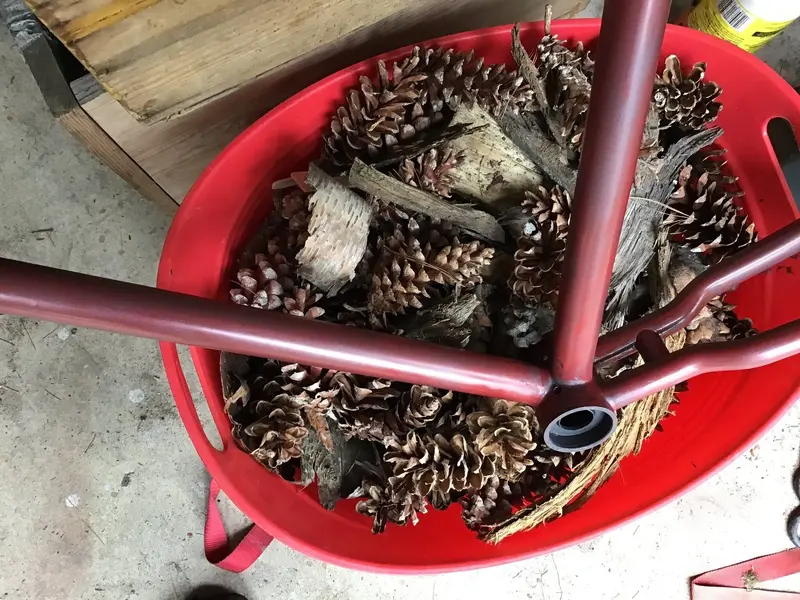
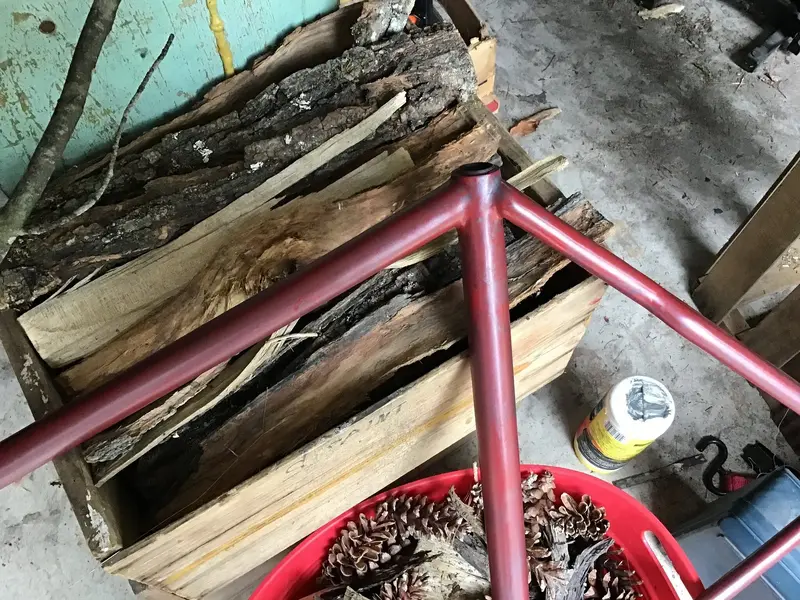
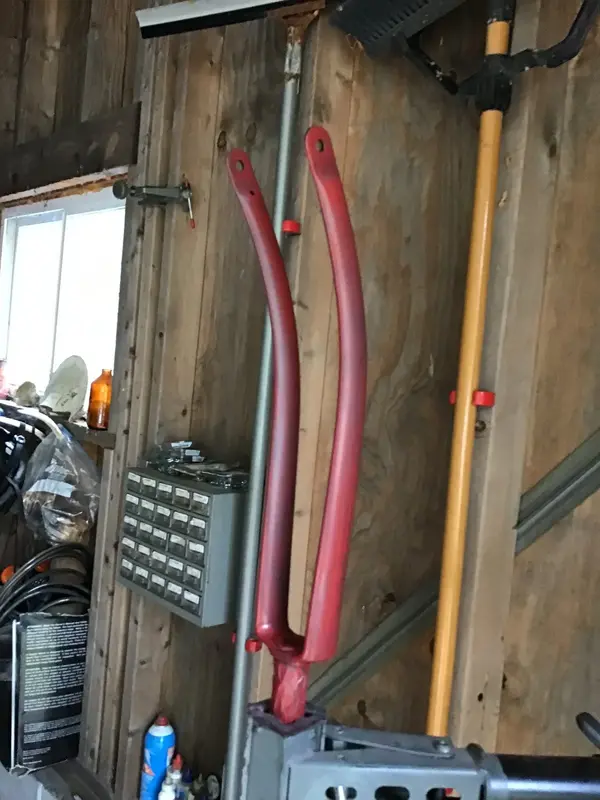
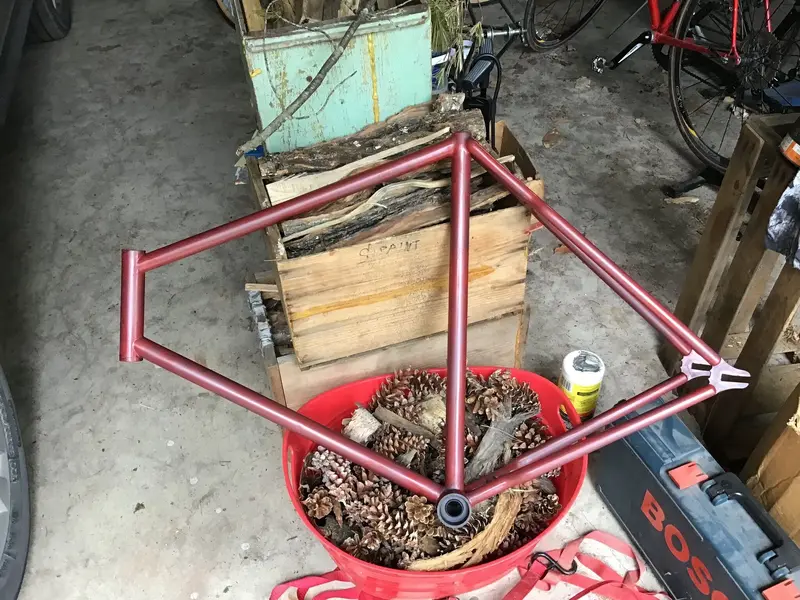
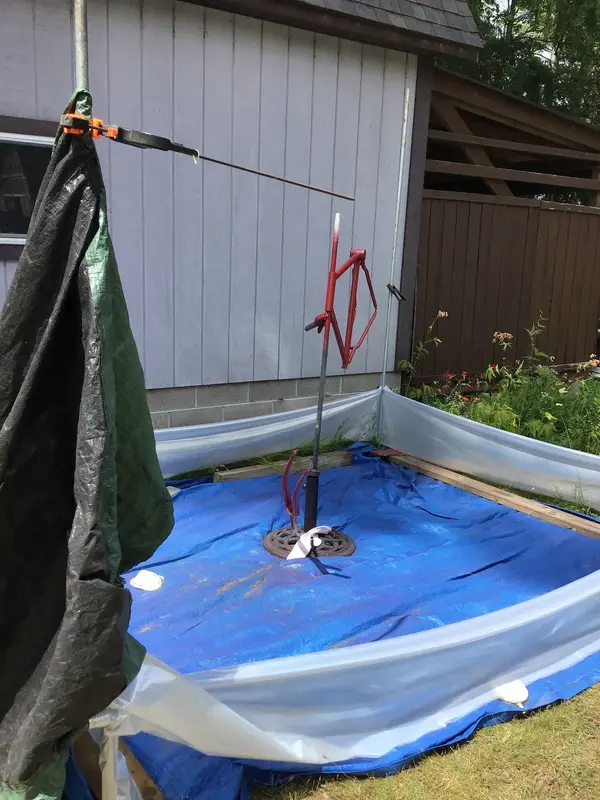
I put on the Dry Slide to dirty up my new pretty paint. I really soaked the frame, let it dry and wiped. I also used graphite stove polish on areas where there would be oil staining and worked in dirt. It needs chips and scratches, which are never a problem. Chips happen. A58C921C-5575-4247-94E4-78920073AB3E.jpeg 804EF0DB-304D-437A-8E52-DB5E598D958E.jpeg 99F94853-8219-4965-B4D3-80AA4EE97ED2.jpeg 09EC434F-D171-47C3-8184-FD2C8C5575A5.jpeg
Before the faux dirt. F75E6072-96B8-4946-ABB7-BF8F59766EB2.jpeg
 
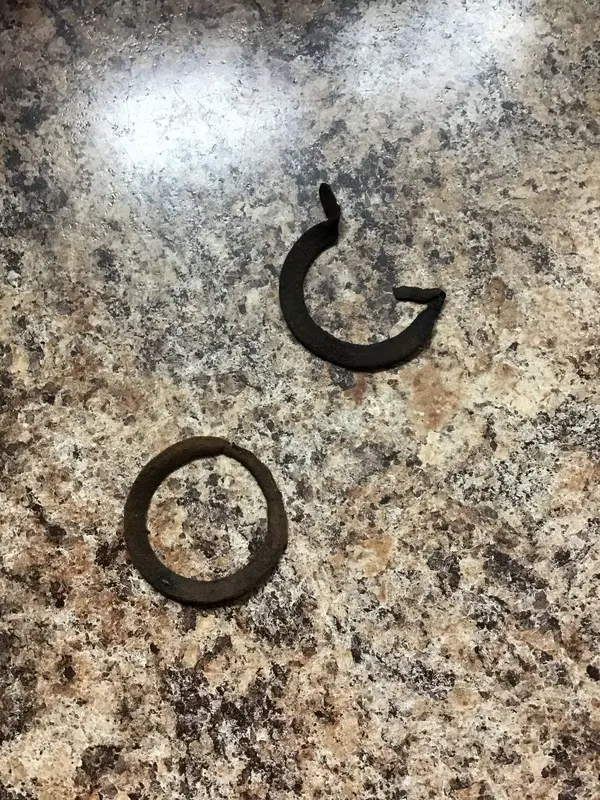
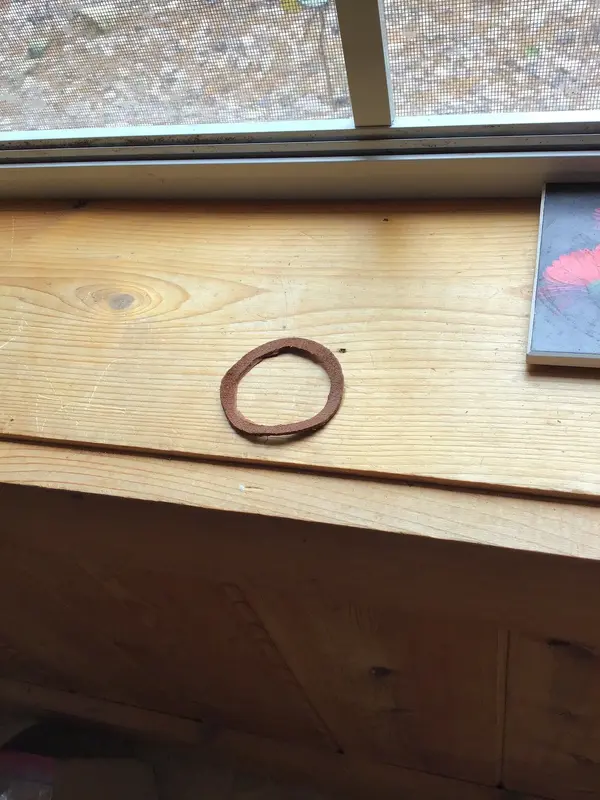
I started on the bottom bracket. The grease fittings are in. The leather bearing seals are harder to make than I thought. When I was young I would have been able to make smoother cuts.

One of the originals is good enough, I hope, for a pattern guide. 1042E900-585F-4642-BE4E-5E10BCEC028F.jpeg
A2839535-705A-44F2-8C56-EACDEC0BEEF9.jpeg EEAFD46B-7C1E-4C3D-9921-53AFDED15C61.jpeg
 
Back
Top