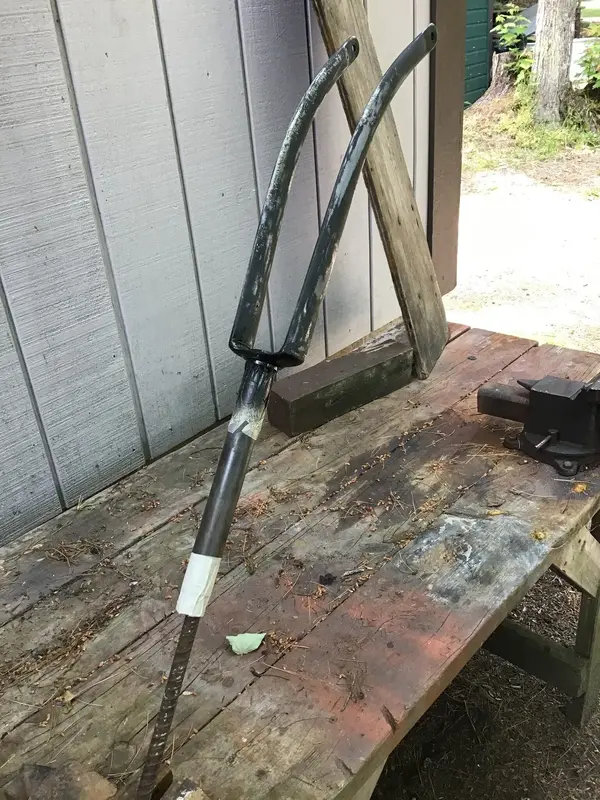
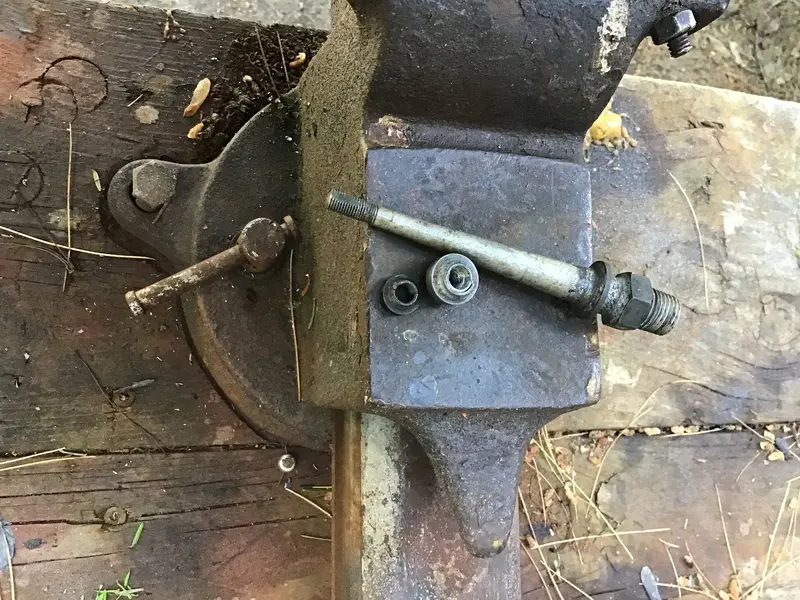
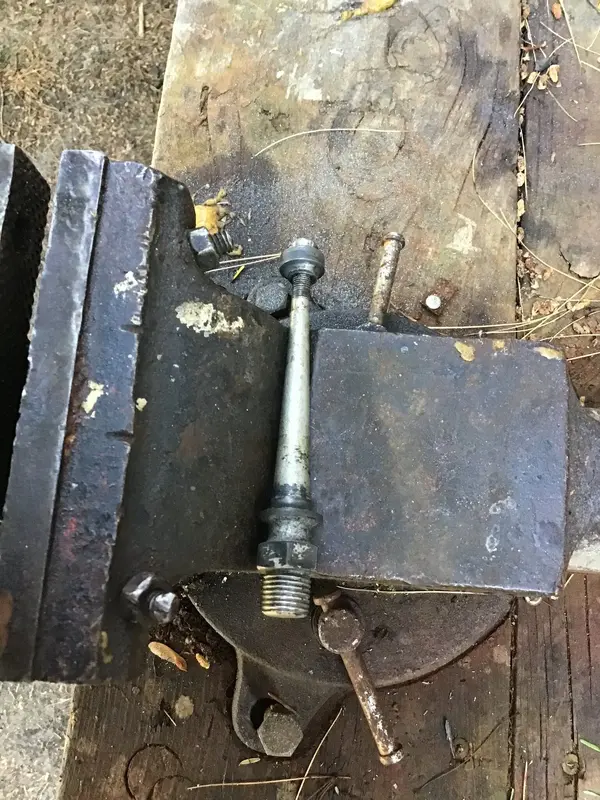
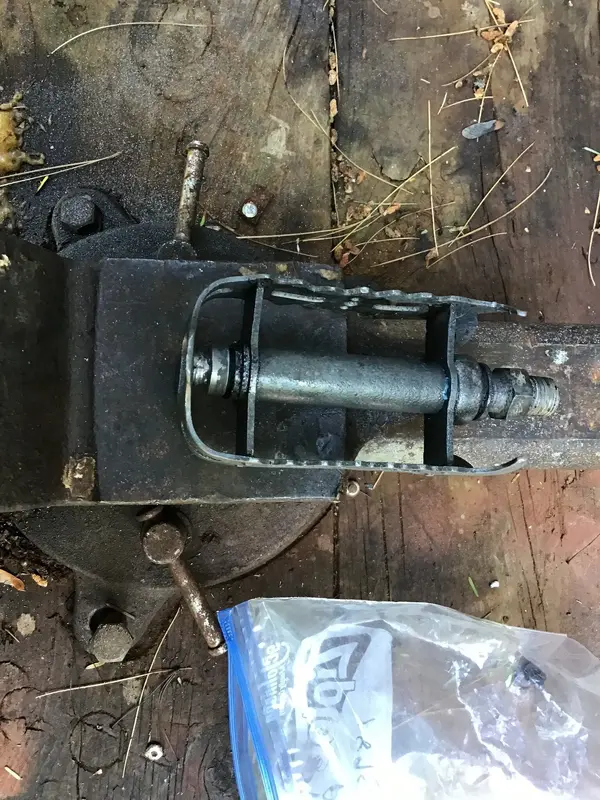
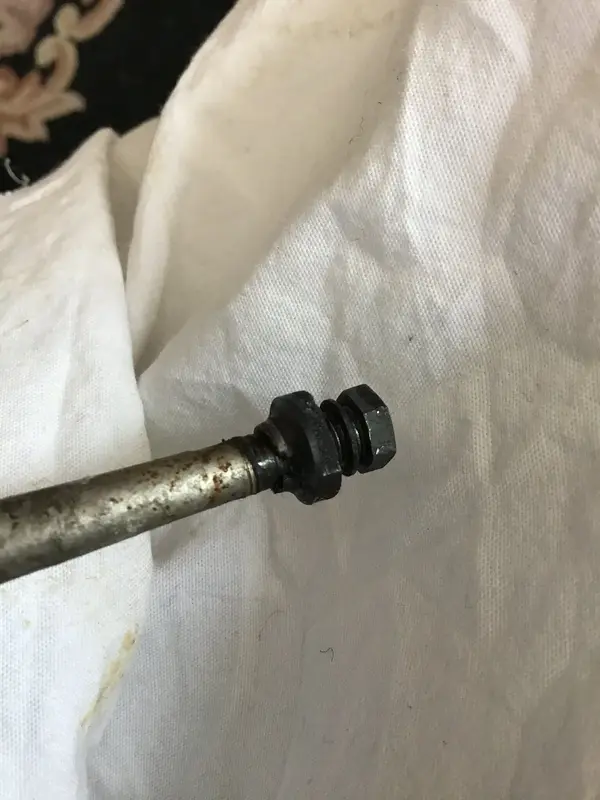
Left is the original. I’s not cracked through, it still threads on, it’s deeply chipped so the ball bearings hang up.
View attachment 641097
Ok...yes as a ball bearing type of race over the pond in old blighty we'd say it's had it's chips!
But.....bare with me...

I have a plan!
As it's not cracked all the way through it threads on ok

Now if you pop the bonnet on a car you'll find loads of rubber tubing....I'd imagine the size you'd be after would be the type used for the windscreen washer jets....kinda soft and squidgy?...borrow a bit !
Wind that inside the the thread of the chipped bearing cone.... it wants to be a real tight fit!
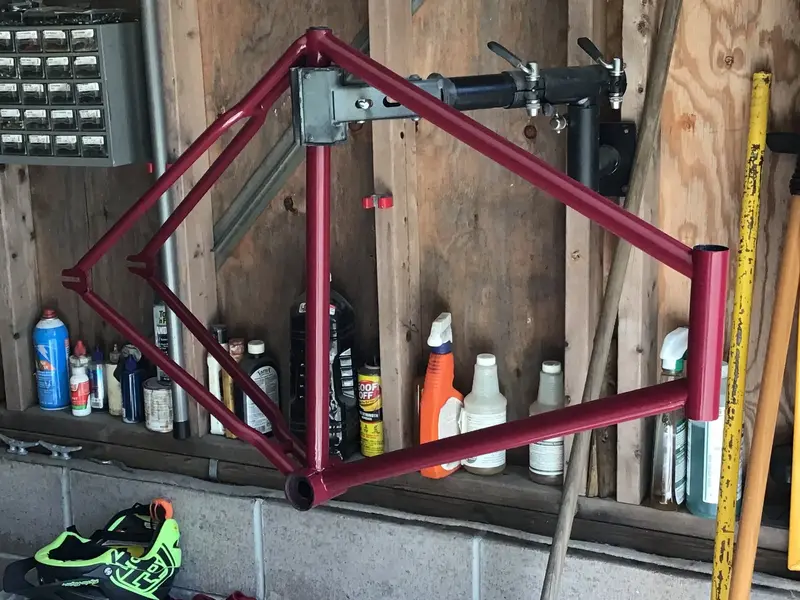
Then using your preferred metal filler you used on the frame fill that chipped bit in as smooth and close to the original profile of the race.
Doesn't have to be absolute perfection just ...good enough perfect

Return rubber hose to wife's car once the metal bondo has cured.
Now this is bit that you'll have to get cunning with on your drill press....that vertical lathe thing

You need some nylon because your gonna make a solid bearing! No balls just a hoop of nylon.
So instead of point contact like a ball bearing this nylon bearing is gonna touch the hole surface of the bearing cone and the bearing cup.
Plasticine will give you an impression of the cup inside the pedal ....the cones in your hand so thats fairly straight forward to copy.
Now we've just got to find you some nylon material....
Wander into the kitchen...make sure the wife's elsewhere.....and grab that plastic chopping board...they're usually green ,red,yellow or white!
It's the type that when a sharp knife runs over it it leaves a mark but doesn't really cut it!
It's strange stuff to cut ok it's not metal it's not wood it's weird stuff...tools must be very sharp!
Wood chisels will do it

hopefully you might have a bunch of holesaws? Find the one that's nearest to the size you need IE ... the plug.
Nut and bolt through the hole and pop it into your drill press...
Clamp something on the drill press bed to rest the chisel on up right close to the chuck and use that as your steady/rest for the chisel and get turning! Be careful it's grabby stuff ...you might have a few attempts but it does work I've done it exactly like this a few times!
When you measure up for it allow a couple of full threads on the pedal spindle inboard....this means as and when the bearing settles/squidges you can tighten it up.
I'm 99% confident this will work and work well !
If I wasn't 10000 miles away I'd do it for you especially now I have a little lathe! Be nice to do a little bit on this bike

Actually thinking about it....if I had some measurements I could just pop it in the post!?


