Fixing a Victorian

o_O

Such a different and clever way of doing everything - the clamp is one thing, having curved rails to allow for saddle tilt. Smart.
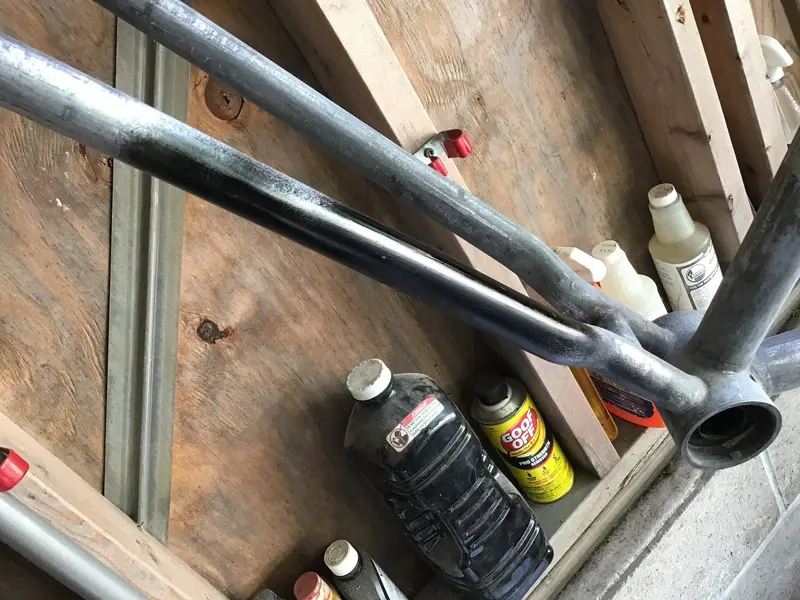
My big fear is loosing something. I have everything in labeled bags but I’m such a slob that you can count on me loosing something. Most of this stuff would be difficult and expensive to replace. I haven’t seen my chain lately, hummm? Lock me in a closet with two bowling balls. When you let me out one will be lost and the other one broken. It’s been weird cold, 10C today with a strong north wind. Lightweight winter jacket, hat and vinyl gloves required for sanding on the frame.
 
  • Like
Reactions: Woz
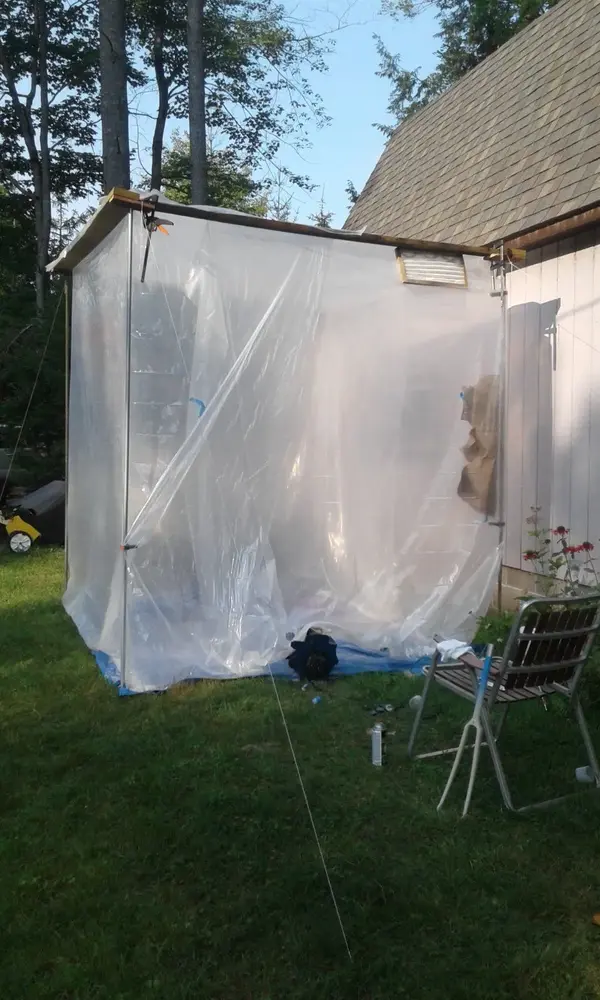
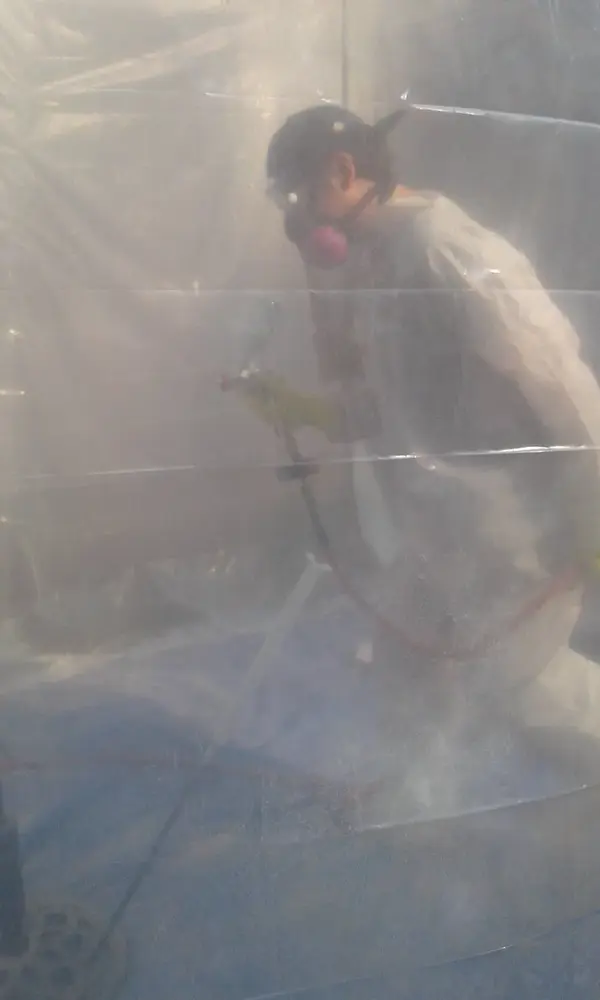
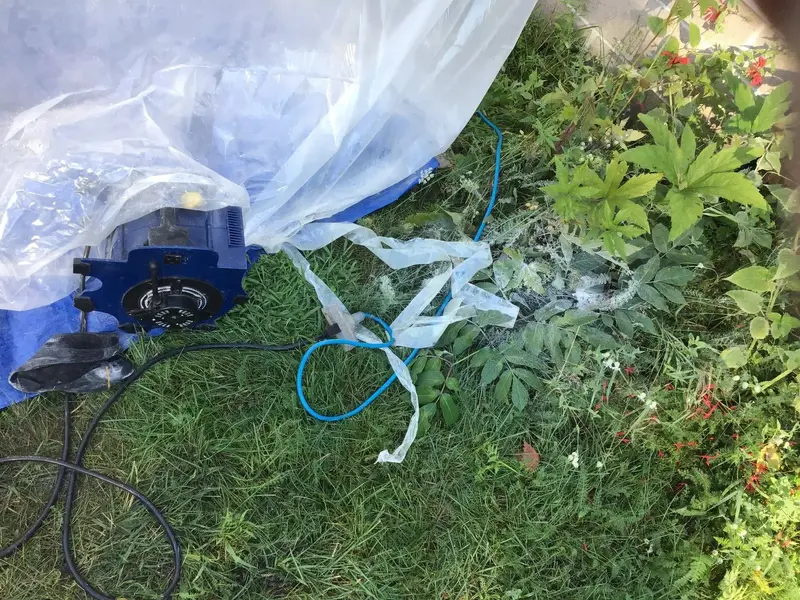
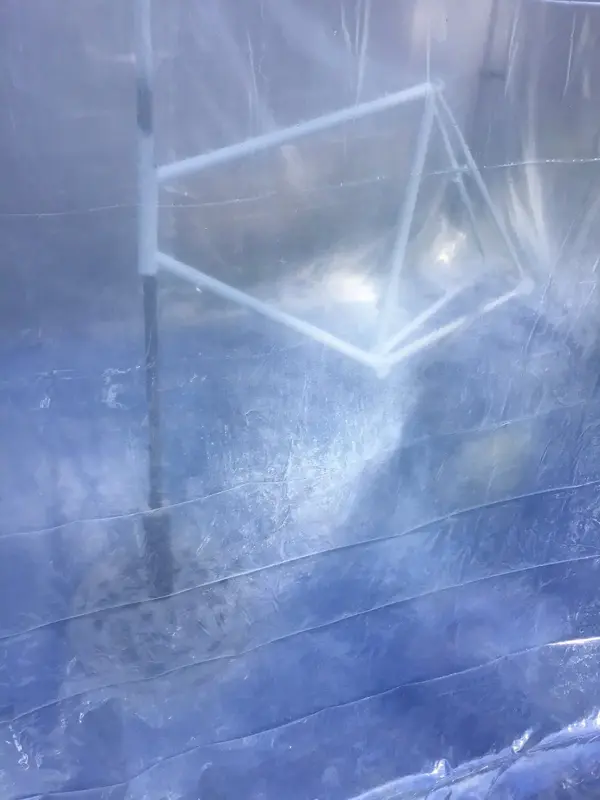
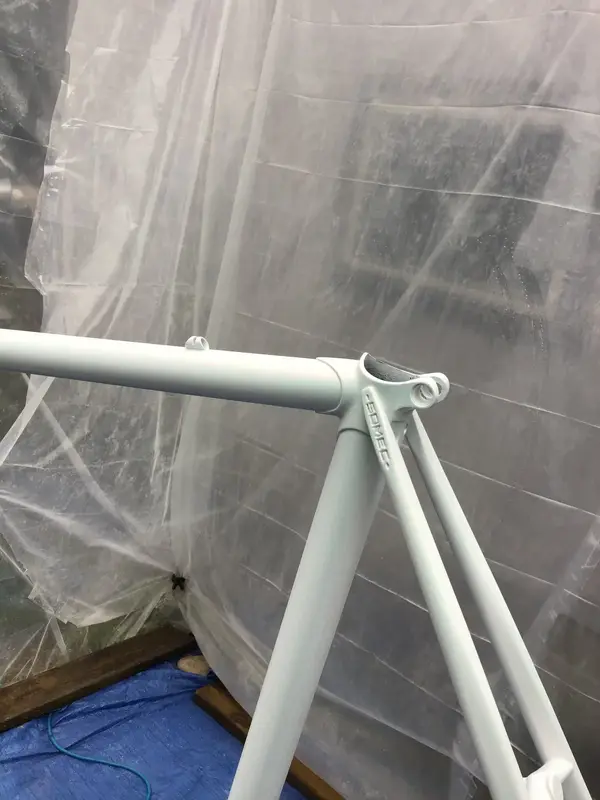
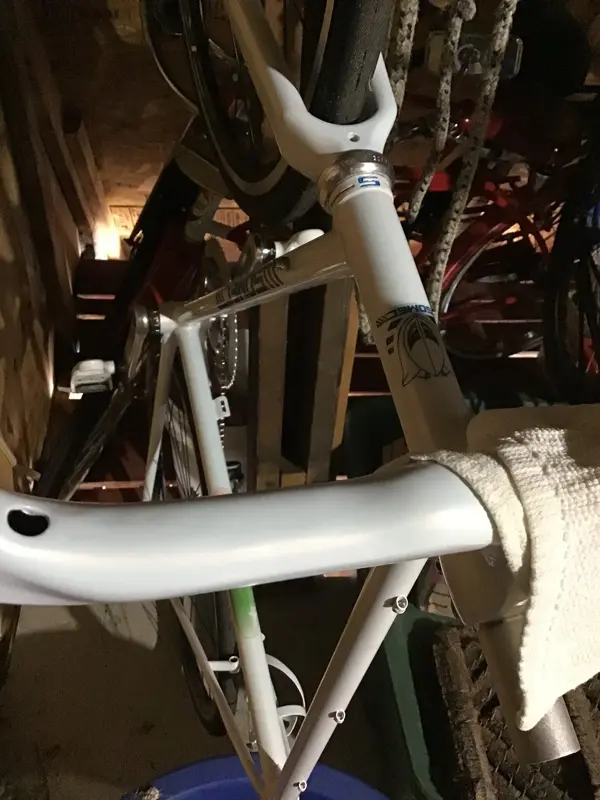
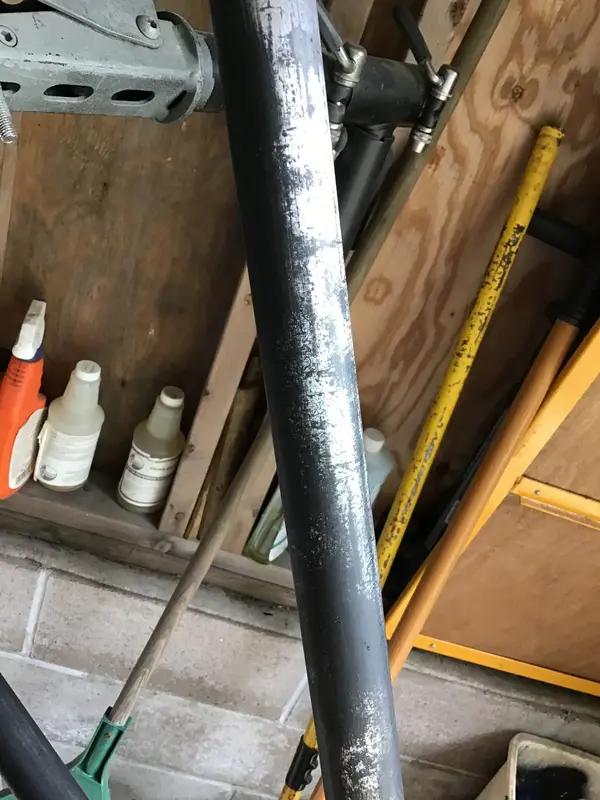
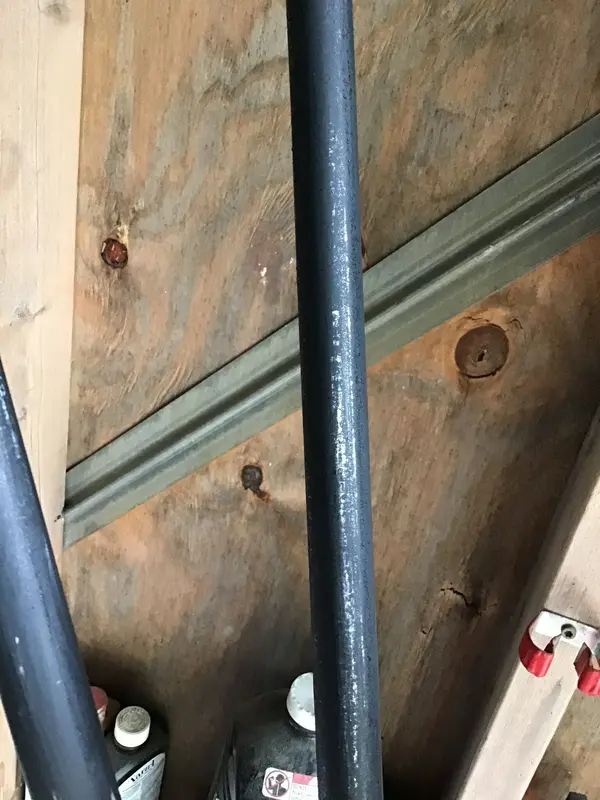
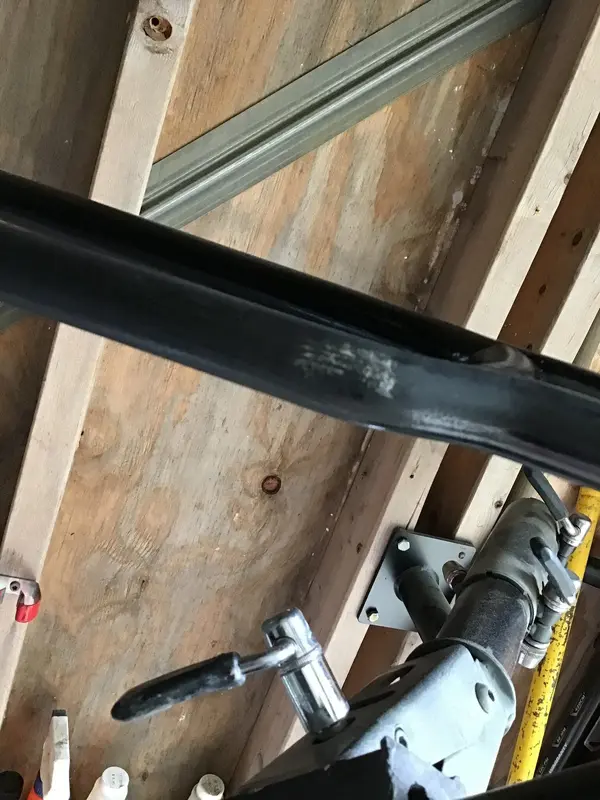
The dents gone good enough for me - perfect. If you can’t see it under shiny black it’s good. I have filled the rough rust spots. A few more days of prep and I can paint. It’s got to be calmer than it’s been, my booth will blow down. It would be nice if it got warmer so I wouldn’t have to preheat the booth. It’s got an air inlet furnace filter on top and an exhaust blower at the bottom so no aerosolized paint lands on the frame and makes it pebbly, another yooper rig a ma jig. Candy pink under pearl white. Two summers ago Somec project. Old bike with all campy components, including wheels. 24AA1F15-EEDF-4092-BD48-B8F35BD3CE96.jpeg
486EB1C4-986A-4F69-914E-83A609438A28.jpeg AB86CC3E-B8AD-4560-B2B7-AE7894B47048.jpeg 2E88C3E8-772F-4B19-B520-789E2F901E50.jpeg 5DF1A608-0F69-4AAB-8BA2-8F8DAD807719.jpeg 00314F0C-128B-4926-942A-7183D6DCAC3A.jpeg
D27E36C2-726C-4249-B3BB-5A9B1E0A31B8.jpeg
 
Last edited:
The dents gone good enough for me - perfect. If you can’t see it under shiny black it’s good. I have filled the rough rust spots. A few more days of prep and I can paint. It’s got to be calmer than it’s been, my booth will blow down. It would be nice if it got warmer so I wouldn’t have to preheat the booth. It’s got an air inlet furnace filter on top and an exhaust blower at the bottom so no aerosolized paint lands on the frame and makes it pebbly, another yooper rig a ma jig. Candy pink under pearl white. Two summers ago Somec project. Old bike with all campy components, including wheels. View attachment 639188
View attachment 639198View attachment 639199View attachment 639200View attachment 639201View attachment 639202
View attachment 639204
Solid paintjob. Would love me a huffing tent like that, when I make a mistake in the paintjob, pull off the mask and get taken to a different dimension.
 
Solid paintjob. Would love me a huffing tent like that, when I make a mistake in the paintjob, pull off the mask and get taken to a different dimension.
I have short pieces of PVC pipe permanently in the ground, below mower level. Four electrical 1/2 inch conduits 8 feet long are the uprights and those slide into the PVC. The top is 4 pieces of framing lumber with a 6 inch piece of lumber attached to each corner with a 1/2 inch hole drilled through the short piece. They sit on the top of the conduit poles, forming the roof frame. the floor is a tarp with everything tucked under and held down with boards. It’s 10 foot by 10 foot square. That might sound big but it’s perfect, you can move around without having to worry about hitting the frame. The paint is bought in small batches from the net. It’s for painting motorcycles and they mix small batches so you don’t have to buy car sized quantities. Powder coating is way cheaper. The clear poly sheets let light in. The sheets can be discarded after a few uses. The whole thing except the poly sheets, tarp and ventilation system is stored outside against my garage.
 
Last edited:
I have short pieces of PVC pipe permanently in the ground, below mower level. Four electrical 1/2 inch conduits 8 feet long are the uprights and those slide into the PVC. The top is 4 pieces of framing lumber with a 6 inch piece of lumber attached to each corner with a 1/2 inch hole drilled through the short piece. They sit on the top of the conduit poles, forming the roof frame. the floor is a tarp with everything tucked under and held down with boards. It’s 10 foot by 10 foot square. That might sound big but it’s perfect, you can move around without having to worry about hitting the frame. The paint is bought in small batches from the net. It’s for painting motorcycles and they mix small batches so you don’t have to buy car sized quantities. Powder coating is way cheaper. The clear poly sheets let light in. The sheets can be discarded after a few uses. The whole thing except the poly sheets, tarp and ventilation system is stored outside against my garage.
That's amazing mate. I always get put off painting stuff because I have to do it under the carport and dust, dirt floats around and often the weather just isn't up for it. Very handy to have a setup like that. I've heard a lot of people having good experiences with automotive paint, but everything I do is more ratty and usually not with great prep - though recently I actually bothered sanding and priming. Your projects are great fun to follow.
 
The dents gone good enough for me - perfect. If you can’t see it under shiny black it’s good. I have filled the rough rust spots. A few more days of prep and I can paint. It’s got to be calmer than it’s been, my booth will blow down. It would be nice if it got warmer so I wouldn’t have to preheat the booth. It’s got an air inlet furnace filter on top and an exhaust blower at the bottom so no aerosolized paint lands on the frame and makes it pebbly, another yooper rig a ma jig. Candy pink under pearl white. Two summers ago Somec project. Old bike with all campy components, including wheels. View attachment 639188
View attachment 639198View attachment 639199View attachment 639200View attachment 639201View attachment 639202
View attachment 639204
Here is a photo of the Somex after clear coat, summer 2021. It has aero Carbon bars and a carbon fork. The stays were spread. It remained unfinished until the winter because of parts shortages. Couldn’t find a group set so it was one piece at a time. It’s gone now, so this is my only photo. It’s in my attic in the photo. 21A5BCF7-C3A7-4EE2-991C-24A53D226229.jpeg
 
I put on a skim coat of automotive acrylic today. I’m using 400 wet dry to sand it down. There are a lot of tool marks, uneven tube rolling marks and some areas where it’s rough. I’m thinking the roughness might be from small ares where the nickel and copper plating are still adhering. This bike is pretty much a maggot so I don’t want it perfect. But, I’m going to have to put on some more coats between sanding before I can even prime and paint it. There are a few shallow dents that I’m leaving, just to show it’s battle hardened character. The smoothest place is where I took out the dent. 7738E156-F09E-45E9-B9E8-6F95F2662571.jpeg FE5E8F4F-2504-4625-A105-61BFCDA1C5D7.jpeg B288BC1A-F42B-4A8C-9C3F-EA098DFFADA7.jpeg
 
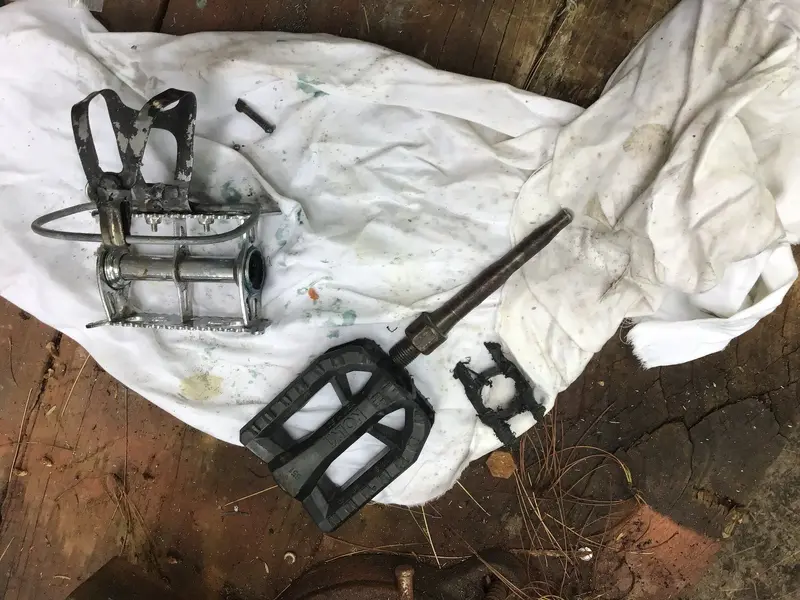
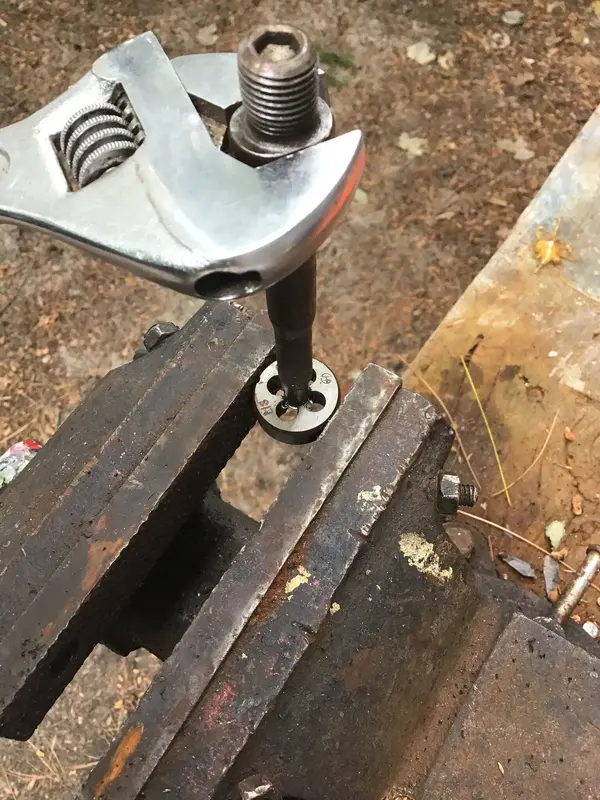
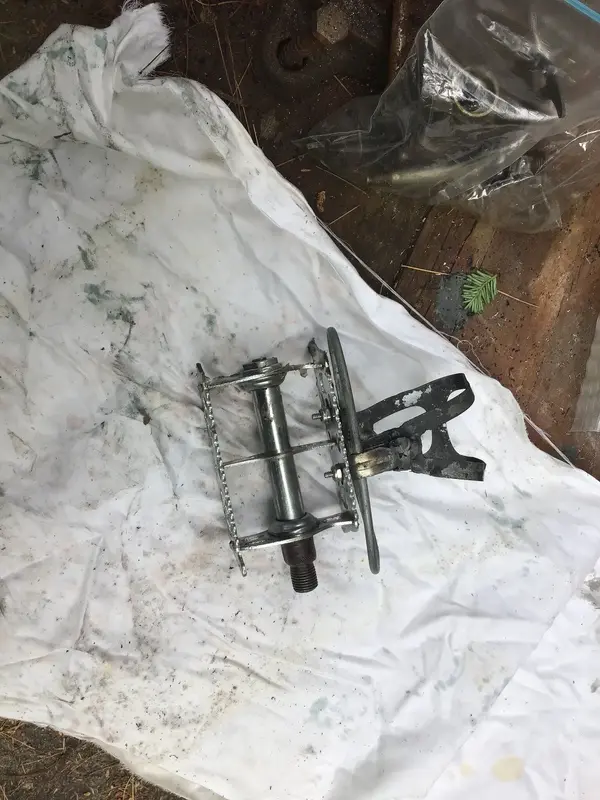
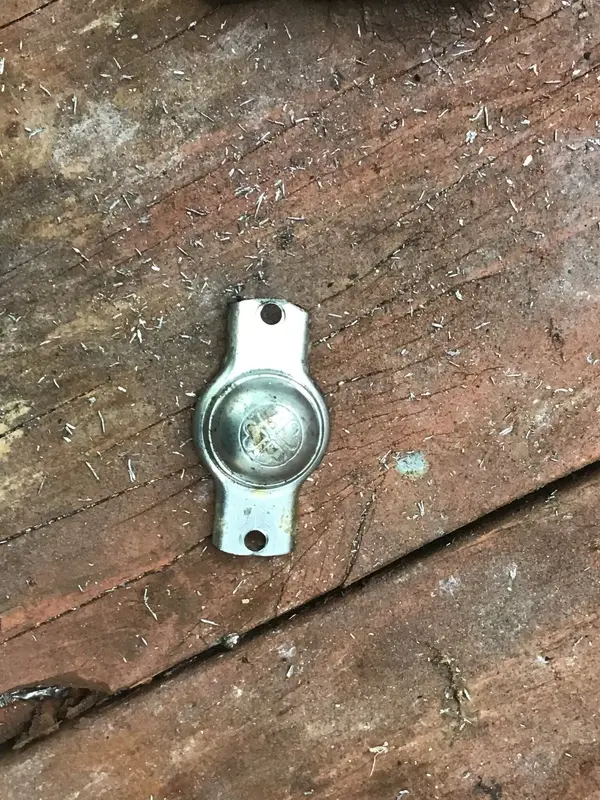
Still sanding away. In my spare time today I put some trim on the woodshed I’m building and also built a pedal. The pedal is made from two pedals that aren’t rebuildable. I measured the two spindle length, while they were still inside the pedals, to make sure they were close. If you grind and file down the crimp on the spindles you can get the spindles out of the pedals with a drift punch. The vintage pedal platform I’m using is being converted from 9/16 to 1/2 inch. The 1/2 inch spindle is from an old plastic pedal. When I removed the spindle from it there were no bearings, just a loose fit and it slid on slippery plastic. The spindle was machined for races so I guess it was used for other higher quality pedals as well. I threaded the 1/2 inch spindle so it could be serviced, and threw in some used 5/32 bearings. I’ll get new ones, this was a trial. I was lucky as there is enough adjustment available to take the play out. I used the race on the far end from the 9/16 pedal. The 9/16 pedals are antique looking, no name generic and they are missing the dust covers. I’m making dust covers from old metal pedal ends. Antique pedals are always missing or shot and 1/2 inch replacements that don’t look dumb are, well I don’t see any good ones for sale. I tried the spindle in my shot original pedals but they were way too big. The original tapers down and is big nail sized, probably to save weight. It’s better to be lucky than to know what your doing. 7BDCE892-1ECA-457F-9B20-D2B9428631B3.jpeg 3AE137A4-A83F-49A8-A6AA-67CF45B3315C.jpeg 6FEB1ED7-A7F2-47D7-A7D6-640212A475E8.jpeg
This old pedal end has to be ground and filed to fit the dust cap opening. 6DD0D3D5-4893-4335-8500-096D7F6F8BA3.jpeg
 
Last edited:
  • Like
Reactions: Woz
Good work.

Found out the same, vintage pedals are a nightmare. Usually destroyed, bent or missing dust-caps. Obsolete French threads not the same as 9/16" either. Every bike pre-1950s I've had from the tip or seen at the charity store had odd pedals :confused:
 
Good work.

Found out the same, vintage pedals are a nightmare. Usually destroyed, bent or missing dust-caps. Obsolete French threads not the same as 9/16" either. Every bike pre-1950s I've had from the tip or seen at the charity store had odd pedals :confused:
I have a communist era East German Diamant track bike and it came with no crank. I put on an old French three arm cottered crank. I had some nice 9/16 pedals that I put on. The threading got progressively harder but they went all the way on. I ride this fixed gear bike and there have been no pedal problems. You can get the French metric cranks rethreaded to 9/16 but I sorta did it myself. Good enough - perfect.
 
Back
Top