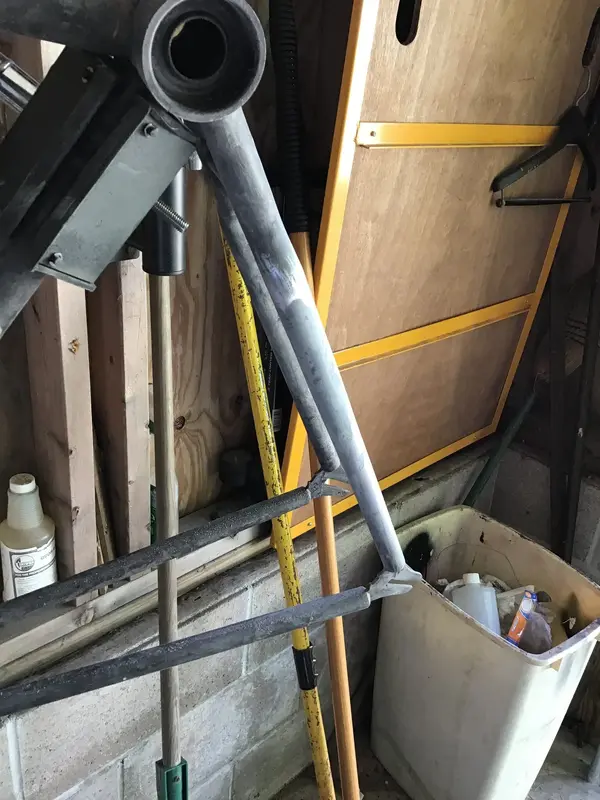
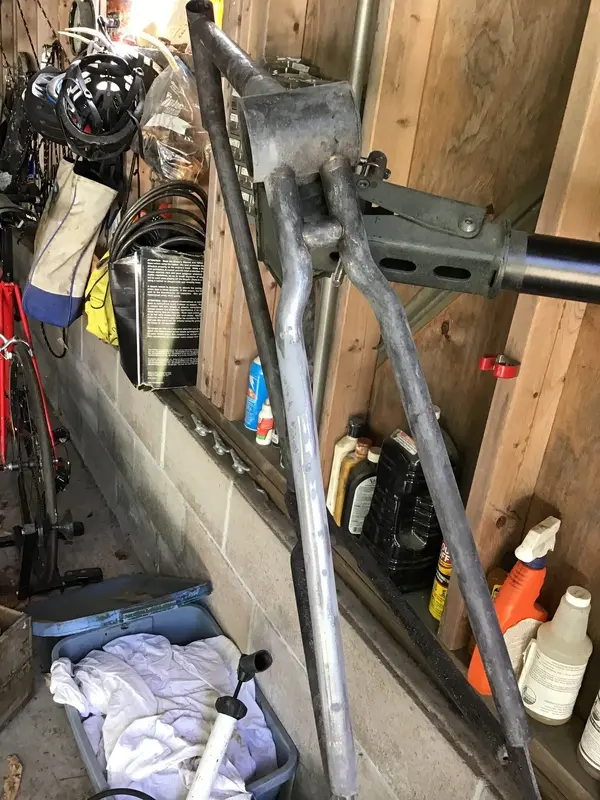
Fixing a Victorian

I'm going on this from p16, Woz. Your version seems to move the insert downwards to reduce diameter?
If I've got anywhere near the way this actually functions, then the top of the conical bore of the seatlug forms a 'shoulder' on which, (until the locknut is tightened) the threaded part of the 'insert' rests.
It cannot fall down the tube.
No part of the locknut is tapered in this scenario.

'Exploded' diagram:
Yup that's pretty much how I see it 👍
How they played the outer interests me with regards to the tubing being laminated with that dimpled or holed layer.

I think before nabeaquam starts the paint it might be wise to get this seat post collet system working sweetly....I hope the post is in good fettle! If the sizing is good which I think it's safe to say going by how the bikes made it'll work really well but needs to be so clean.
 
  • Like
Reactions: Woz
If you are right, this way solves the requirement to get the collet out. Simply tighten the locknut without a seatpost and pull the locknut up.
I think the crucial clue might be how wide the slots in the 'insert' are at the bottom: If the bottom was squeezed together, would it reduce its circumference sufficiently for the 'insert' to be withdrawn upwards?
If the answer is 'yes' then chances are it was inserted that way originally and intended to be withdrawn that way if necessary for cleaning/maintenance. If the answer is 'no' then chances are it was inserted from the bb and intended to be withdrawn that way.
 
  • Like
Reactions: Woz
Interesting what he say's on page 16. I must of skipped over that. It's the complete opposite I got looking closely at the photographs.

OK, I get that now - the threads cut from a slightly larger outer diameter at the top of the collet. Splayed out at the bottom keeping it all captive.

If you are right, this way solves the requirement to get the collet out. Simply tighten the locknut without a seatpost and pull the locknut up.

I'm not entirely happy with the scenarios I did with the lip arrangement to keep collet captive; it would require driving it down and out through the bottom bracket if removal was necessary. ( 🤔 or a specialist tool of some sort? )
Here is my other collet bicycle. Old photo, it might be a 1936 Huffman? EB47FD62-82DE-4AD7-9AB1-C998847A6185.jpeg
 
I came up with a method, put epoxy filler over the area to be filled, make a tube around the chain stay out of put on upside down masking tape and slide the tube over and back on the filler. When sliding over the filler you have to be careful to only pull the end that’s not in the low spots, otherwise finger pressure makes a low spot. Twist the tube in a circular motion. Of course remove the tape before the filler dries. It takes 24 hours at 15C to dry but I start rounding after 12 hours with an old fashioned lead body file. It’s soft at 12 hours but doesn’t peel. I’ll probably need two more thin coats to finish. I wouldn’t put my micrometer on the tube but it looks and feels round. I’ll have to wait until the filler is fully cured to finish the feathering. I don’t know if you have a product like JB Weld in the UK? It’s slow set epoxy reinforced with powdered steel. They say you can powder coat over it. I wouldn’t as the heat might do something to the filler. This stuff is hard when cured. It takes a lot more filing and sanding than Bondo. It doesn’t absorb water like Bondo and is a much more tenacious sticker than Bondo. The down side, for an impatient person like me, is that it takes 6 days instead of 20 minutes.
5106AE34-1DF7-4B31-88B7-6959B74E363C.jpeg
There is still a small low spot on the inside. I’ll have to fill and finish.
0180D3B1-5ADD-4D89-B507-8009FFB4F59A.jpeg
 
Last edited:
I came up with a method, put epoxy filler over the area to be filled, make a tube around the chain stay out of put on upside down masking tape and slide the tube over and back on the filler. When sliding over the filler you have to be careful to only pull the end that’s not in the low spots, otherwise finger pressure makes a low spot. Twist the tube in a circular motion. Of course remove the tape before the filler dries. It takes 24 hours at 15C to dry but I start rounding after 12 hours with an old fashioned lead body file. It’s soft at 12 hours but doesn’t peel. I’ll probably need two more thin coats to finish. I wouldn’t put my micrometer on the tube but it looks and feels round. I’ll have to wait until the filler is fully cured to finish the feathering. I don’t know if you have a product like JB Weld in the UK? It’s slow set epoxy reinforced with powdered steel. They say you can powder coat over it. I wouldn’t as the heat might do something to the filler. This stuff is hard when cured. It takes a lot more filing and sanding than Bondo. It doesn’t absorb water like Bondo and is a much more tenacious sticker than Bondo. The down side, for an impatient person like me, is that it takes 6 days instead of 20 minutes.View attachment 638887View attachment 638888
I sense your itching to crack on.. 😁
 
Back
Top