You are using an out of date browser. It may not display this or other websites correctly.
You should upgrade or use an alternative browser.
You should upgrade or use an alternative browser.
English Range Rider
- Thread starter PWDF
- Start date
- Feedback
- View
I would fashion an aluminium plate and pop rivet in place, won't be pretty but should be plenty strong.I'm wondering if there's any decent way to repair the rear Bluemels guard.
They are the ones with an aluminium core sandwiched inside a plastic surround, like SKS/ESGE 'Chromoplastic' ones.
They'll clean up fine, and the bent areas can be eased back, but the crack will need closing up and some sort of internal plate fitting to the underside, perhaps?
I read that the ESGE ones were made from cellulose acetate butyrate, so need a cellulose solvent adhesive...
View attachment 852980
Any experience on this?
All the best,
Yes, there's plenty of clearance on the inside for plating up, but I'd like to keep it looking as clean as possible on the outside face.I would fashion an aluminium plate and pop rivet in place, won't be pretty but should be plenty strong.
Rivets will definitely be a backup Plan B if needed.
The hole near the end of the guard is where if fixes to the rack, so there shouldn't be too much loading on the guard further forward.
I suspect it got twisted, rotated at the mounting bolt and cracked.
All the best,
Lostcause
Retro Guru
What an interesting bike, I’m glad it’s getting some loving attention. I was watching a YouTube video on the history of mountain biking and Geoff Apps is filmed riding one through a rocky river bed at one stage. He seems like a fun character. Looking forward to seeing more of this 
- Feedback
- View
Today I found some broken sections of the same type of Bluemels chromoplastic mudguards shown above, and set about to find out which of the solvents I have would be best to to repair them.I'm wondering if there's any decent way to repair the rear Bluemels guard.
They are the ones with an aluminium core sandwiched inside a plastic surround, like SKS/ESGE 'Chromoplastic' ones.
They'll clean up fine, and the bent areas can be eased back, but the crack will need closing up and some sort of internal plate fitting to the underside, perhaps?
I read that the ESGE ones were made from cellulose acetate butyrate, so need a cellulose solvent adhesive...
View attachment 852980
Any experience on this?
All the best,
Methylene Chloride melted the surface but evaporated too quickly. To use this you would need to keep reapplying the solvent until it had melted deeply enough to achieve a strong bond.
Cyclohexanone worked best as it was far slower to evaporate and so melted more deeply into the surface. It could be used to chemically weld a patch made from old mudguard underneath the broken guard. It could also be used to dissolve old mudguard filings to make a gap-filling paste. Once dry a repair could be paired back with a very sharp blade, smoothed with wet and dry paper and finally polished with a mild abrasive.
If done well the result should be about as strong as the original guard but without any requirement to rivet or staple. Though it is unlikely to be a totally invisible repair.
- Feedback
- View
I photographed the decals using a long lens to minimise distortion and a tripod to eliminate camera shake. Each word was photographed separately with the camera positioned as square on as I could make it. Though this method eliminates a great deal of the distortion caused by the tube it does not eliminate it completely. i.e. the and top and bottom the horizontal strokes of a capital 'E' will be slightly thinner than a middle stroke of the same thickness on the original decal.How tricky is it to factor in the curvature of the tube when recreating decals like this? Is there software available that can do it for you?
I doubt that there is specialist software specifically for such a niche purpose. However, there are 3D scanners that can record both the three dimensional measurements of an object together with a 3d image of its surface. To do this the scanner moves around a real object building up 3D computer model from every angle. It might be possible to extract the surface image data as 2D image map, which in this instance would be the tube surface unrolled until it became flat.
Last edited:
OK, (slow) progress report:
Frame and decals back from the excellent Lucy Higgins at IndiBike: https://www.indibike.co.uk/
The delay's been my fault not hers. 3 sets made, also with @GrahamJohnWallace's Metro Trekker part.


Also, red cable outers have arrived. I suspect the originals would have been fat 6mm brake and 5mm gear, but I've gone for no-logo 5mm brake all round since it's Teflon lined and will operate so much better.

On to the repair
All the best,
Frame and decals back from the excellent Lucy Higgins at IndiBike: https://www.indibike.co.uk/
The delay's been my fault not hers. 3 sets made, also with @GrahamJohnWallace's Metro Trekker part.
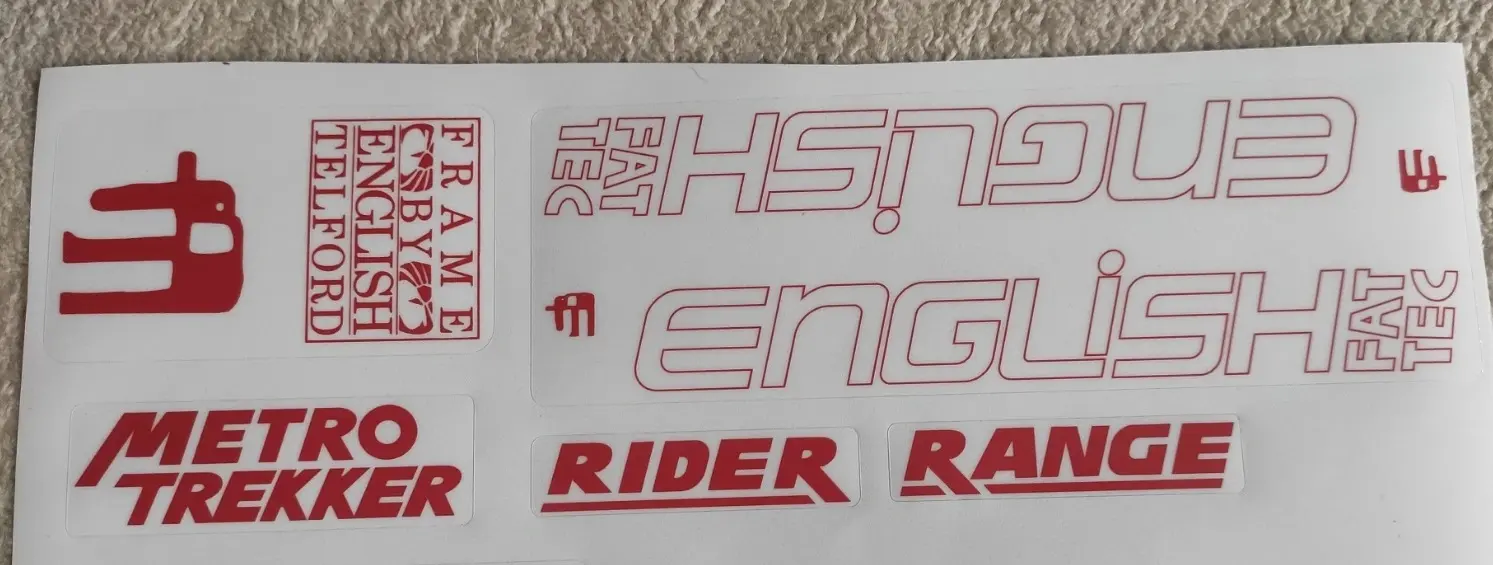
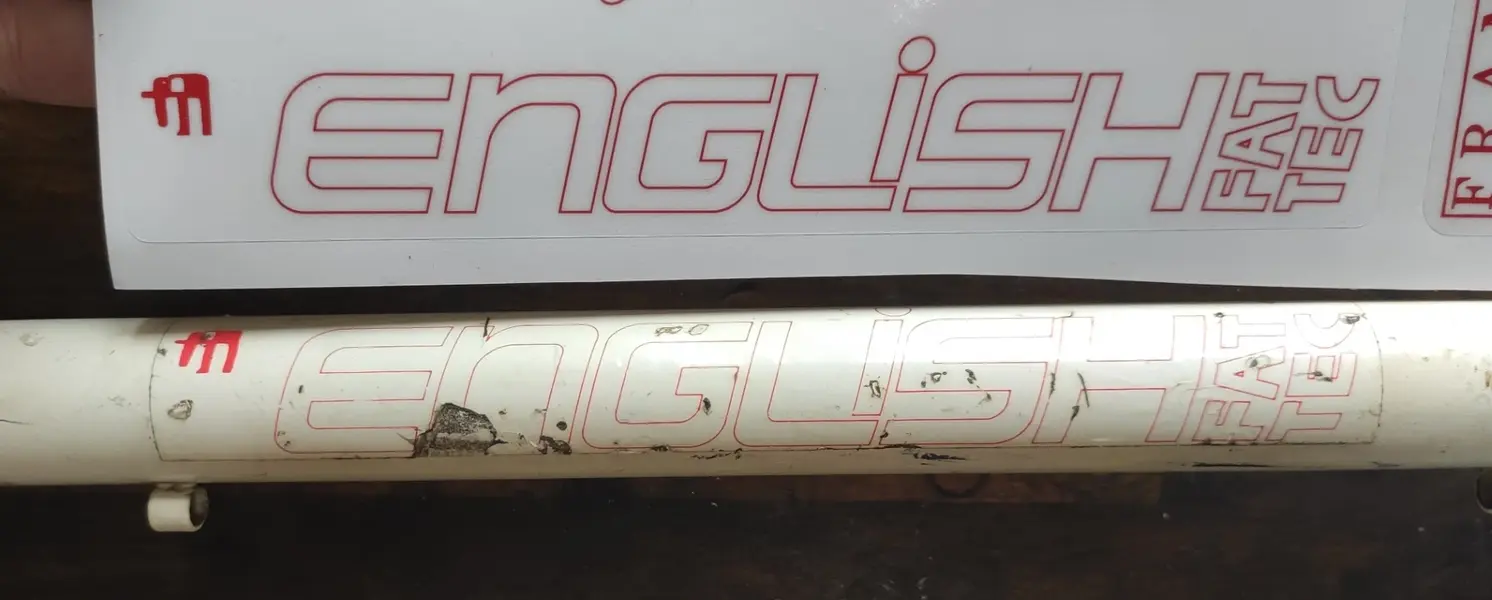
Also, red cable outers have arrived. I suspect the originals would have been fat 6mm brake and 5mm gear, but I've gone for no-logo 5mm brake all round since it's Teflon lined and will operate so much better.
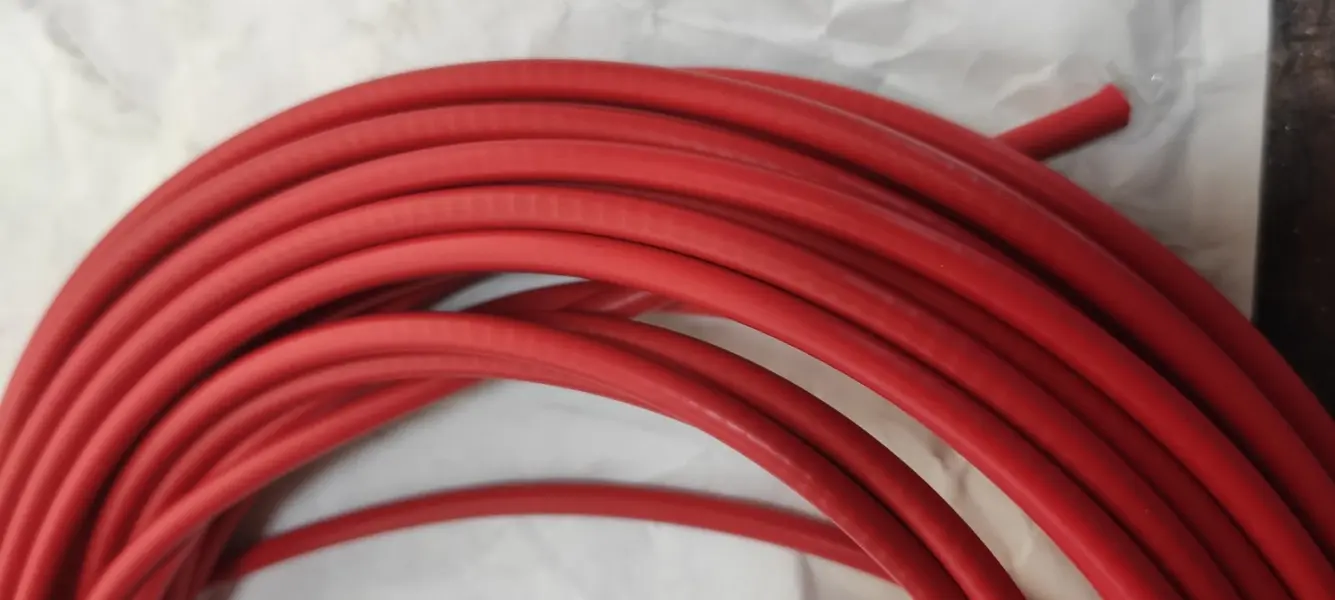
On to the repair
All the best,
Looking great Dan! Love the red cables… just like the originals! Very exciting!OK, (slow) progress report:
Frame and decals back from the excellent Lucy Higgins at IndiBike: https://www.indibike.co.uk/
The delay's been my fault not hers. 3 sets made, also with @GrahamJohnWallace's Metro Trekker part.
View attachment 886288
View attachment 886289
Also, red cable outers have arrived. I suspect the originals would have been fat 6mm brake and 5mm gear, but I've gone for no-logo 5mm brake all round since it's Teflon lined and will operate so much better.
View attachment 886290
On to the repair
All the best,
- Feedback
- View
The English Cycles Metro-Trekker was produced for a short period in 1985 whilst the Muddy Fox courier sales took off in a big way the following year.Jeremy Torr says that my Metro-Trekker is original spec. It was his response to the phenomenal sales of the Muddy Fox Courier model at that time...
So I was wrong when I presumed, earlier in this thread, that the Metro-Trekker was Jeremy's 'response to the phenomenal sales of the Muddy Fox Courier'. And the fact that both of these city-bikes were white is just a coincidence.
OK...it's all done now, but I'll run through the rest of the process.
Once the frame was back from having the decals reproduced, I could strip some paint and have a really good look at the chainstay crack.
3/4 of the way around

So I cut through the rest to expose the x-section.

Made a flat-sided tubular plug to fit inside. Silver soldered in place, then joint closed up and silver soldered together.

Filed back to surface and then offered up the chainset to get an idea of the clearance needed to be made.
Cut out the chainstay to gain necessary clearance, then plated the hole with a formed sheet. Filed back to surface.

I also filled in the small cracks around the TT/ST joint, and added on one extra cable loop to the seatstay mounted gear cable route.
The saddle needed a little refreshing with red suede dye:


Then frame, forks and rack sent to powder coat...bright white.
Once the frame was back from having the decals reproduced, I could strip some paint and have a really good look at the chainstay crack.
3/4 of the way around
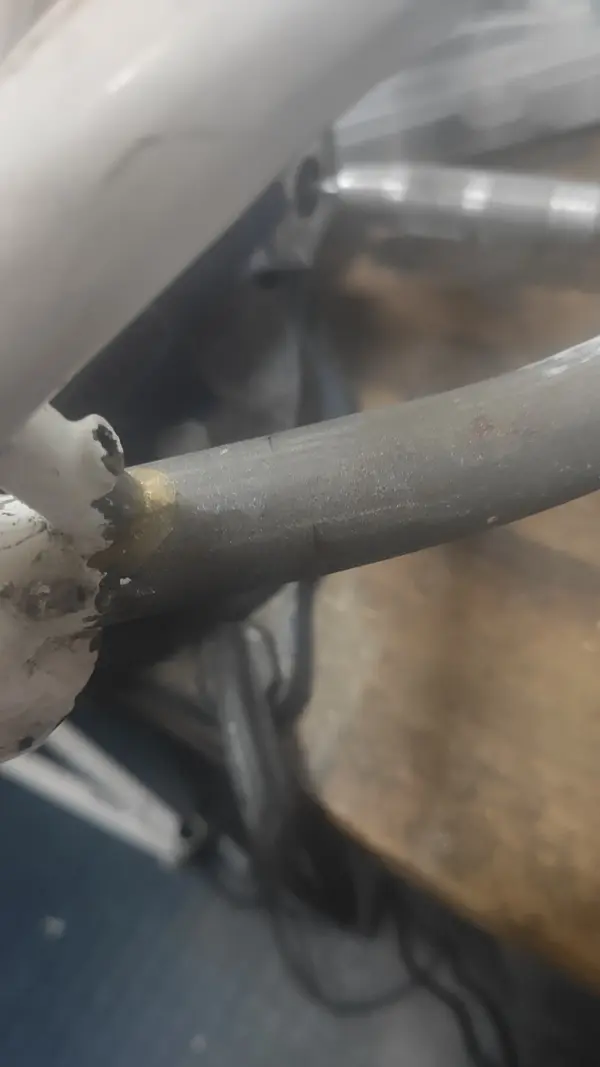
So I cut through the rest to expose the x-section.
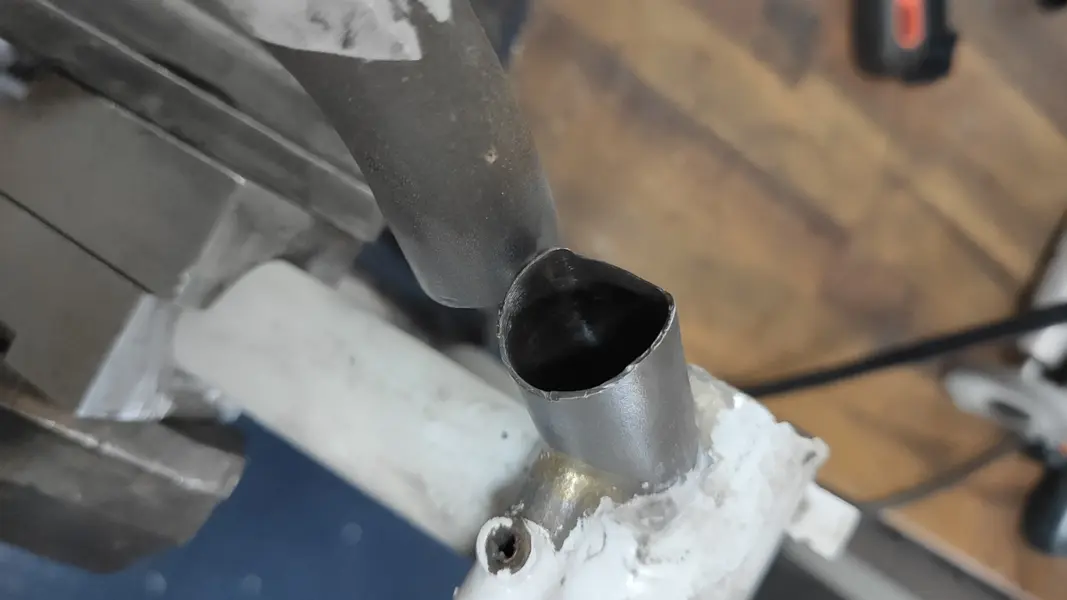
Made a flat-sided tubular plug to fit inside. Silver soldered in place, then joint closed up and silver soldered together.

Filed back to surface and then offered up the chainset to get an idea of the clearance needed to be made.
Cut out the chainstay to gain necessary clearance, then plated the hole with a formed sheet. Filed back to surface.
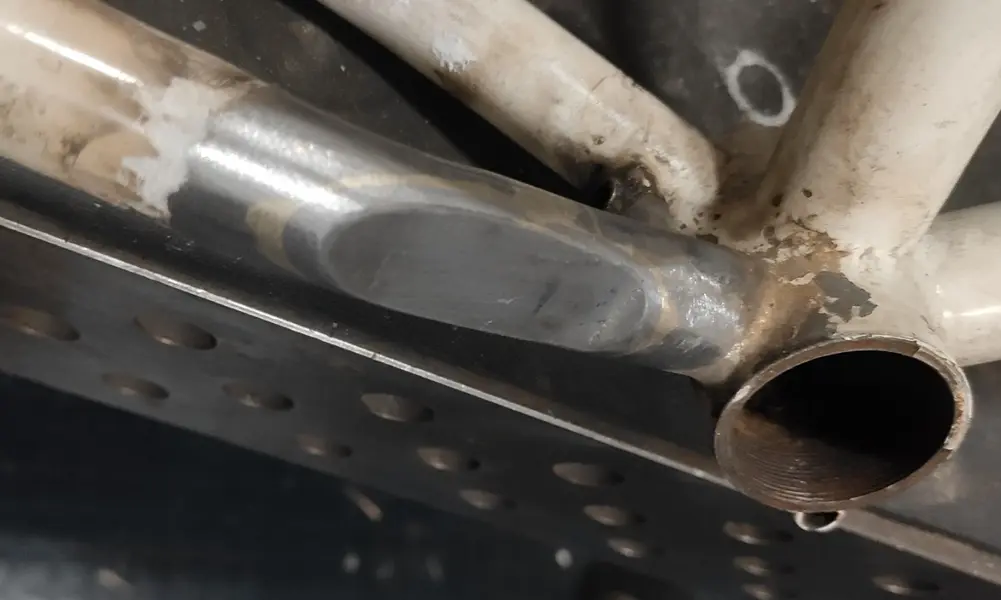
I also filled in the small cracks around the TT/ST joint, and added on one extra cable loop to the seatstay mounted gear cable route.
The saddle needed a little refreshing with red suede dye:
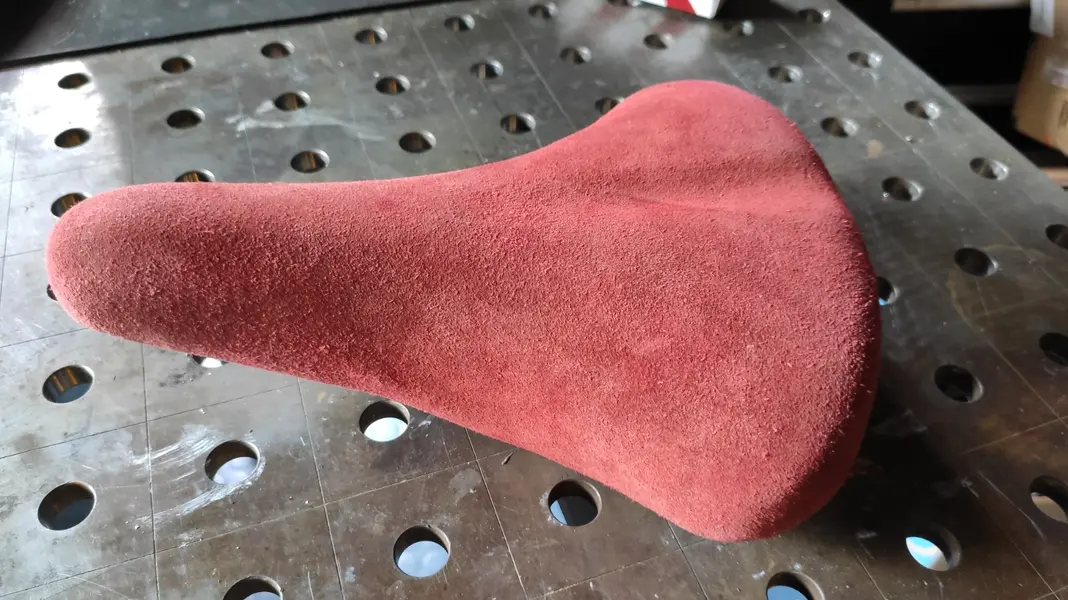
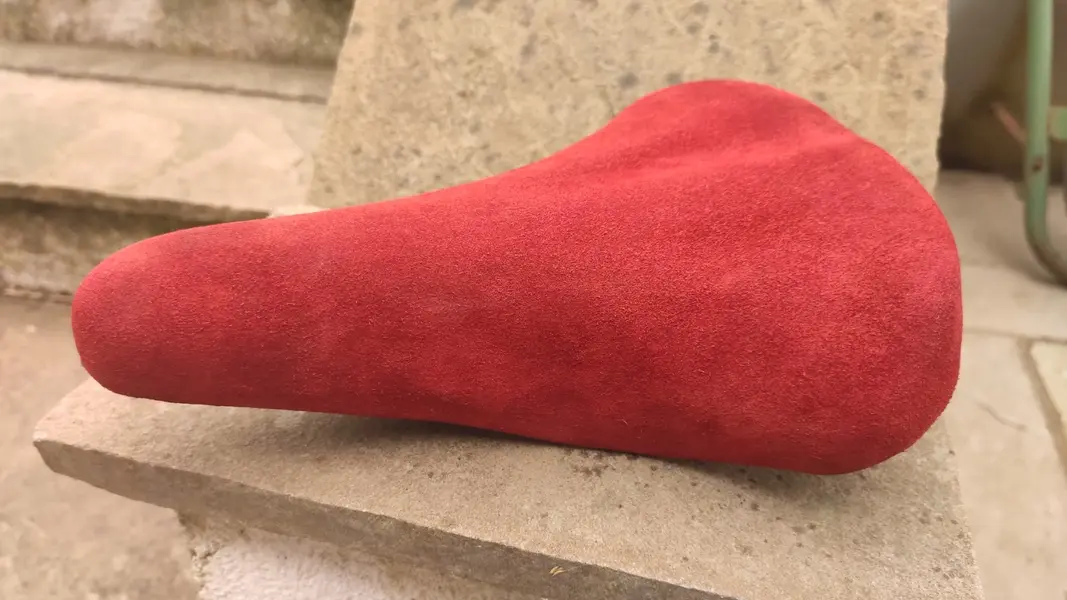
Then frame, forks and rack sent to powder coat...bright white.
Last edited:
Similar threads
- Replies
- 7
- Views
- 552
- Replies
- 0
- Views
- 130
- Replies
- 28
- Views
- 2K