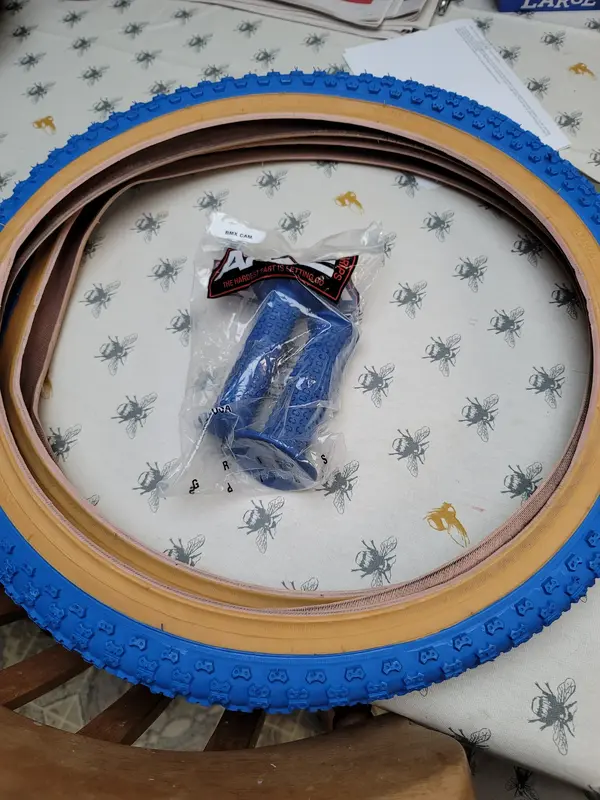
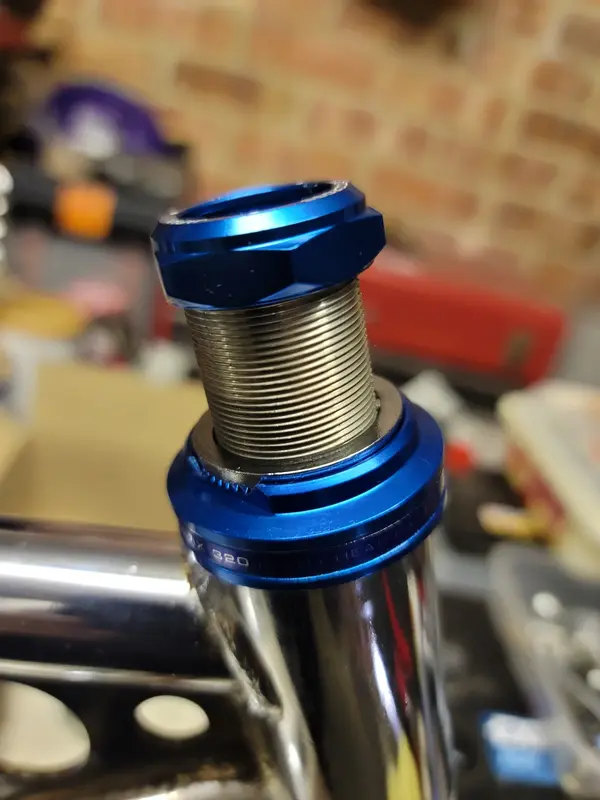
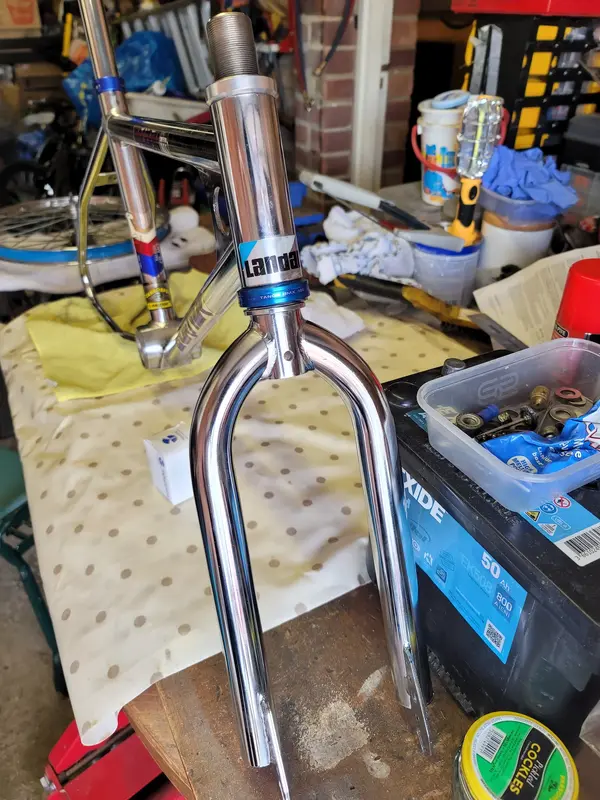
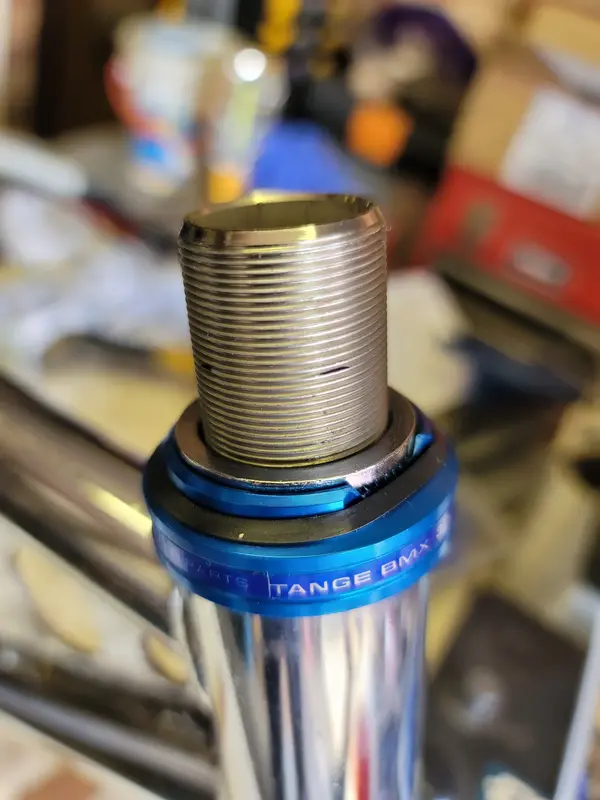
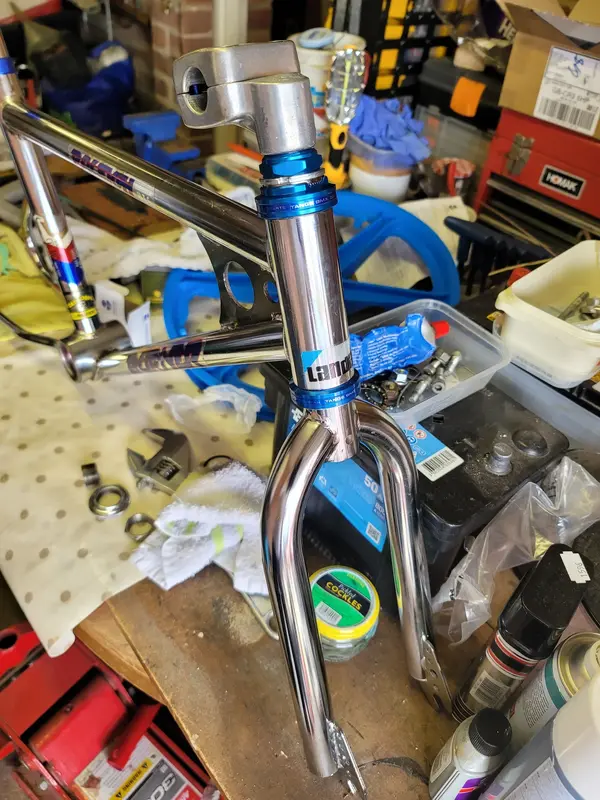
Loving the blue Tange headset, its perfect for the MK1 Burner MX320!
Matches the dark blue theme but some parts just have a diferent blue and will never match properly sadly.
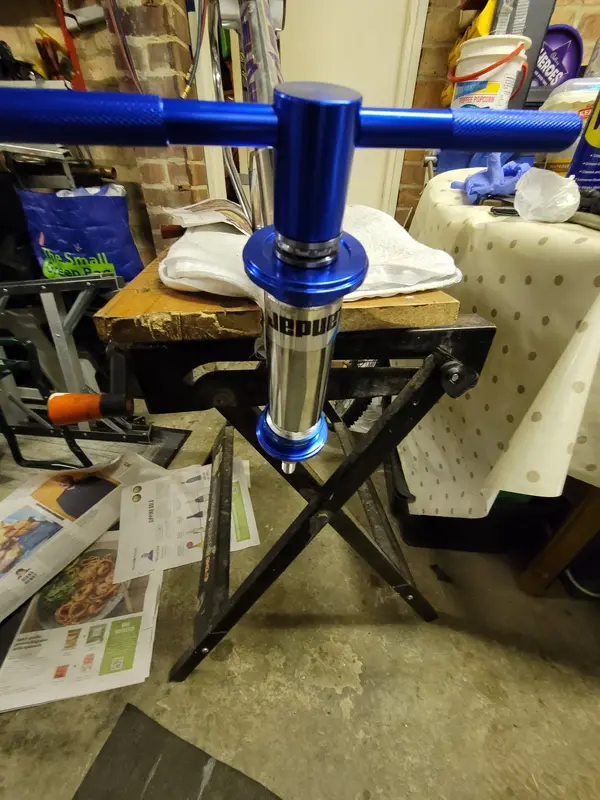
Remember to take out the sealed bearing before you press these in, you don't want to ruin the bearings by crushing them bottom and top.
People used to slate Lander aftermarket parts, but as a teenager with little pocket money buying the knock offs and cheaper Landar, Belvin and even Chang Star stuff was just part of the scene.
There was NO internet so you was at the mercy of what ever the bike store had in at the time.
Brake pads were really good back in the day from Lander cheaper too.
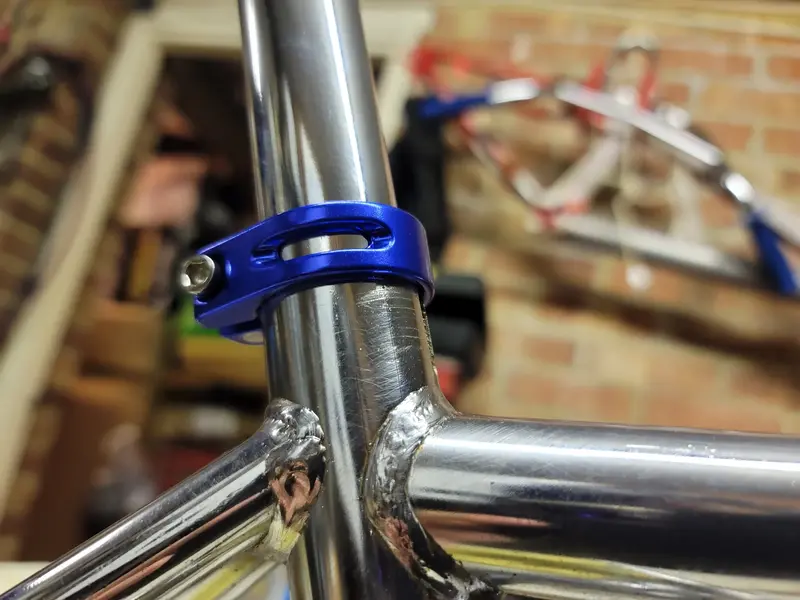
Cheap seat clamps kept the bike going when something fell off or broke into two pieces.
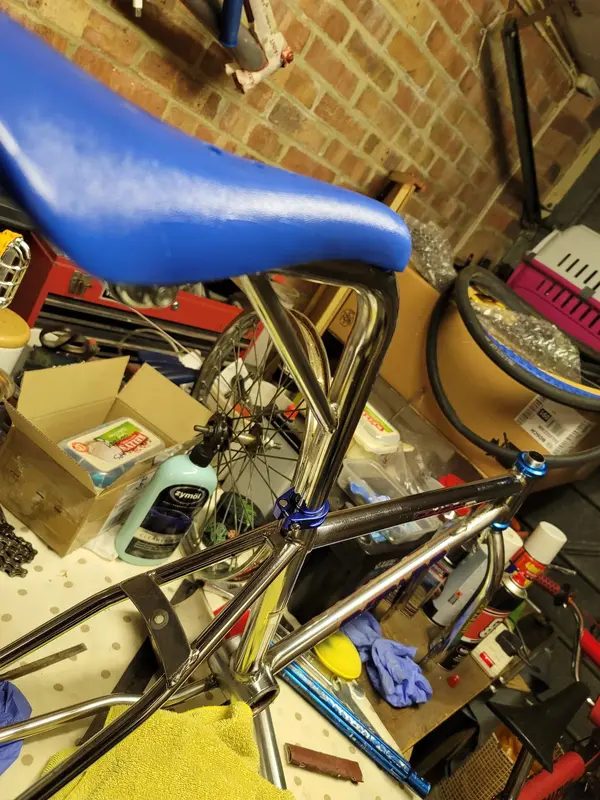
Small updates: The seat post hole was smaller than than the new seat post, so decided to fix it.
Rolled up sand paper foam pad and lots of WD40 for lube!
Used the Alu post as a marker on how larger the diameter was getting and by an hour it slid up and down like siken smooth Tofu.
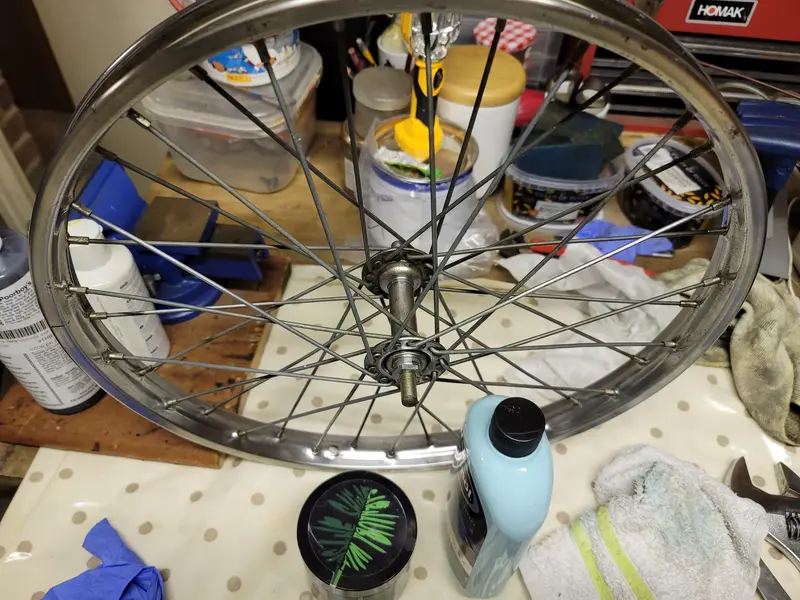
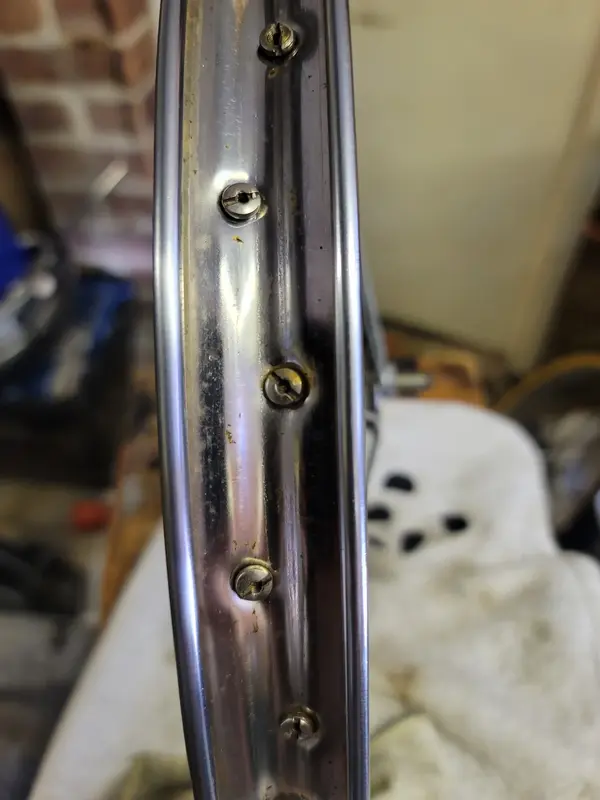
Cleaned up one wheel, but the rear is worst so will take time!
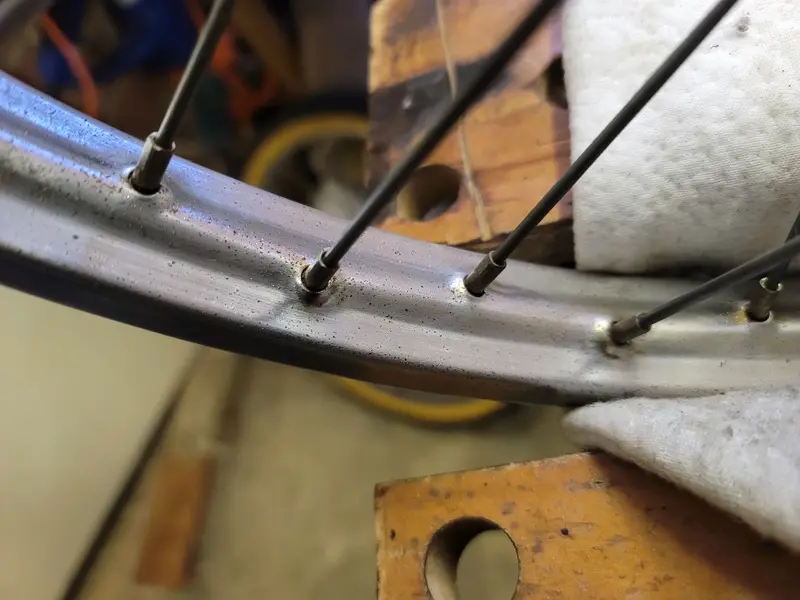
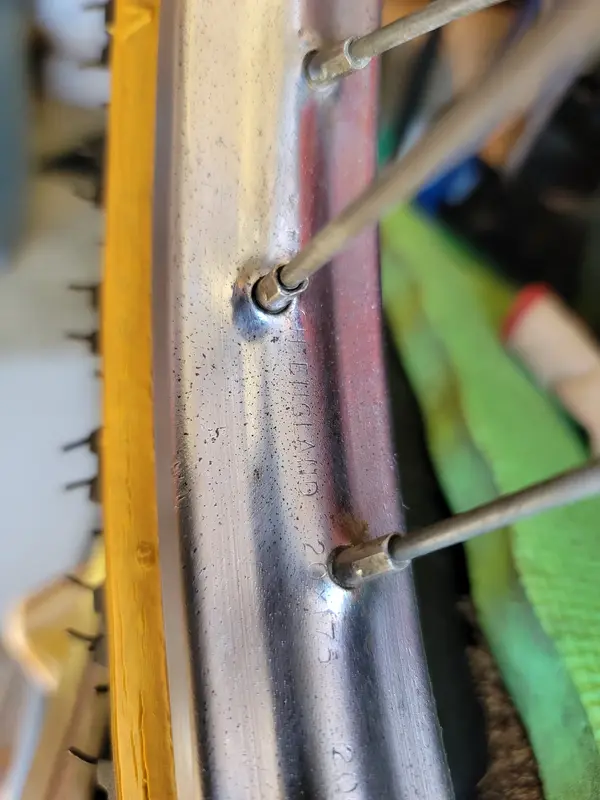
Its a geniune Raleigh wheel which surprised me, shame its pitted needs Rechroming
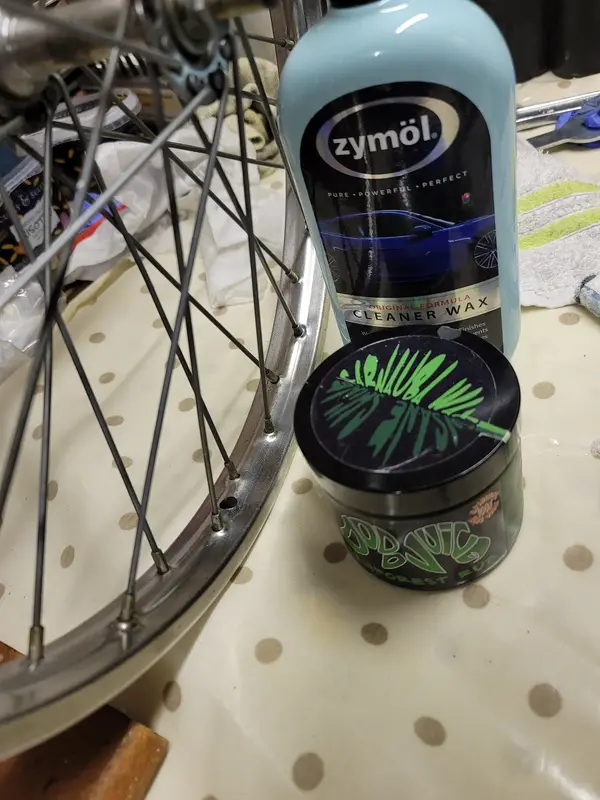
I used my combo of Zymol polish and Canubba Wax and realised the stuff cost more than parts
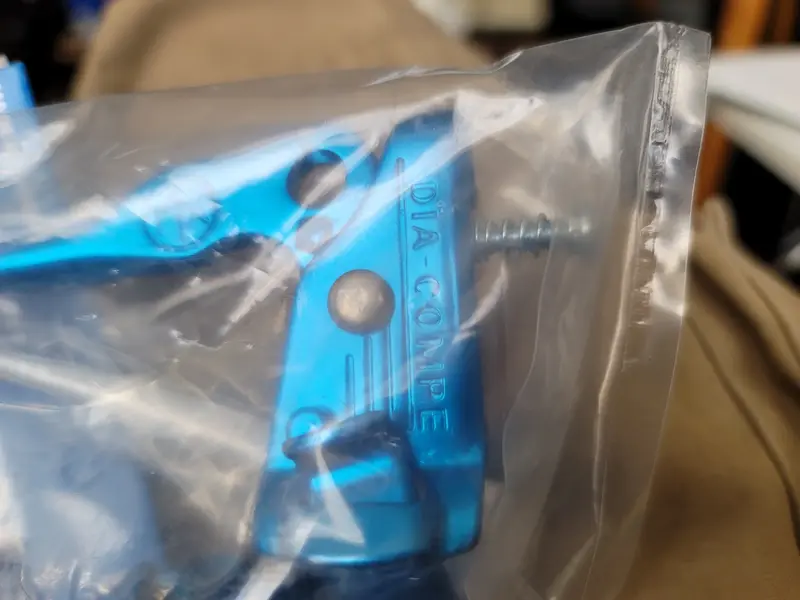
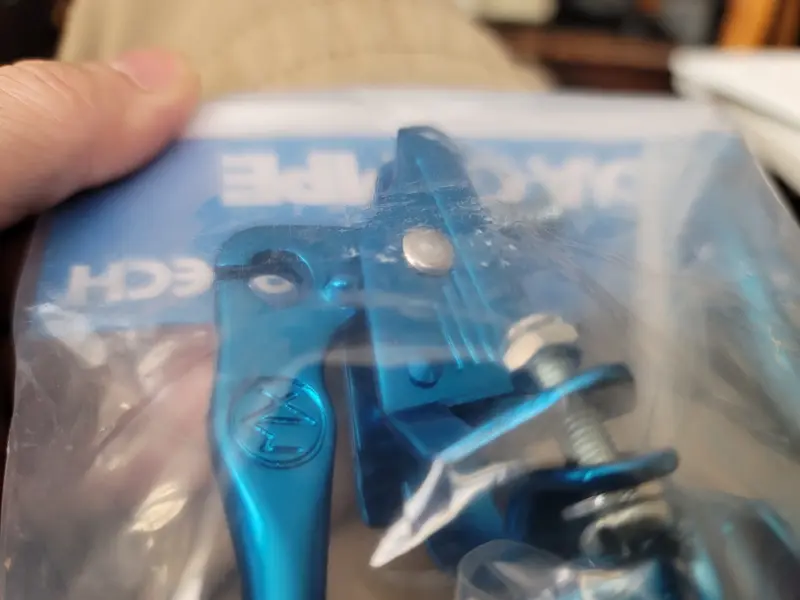
My brake levers came nice dark blue Dia compe Tech II's
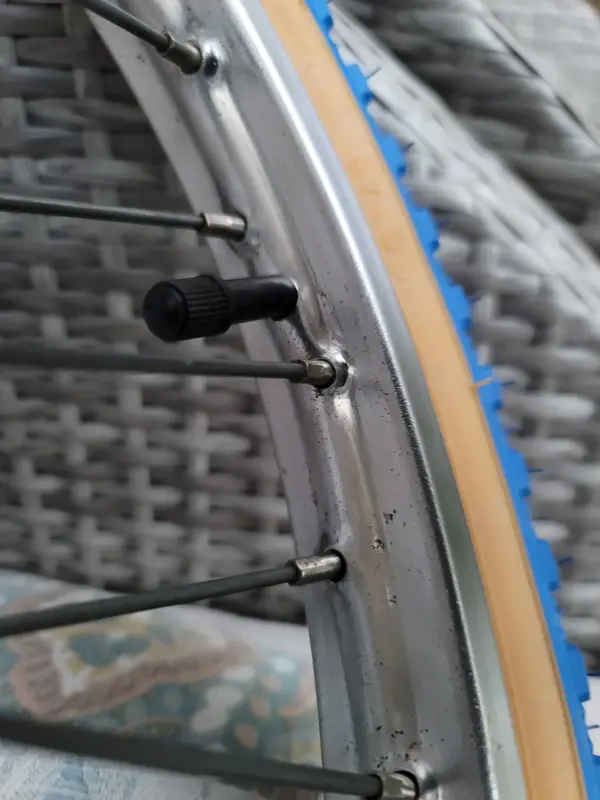
That's one wheel completed and it's the best I can do without rechrome. I looked at all the other possibilities new rims, but they are all anodised Alloy and not really period.
I made this mistake with the Nightburner. The solid chrome re pop are crazy monies right now 200 royal FK your pocket
I did managed to get another fork.
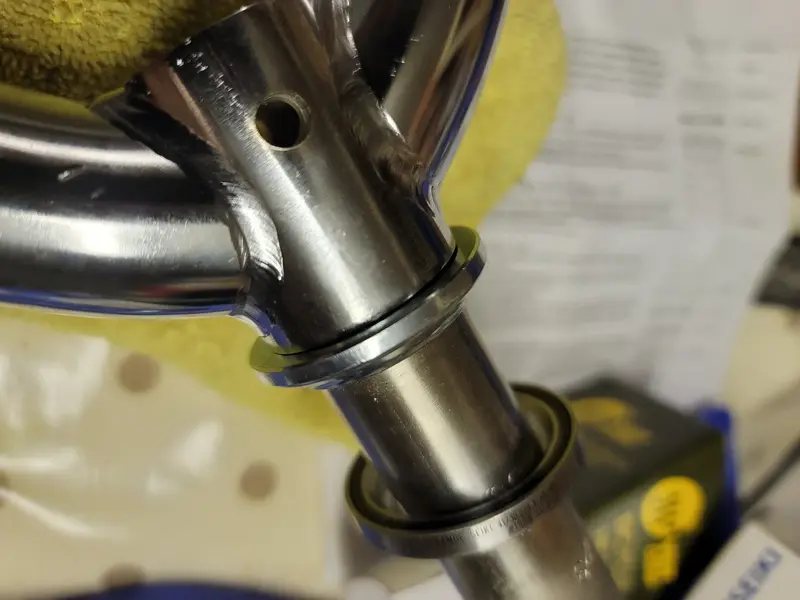
Wanted to ask others do most people run 27mm crown racers and still fit well on the Tange-Seiki headset bearings? As mine came with a 26.4mm lower crown. I'm asking as I have 27mm mounting lip on the new forks?
I could just rub down the microns on the forks to make it fit?
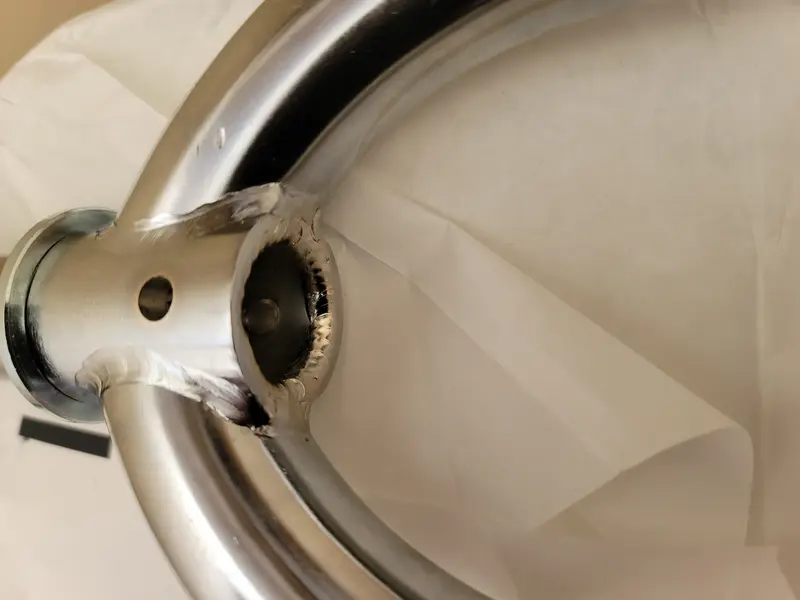
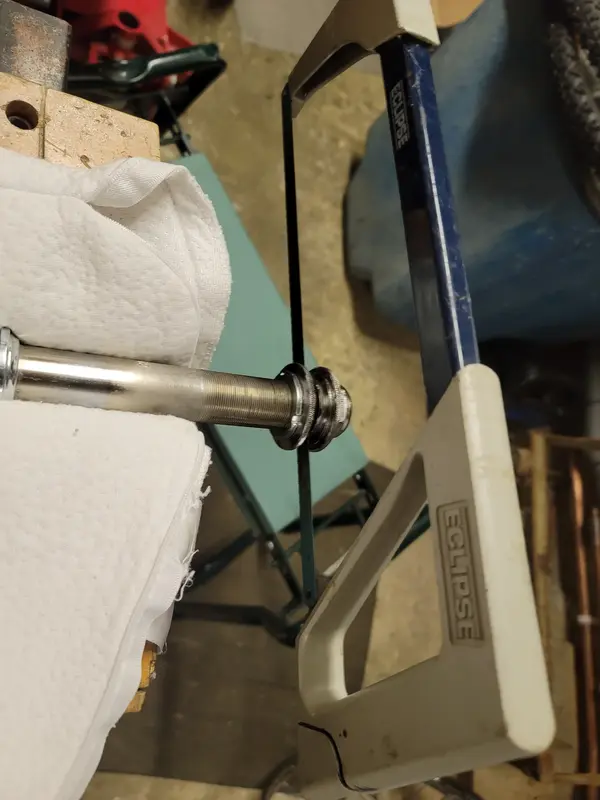
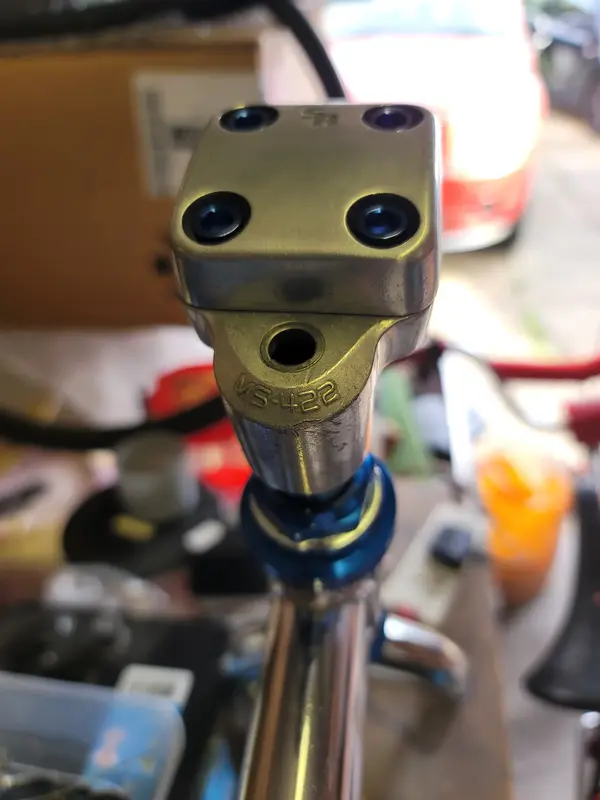
Then I've got to cut the 1" Threaded head so the Tange locking nut meets the head flush.
Can't do one without the other!
So made loads of progress today the YST spare headset came with the 27mm crown racer. Crazy I had to buy the whole headset because it was cheaper than sourcing a single 27mm bottom crown racer.
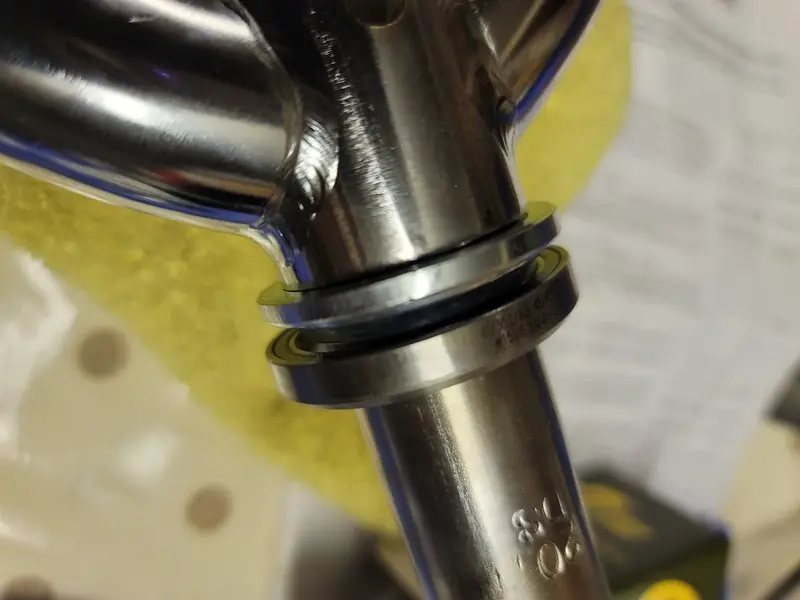
The fettling of height started and I measured about 3mms spare thread just in case I can always cut more if needed.
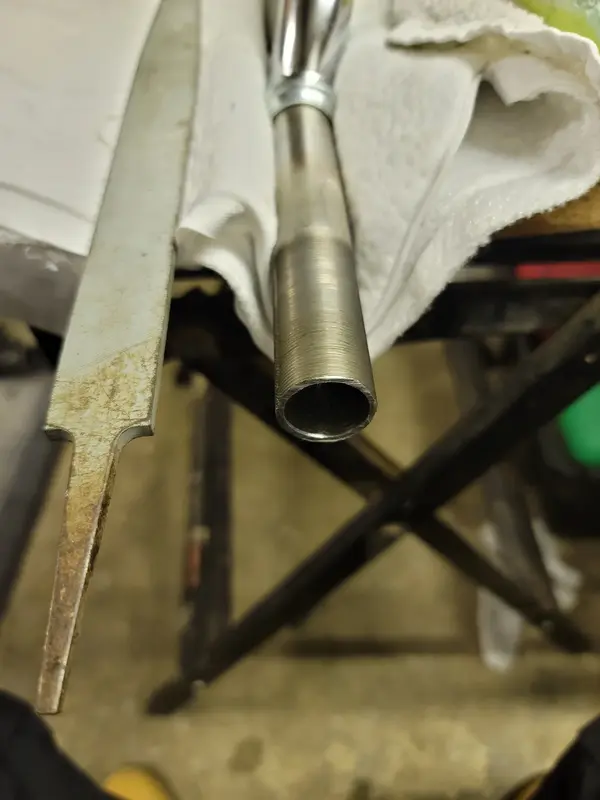
I used the old lock washers and headset caps to set the markers so they acted as a great guide for the hacksaw. Completely clean cut and no issues, a bit of sharp blurr to file off. Oh I used the old head sets to re-thread any cross cuts on the thread, as it unwound off giving me a clean thread afterwards.
Waiting for some decals for the forks.
Pedals I have two sets original and another I'll see which I like.
I'm still in a bind about the Vbars or CW style straight bars let's see

 20250402_143542.webp305.5 KB · Views: 2
 20250402_143939.webp161.5 KB · Views: 1
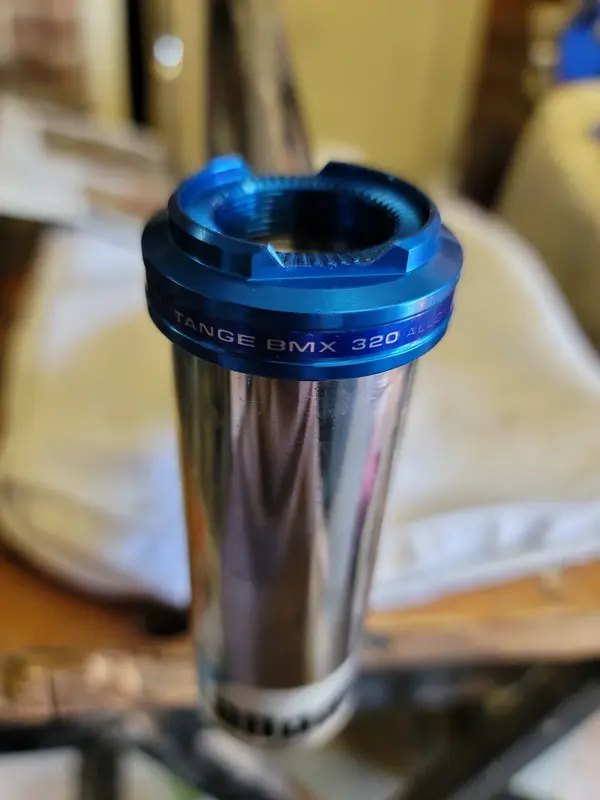 20250402_144040.webp207.7 KB · Views: 1
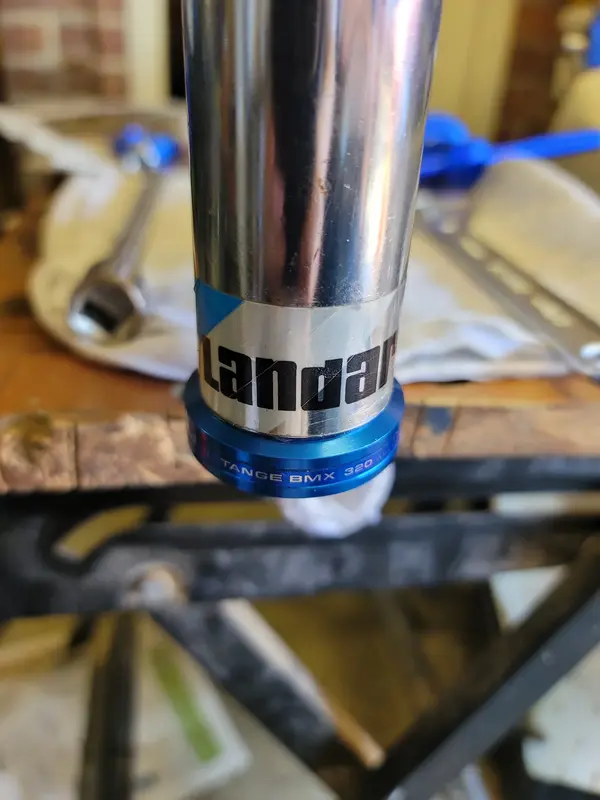 20250402_145733.webp162.3 KB · Views: 1
 20250402_145737.webp163.8 KB · Views: 1
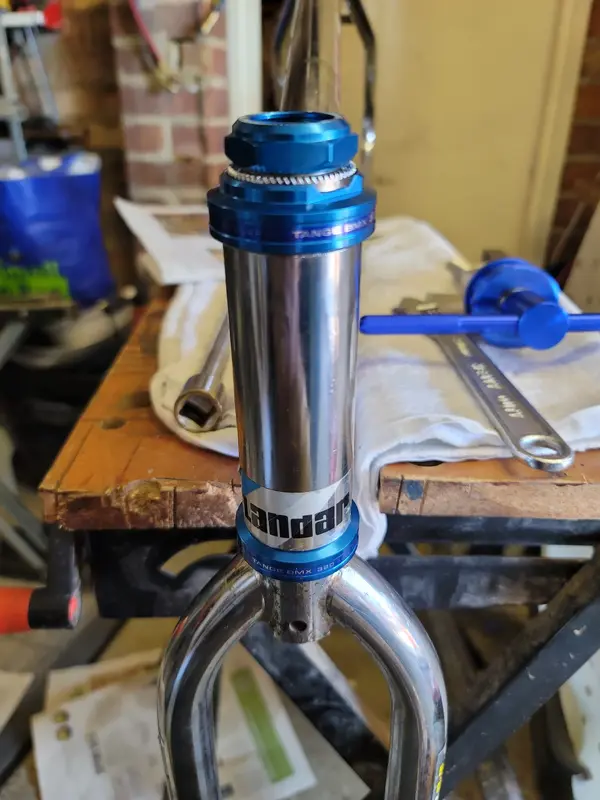 20250402_150057.webp186.8 KB · Views: 1
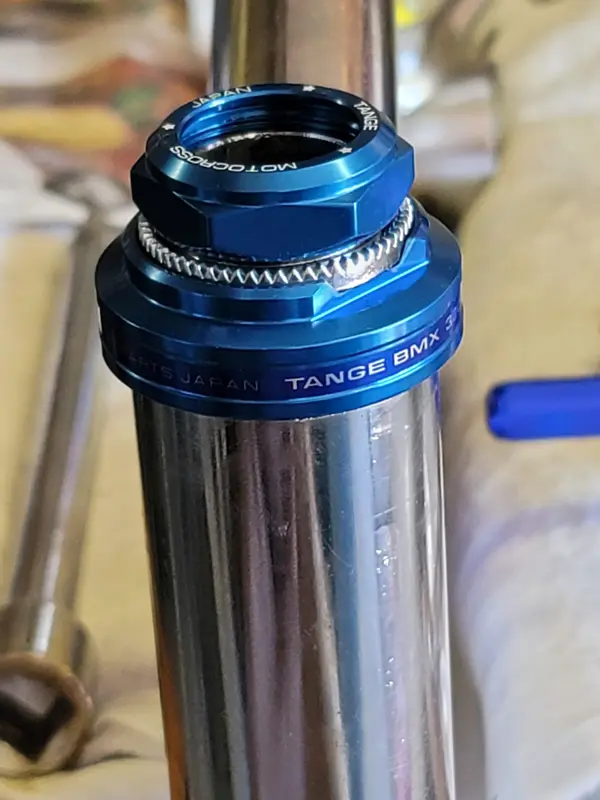 20250402_150134.webp148 KB · Views: 1
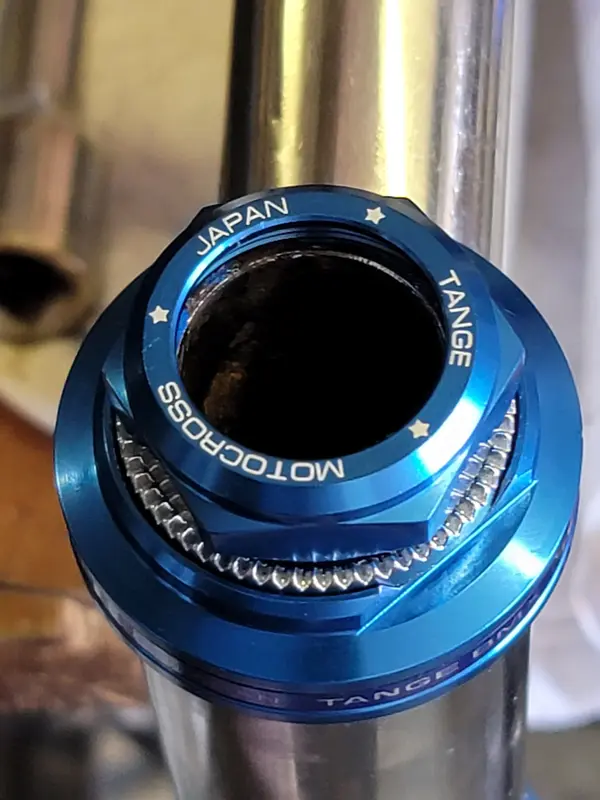 20250402_150154.webp159.2 KB · Views: 1