J joebikes Retro Newbie Jun 1, 2013 #1 now I'm done with it. I'll show you too. Attachments IMG_8440.JPG 155.5 KB · Views: 316 IMG_8442.JPG 93 KB · Views: 316 IMG_8443.JPG 103 KB · Views: 316 IMG_8507.JPG 63.3 KB · Views: 316 IMG_9208.JPG 112.6 KB · Views: 316 IMG_9419.JPG 169.1 KB · Views: 316 IMG_9420.JPG 159.5 KB · Views: 316 IMG_9421.JPG 167.2 KB · Views: 316
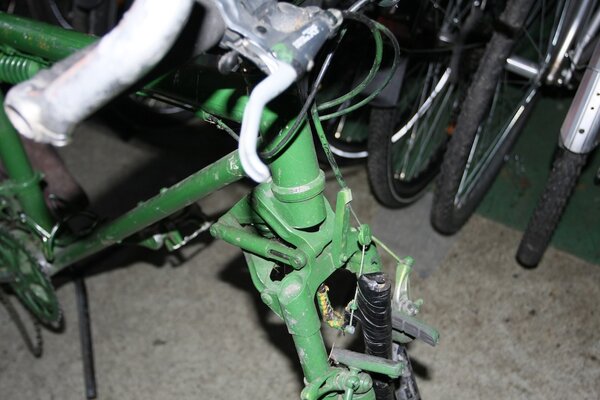
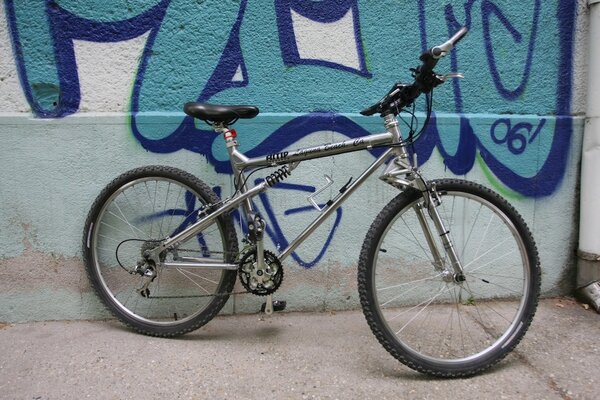
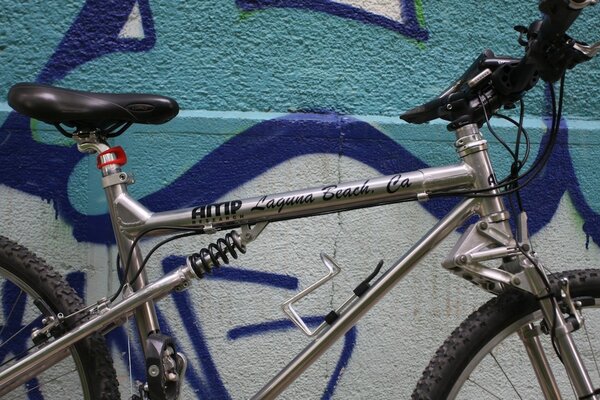
secret_squirrel Senior Retro Guru Feedback View Jun 1, 2013 #2 You took that green monster and turned it into something lovely! Well done sir!
J joebikes Retro Newbie Jun 1, 2013 #3 It was not easy, but I enjoyed because it was a challenge. Thank you very much!
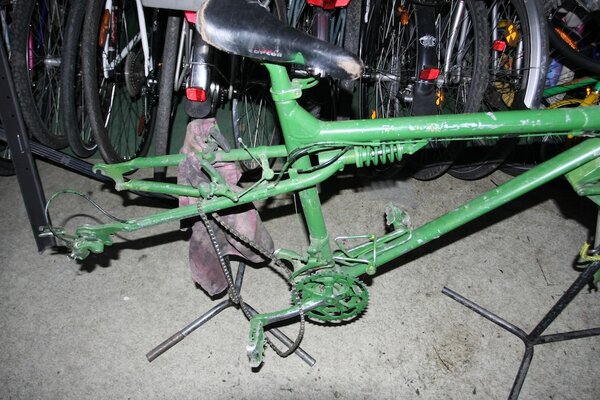
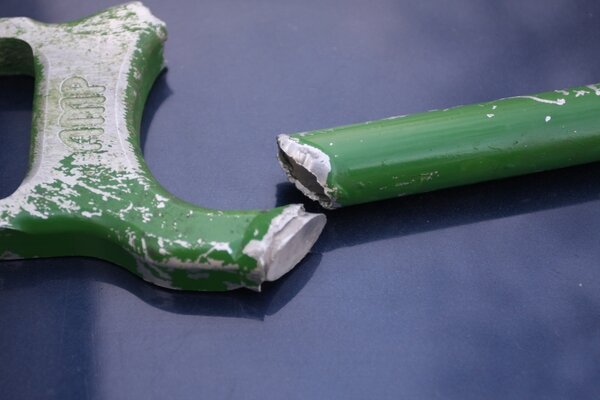
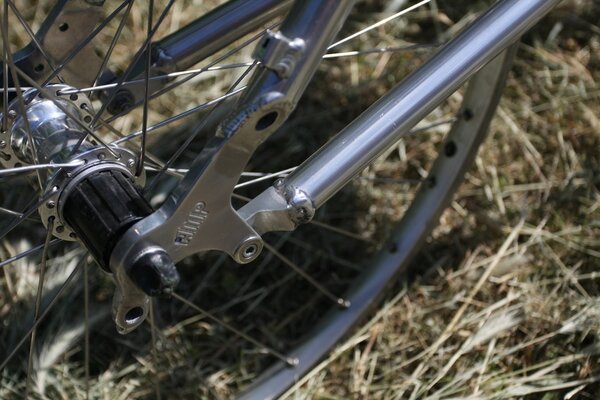
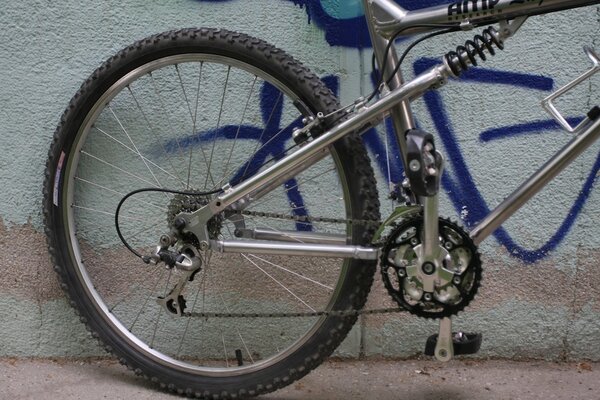
ishaw Gold Trader GT Fan Feedback View Jun 1, 2013 #4 Lovely bit of restoration! Who could ever commit such an act against such a nice frame/bike. What did you do to resolve the snapped rear end?
Lovely bit of restoration! Who could ever commit such an act against such a nice frame/bike. What did you do to resolve the snapped rear end?
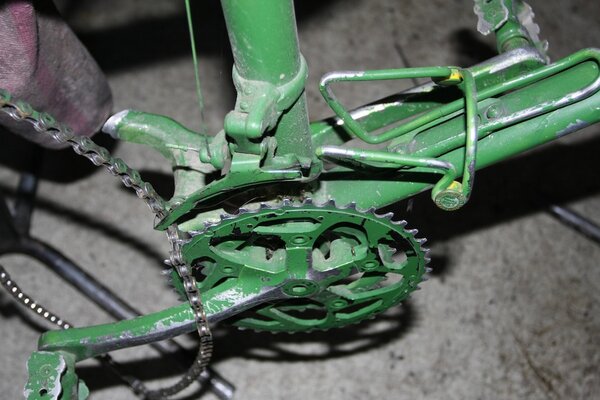
Gruff Retrobike Rider Gold Trader Kona Fan Feedback View Jun 1, 2013 #5 ishaw":3tcl63bj said: Lovely bit of restoration! Who could ever commit such an act against such a nice frame/bike. What did you do to resolve the snapped rear end? Click to expand... Looks like hes had a new one made up as those chainstay pivots aren't original.
ishaw":3tcl63bj said: Lovely bit of restoration! Who could ever commit such an act against such a nice frame/bike. What did you do to resolve the snapped rear end? Click to expand... Looks like hes had a new one made up as those chainstay pivots aren't original.
J joebikes Retro Newbie Jun 1, 2013 #6 the back of the fork as much as it was shown in the picture. a professional legyártattam the front and back, and then a locksmith welded together. It was not some walking after him
the back of the fork as much as it was shown in the picture. a professional legyártattam the front and back, and then a locksmith welded together. It was not some walking after him