A Very British Klunker

The 2.125" cruiser tyres just fit. Even if the sidewalls flex a little I think it will be OK
Should work. I had problems with a similar setup years later when the rear hub got worn. It would rub on corners. Two rebuilds didn’t fix it but a new rear wheel did. Everything’s got to be optimal or it will end our rubbing on a tight set up. But it worked for years. Now it looks like tire fatigue may soon cause rubbing, but I got 6 years riding before the hub and potential tire problem. You might get more use as my tires were 2.35 x 26 and measured 27 inch diameter when mounted. It is really tight, just enough too for a sheet of paper, ha, ha.
 
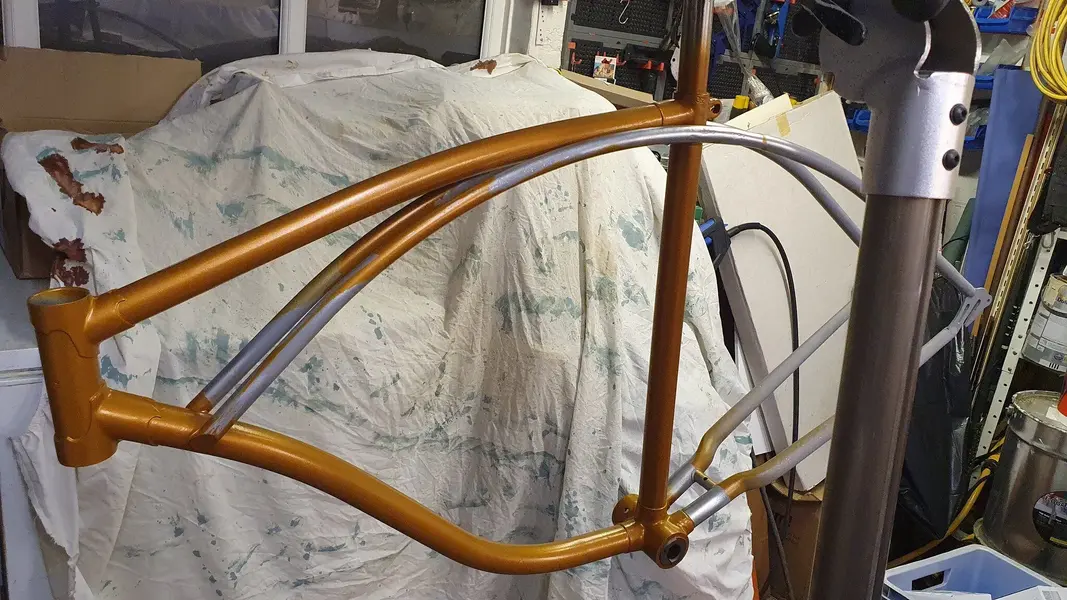
Well after a bit of a false start with the candy burnt orange ( it just didn't work), went to my local paint factors in Pickering with the frame. As soon as I walked in the Boss got excited about the frame as he was into retro road bikes and went the extra mile to match the paint to the original pics. Had a great bike chat whilst he was mixing, so shout out to Parry's of Pickering. So Sunset Gold done, just got to wait a week for it to harden before masking off for the blue to be applied. 20220201_183139.jpg
 
Last edited:
Well after a bit of a false start with the candy burnt orange ( it just didn't work), went to my local paint factors in Pickering with the frame. As soon as I walked in the Boss got excited about the frame as he was into retro road bikes and went the extra mile to match the paint to the original pics. Had a great bike chat whilst he was mixing, so shout out to Parry's of Pickering. So Sunset Gold done, just got to wait a week for it to harden before masking off for the blue to be applied.View attachment 600179
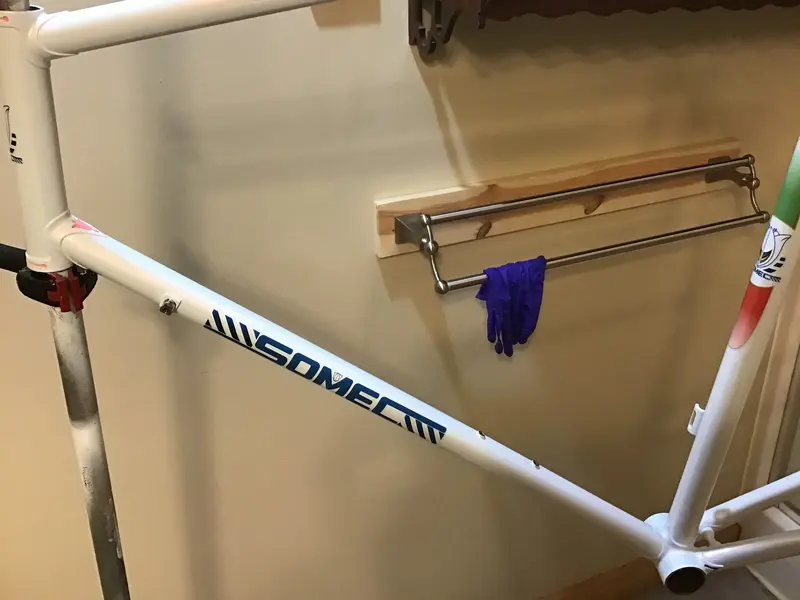
Candies and pearls are very hard for the amateur to do at home. Your real lucky you found a pro with all the equipment and knowledge. Around here you can’t find anyone to paint a bicycle frame. Decals won’t stick unless the paint has no irregularities. You need to wet sand the paint at the decal site absolutely flat with 1500, apply decals or stickers and give several mistings with clear after they dry. Otherwise the decals will lift at the edges. The only person I know who can do all this at home, with spectacular results, is my son. He has a homemade paint booth with an inlet that is filtered with furnace filters and it has downward forced air using a blower. It is also heated, but the heater is turned off before spraying. He uses a low volume low pressure gun. That’s right, lvlp. White pearl over light pink candy here in this picture. This is his booth, poly tarps held with clamps onto conduit poles stuck into pvc pipes permanently placed in the ground. He has some kind of light weight wood square roof frame with holes drilled in them so the pipes fit. The roof is also poly covered with an opening cut for a filter that is held in place with duct tape. There is an opening at the base for the blower fan to remove paint mist. It’s, big, 10 foot by 10 foot by 8 foot high so you can move around the frame without touching anything. You can see the heater in the photo, which brings the tent up to the optimum temperature. He gets the 2 part primer from the local auto parts store and the colors on line from someone that mixes up small batches of custom colors for people painting motorcycle. The cost is not too bad as your not buying car cover quantities. He uses a heat gun to read the frame temp. After he is finished the booth is disassembled and stored. All too much for me to bother with. BA7380C5-AE06-470C-A718-51ACA3C20B46.jpeg

Drying for a few days in the bathroom with the exhaust fan running. Clear was added next.
1E1698C8-2F54-4FFD-B42C-84C5218B4847.jpeg
 
Last edited:
Candies and pearls are very hard for the amateur to do at home. Your real lucky you found a pro with all the equipment and knowledge. Around here you can’t find anyone to paint a bicycle frame. Decals won’t stick unless the paint has no irregularities. You need to wet sand the paint at the decal site absolutely flat with 1500, apply decals or stickers and give several mistings with clear after they dry. Otherwise the decals will lift at the edges. The only person I know who can do all this at home, with spectacular results, is my son. He has a homemade paint booth with an inlet that is filtered with furnace filters and it has downward forced air using a blower. It is also heated, but the heater is turned off before spraying. He uses a low volume low pressure gun. That’s right, lvlp. White pearl over light pink candy here in this picture. This is his booth, poly tarps held with clamps onto conduit poles stuck into pvc pipes permanently placed in the ground. He has some kind of light weight wood square roof frame with holes drilled in them so the pipes fit. The roof is also poly covered with an opening cut for a filter that is held in place with duct tape. There is an opening at the base for the blower fan to remove paint mist. It’s, big, 10 foot by 10 foot by 8 foot high so you can move around the frame without touching anything. You can see the heater in the photo, which brings the tent up to the optimum temperature. He gets the 2 part primer from the local auto parts store and the colors on line from someone that mixes up small batches of custom colors for people painting motorcycle. The cost is not too bad as your not buying car cover quantities. He uses a heat gun to read the frame temp. After he is finished the booth is disassembled and stored. All too much for me to bother with.View attachment 600374

Drying for a few days in the bathroom with the exhaust fan running. Clear was added next.
View attachment 600375

Wow 10 out of 10 for inginuity....lot of effort but results look wonderful.
 
It's been quite refreshing spraying the Klunker as opposed to the Lotus as the spray job does not have to be perfect just tough. Wonderful results above though
 
Believe me m8. That powder coat job looks top notch and is far easier to maintain than nickel; it's a pain in the arse imho.
 
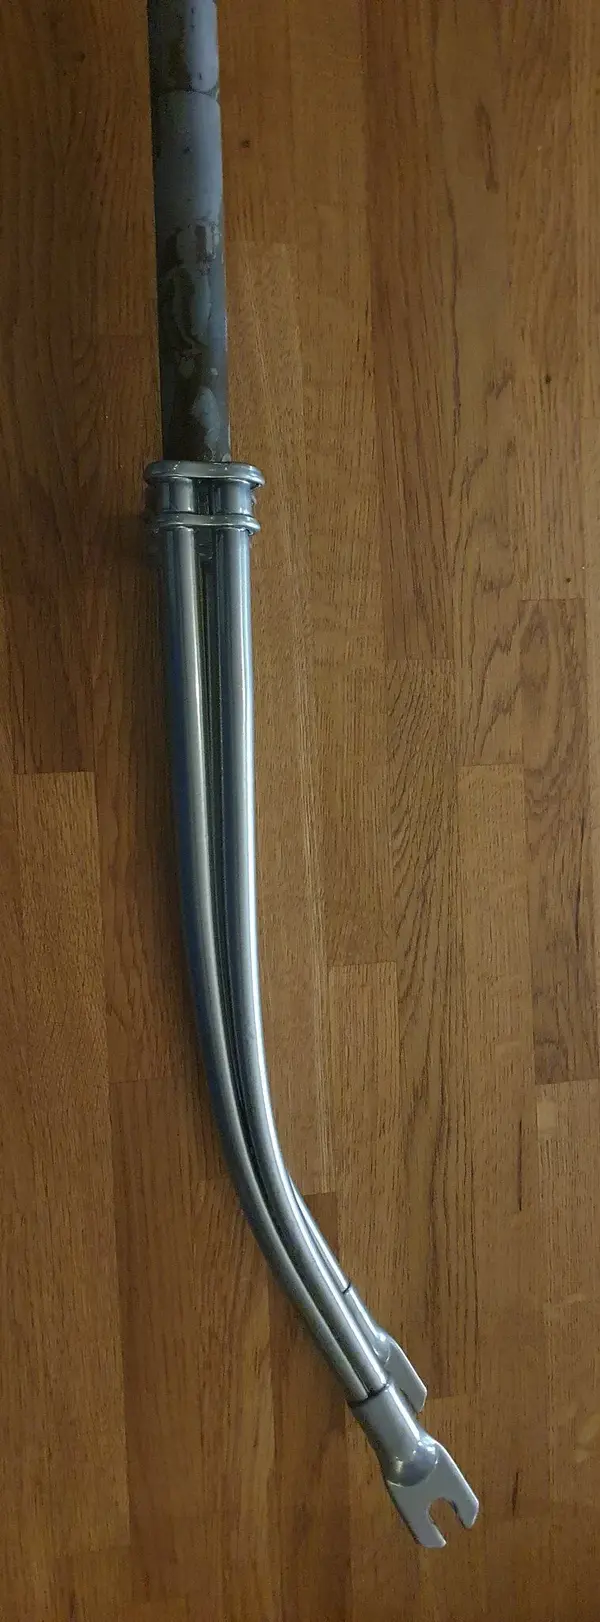
Forks back from the powdercoaters and whilst powdercoat will never replicate nickel plating it looks pretty good as covers a multitude of sinsView attachment 600678View attachment 600679
Don’t touch it or get grease on it. This finish turns black from handling and grease. It’s probably been powder cleared but it still turns black. I’m not sure if it can be clear coated, as the powder is a plastic and might melt from the clear solvent. I was told I could paint over powder but my paint melted the powder and I got a blend. My sons silver powder coat developed black areas where he was touching it. I also read others have had the same problem.
 

Latest posts

Back
Top